


 My Orders




JMP26*05 General Electric Range - Overview

Enter a part description. DIY Heroes keep it simple, eg. "belt" or "pump".
Search filter:
Clear Filter
Your search term must have 3 or more characters.

$47.40
In Stock
Bake Element - 240V
Part #WB44X200
This is a 240 volt bake element for your oven or range. The kit comes with two installation screws and the element. The element functions by supplying heat from the bottom of the oven to bake or cook your food. You may need to replace the bake element if your oven is not heating properly. This is a black metal part (Width 13 inches, lengt...Read moreh 16.5 inches, depth 1-1/2 inches ) which can be installed onto your range with a screwdriver. Installation is rated as "medium" difficulty. This element is the part that heats to allow cooking, and if broken or missing you'll be unable to cook. This part attaches to the lower section of the range. Refer to your model number and user manual to ensure this part is right for you. Each screw gets screwed into each wire terminal with a Phillips screw driver. Hold the wires forward to make sure the wires do not fall back through the rear of the oven. Unplug your appliance or shut off your circuit breaker to the appliance before installing the new part.
Read less

$10.70
In Stock
Trim Ring - 6 Inch
Part #WB31X5013
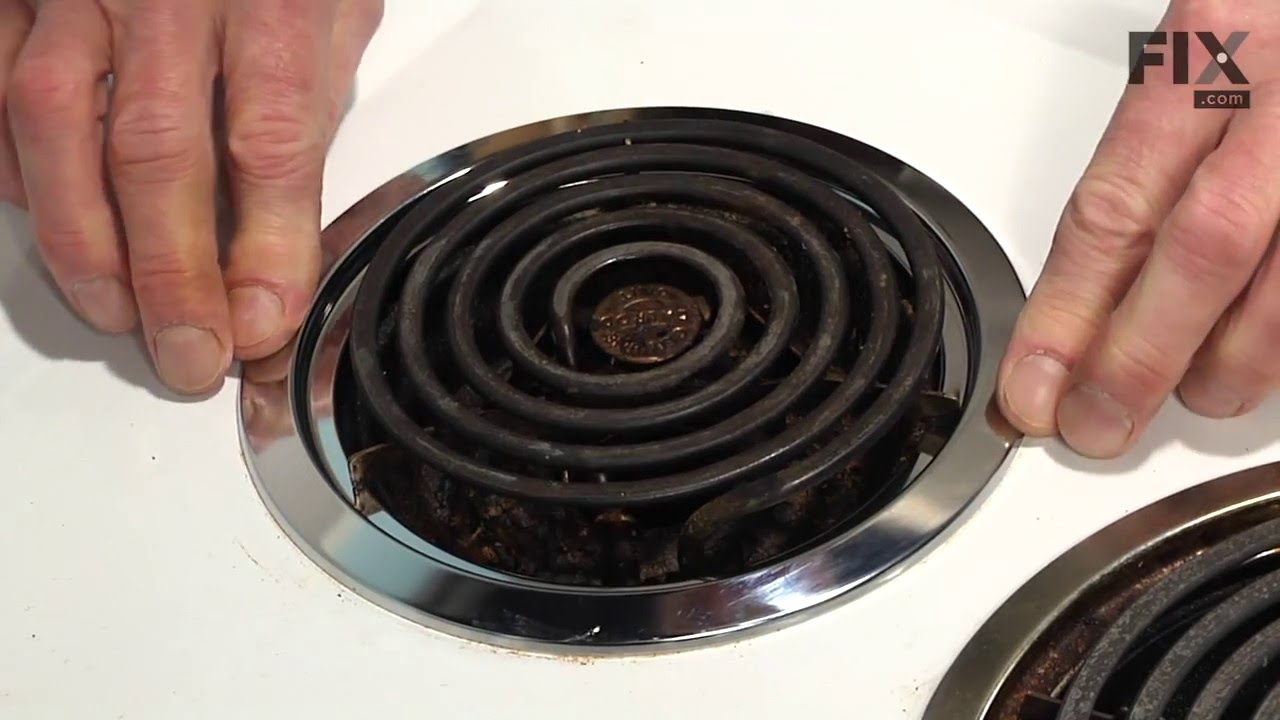
This 6 inch high rise burner trim ring is intended for use with detached style low rise tilt lock surface mount burners on ranges.

$17.15
In Stock
Trim Ring - 8 Inch
Part #WB31X5014
This 8 inch high rise burner trim ring is intended for use with detached style low rise tilt lock surface mount burners on ranges.

$28.42
In Stock
Drip Bowl - 8 Inch
Part #WB32X10013
This eight inch chrome drip bowl is intended for use with with tilt lock style surface mount burner element units.

$35.80
In Stock
Screw - Package of 12
Part #WZ4X345D

No Longer Available
LATCH
Part #WB14X5035

No Longer Available
USE GEH WZ10X17
Part #WZ10X0017
No Longer Available
USE GEH WZ2X503
Part #WZ02X0503
No Longer Available
USE GEH WZ2X528
Part #WZ02X0528
No Longer Available
USE GEH WZ4X231
Part #WZ04X0231
No Longer Available
USE GEH WZ4X237
Part #WZ04X0237
No Longer Available
USE GEH WZ4X238
Part #WZ04X0238
Common Symptoms of the JMP26*05
How this model fails, and the parts that fix it.
Little to no heat when baking
Fixed by
these parts
these parts

Show All
Element will not heat
Fixed by
these parts
these parts
Show All
Oven not heating evenly
Fixed by
these parts
these parts
Show All
Will Not Start
Fixed by
these parts
these parts
Show All
Oven is too hot
Fixed by
these parts
these parts
Show All
Little to no heat when broiling
Fixed by
these parts
these parts
Show All
Touchpad does not respond
Fixed by
these parts
these parts
Show All
Watch our pros, then fix it yourself.
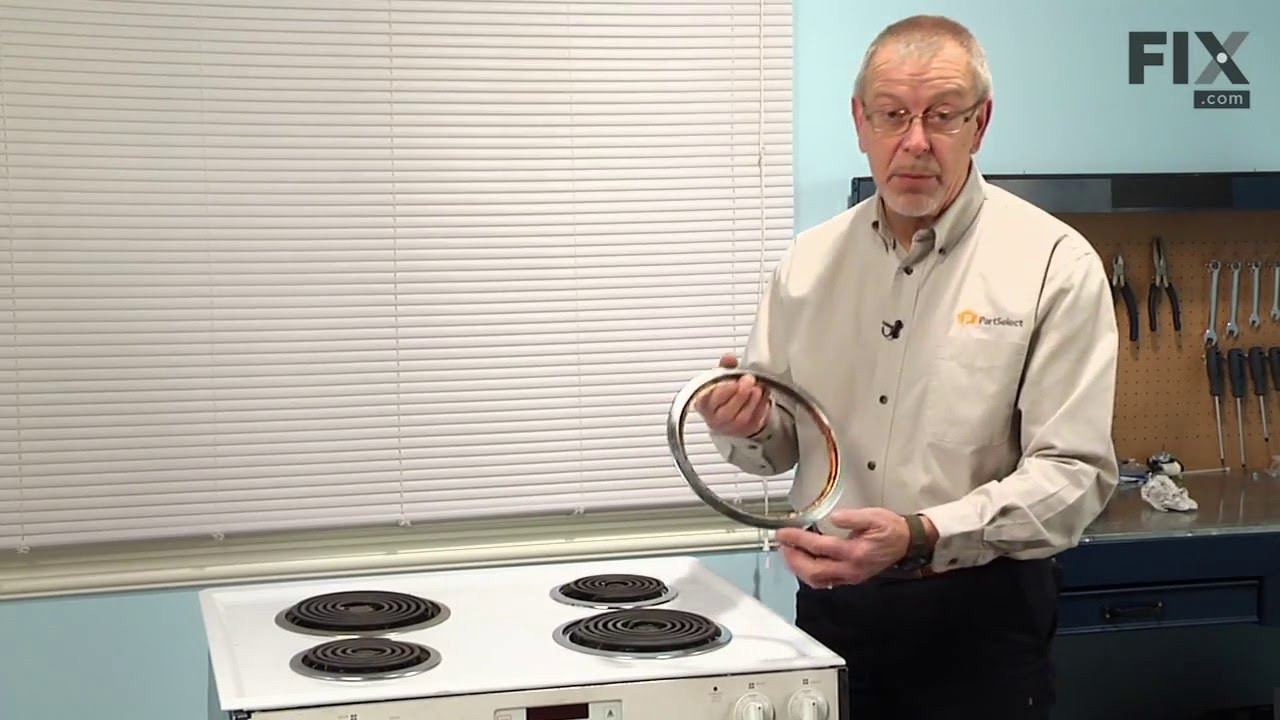
See how others fixed this model. Time, tools, difficulty, and steps that lead to victory!
View More