


 My Orders




JKP35WM3WW General Electric Range - Overview

Enter a part description. DIY Heroes keep it simple, eg. "belt" or "pump".
Search filter:
Clear Filter
Your search term must have 3 or more characters.

$30.53
In Stock
Temperature Sensor
Part #WB21X22134
The temperature sensor, also known as the oven temperature sensor assembly is usually found in the back of the oven. The function of the oven temperature sensor assembly is to measure the temperature inside your oven while it is on and send the temperature back up to the electronic control, which adjusts as necessary. If your oven is havi...Read moreng difficulty achieving warmer temperatures and/or keeping warmer temperatures up, you may want to test your temperature sensor. Before you make this repair remember to unplug your range from the power source, and turn off the gas shut off valve.
Read less

$16.05
In Stock

$61.40
In Stock
Halogen Bulb Kit
Part #WB49X29679
This light bulb is used in the interior oven. NOTE: This bulb has looped pins, not the straight pins.

$16.05
In Stock
Range Screw
Part #WB01T10008
This part is a replacement screw for your oven. It is made of black metal and is sold individually. This screw is approximately 1/4 inch in diameter and about 1/2 inch in length. It is designed to connect the different parts of your oven door. This part is an authentic OEM part sourced directly from the manufacturer.

$15.00
In Stock

$25.28
Special Order

$94.59
In Stock
ELEMENT BROIL Assembly
Part #WB44T10099
This broil element assembly is designed to deliver high-intensity heat from the top of the oven, making it essential for effective broiling. Positioned in the upper compartment, it directs radiant heat downward to evenly brown and cook food. Constructed for durability and consistent performance, this replacement part fits a range of elect...Read moreric ranges and wall ovens. It ensures uniform heat distribution, helping achieve optimal broiling results. A replacement may be necessary if the existing element is sagging, visibly damaged, or no longer heating efficiently. Installation typically involves disconnecting power, removing the old element, and securing the new one using the original mounting points. Always verify your appliance’s model number to ensure compatibility.
Read less

No Longer Available
Wall Oven Rack
Part #WB48T10045
The wall oven rack provides a stable surface for cookware in the oven.

$165.43
In Stock

$70.32
Special Order

$15.00
Special Order
Range Screw
Part #WB01T10066

$15.00
In Stock
Screw - 8/18 AB IHW 3/8 S
Part #WB01T10017
Common Symptoms of the JKP35WM3WW
How this model fails, and the parts that fix it.
Little to no heat when baking
Fixed by
these parts
these parts

Show All
Oven not heating evenly
Fixed by
these parts
these parts
Show All
Oven is too hot
Fixed by
these parts
these parts
Show All
Element will not heat
Fixed by
these parts
these parts

Show All
Will Not Start
Fixed by
these parts
these parts
Show All
Little to no heat when broiling
Fixed by
these parts
these parts
Show All
Watch our pros, then fix it yourself.
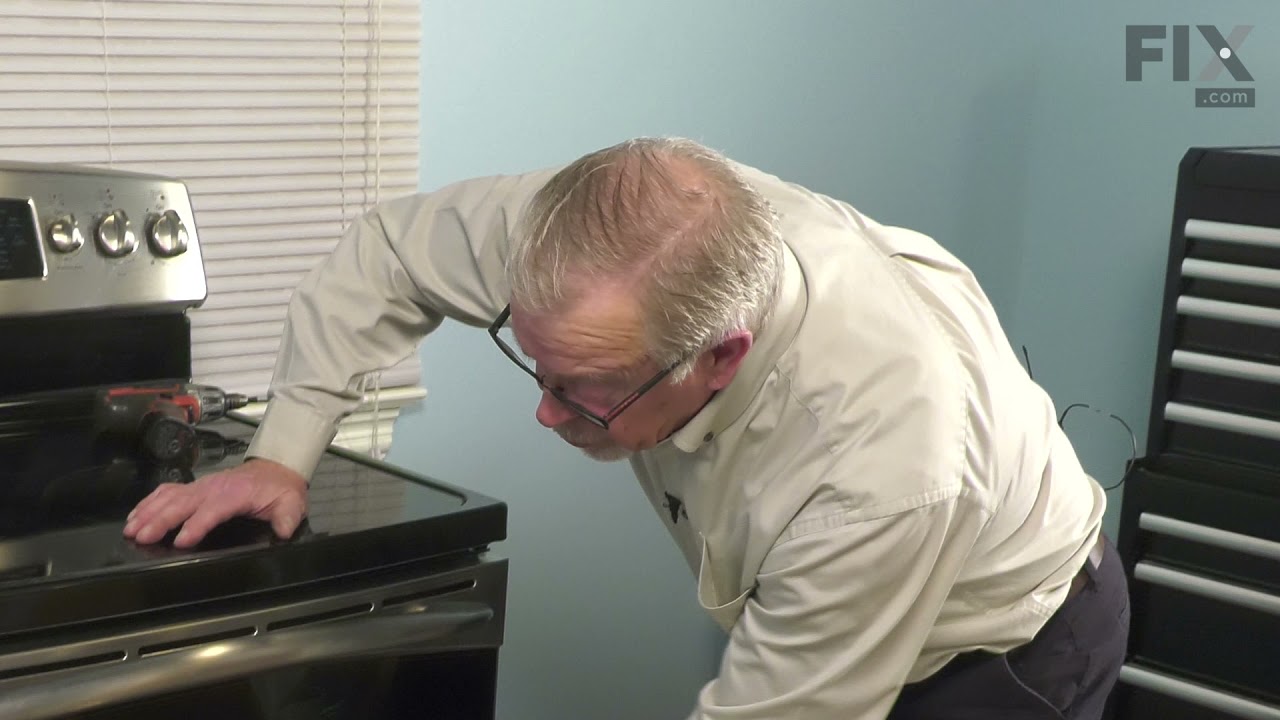
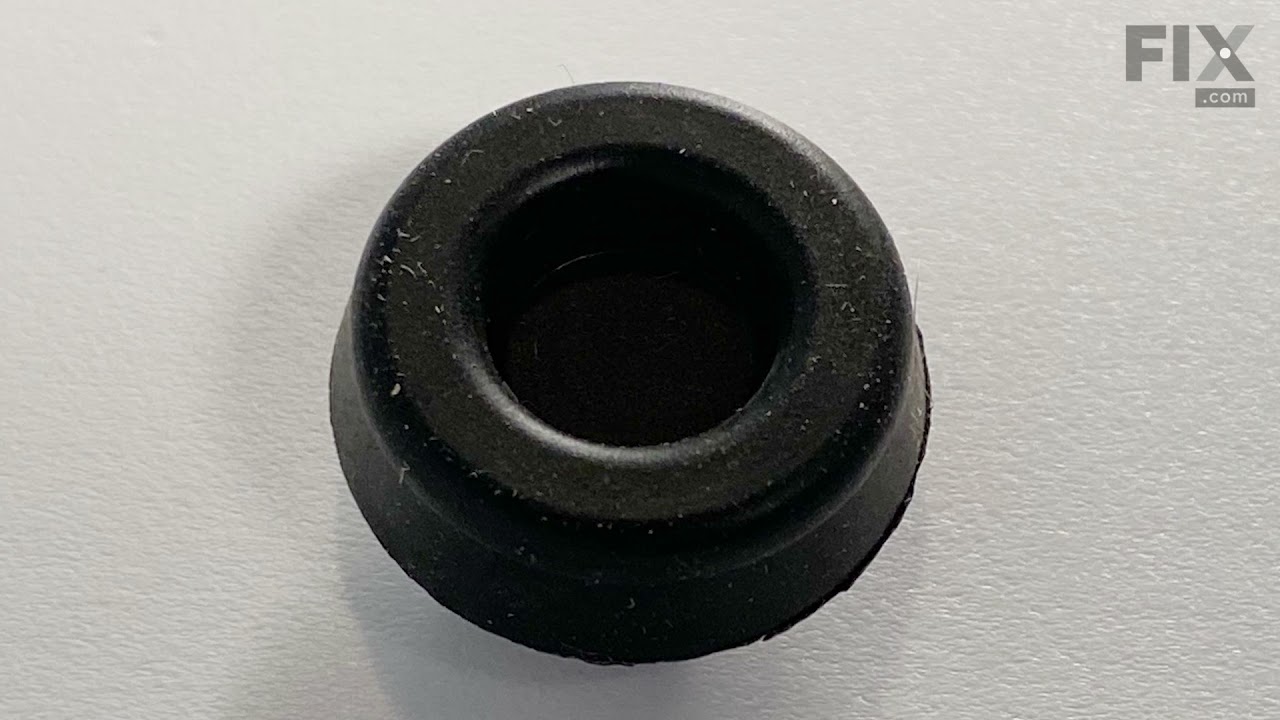
See how others fixed this model. Time, tools, difficulty, and steps that lead to victory!
View More