This 40-Watt light bulb is sold individually.
It is specially designed to withstand extreme temperatures, so this bulb is compatible with a variety of appliance types including refrigerators, ranges, microwaves, and dryers. It features a frosted glass bulb with a standard metal socket base, which allows you to easily unscrew the burnt-out light and twist the new bulb into place.
The top burner spark electrode, also known as a range surface burner igniter, is designed for use in your gas range. The function of this part is to provide the spark that lights the surface burner. If your gas range will not start, or if the igniter glows but will not light, you may need to replace the top burner spark electrode. This pa...Read morert is sold individually. This product is white in color and measures approximately 1-1/2-inches in length by 1/2-inch in width. Be sure to disconnect the gas supply to the range before you begin this repair. This is an OEM part sourced directly from the manufacturer.
The oven rack is sold individually. It is chrome in color and measures approximately 24 inches wide by 17-1/2 inches deep. The rack is used to hold cookware in the oven and slides back and forth for easy access. Racks can become rough and discolored over time and may need to be replaced, or perhaps you just need extra storage space in the...Read more oven! This repair is extremely simple and does not require any tools. Before you begin, ensure that the rack edges are straight and have not warped from shipment. Once the oven door is open, the stop end goes in first and it simply slides into place.
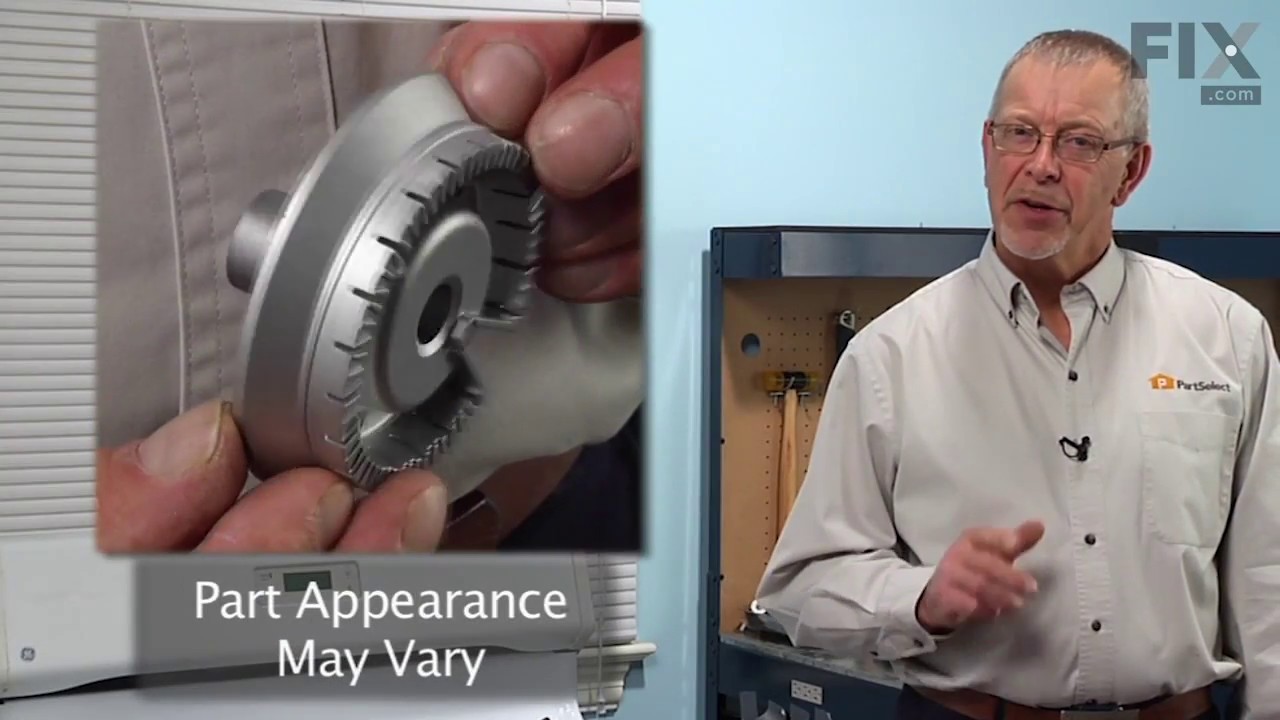
This burner head, or surface burner, is used in ranges and ovens. The burner sends gas through the holes and slots to create an equal flame across the cooking area. If the gas igniter glows but will not light up, or there are heating inconsistencies, replacing the burner head could be the solution to your problem. No tools are required fo...Read morer this installation. To change the burner, first lift the grate and take the burner cap off. Next, lift the burner away from the cooktop. To set the new burner in place correctly, check the locating tab that fits into the V-shaped notch and make sure the igniter fits into the cut-out. Refer to the diagram provided by the manufacturer for further instructions.
This Genuine OEM GE Electrode Clip is a precision-engineered component designed for use across a wide range of gas ranges. Constructed from durable metal, the clip plays a critical role in securing the electrode top within the rangetop and bracket assembly, ensuring stable and reliable ignition performance. Sold individually, this replace...Read morement part is ideal for routine maintenance or repair. For ease of installation, a pair of pliers is often recommended to assist with proper placement. Trust in genuine GE parts to maintain the safety and efficiency of your appliance.
This part is the replacement light socket for your oven. The oven light socket provides power to the light, and at the same time holds the light bulb in place.
This is the replacement left front orifice for your gas range. When your range is operating, gas flows through the orifice to the igniter. This part is the orifice itself as well as the metal holder that holds it in place. If you notice a gas smell when your range is on, you could have a loose or damaged orifice. This part fits the front ...Read moreleft burner in your range, so make sure you are replacing the correct orifice. This is an OEM part sourced from the manufacturer and is sold individually.
This large broiler pan is found in the bottom of your oven and is used to catch drippings from broiling foods. This part includes the grate and bottom pan and is made of porcelain. The grate measures 15-1/2 inches wide by 13 inches deep and the pan is about 17 inches wide by 13 inches deep. No tools are required to replace this item, simp...Read morely pull out the lower drawer of your range, pull down the front of the drawer, slide the pan out and slide the new one into place. This is a genuine part sourced right from the manufacturer.
This is a replacement cooktop mounting screw, used to secure the burner. If you are missing that screw on your range, this is the part to replace it. This screw is about a half an inch in length and is sold individually. It is an OEM part sourced directly from the manufacturer.
Ask our experts a question about this model and we'll get back to you as soon as possible!
We may have answered a similar question already! Search questions and answers left by others using simple keywords like "fit", "broken", "easy", or "quality" to find questions that match.
Search filter:
Clear Filter
Your search term must have 3 or more characters.
Sort by:
Prev
1
Next
Sorry, we couldn't find any existing answers that matched.Try using some different or simpler keywords, or submit your new question by using the "Ask a Question" button above!
Carl - For model number JGBP28SEJ1SS
September 30, 2023
Our oven won’t light please can you advise which part I would need to order to solve the problem.
I am in the UK but the cooker is in Antigua and I need to take the parts there this winter to try and fix it.
Thanks
Hello Carl, thank you for the question. First, check the gas supply lines and the igniter. If your top igniter is working, but the oven cavity itself will not light, it is the oven igniter that may have a problem. This is not a problem with the gas. Locate your oven igniter and check it is clean. If the igniter is covered in dirt, this could be why your oven will not light. Gently clean the igniter and remove any debris. We hope this helps. Find the pilot hole which emits the gas. Using a needle, insert it into the hole and gently clean away any buildup or debris that could be restricting the gas. Next, check if the igniter sparks. To do this, turn the gas off and press the ignition button. If you cannot hear the clicking noise or see any sparks, this is why your oven is not lighting and means the igniter, part number PS243425, needs replacing. Finally, inspect the wiring and look for any discrepancies. If any of the wires are loose, ensure you turn the oven off and then process to tighten the connection with a screwdriver. We hope this helps, good luck with this repair!
See how others fixed this model. Time, tools, difficulty, and steps that lead to victory!View More
Search repair tips from other customers using simple keywords like "replace", "fit", "remove", "inspect". DIY doesn't mean you have to do it alone!
Search filter:
Clear Filter
Your search term must have 3 or more characters.
No power to electronic readout screen there was no control to the oven at all. The troubleshooting guide in the oven manual several symtoms said to replace the electronic control board. So I did.
33 of 40 peoplefound this instruction helpful.
victor from thatcher, AZ
Really Easy
15 - 30 mins
Screw drivers, Socket set
First of all disconnect the power cord and then remove the top section of the oven which consisted of 2 small allen screws located in the front bottom corners [ left and right ] on the frontside. On the backside there was 2 phillip screws on top corners [ left and right ]. Also there was 2 bolthead screws that I use my small socket set or
... Read more you can use a small ajustable wrench. Once all these were removed it rolled forward right off. The control board was located in the center of the panel. Made sure the part matched up and it did, removed 4 small corner phillip screws and 4 or 5 removable plug in wire connectors which were easily identified. Put everything back together, plug power cord back in and the electronic display came on. Everything worked on the oven. done deal.
Read less
Was this helpful?
Thank you for voting!
burner would not lite
23 of 34 peoplefound this instruction helpful.
Glen from Kenner, LA
Really Easy
Less than 15 mins
Screw drivers
openend stove top disconnected wire pushed out old sparker inserted new one closed lid game over
Was this helpful?
Thank you for voting!
Pies Boiled Over And Baked On Oven Bottom
20 of 25 peoplefound this instruction helpful.
Marjorie from Yucca Valley, CA
Really Easy
Less than 15 mins
Screw drivers
Removed the two screws put the heat shield off the old one onto the new one put new bottom in and tightened two screws. Done #38. 69 Cost of part with shipping cost included.


 My Orders