This 40-Watt light bulb is sold individually.
It is specially designed to withstand extreme temperatures, so this bulb is compatible with a variety of appliance types including refrigerators, ranges, microwaves, and dryers. It features a frosted glass bulb with a standard metal socket base, which allows you to easily unscrew the burnt-out light and twist the new bulb into place.
The oven rack is sold individually. It is chrome in color and measures approximately 24 inches wide by 17-1/2 inches deep. The rack is used to hold cookware in the oven and slides back and forth for easy access. Racks can become rough and discolored over time and may need to be replaced, or perhaps you just need extra storage space in the...Read more oven! This repair is extremely simple and does not require any tools. Before you begin, ensure that the rack edges are straight and have not warped from shipment. Once the oven door is open, the stop end goes in first and it simply slides into place.
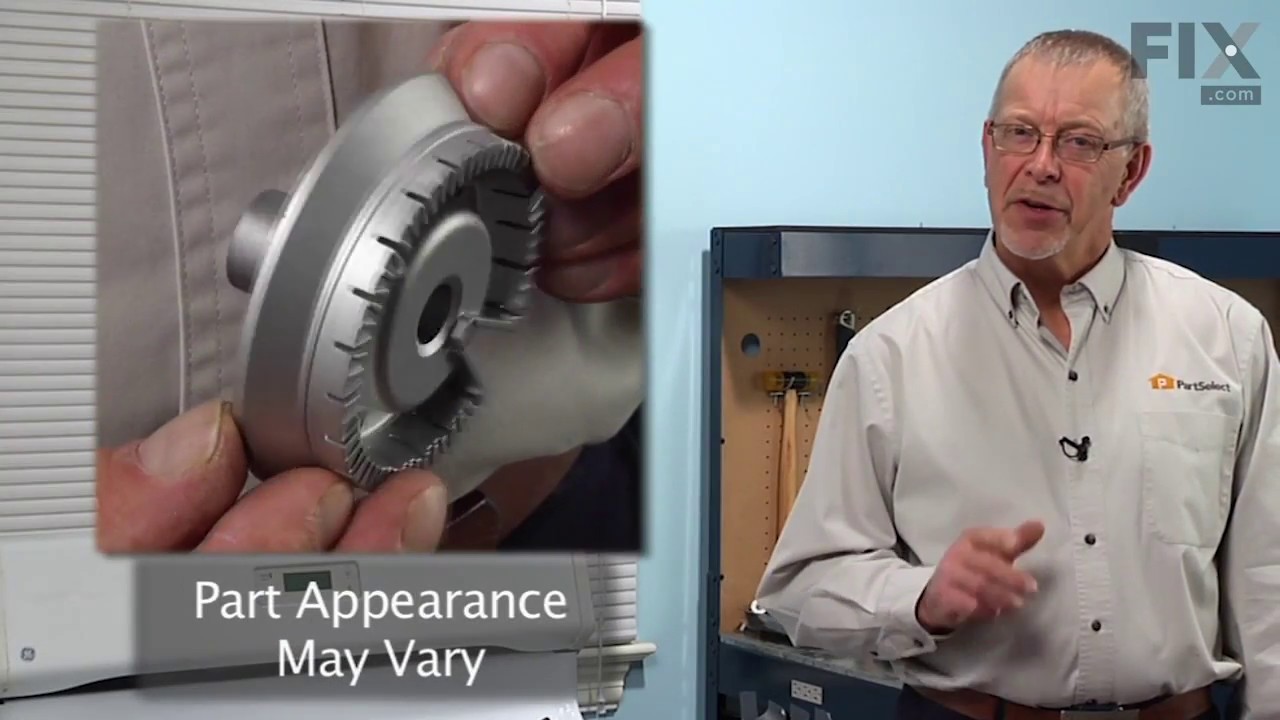
This burner head, or surface burner, is used in ranges and ovens. The burner sends gas through the holes and slots to create an equal flame across the cooking area. If the gas igniter glows but will not light up, or there are heating inconsistencies, replacing the burner head could be the solution to your problem. No tools are required fo...Read morer this installation. To change the burner, first lift the grate and take the burner cap off. Next, lift the burner away from the cooktop. To set the new burner in place correctly, check the locating tab that fits into the V-shaped notch and make sure the igniter fits into the cut-out. Refer to the diagram provided by the manufacturer for further instructions.
This Genuine OEM GE Electrode Clip is a precision-engineered component designed for use across a wide range of gas ranges. Constructed from durable metal, the clip plays a critical role in securing the electrode top within the rangetop and bracket assembly, ensuring stable and reliable ignition performance. Sold individually, this replace...Read morement part is ideal for routine maintenance or repair. For ease of installation, a pair of pliers is often recommended to assist with proper placement. Trust in genuine GE parts to maintain the safety and efficiency of your appliance.
This is a replacement cooktop mounting screw, used to secure the burner. If you are missing that screw on your range, this is the part to replace it. This screw is about a half an inch in length and is sold individually. It is an OEM part sourced directly from the manufacturer.
Having trouble with your MTD snowblower? If so, the MTD Left Hand Wheel Assembly is exactly what you need to fix the problem and get your snowblower back to top-notch condition. This is much more than just a tire?it's a complete wheel and rim set, designed with meticulous precision to fit your MTD snowblower perfectly. This isn't just a...Read more cosmetic fix, it's a practical solution that can determine how well your machine operates in challenging winter conditions. A smoothly functioning wheel assembly is crucial for effective and efficient operation, turning what could be a chore into a breeze. Installing this part is simple, but we do advise wearing work gloves for your safety. And don't worry about whether it will fit your model?we've ensured this MTD Wheel Assembly is fully compatible with your snowblower. In short, with the MTD Left Hand Wheel Assembly, you're not just buying a spare part, you're investing in the longevity and efficient operation of your MTD snowblower. So why wait? Get your snowblower ready for the winter season with our reliable MTD Wheel Assembly.
Presenting the right front burner tube, a vital component to keep your GE ranges functioning optimally. This authentic part ensures your surface burner gets an adequate and consistent supply of gas, contributing to a seamless cooking experience. Remindful of safety, it implores you to turn off the gas supply and unplug the range before in...Read morestallation. Also, the usage of work gloves is recommended for protection. Possessing the GE hallmark, this burner tube promises quality and reliability. Enhance your appliance's performance with this genuine GE range part.
This replacement oven door handle is designed to restore functionality and ease of use to your appliance. Crafted from durable black plastic, it measures approximately 30 inches in length and 1.5 inches in width, providing a secure and comfortable grip. The handle attaches directly to the oven door, allowing for smooth and reliable openin...Read moreg and closing. Ideal for situations where the original handle is broken or missing, this component is sold individually and is sourced directly from the original equipment manufacturer to ensure compatibility and performance. Installation typically involves securing the handle to the existing mounting points on the oven door using standard tools.
Ask our experts a question about this model and we'll get back to you as soon as possible!
We may have answered a similar question already! Search questions and answers left by others using simple keywords like "fit", "broken", "easy", or "quality" to find questions that match.
Search filter:
Clear Filter
Your search term must have 3 or more characters.
Sort by:
Prev
1
Next
Sorry, we couldn't find any existing answers that matched.Try using some different or simpler keywords, or submit your new question by using the "Ask a Question" button above!
Don - For model number JGBP28DED1WH
November 8, 2021
Glow bar comes on for oven and broiler when selected however neither will ignite. Is it the gas regulator?
Hello Don, thank you for your question. A quick way to tell if the igniter needs to be replaced is by switching the lights in the room off and turning the control knob to the ignite position. If the igniter sparks yellow or orange instead of a bright bluish-white, you will likely need to replace the igniter. Some other parts to inspect include the burner tubes in your oven and the regulator, for any obstructions. Inspection of the gas lines coming into your home, by a qualified professional, may also be necessary. We hope this helps!
2 peoplefound this instruction helpful.
Was this helpful?
Thank you for voting!
Prev
1
Next
✖
Ask a Question
Ask our experts a question on this model and we'll respond as soon as we can.
See how others fixed this model. Time, tools, difficulty, and steps that lead to victory!View More
Search repair tips from other customers using simple keywords like "replace", "fit", "remove", "inspect". DIY doesn't mean you have to do it alone!
Search filter:
Clear Filter
Your search term must have 3 or more characters.
Damaged both front burner tubes.
15 of 15 peoplefound this instruction helpful.
william from Tampa, FL
Really Easy
15 - 30 mins
Screw drivers, Wrench set
While i was inserting the new lp,gas orriface to the right rear burner tube I dropped the oriface.Without looking i popped the top of the burner unit, like most older type stoves, and thats when i ran into my problem. I realized the burner tube assemblies are attached by 3 screws to the top cover.Not attached to the cabinet as the older m
... Read moreodels, Basically cracked both front aluminum tubes trying to retrieve the dropped oriface. so i had to replace the burner tube units, which involved removing 3 screws, and loosing up and removal of the nut to the main gas tube. extremely easy repair, next time i`ll try to remember look before i leap,total time to (r+r)burner tubes about 20 minutes.Parts select pulled me out of the fire on this one, great staff and service, with quick delivery.
Here's how I fixed my problem. I took the aluminum cover, the part that sits over the jet & the igniter, which simply comes off. It's the part that the igniter discharges to. I took this cover off & using a pencil I scratched the lead of the pencil into the area which is around the igniter. I made sure to cover the area wit
... Read moreh as much lead as I could get on it. You need to make sure that you do this to all four burners. The only care you need to take, is not to block the gas jet which is in the igniter recess. It's been about 3 weeks since I added this & the burners click loudly & have lit without a problem. It appears that the aluminum may develop a coating on it of some kind which is highly resistive.
Read less
Was this helpful?
Thank you for voting!
the oven handle broke during delivery
15 of 19 peoplefound this instruction helpful.
william from new orleans, LA
Easy
Less than 15 mins
Nutdriver, Screw drivers
I remove the damage handle from the oven door,Then i install the new door handle with no problem.The tools i used was a hand nut driver and a phillip #3driver.



 My Orders