EasyApplianceParts is now PartSelect! We've merged our sites to provide a better shopping experience for you.   Full Details
✖

Find Parts

Parts Departments

Top Model Types

Top Brands

Repair Help

Expert Repair Videos

Keep typing for more specific results...

JGB905CEF1CC General Electric Range - Overview

Diagrams for JGB905CEF1CC

See every part. Know exactly what you need.

Enter a part description. DIY Heroes keep it simple, eg. "belt" or "pump".

Search filter:
Clear Filter
Your search term must have 3 or more characters.
Light Bulb - 40W – Part Number: 40A15
$21.95
In Stock
Light Bulb - 40W
★★★★★
★★★★★
(10)
Part #40A15
This 40-Watt light bulb is sold individually. It is specially designed to withstand extreme temperatures, so this bulb is compatible with a variety of appliance types including refrigerators, ranges, microwaves, and dryers. It features a frosted glass bulb with a standard metal socket base, which allows you to easily unscrew the burnt-out light and twist the new bulb into place.
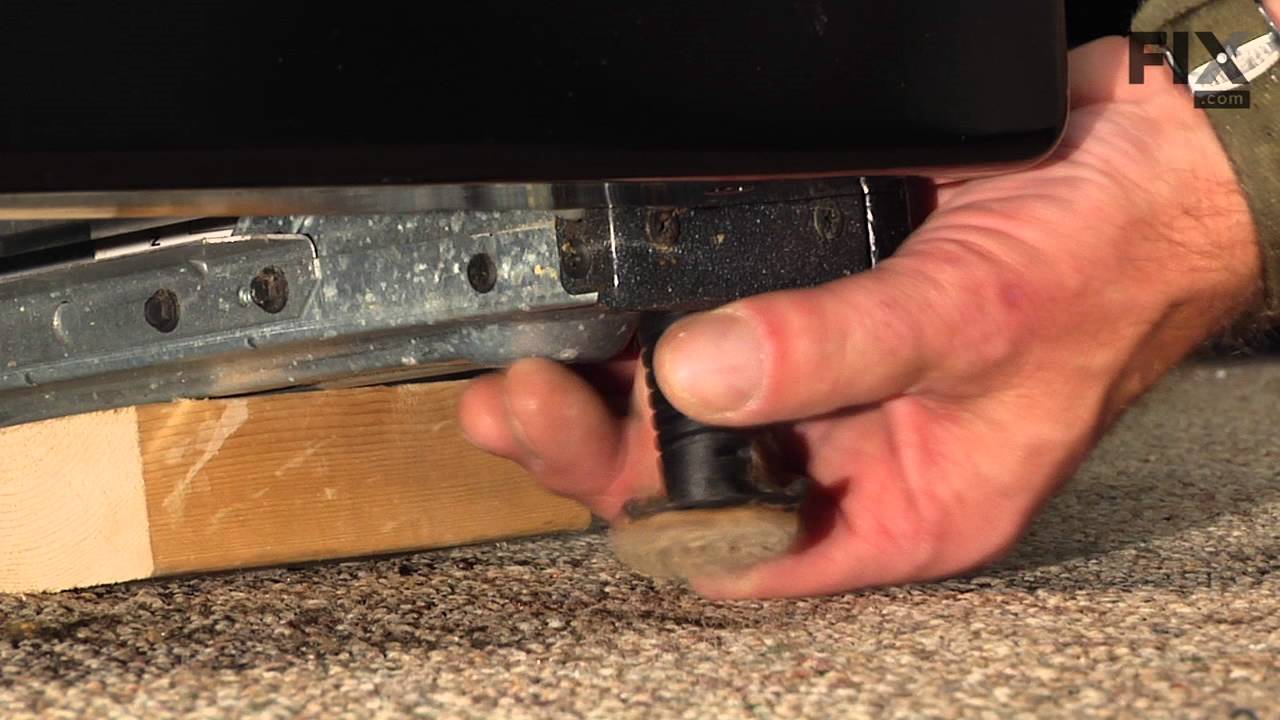
Foot - Leveller – Part Number: WB02X10521
$25.26
In Stock
Foot - Leveller
Part #WB02X10521
Sold individually.
Top Electrode Mounting Clip – Part Number: WB01K10112
$19.93
In Stock
Top Electrode Mounting Clip
Part #WB01K10112
This Genuine OEM GE Electrode Clip is a precision-engineered component designed for use across a wide range of gas ranges. Constructed from durable metal, the clip plays a critical role in securing the electrode top within the rangetop and bracket assembly, ensuring stable and reliable ignition performance. Sold individually, this replacement part is ideal for routine maintenance or repair. For ease of installation, a pair of pliers is often recommended to assist with proper placement. Trust in genuine GE parts to maintain the safety and efficiency of your appliance.
RECEPTACLE PUSH-IN – Part Number: WB08T10026
$16.47
In Stock
RECEPTACLE PUSH-IN
★★★★★
★★★★★
(9)
Part #WB08T10026
This part is the replacement light socket for your oven. The oven light socket provides power to the light, and at the same time holds the light bulb in place.
BOTTOM OVEN  AND DEFLECTOR ASM – Part Number: WB35X37973
$96.61
In Stock
BOTTOM OVEN AND DEFLECTOR ASM
★★★★★
★★★★★
(10)
Part #WB35X37973
This bottom oven and deflector assembly is a durable metal panel designed to fit beneath the oven floor, protecting the bake element from spills while promoting even heat distribution for consistent cooking results. By directing airflow and preventing hot spots, it helps maintain oven efficiency and performance. Installation is straightforward and can typically be completed with basic tools, making it an essential replacement for restoring your range’s functionality.
Burner with Igniter – Part Number: WB16K10035
$173.92
In Stock
Burner with Igniter
★★★★★
★★★★★
(6)
Part #WB16K10035
The igniter does not come with wire nuts. *** Please NOTE: The igniter connector may need to be cut off and wires spliced to the range wiring with the porcelain wire nuts.
BASE BURNER RT Front – Part Number: WB16T10032
$52.93
In Stock
BASE BURNER RT Front
Part #WB16T10032
Switch – Part Number: WB24T10147
$30.53
In Stock
Switch
★★★★★
★★★★★
(3)
Part #WB24T10147
This light switch is controlled by opening and closing the oven door
Mounting Screw – Part Number: WB1X5364
$16.05
Special Order
Mounting Screw
★★★★★
★★★★★
(1)
Part #WB1X5364
This screw is less than 1/2 inch in length. It is sold individually.
Burner Base Mounting Screw – Part Number: WB01K10021
No Longer Available
Burner Base Mounting Screw
Part #WB01K10021
Screw – Part Number: WB01K10002
$33.69
In Stock
Screw
Part #WB01K10002
Size: 8-32 inch Sold individually.
Pressure Regulator – Part Number: WB19K10001
No Longer Available
Pressure Regulator
★★★★★
★★★★★
(1)
Part #WB19K10001
This valve automatically cuts off the flow of gas at a certain pressure.

Common Symptoms of the JGB905CEF1CC

How this model fails, and the parts that fix it.

Watch our pros, then fix it yourself.

See how others fixed this model. Time, tools, difficulty, and steps that lead to victory! View More

Search repair tips from other customers using simple keywords like "replace", "fit", "remove", "inspect". DIY doesn't mean you have to do it alone!

Search filter:
Clear Filter
Your search term must have 3 or more characters.
Pies Boiled Over And Baked On Oven Bottom
20 of 25 people found this instruction helpful.
  • Marjorie from Yucca Valley, CA
  • Really Easy
  • Less than 15 mins
  • Screw drivers
Removed the two screws put the heat shield off the old one onto the new one put new bottom in and tightened two screws. Done #38. 69 Cost of part with shipping cost included.
Was this helpful?
Thank you for voting!
Convection oven fan and door light not working
18 of 22 people found this instruction helpful.
  • Michael from Albuquerque, NM
  • Really Easy
  • 30 - 60 mins
  • Nutdriver
The first step was to determine whether the problem was with the fan itself or the switch. I did this by opening the back cover and using a Volt meter to verify that the fan was not getting power. (I could have skipped this step.)

Next, I unplugged the range, closed up the back cover and lifted the range hood by removing two he x head screws that are just inside and on either side of the top of the opening in the range door. Propping the hood open, I removed the connector leading to the switch, then pushed the switch out the front. Inspection showed that the switch was damaged so I closed up the range and ordered the part from Part Select. Once the part arrived, it was a 15 minute job to unplug the range, lift the top, install the new switch, and close up the unit.

Caution. On starting to install the switch, I failed to unplug the range and my finger brushed one of the hot contacts leading to the switch. Thankfully, I was not injured. Do not repeat my mistake on this issue. Unplug the range even if you're only installing this simple switch.
Was this helpful?
Thank you for voting!
Oven burner was burned out, wouldn't light
14 of 15 people found this instruction helpful.
  • Matthew from Goshen, IN
  • Easy
  • 30 - 60 mins
  • Pliers, Wrench set
Pull plug and shut off gas! The lower oven burner is held in with two rear and one front screws. I removed the top floor of the oven (two hand tightened screws at the back), the bottom drawer, and the front door (just lift it off the hinges). This allowed me to access the burner, and I removed it by unscrewing the three screws, unhitching the igniter connector, and lifting the burner and igniter up and out. I connected the new igniter on the new burner before installing it in the oven, and found that the connector did not match (I was warned about this possibility on the PartSelect site), but instead of splicing the wires together, I cut off the connector on the new igniter and replaced it with the connector of the old igniter. Then I screwed the burner into the oven, recoupled the connector, replaced the floor, drawer, and door, and I was done! It took about 45 minutes.
Was this helpful?
Thank you for voting!