



 My Orders




JDB8000AWB3 Jenn-Air Dishwasher - Overview
Diagrams for JDB8000AWB3
See every part. Know exactly what you need.


Enter a part description. DIY Heroes keep it simple, eg. "belt" or "pump".
Search filter:
Clear Filter
Your search term must have 3 or more characters.

$33.95
In Stock
Lower Dishrack Wheel
Part #W10195416
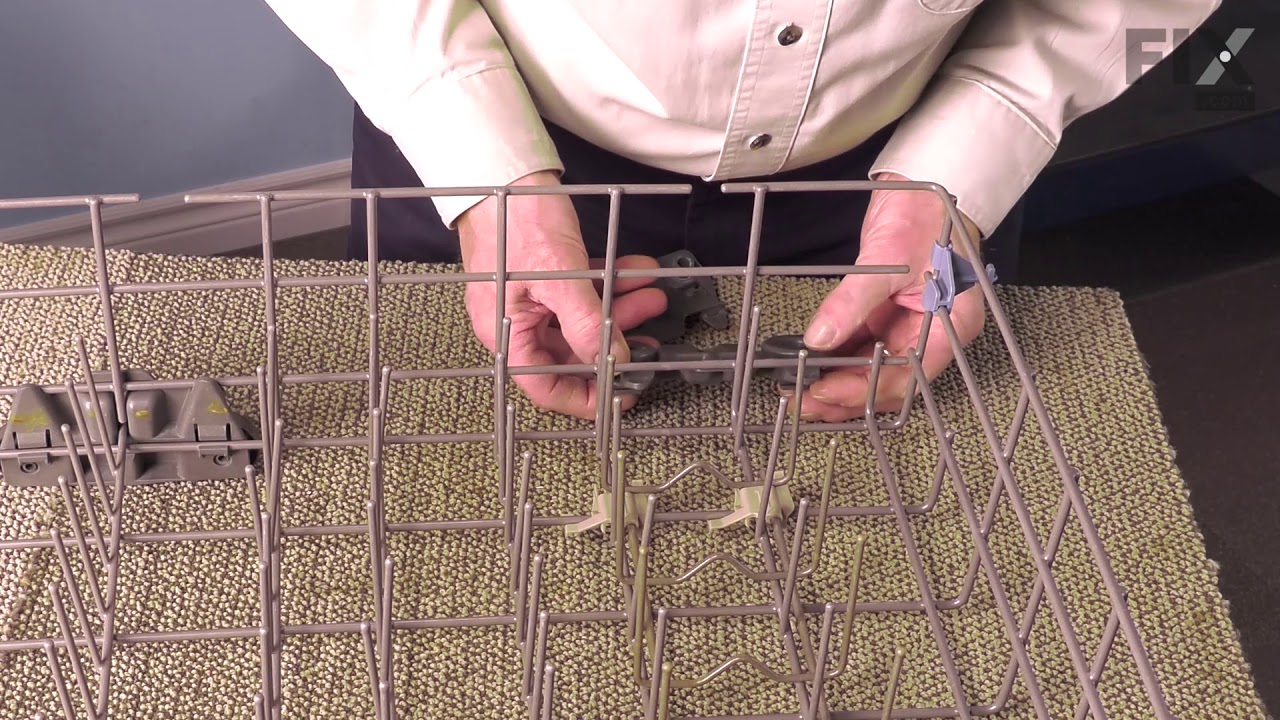
This OEM gray Dishwasher Lower Dishrack Wheel Assembly is a plastic kit that allows the rack to slide in and out of the dishwasher easily. If it breaks or becomes damaged. sliding will feel difficult. This can happen due to normal wear and tear, and the part should be replaced if this occurs. Check your model number and user manual to mak...Read moree sure this part is correct. It attaches directly to the dishrack. To repair, open the dishwasher door and pull out the lower dishrack. Next, push the tab from both sides and it should pop out. To install the new wheel assembly, place it on the rack and make sure the caps overlap the wire from the inside before you clip it in place by pushing the wheel. It measures roughly 3x6 inches.
Read less

$29.47
In Stock
Door Balance Link Kit
Part #8194001
This part is a door balance link kit, also sometimes known as door cable or door spring cable kit, that helps support the door as it opens and closes by connecting to the dishwasher door hinges. The kit includes two door balance links and two door balance mounts with wheels, which will replace both the left and right sides. The only tool ...Read moreneeded is a 5/16 nut driver. Before removing the existing kit, take note of how the door balance link kit is assembled for a smooth replacement process. It is recommended to check the door springs in case they need to be replaced as well.
Read less

$12.85
In Stock
Rack Stop Clip
Part #WPW10195622
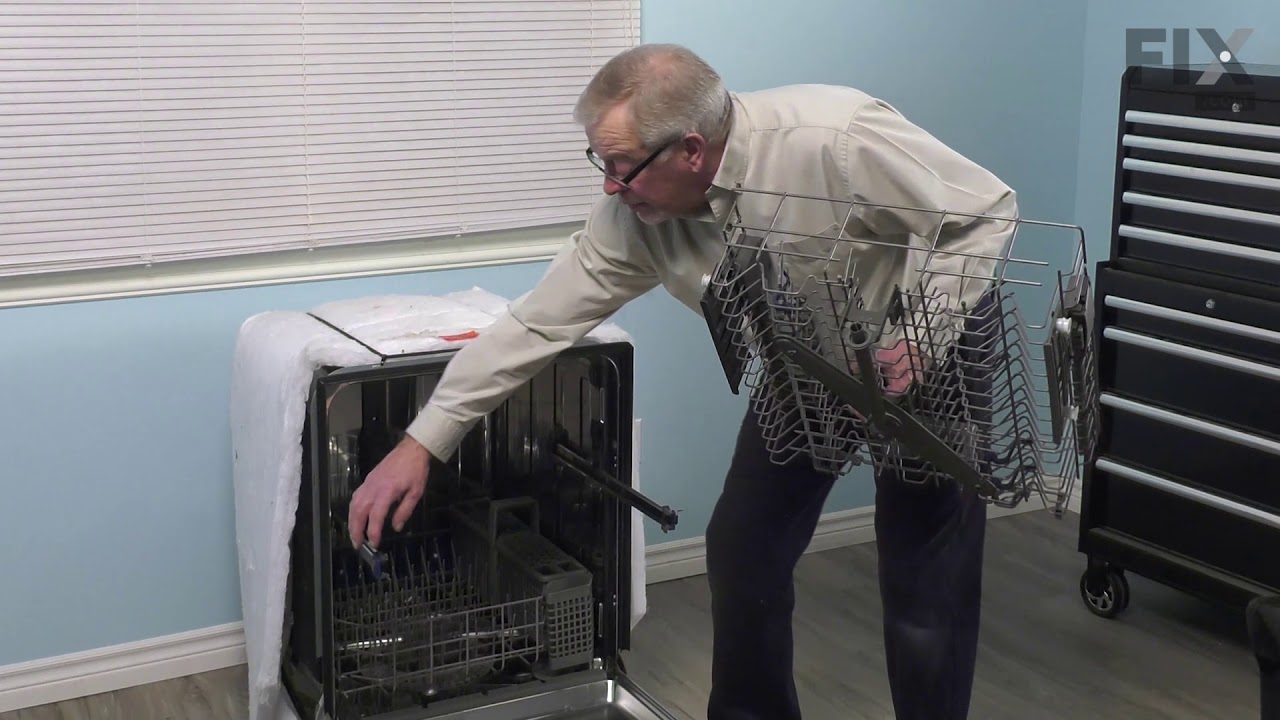
This manufacturer-approved Rack Stop Clip is a gray plastic part which can be installed with a screwdriver. Measuring slightly over an inch in length, it prevents the rack from sliding too far and falling off. If broken or damaged, then the rack will slide too far and this is a sign the part should be replaced. It attaches to the end of t...Read morehe top dishwasher rack. This clip can be used for the left or right side, and is sold individually. It is a good idea to replace both sides at once. To make this repair, start by pulling out the rack, then, using your screwdriver, reach in behind the rack stops and press the clips in. You should be able to remove the stops from the track from here. Next, you should be able to slide the track back over the rollers and snap the new track stop into place.
Read less

$15.00
In Stock
Dishwasher Mounting Bracket
Part #WP8269145
The mounting bracket is sold individually, without screws. This part secures the upper side of the dishwasher to the underside of the counter or cabinet to prevent the dishwasher from moving, shaking, or tilting forward. The bracket is made entirely of metal. It is recommended to check all brackets, if applicable, because they often wear ...Read moreat the same rate and both may need to be replaced. This is an OEM part that is sourced from the authentic manufacturer. Tools needed are a pair of needle nose pliers and a screwdriver.
Read less

$57.38
In Stock
Dishwasher Door Seal
Part #W11177741
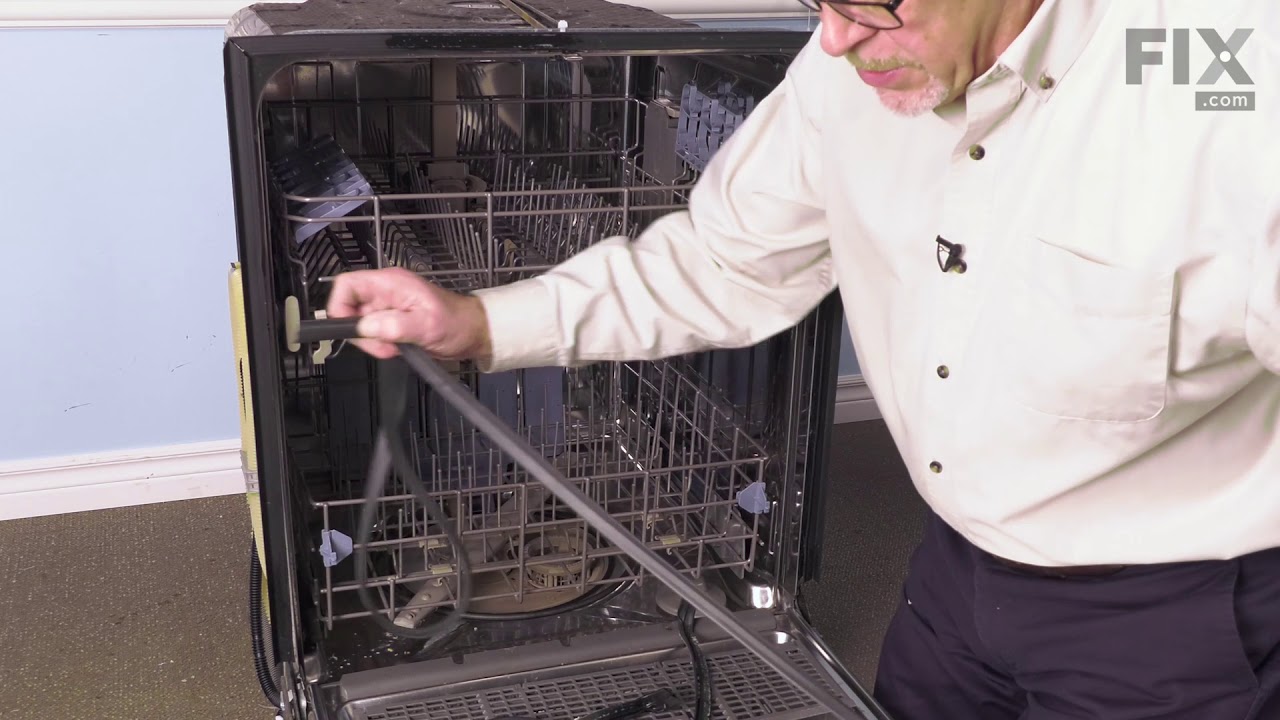
Prevent leaks and maintain optimal cleaning performance with this durable dishwasher door seal. It creates a secure barrier to keep water contained during wash cycles, ensuring reliable operation. Replace by removing the old seal and fitting the new one snugly around the door frame.

$48.45
In Stock
Dishwasher Drawer Track
Part #WPW10195623
This dishwasher drawer track, also known as a rack slider bar, is a genuine replacement component designed to support the upper dish rack and allow smooth sliding in and out of the dishwasher cavity. Constructed from durable materials, it ensures proper alignment and stability of the rack during loading and unloading. Over time, the track...Read more may become warped or damaged, leading to issues such as rack misalignment, jamming, or wheel detachment. Replacement is recommended when the rack no longer slides smoothly or shows signs of wear. Installation requires a flat blade screwdriver to remove the rear stop and access the track. Always disconnect power before servicing and verify model compatibility prior to purchase.
Read less

$50.89
In Stock
Dishwasher Upper Rack Roller
Part #WPW10350401
Sold individually. This is a single upper rack roller assembly.

$44.23
In Stock
Dishwasher Lower Spray Arm
Part #WPW10491331
This is a lower spray arm for a dishwasher. The lower spray arm allows water to be spread evenly throughout the dishwasher tub with the proper force so dishes come out clean. This spray arm is gray in color and is about 20 inches long. You may need to replace this part if the water is not being distributed.

$22.52
In Stock
Dishwasher Retainer Clip
Part #WPW10503548
This part is used to hold the access panel in place. Sold individually.

$48.45
In Stock
Dishwasher Filter
Part #W10872845
This dishwasher filter is a genuine OEM component designed to work with the water pump, preventing debris from entering and potentially damaging the pump system. Made with a gray plastic top and bottom, each approximately 5 inches in diameter, the filter plays a critical role in maintaining proper drainage and cleaning performance. Over t...Read moreime, the filter may become clogged or damaged, leading to poor cleaning results or drainage issues. Replacement is straightforward: turn the old filter counterclockwise to unlock and remove it, then screw in the new filter, ensuring it is securely seated. Regular inspection and replacement help maintain optimal dishwasher function.
Read less

$79.80
In Stock
Dishwasher Heating Element
Part #W10703867
The heating element is not designed to heat the water that enters it, but is designed to maintain the heat of the water that enters the dishwasher. It is located on the bottom of the dishwasher.

$7.47
In Stock
Washer Hose Clamp
Part #WP596669
This hose clamp is used in a wide variety of household appliances. Most often it is found in washers, dishwashers, refrigerators, freezers, dehumidifiers, garbage disposals, or air conditioners. This clamp is used to securely attach a hose to another part of your appliance, which helps prevent leaks from those connections. Depending on th...Read moree appliance, it can attach hoses to drain pumps, water inlet valves, pressure switches, and injector nozzles. We recommend you refer to model-specific diagrams for appropriate uses and exact placement. This hose clamp is made of metal, and is sold individually. To access and replace this part you will need a nut driver, pliers, and screwdrivers. Before you begin any repair work, make sure you have unplugged your appliance, and shut off the water supply if applicable.
Read less
Common Symptoms of the JDB8000AWB3
How this model fails, and the parts that fix it.
Leaking
Fixed by
these parts
these parts


Show All
Door latch failure
Fixed by
these parts
these parts


Show All
Not cleaning dishes properly
Fixed by
these parts
these parts


Show All
Door won’t close
Fixed by
these parts
these parts

Show All
Not drying dishes properly
Fixed by
these parts
these parts


Show All
Not draining
Fixed by
these parts
these parts


Show All
Will not fill with water
Fixed by
these parts
these parts


Show All
Noisy
Fixed by
these parts
these parts
Show All
Will Not Start
Fixed by
these parts
these parts
Show All
Will not dispense detergent
Fixed by
these parts
these parts


Show All
Will not drain
Fixed by
these parts
these parts

Show All
Watch our pros, then fix it yourself.
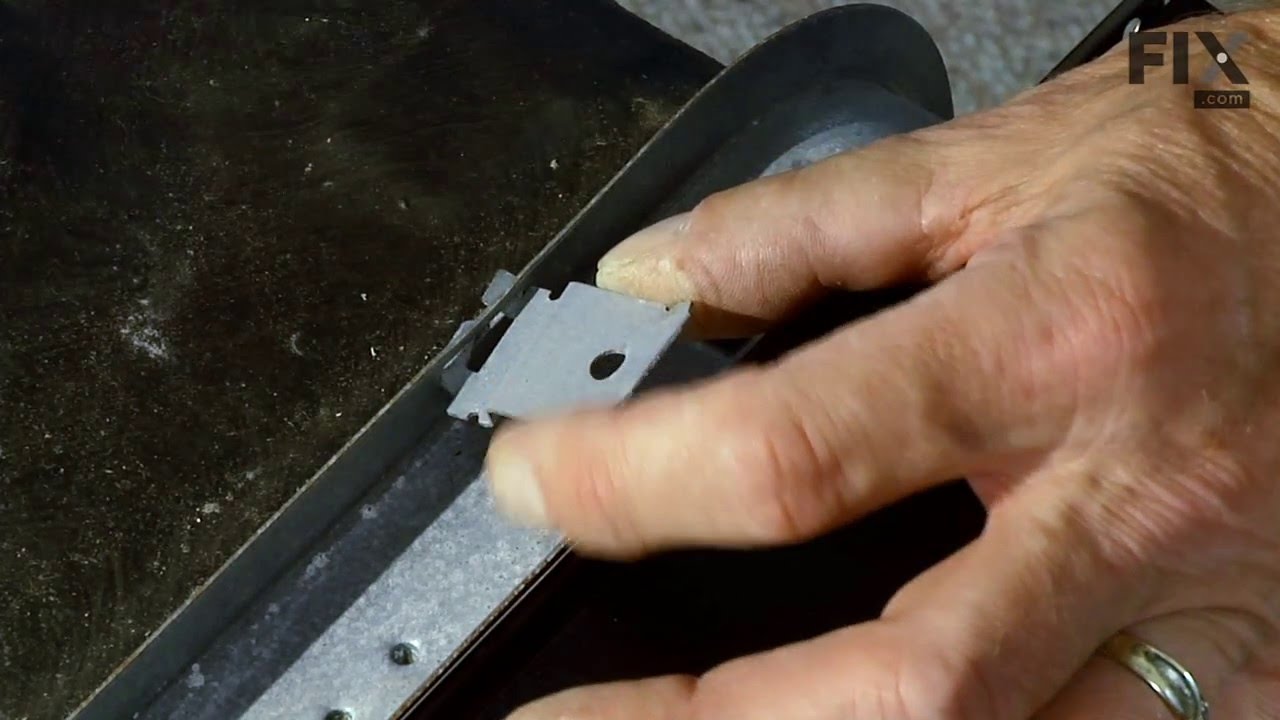
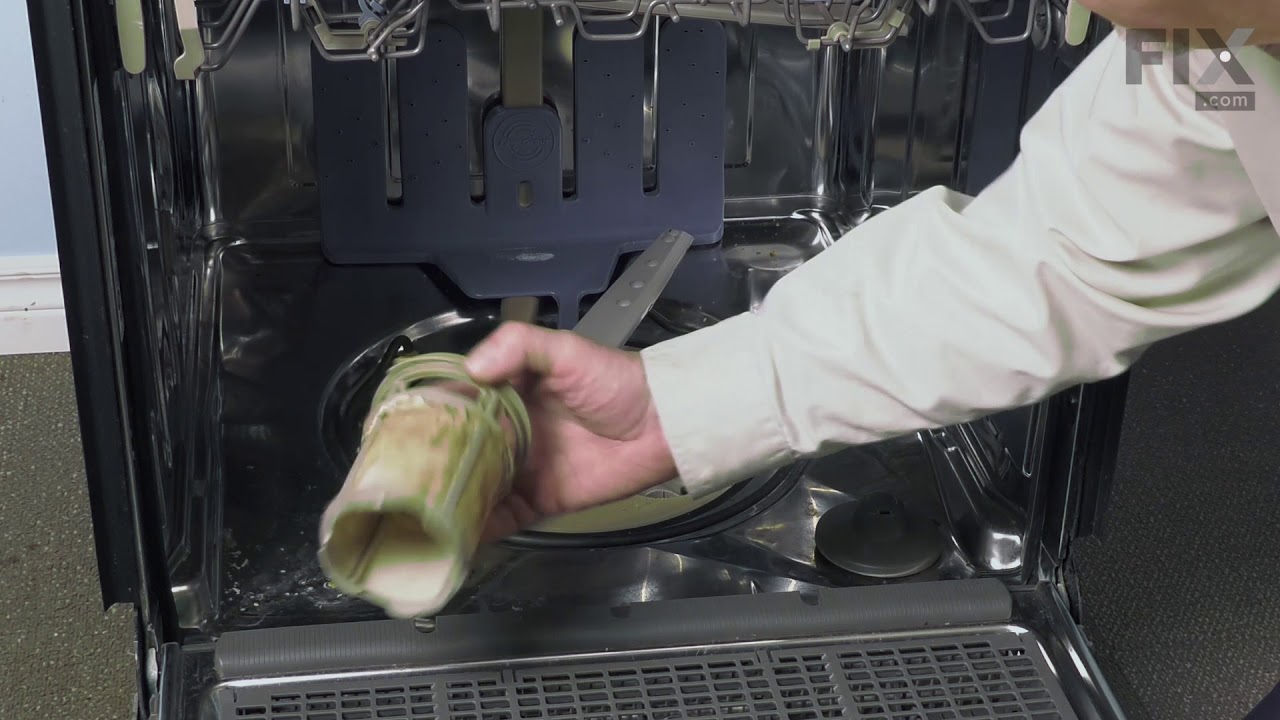
See how others fixed this model. Time, tools, difficulty, and steps that lead to victory!
View More