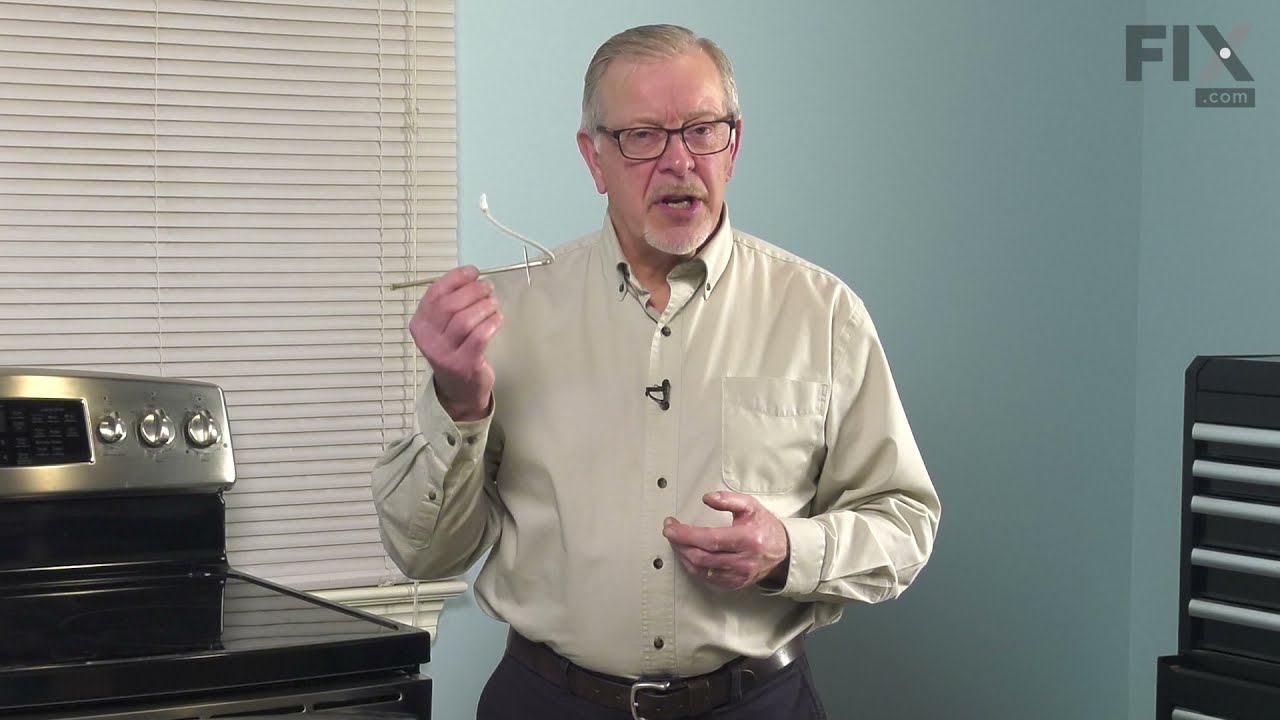
The function of the oven sensor is to detect the temperature within the oven cavity. If you notice that the oven is too hot or too cold, or it is not heating evenly, you may need to replace the oven sensor. The oven sensor is typically located in the back of the oven so you will most likely need to pull your oven out to access it. Many of...Read more our customers have rated this repair as easy. You will need a Phillips screwdriver to complete this repair. Be sure to disconnect the power source and shut off the gas valve before doing this repair.
This 8-inch radiant stovetop element is a genuine replacement part designed to deliver consistent heat to cookware during stovetop use. It fits select electric ranges and cooktops and is engineered to restore proper heating performance when an existing burner is damaged, unevenly heating, or non-functional. The element transfers heat effi...Read moreciently to support even cooking across a variety of pot and pan sizes. Installation involves lifting the cooktop and removing the screw and clip securing the old burner. A screwdriver is required, and the appliance should be disconnected from power before beginning the repair to ensure safety.
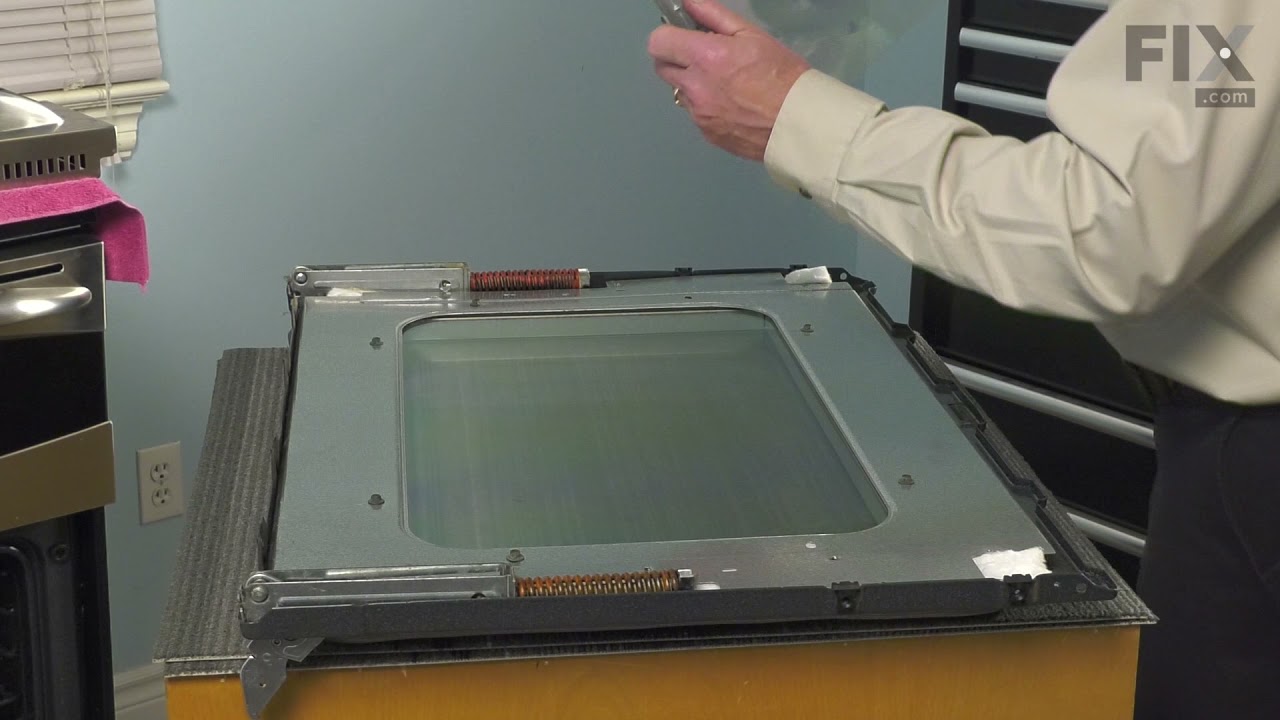
This window pack assembly, also known as inner door glass, is supplied directly by the manufacturer for use in range ovens. It has measurements of approximately 22 inches by 14 inches. The inner door glass is situated between the outer door panel and the oven cavity. It acts as a barrier between the heat generated by the oven and the exte...Read morernal environment. This provides insulation and protection while allowing users to easily view the oven cavity. It is made of tempered glass and is resistant to high temperatures and thermal shock. If the inner door glass becomes damaged or cracked, heat will escape from the oven, you may be unable to see the contents of the oven and the risk of injury will be increased.
This surface element is for ranges. Surface elements supply the heat to a cooking area on top of the range. Unplug the range or shut off the house circuit breaker for the range before installing this part. Wear work gloves to protect your hands.
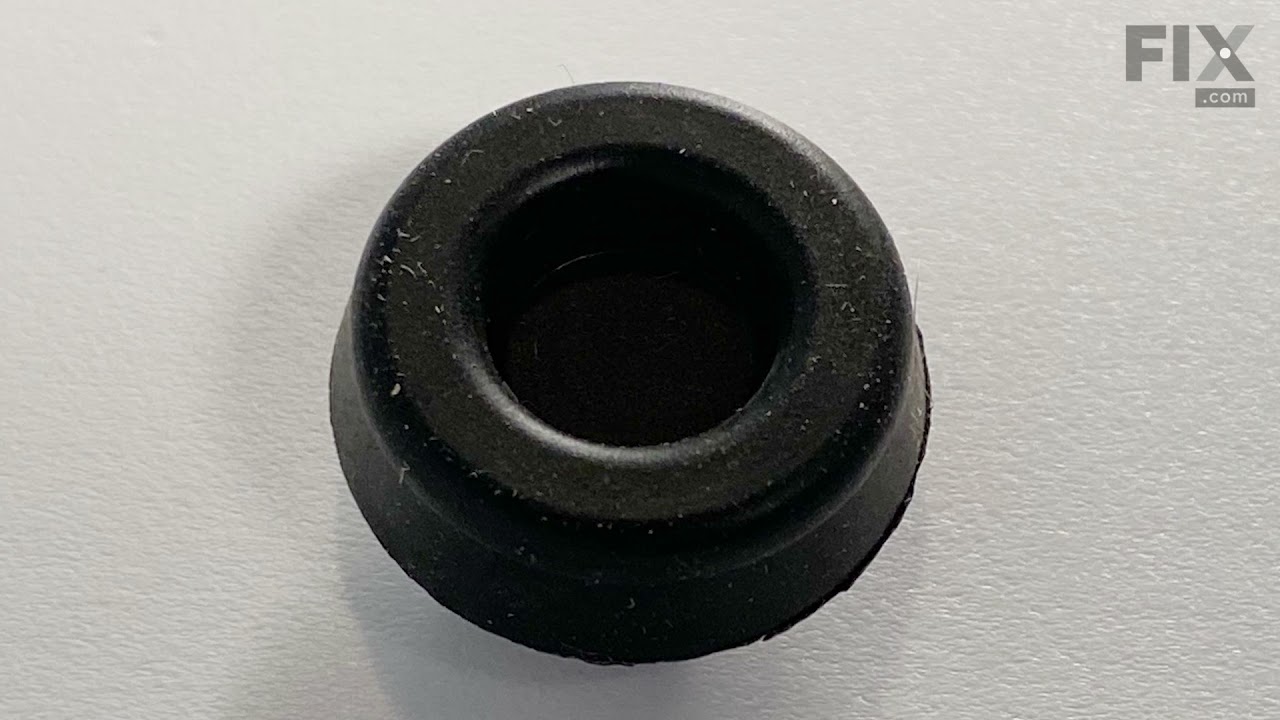
This part is a replacement screw for your oven. It is made of black metal and is sold individually. This screw is approximately 1/4 inch in diameter and about 1/2 inch in length. It is designed to connect the different parts of your oven door. This part is an authentic OEM part sourced directly from the manufacturer.
This surface element is designed to deliver heat to a specific cooking zone on the top of an electric range, providing consistent and efficient performance for everyday meal preparation. Located beneath the cooktop surface, it plays a key role in maintaining accurate temperature control. Before installation, be sure to unplug the range or...Read more switch off the appropriate circuit breaker to ensure safety. Wearing protective work gloves is also recommended to prevent injury while handling electrical components.
Ask our experts a question about this model and we'll get back to you as soon as possible!
We may have answered a similar question already! Search questions and answers left by others using simple keywords like "fit", "broken", "easy", or "quality" to find questions that match.
Search filter:
Clear Filter
Your search term must have 3 or more characters.
Sort by:
Prev
1
Next
Sorry, we couldn't find any existing answers that matched.Try using some different or simpler keywords, or submit your new question by using the "Ask a Question" button above!
Don - For model number JD750SF3SS
December 20, 2022
Need 2 burner knobs
Hello Don, thank you for the question. We have researched your model and found that the knob you are looking for is part number PS5573457. Customer service is available 7 days a week if you need help placing an order. Glad to be of assistance!
See how others fixed this model. Time, tools, difficulty, and steps that lead to victory!View More
Search repair tips from other customers using simple keywords like "replace", "fit", "remove", "inspect". DIY doesn't mean you have to do it alone!
Search filter:
Clear Filter
Your search term must have 3 or more characters.
Oven was not coming up to temperature
57 of 79 peoplefound this instruction helpful.
Sean from Highlands Ranch, CO
Really Easy
15 - 30 mins
Nutdriver, Screw drivers
I had to remove the oven from the wall because the sensor plug connction is behind the unit. Two screws hold the sensor inside the oven and then I disconnected the lead and pulled the sensor out from the front. I installed the new sensor, tightened the two screws holding it in and connected the lead. Then reinstalled the oven into the wal
... Read morel. Overall, a very easy repair once you get the oven out.
Read less
Was this helpful?
Thank you for voting!
Actual temperature did not match set temp
22 of 31 peoplefound this instruction helpful.
Brian from Fairfield, CA
Easy
15 - 30 mins
Screw drivers
Removed the oven door for easy acces to oven. Unscrewed (philips screwdriver) the screw holding temp sensor in place. Gently pulled the wiring until quick connector was located. Pushed down on locking level on quick connect while holding other end of wiring (so wiring would not fall back behind oven). Connected the new sensor and scre
... Read morewed back in place. Reinstalled oven door. Tested temperature settings by turning on oven and comparing with a separate oven thermometer.
Read less
Was this helpful?
Thank you for voting!
Convection oven fan and door light not working
18 of 22 peoplefound this instruction helpful.
Michael from Albuquerque, NM
Really Easy
30 - 60 mins
Nutdriver
The first step was to determine whether the problem was with the fan itself or the switch. I did this by opening the back cover and using a Volt meter to verify that the fan was not getting power. (I could have skipped this step.)
Next, I unplugged the range, closed up the back cover and lifted the range hood by removing two he
... Read morex head screws that are just inside and on either side of the top of the opening in the range door. Propping the hood open, I removed the connector leading to the switch, then pushed the switch out the front. Inspection showed that the switch was damaged so I closed up the range and ordered the part from Part Select. Once the part arrived, it was a 15 minute job to unplug the range, lift the top, install the new switch, and close up the unit.
Caution. On starting to install the switch, I failed to unplug the range and my finger brushed one of the hot contacts leading to the switch. Thankfully, I was not injured. Do not repeat my mistake on this issue. Unplug the range even if you're only installing this simple switch.


 My Orders