


 My Orders




JD750SF1SS General Electric Range - Overview
Diagrams for JD750SF1SS
See every part. Know exactly what you need.


Enter a part description. DIY Heroes keep it simple, eg. "belt" or "pump".
Search filter:
Clear Filter
Your search term must have 3 or more characters.

$40.51
In Stock
Oven Sensor
Part #WB23T10015
The function of the oven sensor is to detect the temperature within the oven cavity. If you notice that the oven is too hot or too cold, or it is not heating evenly, you may need to replace the oven sensor. The oven sensor is typically located in the back of the oven so you will most likely need to pull your oven out to access it. Many of...Read more our customers have rated this repair as easy. You will need a Phillips screwdriver to complete this repair. Be sure to disconnect the power source and shut off the gas valve before doing this repair.
Read less

$68.15
In Stock
Radiant Element - 8 Inch
Part #WB30T10132
This 8-inch radiant stovetop element is a genuine replacement part designed to deliver consistent heat to cookware during stovetop use. It fits select electric ranges and cooktops and is engineered to restore proper heating performance when an existing burner is damaged, unevenly heating, or non-functional. The element transfers heat effi...Read moreciently to support even cooking across a variety of pot and pan sizes. Installation involves lifting the cooktop and removing the screw and clip securing the old burner. A screwdriver is required, and the appliance should be disconnected from power before beginning the repair to ensure safety.
Read less

$16.05
In Stock

$61.40
In Stock
Halogen Bulb Kit
Part #WB49X29679
This light bulb is used in the interior oven. NOTE: This bulb has looped pins, not the straight pins.

$149.06
In Stock
Window Pack Assembly
Part #WB56T10105
The GE Oven Door Window Pack Assembly is a genuine OEM part that fits select GE ranges and ovens. It includes a heat-resistant inner glass panel, frame, and seals, providing insulation and clear visibility into the oven cavity. Common issues like cracked glass or heat loss can indicate the need for a replacement. Ensure the oven is cool to the touch and wear gloves for safe installation.

$64.77
In Stock
Terminal Block Kit
Part #WB17T10011
This part provides a way of connecting individual electrical wires and offers protection of the device from electrical surges (voltages and/or currents).

$16.05
In Stock

$203.46
In Stock
ELEMENT HALIANT 12 TRIPLE
Part #WB30T10155
This surface element is for ranges. Surface elements supply the heat to a cooking area on top of the range. Unplug the range or shut off the house circuit breaker for the range before installing this part. Wear work gloves to protect your hands.

$16.05
In Stock
Range Screw
Part #WB01T10008
This part is a replacement screw for your oven. It is made of black metal and is sold individually. This screw is approximately 1/4 inch in diameter and about 1/2 inch in length. It is designed to connect the different parts of your oven door. This part is an authentic OEM part sourced directly from the manufacturer.

$110.22
In Stock
Element Radiant 5.5 IN
Part #WB30T10145
This surface element is designed to deliver heat to a specific cooking zone on the top of an electric range, providing consistent and efficient performance for everyday meal preparation. Located beneath the cooktop surface, it plays a key role in maintaining accurate temperature control. Before installation, be sure to unplug the range or...Read more switch off the appropriate circuit breaker to ensure safety. Wearing protective work gloves is also recommended to prevent injury while handling electrical components.
Read less

$15.00
In Stock

$44.23
In Stock
Manuals & Care Guides for JD750SF1SS
Click to downloadCommon Symptoms of the JD750SF1SS
How this model fails, and the parts that fix it.
Element will not heat
Fixed by
these parts
these parts


Show All
Little to no heat when baking
Fixed by
these parts
these parts

Show All
Oven not heating evenly
Fixed by
these parts
these parts
Show All
Will Not Start
Fixed by
these parts
these parts

Show All
Oven is too hot
Fixed by
these parts
these parts
Show All
Watch our pros, then fix it yourself.
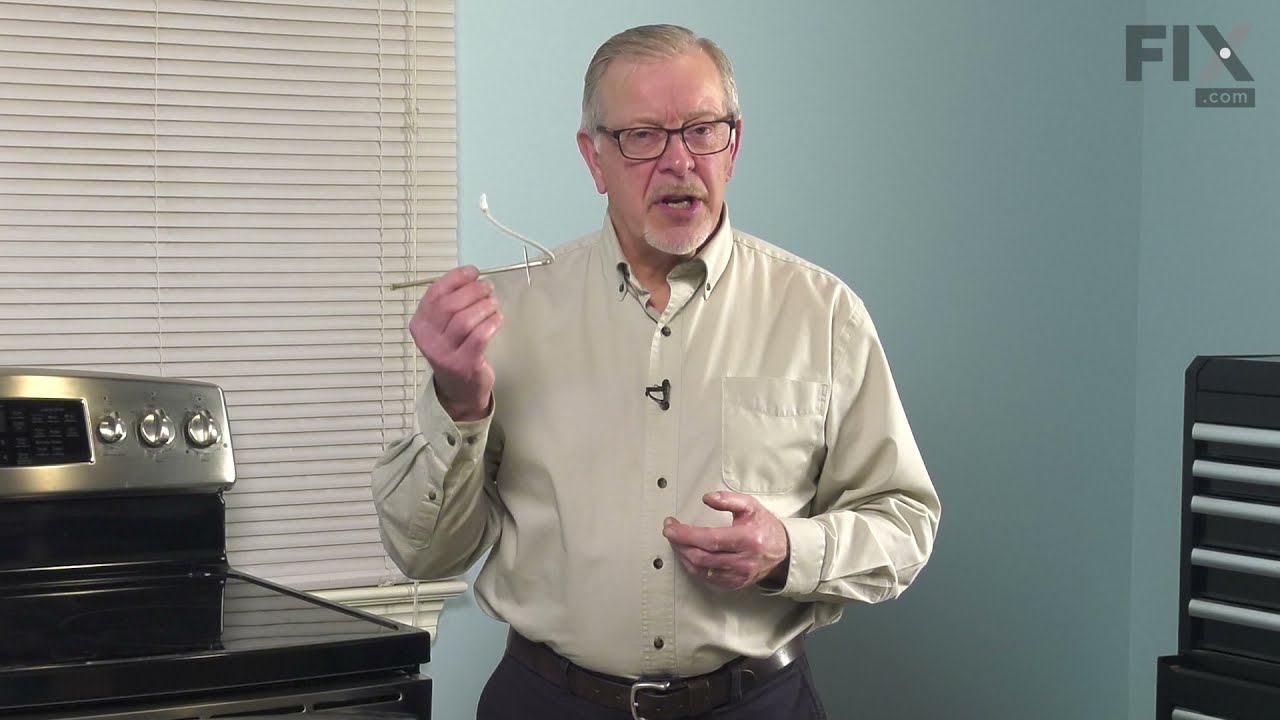

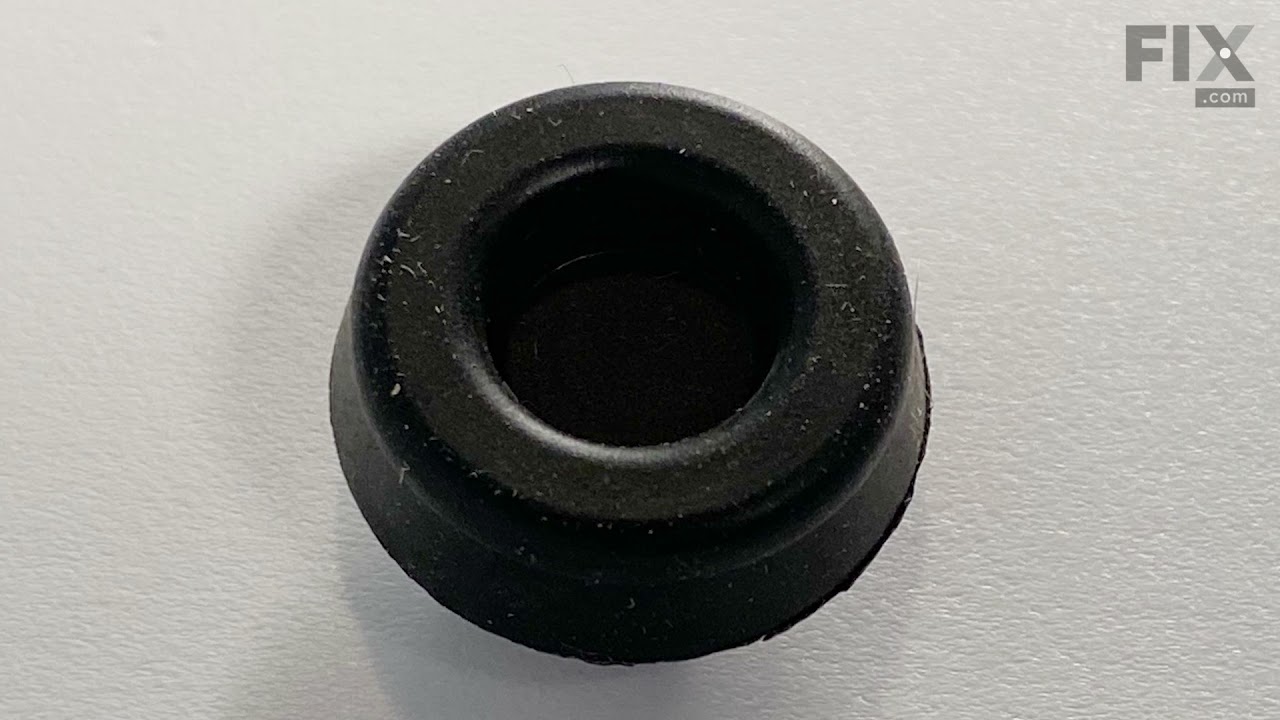
See how others fixed this model. Time, tools, difficulty, and steps that lead to victory!
View More