


 My Orders




JCS905SK3SS General Electric Range - Overview
Diagrams for JCS905SK3SS
See every part. Know exactly what you need.


Enter a part description. DIY Heroes keep it simple, eg. "belt" or "pump".
Search filter:
Clear Filter
Your search term must have 3 or more characters.

$21.95
In Stock
Light Bulb - 40W
Part #40A15
This 40-Watt light bulb is sold individually.
It is specially designed to withstand extreme temperatures, so this bulb is compatible with a variety of appliance types including refrigerators, ranges, microwaves, and dryers. It features a frosted glass bulb with a standard metal socket base, which allows you to easily unscrew the burnt-out light and twist the new bulb into place.

$16.05
In Stock
REAR SUPPORT
Part #WB02X33180
This genuine GE drawer support is an original replacement part sourced from the manufacturer and is designed for use with electric ranges. Made of durable plastic, it attaches to the rear of the drawer and provides stable support by securing the rear side in place. This part includes the necessary mounting screw for installation and is so...Read moreld individually. It’s a simple yet essential component for maintaining smooth drawer operation and proper alignment.
Read less

$40.51
In Stock
Oven Sensor
Part #WB23T10015
The function of the oven sensor is to detect the temperature within the oven cavity. If you notice that the oven is too hot or too cold, or it is not heating evenly, you may need to replace the oven sensor. The oven sensor is typically located in the back of the oven so you will most likely need to pull your oven out to access it. Many of...Read more our customers have rated this repair as easy. You will need a Phillips screwdriver to complete this repair. Be sure to disconnect the power source and shut off the gas valve before doing this repair.
Read less

$16.07
In Stock
Oven Bulb Lens Cover - Glass
Part #WB25T10002
This part is the replacement oven bulb lens cover. It is made of glass and is approximately 3 inches in diameter. The lens cover is rigid and protects the oven light bulb from being damaged. The main reason to replace the oven bulb lens cover is if it is cracked, damaged, or missing. Be sure that the lens cover is cool to the touch before...Read more you begin this repair. To remove the lens cover simply turn it counterclockwise until you can remove it. Replace it with a new cover and turn it clockwise to lock it into place. This is an OEM part sourced from the manufacturer, and it is sold individually.
Read less

$86.46
In Stock
Infinite Control Switch
Part #WB24T10119
This part is sold individually and is for ranges. The control switch turns the surface element on and off and determines the temperature of the element. This will need to be changed if the control switch has failed and the cooktop is not turning on. It is found underneath the glass cooktop. Before beginning, make sure the circuit breaker ...Read moreis off. You will need to remove the cooktop from the counter. To do this you will need to go underneath and see what kind of brackets are holding it in place. The brackets will vary depending on the make and model and type of countertop is it laying on. These brackets will need to be removed.
Read less

$39.95
In Stock
Oven Light Housing
Part #WB08T10002
The light housing is also known as a lamp holder and is a part for the oven in your range. The function of this piece is to hold the bulb that will light up the inside of your oven. As per the manufacturer instructions, if your bulb has burnt out you must buy the bulb for this part locally. This light housing is roughly five inches high, ...Read morewith an outside diameter of roughly four inches by four inches. To install this part, you will need a Phillips screwdriver, a nut driver, and a pair of pliers.
Read less

$25.26
In Stock

$16.05
In Stock

$16.05
In Stock

$149.06
In Stock
Window Pack Assembly
Part #WB56T10105
The GE Oven Door Window Pack Assembly is a genuine OEM part that fits select GE ranges and ovens. It includes a heat-resistant inner glass panel, frame, and seals, providing insulation and clear visibility into the oven cavity. Common issues like cracked glass or heat loss can indicate the need for a replacement. Ensure the oven is cool to the touch and wear gloves for safe installation.

$63.63
In Stock
Door Gasket
Part #WB04T10050
This oven door gasket is a high-performance seal made from heat-resistant rubber and fiberglass, designed to create an airtight barrier between the oven door and cavity. Measuring approximately 89.76 inches in length, its flexible construction allows for a precise fit across a range of oven models. The gasket plays a critical role in main...Read moretaining consistent internal temperatures by preventing heat from escaping, which supports even cooking and improved energy efficiency. Installation is beginner-friendly and typically takes under 30 minutes using pliers. Some versions include up to 25 mounting clips for secure attachment. Signs of wear—such as visible cracks, tears, or heat leakage—indicate the need for replacement to restore optimal oven performance.
Read less

$94.60
In Stock
Common Symptoms of the JCS905SK3SS
How this model fails, and the parts that fix it.
Element will not heat
Fixed by
these parts
these parts


Show All
Little to no heat when baking
Fixed by
these parts
these parts


Show All
Door won’t close
Fixed by
these parts
these parts


Show All
Oven not heating evenly
Fixed by
these parts
these parts

Show All
Little to no heat when broiling
Fixed by
these parts
these parts
Show All
Oven is too hot
Fixed by
these parts
these parts
Show All
Will Not Start
Fixed by
these parts
these parts
Show All
Watch our pros, then fix it yourself.
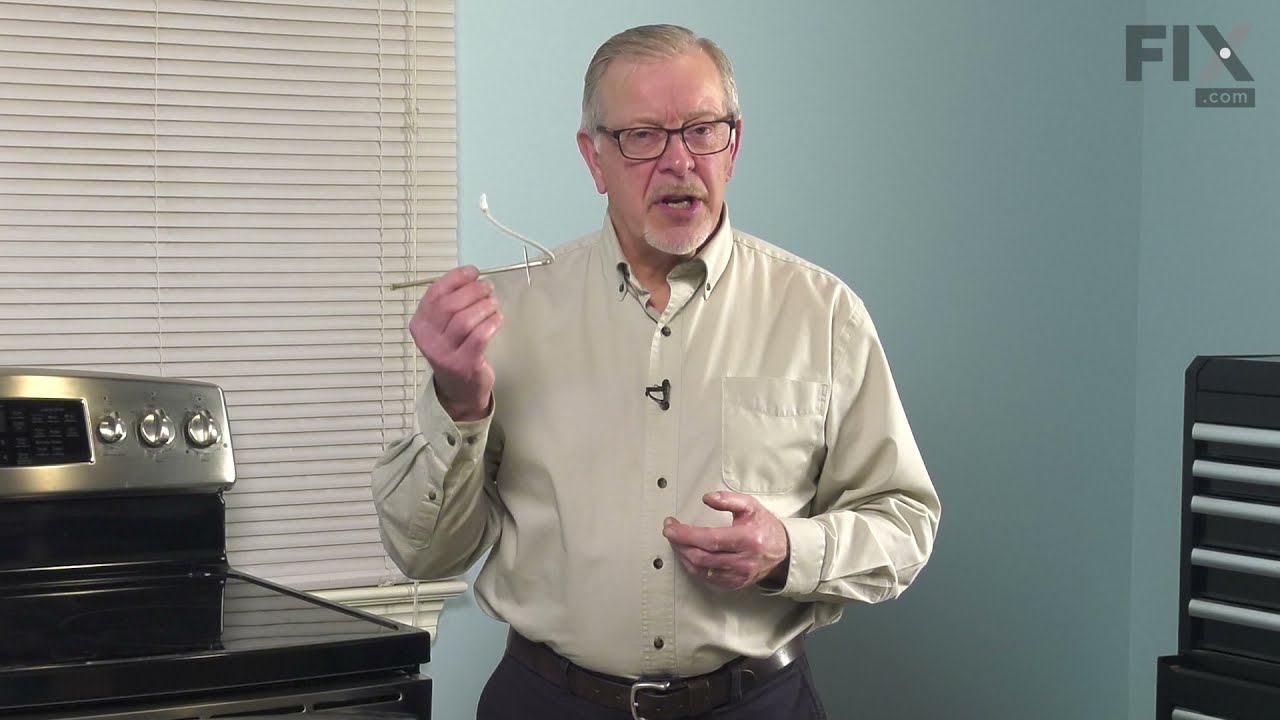

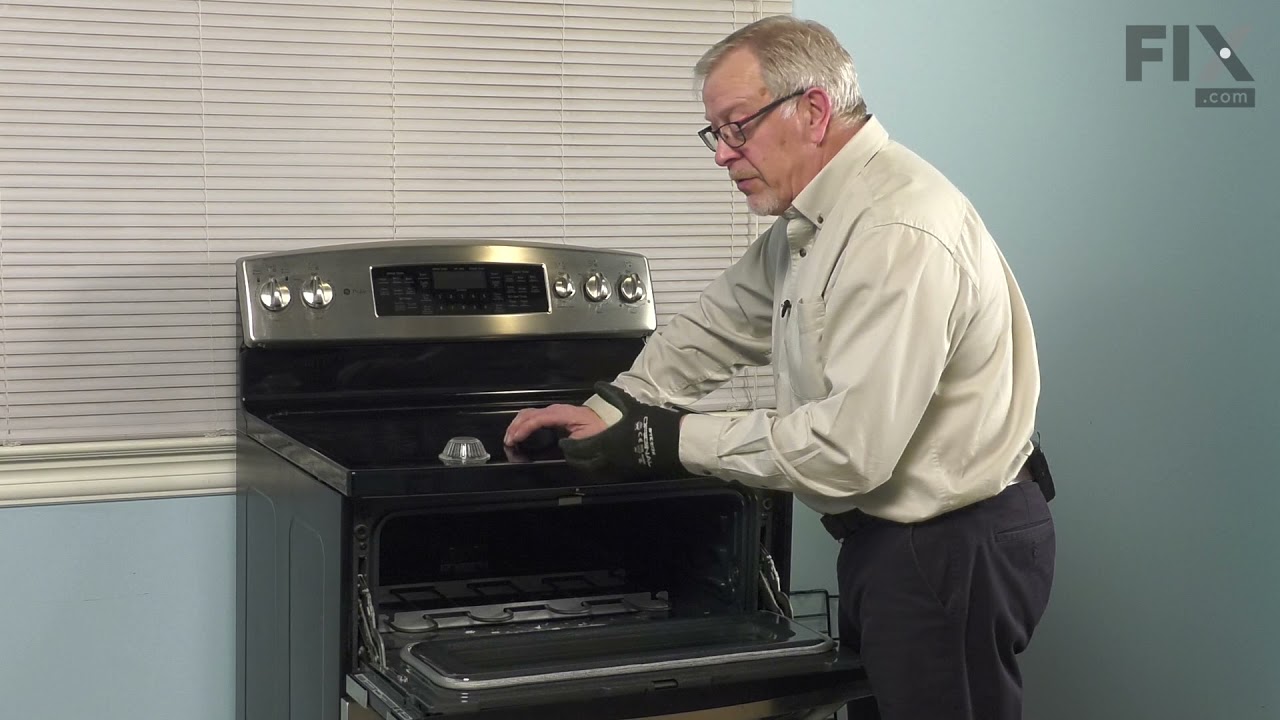
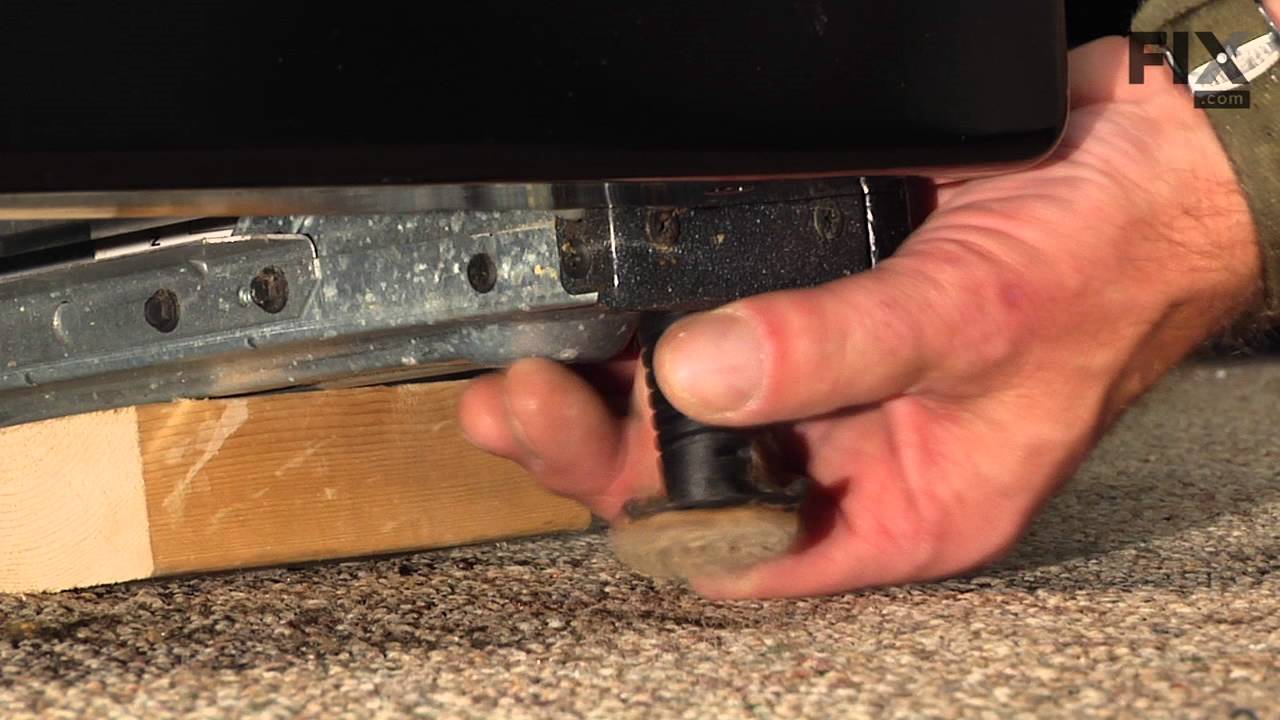

See how others fixed this model. Time, tools, difficulty, and steps that lead to victory!
View More