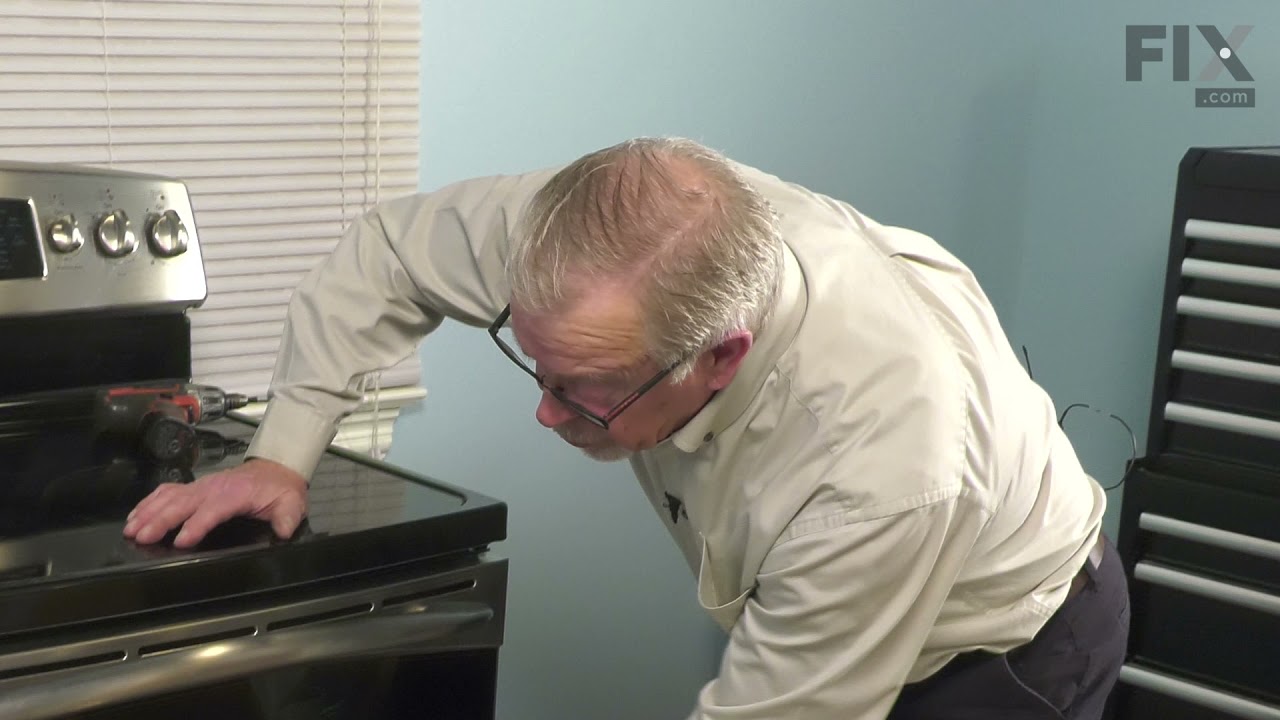
The temperature sensor, also known as the oven temperature sensor assembly is usually found in the back of the oven. The function of the oven temperature sensor assembly is to measure the temperature inside your oven while it is on and send the temperature back up to the electronic control, which adjusts as necessary. If your oven is havi...Read moreng difficulty achieving warmer temperatures and/or keeping warmer temperatures up, you may want to test your temperature sensor. Before you make this repair remember to unplug your range from the power source, and turn off the gas shut off valve.
This 40-Watt light bulb is sold individually.
It is specially designed to withstand extreme temperatures, so this bulb is compatible with a variety of appliance types including refrigerators, ranges, microwaves, and dryers. It features a frosted glass bulb with a standard metal socket base, which allows you to easily unscrew the burnt-out light and twist the new bulb into place.
This 9-inch dual radiant element is a genuine replacement component designed for use in electric ranges and cooktops. Positioned beneath the main glass cooktop surface, it provides the high, consistent heat required for cooking. As the larger of the two element sizes, it accommodates larger cookware and supports versatile cooking needs. I...Read moref the element fails to heat or heats unevenly, replacement is necessary to restore proper function. This part is sold individually and is engineered for durability and compatibility with a range of models. Always disconnect the appliance from the power source before beginning installation to ensure safety.
This broil element is designed for wall ovens and plays a critical role in achieving high-temperature cooking during broil cycles. Positioned at the top of the oven cavity, it delivers intense, direct heat for broiling meats, vegetables, and other dishes. A malfunctioning element may result in the oven failing to reach proper broil temper...Read moreatures, uneven cooking, or complete loss of broil function. Constructed from heat-resistant materials for durability and performance, this replacement part restores optimal cooking capability. Before installation, always disconnect power to the appliance and verify compatibility with your specific oven model.
This part is the replacement light socket for your oven. The oven light socket provides power to the light, and at the same time holds the light bulb in place.
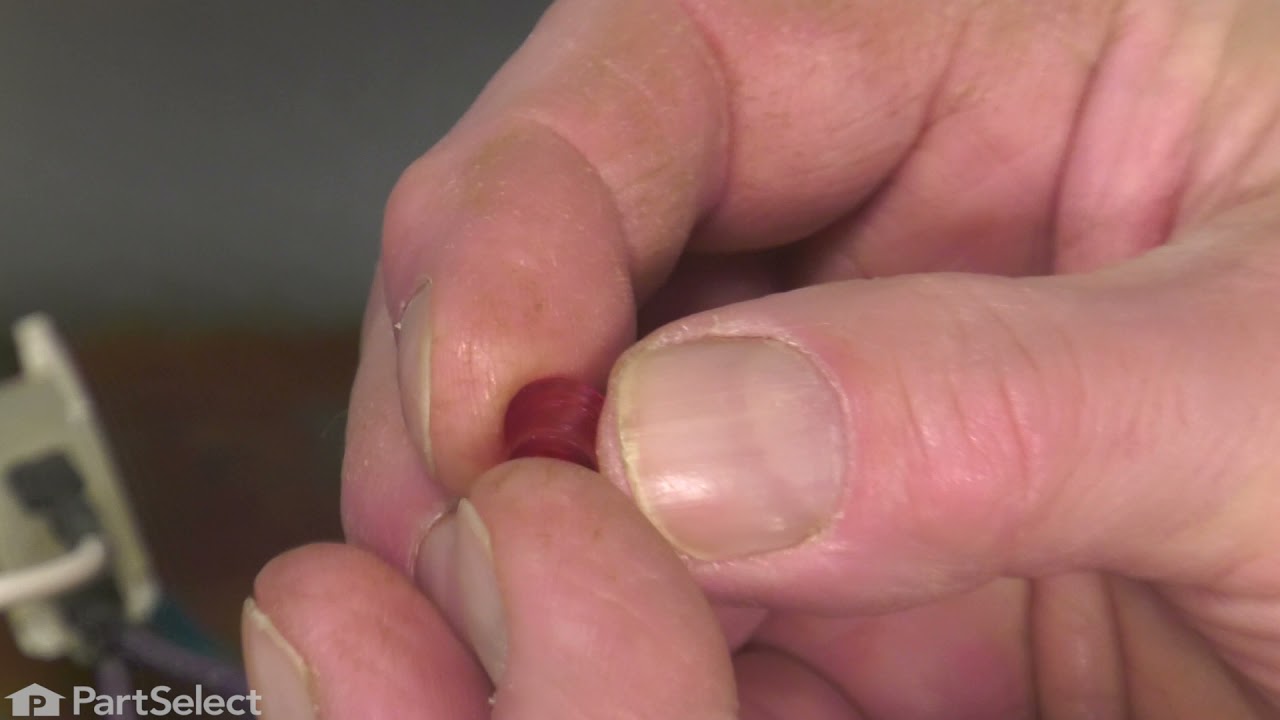
This part is a replacement lens for your oven or range. The lens is red in color, and when the elements are turned on, the light behind the lens will turn on to inform the user that the element is, in fact, on. The lens is a little less than half an inch in diameter and is made of plastic. If the light behind the lens still works, you sho...Read moreuld be able to simply remove the front panel and pop the damaged lens out of position, then replace it with the new one. This part is sold individually and is an OEM part sourced directly from the manufacturer.
This part is a replacement screw for your oven. It is made of black metal and is sold individually. This screw is approximately 1/4 inch in diameter and about 1/2 inch in length. It is designed to connect the different parts of your oven door. This part is an authentic OEM part sourced directly from the manufacturer.
This drawer glider supports smooth, guided movement of drawers or racks. Reduced friction improves ease of access and alignment. Replacing a worn glider restores smooth, reliable operation.
Ask our experts a question about this model and we'll get back to you as soon as possible!
We may have answered a similar question already! Search questions and answers left by others using simple keywords like "fit", "broken", "easy", or "quality" to find questions that match.
Search filter:
Clear Filter
Your search term must have 3 or more characters.
Sort by:
Prev
1
Next
Sorry, we couldn't find any existing answers that matched.Try using some different or simpler keywords, or submit your new question by using the "Ask a Question" button above!
June - For model number JCS860SF3SS
June 28, 2021
Cook top red light display light that comes on to alert you that the surface is hot. Stove not being used since yesterday and the red display light is on. Cook top not used, so the red display light should not be on. Turned power off and on and still came back on. What to do?
Hello June, Thank you for the question. The Red Light is also controlled by the Switch for the element. The Switch Assembly PartSelect Number PS12308935 will need to be replaced. We hope this helps!
1 personfound this instruction helpful.
Was this helpful?
Thank you for voting!
Prev
1
Next
✖
Ask a Question
Ask our experts a question on this model and we'll respond as soon as we can.
See how others fixed this model. Time, tools, difficulty, and steps that lead to victory!View More
Search repair tips from other customers using simple keywords like "replace", "fit", "remove", "inspect". DIY doesn't mean you have to do it alone!
Search filter:
Clear Filter
Your search term must have 3 or more characters.
Oven would go in to a F2 Error
148 of 226 peoplefound this instruction helpful.
Peter from stamford, CT
Really Easy
15 - 30 mins
Nutdriver
Removed six 1/4" hex nuts on rear of oven. Then through front/inside removed a single 1/4" hex nut to actually remove sensor. Unplug sensor connector, remove. Reversed steps, push oven back in place and plugged in. Tested oven function.
Was this helpful?
Thank you for voting!
9" Radiant Element did not heat up.
48 of 64 peoplefound this instruction helpful.
Andrea from ORLANDO, FL
Easy
30 - 60 mins
Screw drivers
I started by Unscrewing the range top. 2 small screws. I took off the old piece by unclipping the piece . Then I color coded each wire so that I would know exactly where I would place the wires for the new part. 30 min maximum time spent changing the part. Please don't forget to unplug the range before you start.
Was this helpful?
Thank you for voting!
Oven wouldn't preheat above 300 degrees
54 of 95 peoplefound this instruction helpful.
Gerald from Cape Canaveral, FL
Really Easy
15 - 30 mins
Nutdriver
Unplugged appliance and removed 5 screws on back of stove/oven and removed plate. Disconnected the sensor and unscrewed it on the inside of the oven. Pulled the cord through and replaced with new sensor. Replaced all parts and plugged in the appliance and tested. Worked great.


 My Orders