


 My Orders




JCBP85SK2SS General Electric Range - Overview
Diagrams for JCBP85SK2SS
See every part. Know exactly what you need.


Enter a part description. DIY Heroes keep it simple, eg. "belt" or "pump".
Search filter:
Clear Filter
Your search term must have 3 or more characters.

$30.53
In Stock
Temperature Sensor
Part #WB21X22134
The temperature sensor, also known as the oven temperature sensor assembly is usually found in the back of the oven. The function of the oven temperature sensor assembly is to measure the temperature inside your oven while it is on and send the temperature back up to the electronic control, which adjusts as necessary. If your oven is havi...Read moreng difficulty achieving warmer temperatures and/or keeping warmer temperatures up, you may want to test your temperature sensor. Before you make this repair remember to unplug your range from the power source, and turn off the gas shut off valve.
Read less

$21.95
In Stock
Light Bulb - 40W
Part #40A15
This 40-Watt light bulb is sold individually.
It is specially designed to withstand extreme temperatures, so this bulb is compatible with a variety of appliance types including refrigerators, ranges, microwaves, and dryers. It features a frosted glass bulb with a standard metal socket base, which allows you to easily unscrew the burnt-out light and twist the new bulb into place.

$52.95
In Stock
Range Surface Element Control Switch - 6 Inch - 1560 W
Part #WB24T10029
This surface element control switch, also known as an infinite switch, regulates the power supplied to a 6-inch, 1560-watt heating element on electric ranges. It allows for precise adjustment of heat levels by cycling the element on and off, rather than relying on fixed temperature settings. Operating at 240 volts and drawing between 4.4 ...Read moreto 7.4 amps, the switch ensures consistent and responsive heat control. Replacing a faulty switch can resolve issues such as the element not heating, staying stuck on high, or fluctuating in temperature. This component is essential for maintaining safe and efficient cooking performance.
Read less

$25.26
In Stock

$16.47
In Stock
RECEPTACLE PUSH-IN
Part #WB08T10026
This part is the replacement light socket for your oven. The oven light socket provides power to the light, and at the same time holds the light bulb in place.

$16.05
In Stock

$16.05
In Stock
Lens
Part #WB25T10041
This part is a replacement lens for your oven or range. The lens is red in color, and when the elements are turned on, the light behind the lens will turn on to inform the user that the element is, in fact, on. The lens is a little less than half an inch in diameter and is made of plastic. If the light behind the lens still works, you sho...Read moreuld be able to simply remove the front panel and pop the damaged lens out of position, then replace it with the new one. This part is sold individually and is an OEM part sourced directly from the manufacturer.
Read less

$26.39
In Stock
Light Cover
Part #WB36X192
This light bulb lens covers the interior light bulb in an oven, range, or stove. No tools are necessary to replace this part. Simply slide off the wire bracket to remove the existing light bulb lens. Disconnect power to your appliance before this repair. It is recommended to check the light bulb while the lens cover is removed in case it ...Read moreneeds to be replaced. Be sure to remove all broken glass, if applicable, before installing new lens. This part is sourced directly from the genuine manufacturer, and is sold individually.
Read less

$43.18
In Stock
Broiler Pan - Large
Part #WB48X10056
This large broiler pan is found in the bottom of your oven and is used to catch drippings from broiling foods. This part includes the grate and bottom pan and is made of porcelain. The grate measures 15-1/2 inches wide by 13 inches deep and the pan is about 17 inches wide by 13 inches deep. No tools are required to replace this item, simp...Read morely pull out the lower drawer of your range, pull down the front of the drawer, slide the pan out and slide the new one into place. This is a genuine part sourced right from the manufacturer.
Read less

$149.06
In Stock
Window Pack Assembly
Part #WB56T10105
The GE Oven Door Window Pack Assembly is a genuine OEM part that fits select GE ranges and ovens. It includes a heat-resistant inner glass panel, frame, and seals, providing insulation and clear visibility into the oven cavity. Common issues like cracked glass or heat loss can indicate the need for a replacement. Ensure the oven is cool to the touch and wear gloves for safe installation.

$105.26
In Stock

$64.77
In Stock
Terminal Block Kit
Part #WB17T10011
This part provides a way of connecting individual electrical wires and offers protection of the device from electrical surges (voltages and/or currents).
Common Symptoms of the JCBP85SK2SS
How this model fails, and the parts that fix it.
Element will not heat
Fixed by
these parts
these parts


Show All
Little to no heat when baking
Fixed by
these parts
these parts

Show All
Oven not heating evenly
Fixed by
these parts
these parts
Show All
Oven is too hot
Fixed by
these parts
these parts
Show All
Will Not Start
Fixed by
these parts
these parts

Show All
Little to no heat when broiling
Fixed by
these parts
these parts

Show All
Watch our pros, then fix it yourself.
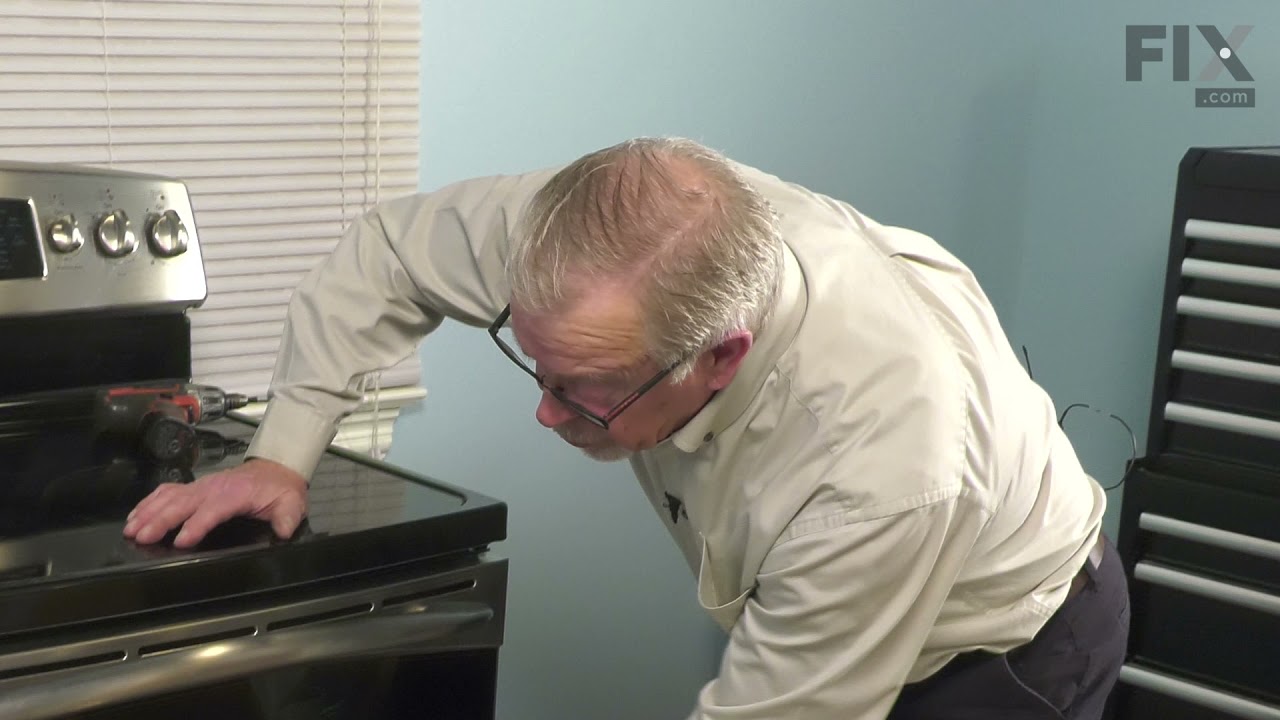
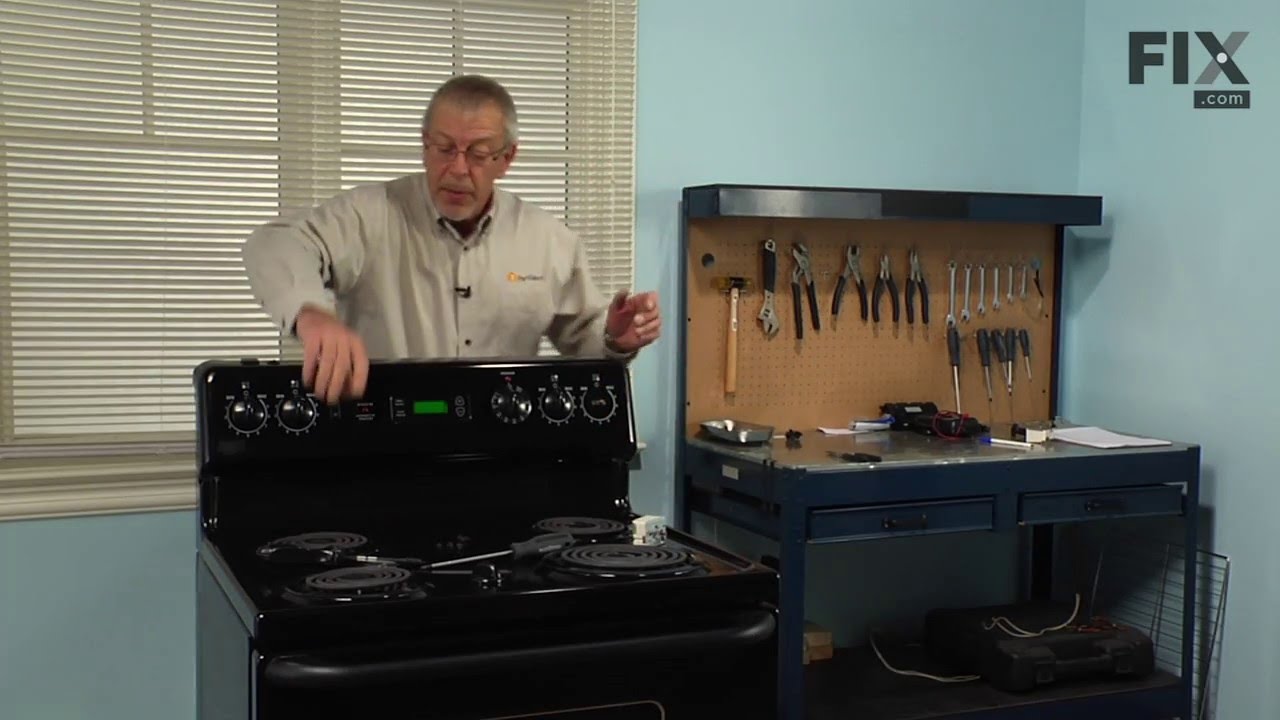
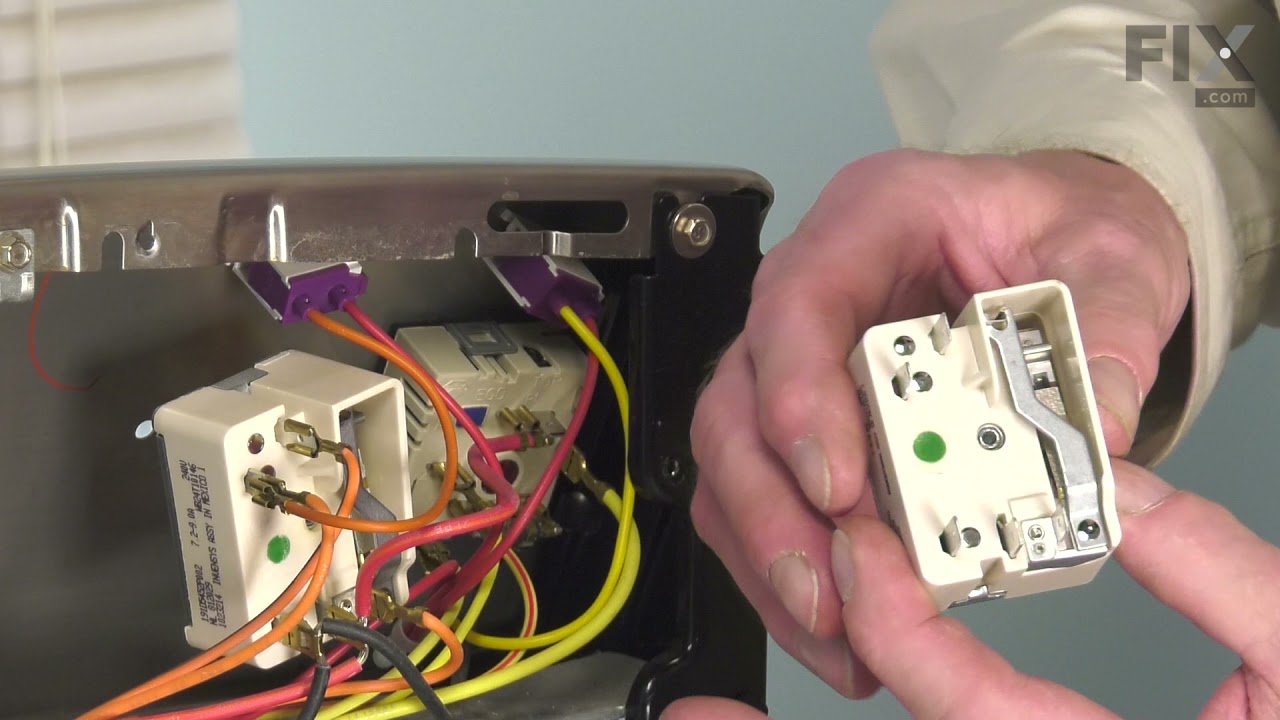
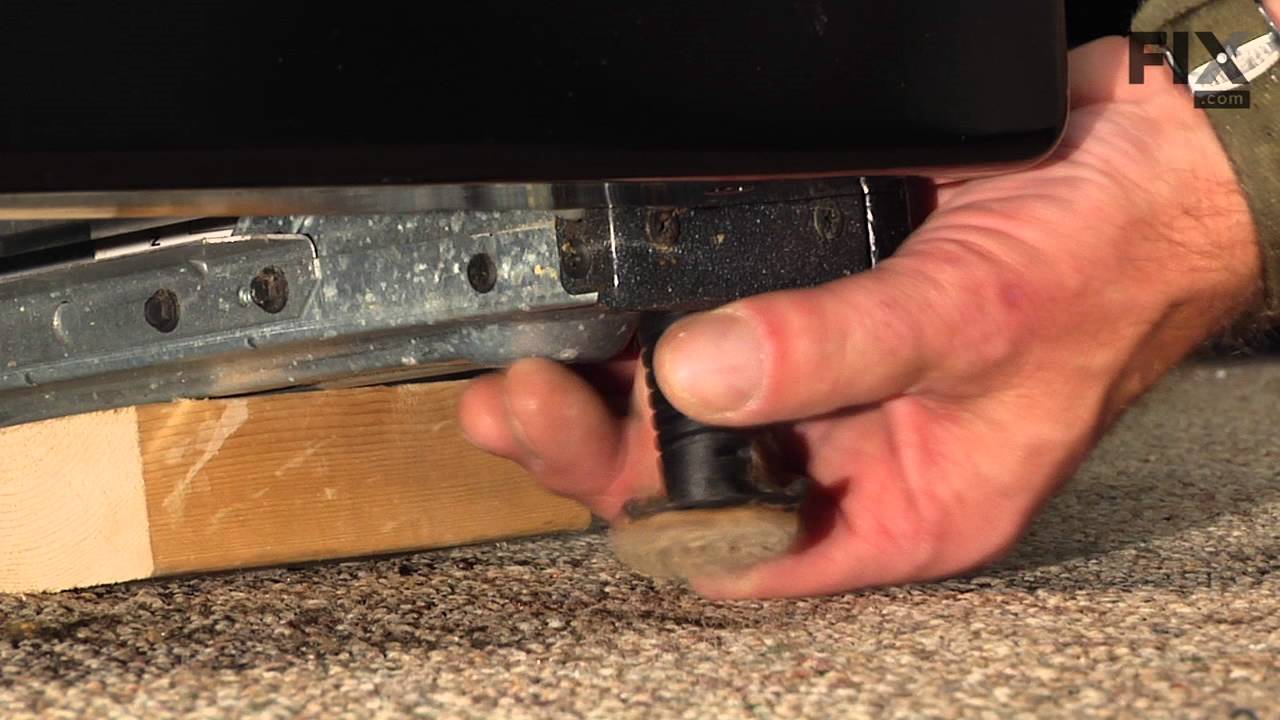
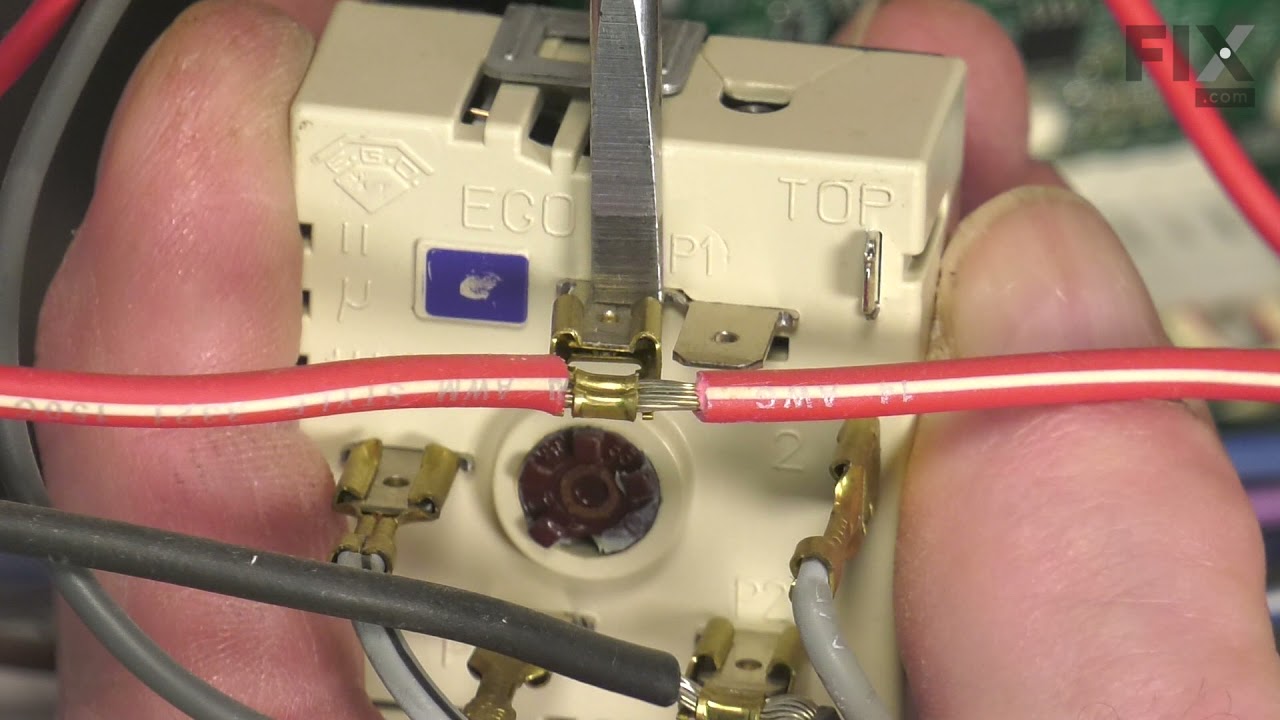
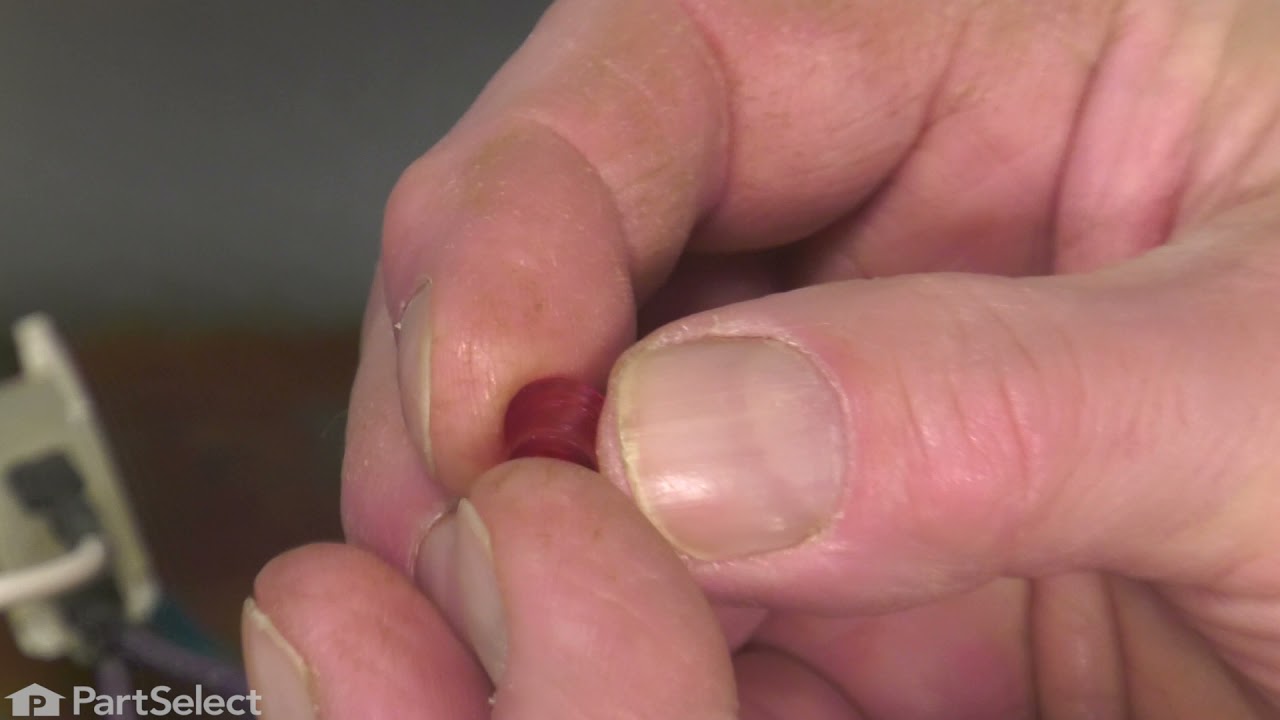

See how others fixed this model. Time, tools, difficulty, and steps that lead to victory!
View More