This 40-Watt light bulb is sold individually.
It is specially designed to withstand extreme temperatures, so this bulb is compatible with a variety of appliance types including refrigerators, ranges, microwaves, and dryers. It features a frosted glass bulb with a standard metal socket base, which allows you to easily unscrew the burnt-out light and twist the new bulb into place.
The oven rack is sold individually. It is chrome in color and measures approximately 24 inches wide by 17-1/2 inches deep. The rack is used to hold cookware in the oven and slides back and forth for easy access. Racks can become rough and discolored over time and may need to be replaced, or perhaps you just need extra storage space in the...Read more oven! This repair is extremely simple and does not require any tools. Before you begin, ensure that the rack edges are straight and have not warped from shipment. Once the oven door is open, the stop end goes in first and it simply slides into place.
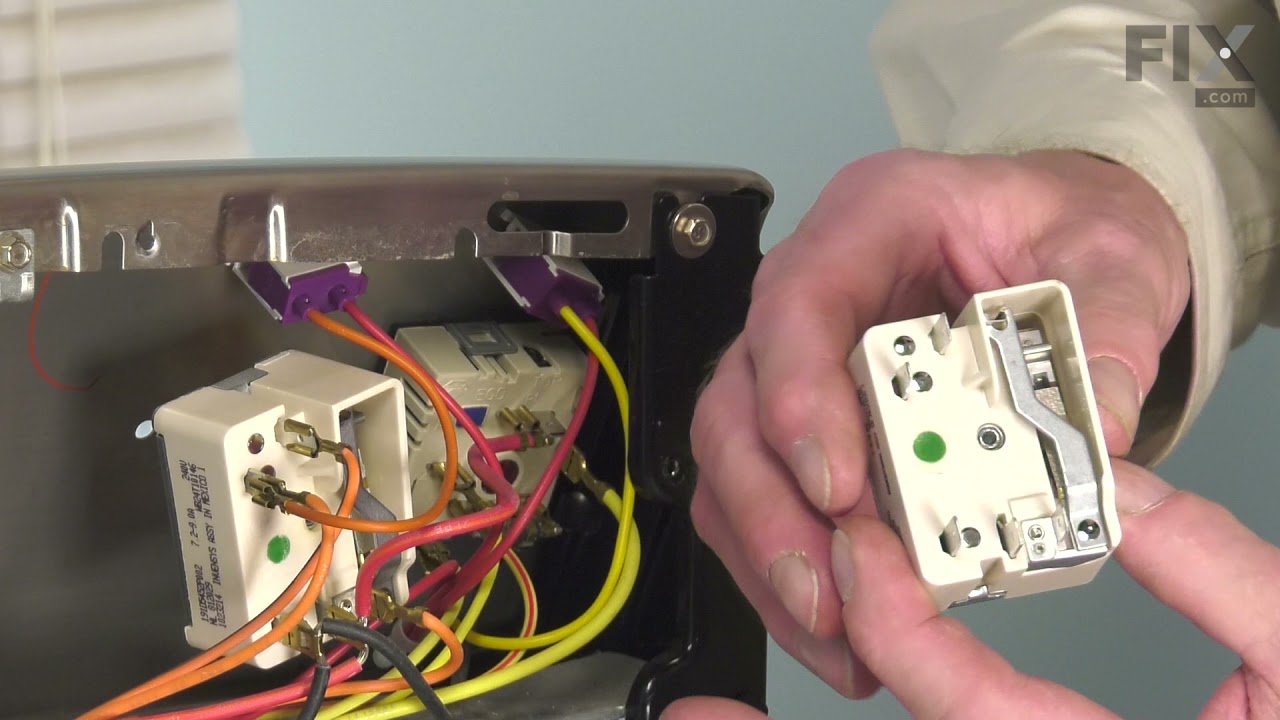
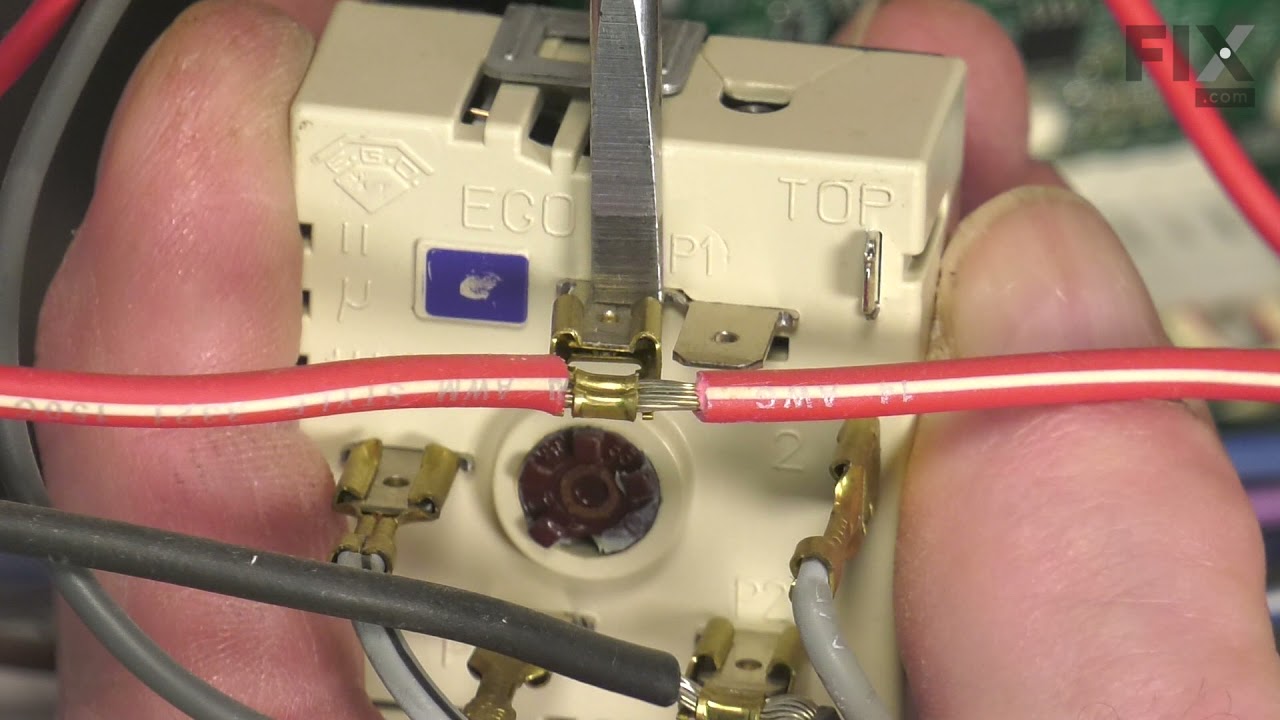
This surface element control switch, also known as an infinite switch, regulates the power supplied to a 6-inch, 1560-watt heating element on electric ranges. It allows for precise adjustment of heat levels by cycling the element on and off, rather than relying on fixed temperature settings. Operating at 240 volts and drawing between 4.4 ...Read moreto 7.4 amps, the switch ensures consistent and responsive heat control. Replacing a faulty switch can resolve issues such as the element not heating, staying stuck on high, or fluctuating in temperature. This component is essential for maintaining safe and efficient cooking performance.
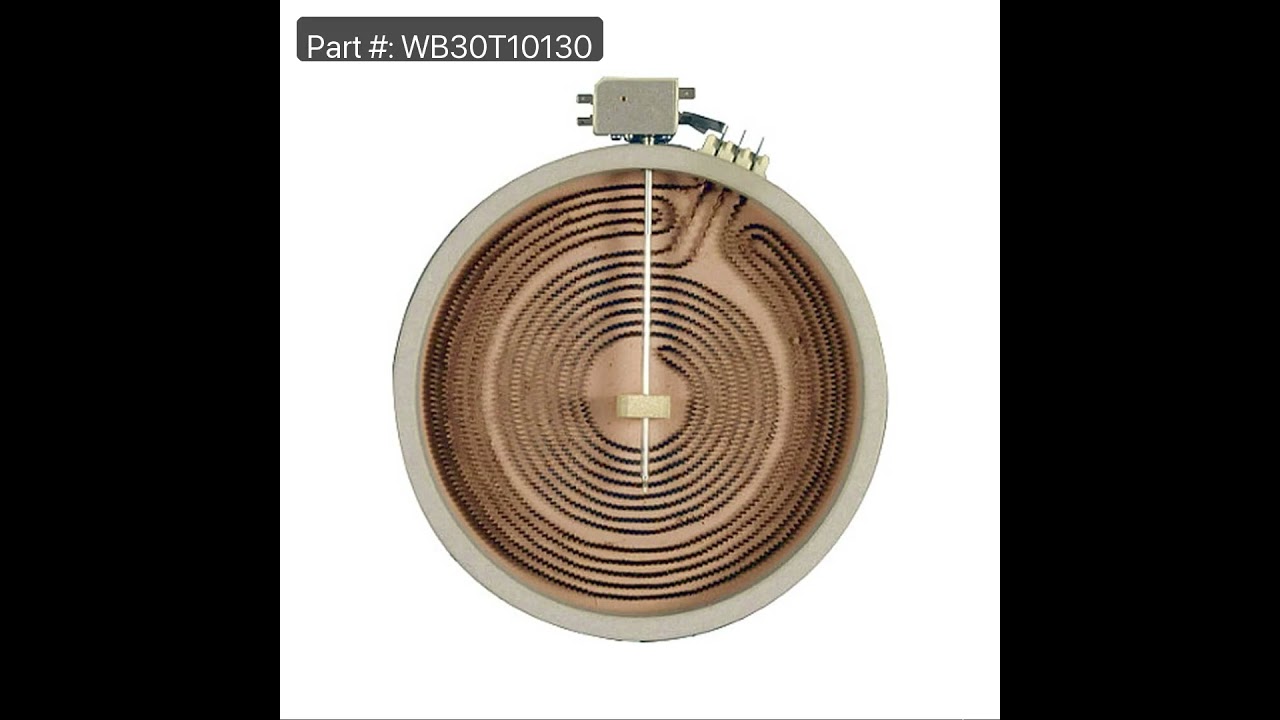
This 9-inch dual radiant element is a genuine replacement component designed for use in electric ranges and cooktops. Positioned beneath the main glass cooktop surface, it provides the high, consistent heat required for cooking. As the larger of the two element sizes, it accommodates larger cookware and supports versatile cooking needs. I...Read moref the element fails to heat or heats unevenly, replacement is necessary to restore proper function. This part is sold individually and is engineered for durability and compatibility with a range of models. Always disconnect the appliance from the power source before beginning installation to ensure safety.
This dual radiant surface heating element is a genuine replacement component designed for select GE electric flat-top ranges, stoves, and cooktops. Commonly referred to as a "haliant" element, it features an integrated 12-inch and 9-inch heating zone, allowing for flexible cooking options based on pan size. Constructed from a durable nick...Read moreel-chromium alloy, it delivers consistent heat output and long-lasting performance. With a standard wattage of 1950 watts—though some replacements may offer up to 3000 watts—this element ensures efficient heat transfer to the glass cooking surface. Replacing a worn or malfunctioning element can restore proper heating and improve overall cooking performance. Compatibility should be verified using your appliance’s model number prior to installation.
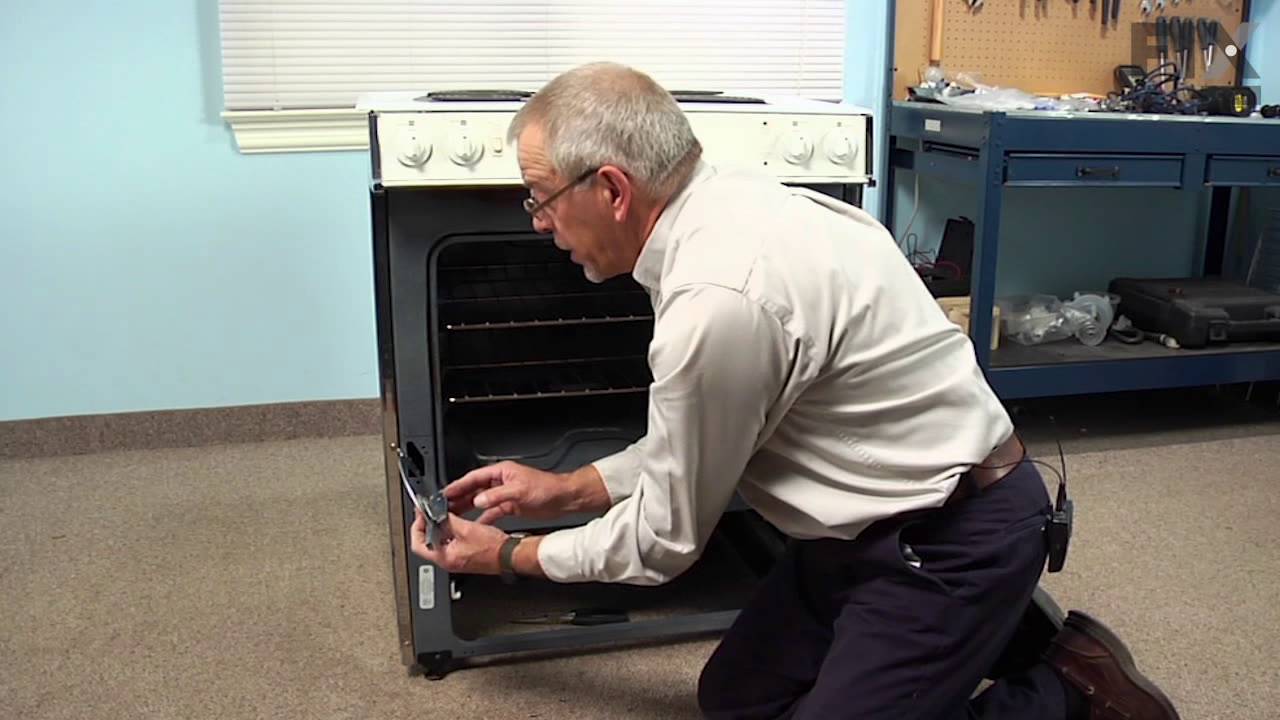
This is a replacement drawer support for your oven. The drawer support provides stability to the drawer unit as it opens and closes. If your oven drawer is hanging or will not slide in or out efficiently, you could have a damaged or missing drawer support. This part is made of white plastic and is sold individually. To replace the support...Read more, simply remove the oven drawer, and unscrew the front support on the sides of the oven. Then, simply screw the new part in and replace the drawer to complete your repair.
This part is the replacement light socket for your oven. The oven light socket provides power to the light, and at the same time holds the light bulb in place.
This part is a replacement lens for your oven or range. The lens is red in color, and when the elements are turned on, the light behind the lens will turn on to inform the user that the element is, in fact, on. The lens is a little less than half an inch in diameter and is made of plastic. If the light behind the lens still works, you sho...Read moreuld be able to simply remove the front panel and pop the damaged lens out of position, then replace it with the new one. This part is sold individually and is an OEM part sourced directly from the manufacturer.
This light bulb lens covers the interior light bulb in an oven, range, or stove. No tools are necessary to replace this part. Simply slide off the wire bracket to remove the existing light bulb lens. Disconnect power to your appliance before this repair. It is recommended to check the light bulb while the lens cover is removed in case it ...Read moreneeds to be replaced. Be sure to remove all broken glass, if applicable, before installing new lens. This part is sourced directly from the genuine manufacturer, and is sold individually.
Ask our experts a question about this model and we'll get back to you as soon as possible!
We may have answered a similar question already! Search questions and answers left by others using simple keywords like "fit", "broken", "easy", or "quality" to find questions that match.
Search filter:
Clear Filter
Your search term must have 3 or more characters.
Sort by:
Prev
1
Next
Sorry, we couldn't find any existing answers that matched.Try using some different or simpler keywords, or submit your new question by using the "Ask a Question" button above!
Elizabeth - For model number JCBP780ST1SS
June 23, 2026
Is range door hinge specifically for left side of door or right side of door? Is there an install video? Part No. PS12300796
Hello Elizabeth, thank you for getting in touch. The hinge, part number PS12300796, is for the right side. We have attached a relevant video on how to replace the oven door hinge. Here is the link: We hope this helps.
Was this helpful?
Thank you for voting!
Vince - For model number JCBP780ST1SS
July 3, 2026
Why can't I find a part number for control knobs for this range. All pictures are blurry and I can't see the part clearly. Can someone give me the part numbers. Hello some help would be great. Have CALLED 5 numbers that are useless. Why is it so difficult to just replace a part. HELLO!
Hi Vince, thank you for getting in touch. All the replacement control knobs for your model have the same part number: PS2321076. If you require assistance to place an order, please contact customer service!
See how others fixed this model. Time, tools, difficulty, and steps that lead to victory!View More
Search repair tips from other customers using simple keywords like "replace", "fit", "remove", "inspect". DIY doesn't mean you have to do it alone!
Search filter:
Clear Filter
Your search term must have 3 or more characters.
terminal block melted
56 of 77 peoplefound this instruction helpful.
jonathan from willow springs, IL
Easy
Less than 15 mins
Nutdriver, Screw drivers
The existing terminal block on my Ge oven/Range had melted due to a loose wire causing sparking and starting the plastic casing of the terminal block on fire and melting it, Part select made the part easy to find and had it at my house in 2 days. All I had to do was remove six screws to take the back sheet metal cover off of the oven. U
... Read morenscrew the terminal connections remove two mounting screws that held the terminal on to the oven body. This was a little trickier than it should have been because the melted plastic had reformed making it very hard to access the mounting screws. i then mounted the new piece and plugged the oven in, it took 15 minutes and was very easy. definitely saved me at-least a $100 for the service call i would have made if finding the part wasn't so convenient
Read less
Was this helpful?
Thank you for voting!
9" Radiant Element did not heat up.
48 of 64 peoplefound this instruction helpful.
Andrea from ORLANDO, FL
Easy
30 - 60 mins
Screw drivers
I started by Unscrewing the range top. 2 small screws. I took off the old piece by unclipping the piece . Then I color coded each wire so that I would know exactly where I would place the wires for the new part. 30 min maximum time spent changing the part. Please don't forget to unplug the range before you start.


 My Orders