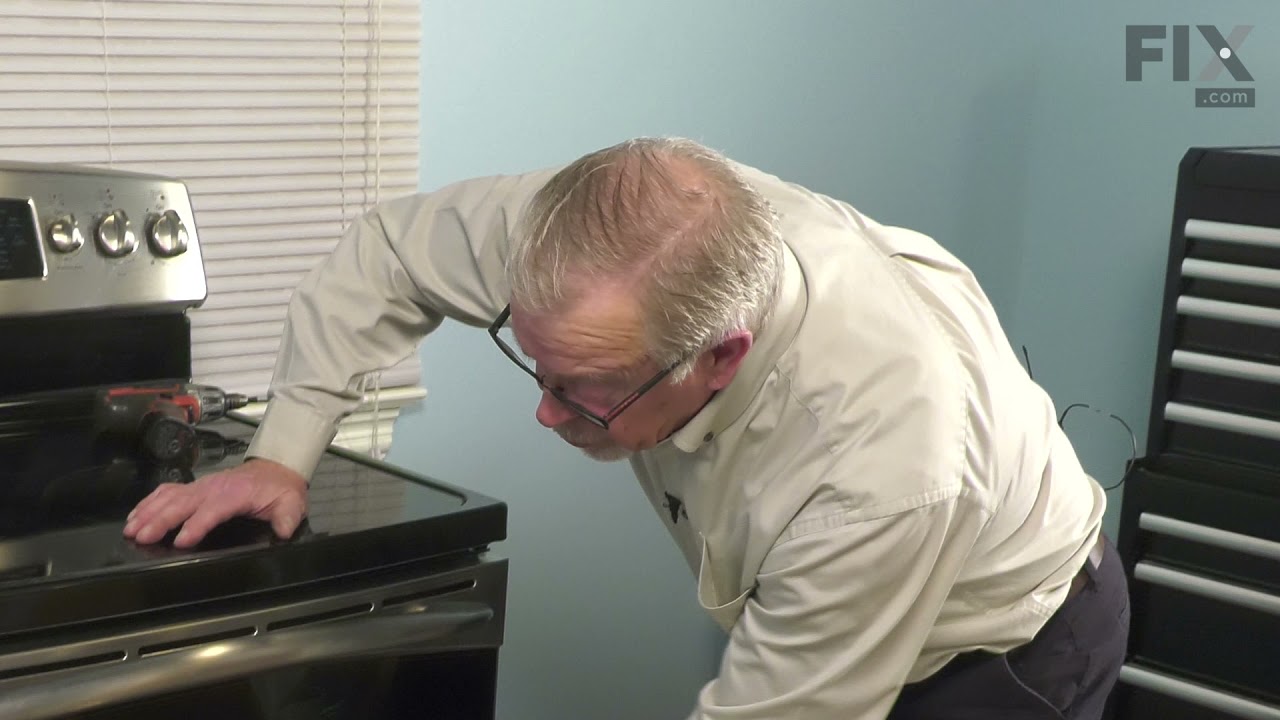
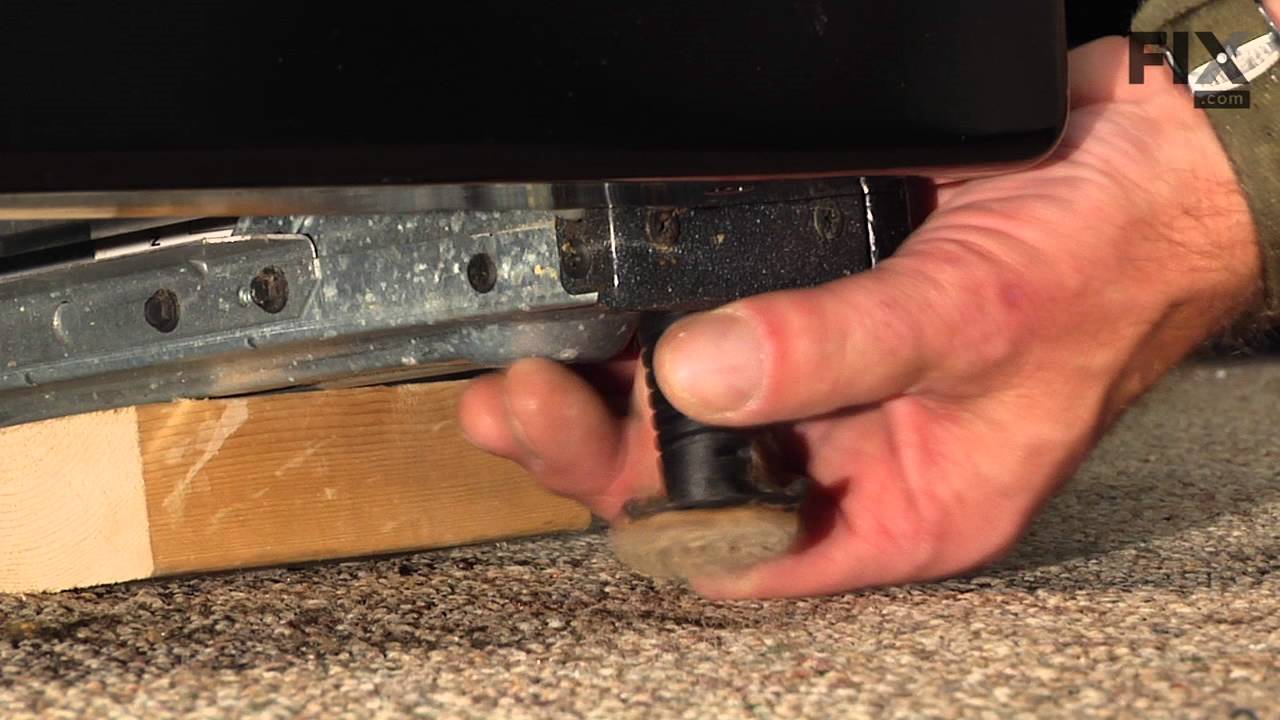
The temperature sensor, also known as the oven temperature sensor assembly is usually found in the back of the oven. The function of the oven temperature sensor assembly is to measure the temperature inside your oven while it is on and send the temperature back up to the electronic control, which adjusts as necessary. If your oven is havi...Read moreng difficulty achieving warmer temperatures and/or keeping warmer temperatures up, you may want to test your temperature sensor. Before you make this repair remember to unplug your range from the power source, and turn off the gas shut off valve.
This 40-Watt light bulb is sold individually.
It is specially designed to withstand extreme temperatures, so this bulb is compatible with a variety of appliance types including refrigerators, ranges, microwaves, and dryers. It features a frosted glass bulb with a standard metal socket base, which allows you to easily unscrew the burnt-out light and twist the new bulb into place.
This genuine GE drawer support is an original replacement part sourced from the manufacturer and is designed for use with electric ranges. Made of durable plastic, it attaches to the rear of the drawer and provides stable support by securing the rear side in place. This part includes the necessary mounting screw for installation and is so...Read moreld individually. It’s a simple yet essential component for maintaining smooth drawer operation and proper alignment.
This is a large dual haliant element with a limiter or sensor for glass cooktops and freestanding ranges. It is a 2500-watt part. The inner diameter measures 9 inches, while the outer diameter measures 10 inches. If there is no heat generated from your element, you may need to replace this part. You may also need to check your socket or i...Read morenfinite switch. It is located under the glass cooktop of your appliance. Be sure to unplug or cut the circuit breaker to your appliance before starting this repair. Before replacing this part, be sure your appliance is getting enough power. If it is receiving less than the required 220 volts of alternating current, the surface element will not work.
This part is sold individually and is for ranges. The control switch turns the surface element on and off and determines the temperature of the element. This will need to be changed if the control switch has failed and the cooktop is not turning on. It is found underneath the glass cooktop. Before beginning, make sure the circuit breaker ...Read moreis off. You will need to remove the cooktop from the counter. To do this you will need to go underneath and see what kind of brackets are holding it in place. The brackets will vary depending on the make and model and type of countertop is it laying on. These brackets will need to be removed.
This part is the replacement light socket for your oven. The oven light socket provides power to the light, and at the same time holds the light bulb in place.
This light bulb lens covers the interior light bulb in an oven, range, or stove. No tools are necessary to replace this part. Simply slide off the wire bracket to remove the existing light bulb lens. Disconnect power to your appliance before this repair. It is recommended to check the light bulb while the lens cover is removed in case it ...Read moreneeds to be replaced. Be sure to remove all broken glass, if applicable, before installing new lens. This part is sourced directly from the genuine manufacturer, and is sold individually.
This large broiler pan is found in the bottom of your oven and is used to catch drippings from broiling foods. This part includes the grate and bottom pan and is made of porcelain. The grate measures 15-1/2 inches wide by 13 inches deep and the pan is about 17 inches wide by 13 inches deep. No tools are required to replace this item, simp...Read morely pull out the lower drawer of your range, pull down the front of the drawer, slide the pan out and slide the new one into place. This is a genuine part sourced right from the manufacturer.
Ask our experts a question about this model and we'll get back to you as soon as possible!
We may have answered a similar question already! Search questions and answers left by others using simple keywords like "fit", "broken", "easy", or "quality" to find questions that match.
Search filter:
Clear Filter
Your search term must have 3 or more characters.
Sort by:
Prev
1
Next
Sorry, we couldn't find any existing answers that matched.Try using some different or simpler keywords, or submit your new question by using the "Ask a Question" button above!
Tim - For model number JCB968SH1SS
October 25, 2022
It takes a long time to preheat the oven as well it doesn’t keep a temperature. The lock for the auto clean is broken could that be the problem??
Hello Tim, thank you for your question. According to our research, the reason could be the self-clean lock being broken, part number PS1480824. If this is not fixing the issue, then replace the temperature sensor, part number PS10059162. Please reach out to customer service if you need help placing an order, anyone will be happy to assist you. We hope that helps!
See how others fixed this model. Time, tools, difficulty, and steps that lead to victory!View More
Search repair tips from other customers using simple keywords like "replace", "fit", "remove", "inspect". DIY doesn't mean you have to do it alone!
Search filter:
Clear Filter
Your search term must have 3 or more characters.
Oven would go in to a F2 Error
148 of 226 peoplefound this instruction helpful.
Peter from stamford, CT
Really Easy
15 - 30 mins
Nutdriver
Removed six 1/4" hex nuts on rear of oven. Then through front/inside removed a single 1/4" hex nut to actually remove sensor. Unplug sensor connector, remove. Reversed steps, push oven back in place and plugged in. Tested oven function.
Was this helpful?
Thank you for voting!
Large burner on dual element burned out
102 of 116 peoplefound this instruction helpful.
Scot from Oakland, FL
Easy
15 - 30 mins
Pliers, Screw drivers, Wrench (Adjustable)
This was really easy, and pretty with no problems or issues It took me longer to write this than to do the actual installation. I used a digital camera to help me remember where things were, but a pen/paper works fine. Here's what I did:
1. Turn off the breaker for the cooktop.
2. Remove (2) 1/4" hex screws directly
... Read moreunder cooktop. You may need to open oven door to reveal them.
2. Prop up cooktop. I used the box the replacement element came in.
3. The element is held in place with (3) brackets held in by a #2 philips screw each. Mark the location of each of the brackets. There are numbers on the element to help you do this.
4. Write down where each of the wires connects to the element. There's only a few of them, but I tend to forget that stuff. The wires have female spade-type connectors that connect to the male ends on the element.
5. Using a needle-nose or small pliers wiggle each wire off the element. Grab the wires by the end of the female connector when you do this. I found it helpful to use a small flat screwdriver to help pry them off. Mine were on pretty tight, so expect this to take a few mins. If you have problems getting to the wires, remove the brackets (next step) first and come back to this one. I let the element hang from the wires without any problems, but I still wouldn't recommend it.
6. Remove each of the screws with a #2 philips screwdriver. Support the element with your hand and gently pull each bracket away from the element. Once they're all gone, the element should just come out. I took a look at my old element and saw that the large burner wires were melted in a couple places, so it was definitely broken.
7. If necessary, clean the underside of the cooktop surface with a clean papertowel. There was a little dust from the old element on mine.
8. Connect the new element and test to make sure it works by turning on the breaker and turning on the burner for a second or two. Note: This will make the top of the element hot for some time, so test it and go away for a few mins. If it works OK, proceed. If not, disconnect and figure out what else may be wrong.
9. Using the old element, make copies of the marks you made for the bracket locations onto the new element. You'll have to punch through the insulation when re-attaching the screws.
10. Re-wire the new element, if necessary and re-attach the brackets over the marks you made. This may be a pretty tight fit because the new element was thicker than the old on mine. I opened up the brackets a bit to make it not so hard to re-attach. Hook the brackets on and squeeze them over the element. The holes in the brackets need to line up with the holes drilled into the bottom of the element. If they don't, spin the element around (or detach and re-attach the brackets) till they do.
11. Screw in the (3) screws over the brackets pushing them through the insulation on the element.
12. Close the cooktop and reattach the hex screws under it (1/4" hex).
13. Turn on the breaker and test again.
Thats it, works great now. Good Luck
Read less
Was this helpful?
Thank you for voting!
Inner glass window of oven cracked
57 of 60 peoplefound this instruction helpful.
Charles from Sharon, MA
Easy
30 - 60 mins
Nutdriver, Screw drivers, Socket set
1. Removed the oven door -- this is a little tricky -- you need to lift to small metal covers on the hinges, then pull the door up and out from the broil (half open position). Replace the door the same way. It is important to insert the hinges with the door in the "broil" position, and after verifying that the door is aligned and closes
... Read more normally -- then lift hinge covers to lock in place.
2. After door is removed the glass assembly can be removed and replaced by unscrewing two long (2-3 inch long) screws at the top. And three hex head screws at the bottom of the door. Note -- there is no need to removed the six screws (3 either side) on th ebottom of the door -- because these only hold the hinges to the door. The other 5 screws that you do need to remove actually hold the two halves of the door together.
3. Replace glass assembly and reassemble.
It is not so hard but you need "star" screwdrivers for the long screws... (not philips -- but 6-pointed stars), and a socket wrench is useful for the bottom 3 hex head screws...
If I were to do again it would only take me 15 minutes.... but I messed up by removing the hinges unnecessarily so it took me an hour.


 My Orders