


 My Orders




JCB870SF2SS General Electric Range - Overview
Diagrams for JCB870SF2SS
See every part. Know exactly what you need.


Enter a part description. DIY Heroes keep it simple, eg. "belt" or "pump".
Search filter:
Clear Filter
Your search term must have 3 or more characters.

$21.45
In Stock
Drip Bowl - 6 Inch
Part #WB31T10010
This drip bowl, also known as the drip pan or burner bowl, is 6 inches in internal diameter to match the burner, but actually measures closer to 8 inches in total diameter to its outer edges. This authentic manufacturer-approved part is used to catch spills from cooking on the top burner. If your bowls are getting stained, dirty, or rust...Read moreed, this replacement can solve it. First, remove the element from the stove top, and pull out the old drip pan. Insert the new bowl and make sure it is aligned to where the element is plugged in. Lastly, you can put the element back in. For safety precautions, make sure to unplug the range from the power source and wait until the surface is cool before replacing this part. This part is sold individually, if you are replacing more than one drip bowl on your stove at once, you will need to account for this. To replace, simply pull the old surface elements and burner bowls off, give everything a thorough clean, and install the new parts with no tools necessary.
Read less

$30.53
In Stock
Temperature Sensor
Part #WR55X10025
This temperature sensor, also called a thermistor, measures temperature inside the refrigerator or freezer and sends readings to the main control board. The board uses this information to control cooling, including compressor and fan operation. Incorrect readings may cause the compartment to become too warm or too cold, or make cooling ru...Read moren longer than needed. The replacement includes the sensor body and wire leads. Its location varies by appliance. This is an OEM part sourced directly from the manufacturer.
Read less

$25.75
In Stock
Drip Bowl - 8 Inch
Part #WB31T10011
This Drip Bowl, also known as a burner bowl or drip pan, is made to fit an element 8 inches in diameter and comes in chrome. The actual total diameter of this drip bowl is closer to 10 inches, but don't worry, it will fit your 8-inch burner. This bowl is used to catch drippings and food that falls when cooking on the oven element. The dri...Read morep bowl might burn, become rusty, and wear down over time, and will need to be replaced. Replacing the drip pan is very easy. The elements on the oven must be removed to access the pan underneath. When replacing the bowl, make sure to line up the hole with the terminal block where the element plugs into, and always remove power to your appliance and ensure it is completely cool before commencing your repair. These drip bowls are sold individually, not as a set for your appliance, so you will need to purchase each separately if upgrading all the drip bowls for your range.
Read less

$35.80
In Stock
Surface Burner Terminal Block Kit
Part #WB17T10006
This kit includes the female contact with wires, terminal block and mounting clip.

$54.95
In Stock
Surface Burner Switch - 8 Inch - 2500W
Part #WB24T10025
The 8-inch surface element switch is also known as an infinite heat switch, and is a part for your range. It controls the large surface element. It will turn the element on and off, and allow you to change the heat intensity. The knob to adjust the heat setting mounts on the shaft of this swtich. The burner knob is sold separately. If you...Read morer large surface element will not turn on, or you cannot adjust the heat intensity, you may have a broken or damaged surface burner switch. Be sure you disconnect your range from the power source before you begin this repair.
Read less

$30.53
In Stock
Temperature Sensor
Part #WB21X22134
The temperature sensor, also known as the oven temperature sensor assembly is usually found in the back of the oven. The function of the oven temperature sensor assembly is to measure the temperature inside your oven while it is on and send the temperature back up to the electronic control, which adjusts as necessary. If your oven is havi...Read moreng difficulty achieving warmer temperatures and/or keeping warmer temperatures up, you may want to test your temperature sensor. Before you make this repair remember to unplug your range from the power source, and turn off the gas shut off valve.
Read less

$16.05
In Stock
Evaporator/Condensor Fan Grommet
Part #WR02X10098
This evaporator fan motor grommet, or condenser fan grommet is built for refrigerators. It provides a cushion between the fan motor and the motor mounting bracket. It is made or round, black plastic and is approximately one inch in diameter. If your grommet is torn or damaged and you are getting noise from the fan motor, you may need to replace it. This is an OEM part sourced directly from the manufacturer.

$21.95
In Stock
Light Bulb - 40W
Part #40A15
This 40-Watt light bulb is sold individually.
It is specially designed to withstand extreme temperatures, so this bulb is compatible with a variety of appliance types including refrigerators, ranges, microwaves, and dryers. It features a frosted glass bulb with a standard metal socket base, which allows you to easily unscrew the burnt-out light and twist the new bulb into place.

$38.32
In Stock
LIGHT SWITCH
Part #WR23X37285
The interior light of your refrigerator is controlled by a switch that is activated when the door is opened and closed. If your refrigerator light will not turn on, there could be an issue with the switch. The switch is spring loaded and is a generally closed type of switch meaning there should be no continuity when the button is depresse...Read mored, and continuity through the switch when the button is not depressed. This plastic, white, OEM switch is sourced directly from the manufacturer, is sold individually and is easy to replace. The repair usually takes less than 15 minutes and requires a flat blade screwdriver and needle nose pliers.
Read less

$50.56
In Stock
Condenser Fan Motor
Part #WR60X10220
This fan motor is most times used with frost-free refrigerators with a condenser coil. When the compressor runs, so does this fan, circulating air through the refrigerator grille, cooling the compressor and condenser coils. This fan motor also helps to evaporate excess water in the drain pan.

$16.05
In Stock
Lid Bumper
Part #WR02X10540
The lid bumper or evaporator fan motor bumper in your refrigerator prevents the fan motor from scraping against the side bracket. If your refrigerator/freezer is noisy, the bumper could be worn down or missing, and the sound could be a result of the motor scraping the side bracket. You will find it between the fan motor and the side brack...Read moreet on the evaporator fan motor assembly. To access the bumper, you will need to remove the evaporator fan motor assembly from the freezer. This part is made of orange rubber and is less than half an inch in diameter. It has a rounded top and a slightly pointed bottom, and is sold individually.
Read less

$61.39
In Stock
Run Capacitor
Part #WR55X24064
Support steady compressor operation with this refrigerator run capacitor. It provides the electrical phase shift needed for the compressor motor to run properly as the cooling system operates. A failing capacitor may contribute to humming, difficulty starting, interrupted compressor operation, or rising compartment temperatures. Visible s...Read morewelling, leaking, or burned terminals may also indicate damage. Unplug the refrigerator before accessing the component. Capacitors can retain an electrical charge after power is disconnected, so follow approved discharge procedures and avoid touching or shorting the terminals. Record the wire positions before replacement. This is an OEM part sourced directly from the manufacturer.
Read less
Common Symptoms of the JCB870SF2SS
How this model fails, and the parts that fix it.
Fridge too warm
Fixed by
these parts
these parts


Show All
Element will not heat
Fixed by
these parts
these parts


Show All
Noisy
Fixed by
these parts
these parts


Show All
Light not working
Fixed by
these parts
these parts


Show All
Freezer section too warm
Fixed by
these parts
these parts
Show All
Fridge too cold
Fixed by
these parts
these parts
Show All
Will Not Start
Fixed by
these parts
these parts

Show All
Freezer not defrosting
Fixed by
these parts
these parts


Show All
Little to no heat when baking
Fixed by
these parts
these parts
Show All
Leaking
Fixed by
these parts
these parts


Show All
Fridge and Freezer are too warm
Fixed by
these parts
these parts
Show All
Oven not heating evenly
Fixed by
these parts
these parts
Show All
Frost buildup
Fixed by
these parts
these parts
Show All
Oven is too hot
Fixed by
these parts
these parts
Show All
Too warm
Fixed by
these parts
these parts
Show All
Not dispensing water
Fixed by
these parts
these parts


Show All
Ice maker not making ice
Fixed by
these parts
these parts

Show All
Door won’t open or close
Fixed by
these parts
these parts


Show All
Fridge runs too long
Fixed by
these parts
these parts
Show All
Freezer too cold
Fixed by
these parts
these parts
Show All
Not cleaning dishes properly
Fixed by
these parts
these parts

Show All
Door won’t close
Fixed by
these parts
these parts


Show All
Clicking sound
Fixed by
these parts
these parts
Show All
Ice maker won’t dispense ice
Fixed by
these parts
these parts
Show All
Little to no heat when broiling
Fixed by
these parts
these parts
Show All
Doesn’t stop running
Fixed by
these parts
these parts
Show All
Too cold
Fixed by
these parts
these parts
Show All
Door Sweating
Fixed by
these parts
these parts
Show All
Watch our pros, then fix it yourself.
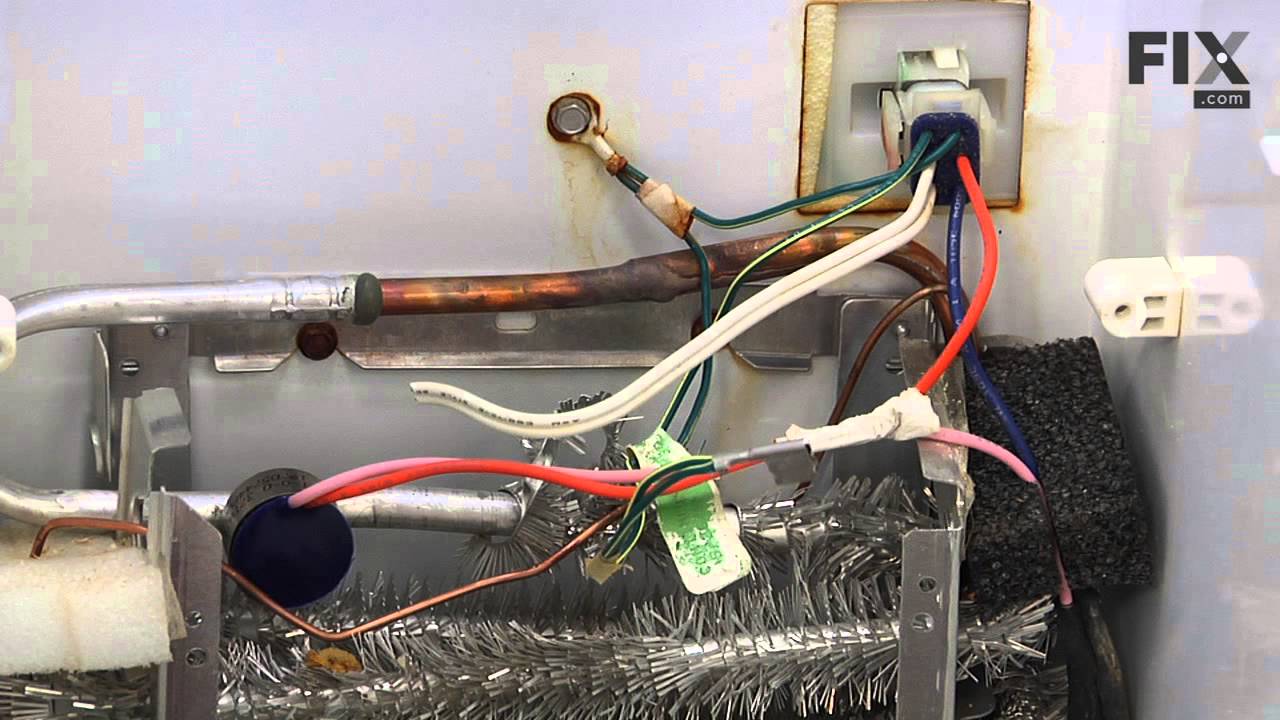
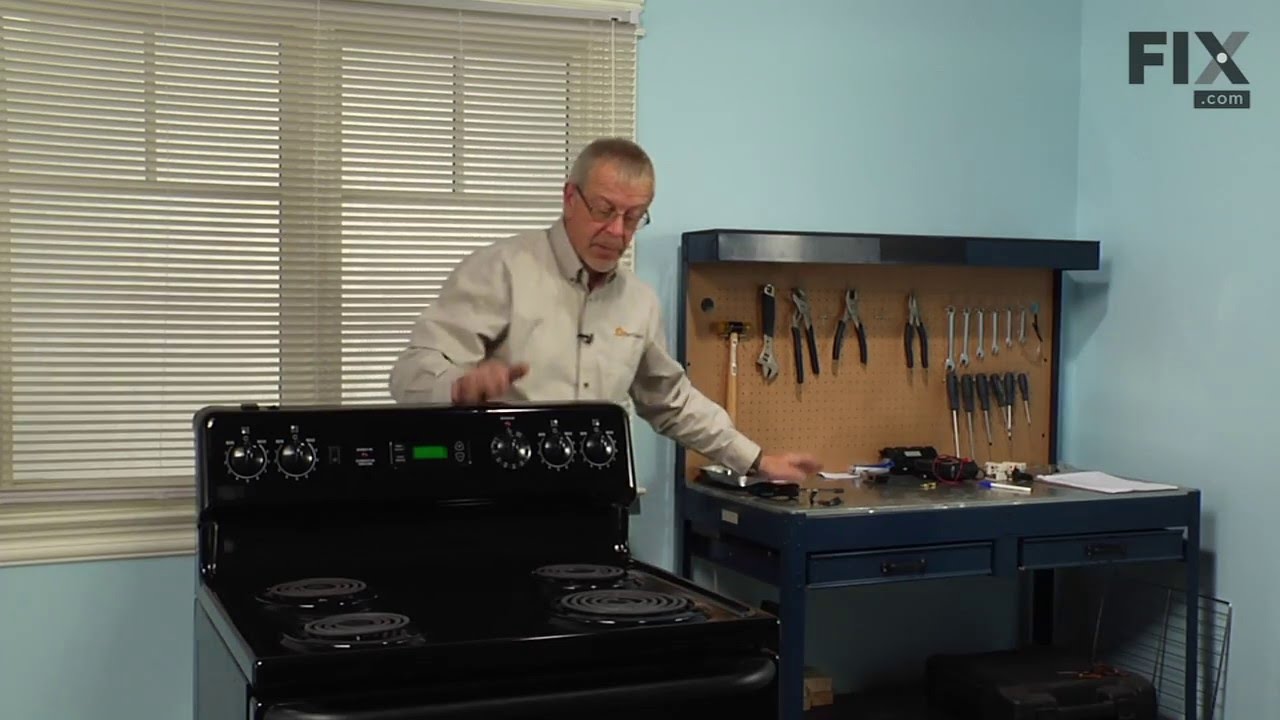
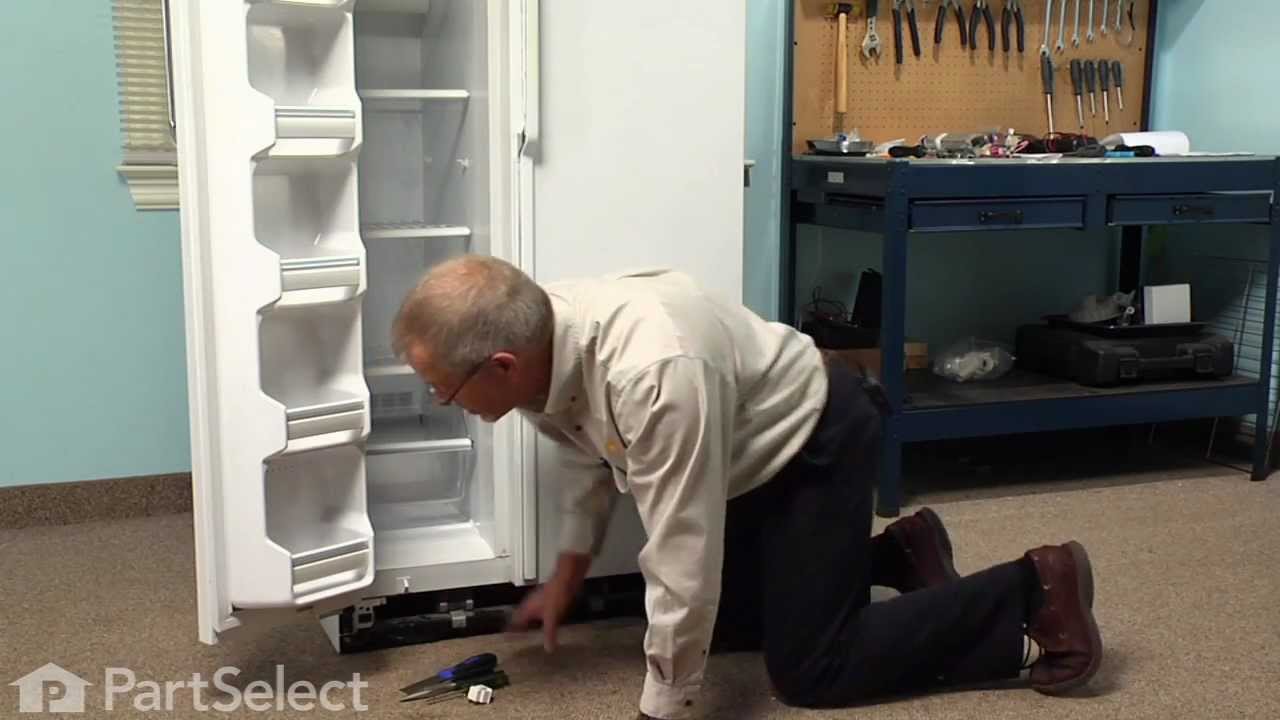
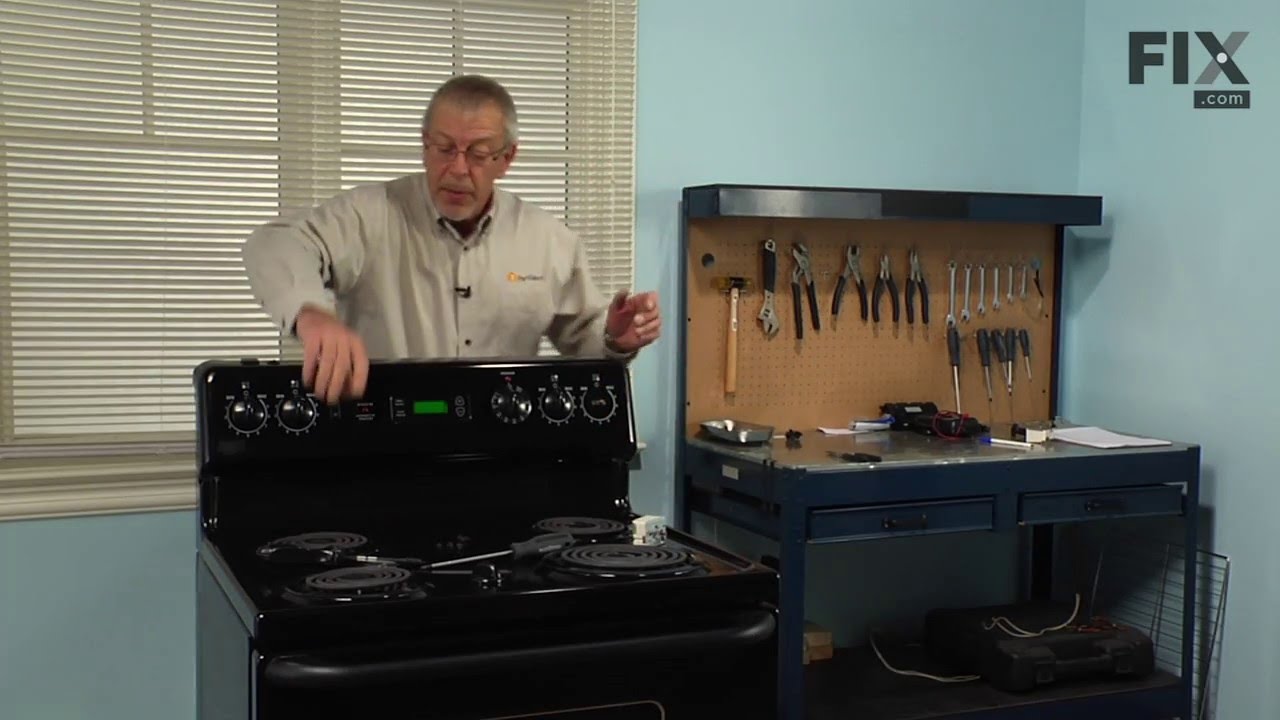
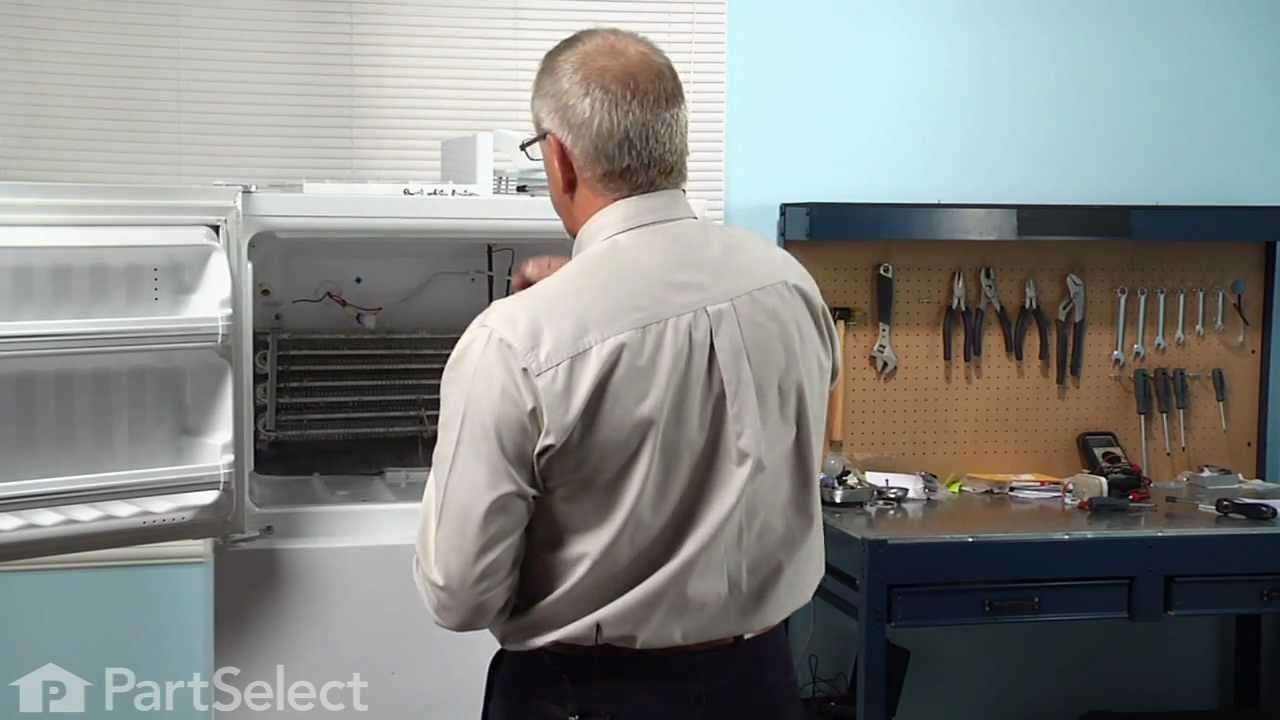
See how others fixed this model. Time, tools, difficulty, and steps that lead to victory!
View More
Search repair tips from other customers using simple keywords like "replace", "fit", "remove", "inspect". DIY doesn't mean you have to do it alone!
Search filter:
Clear Filter
Your search term must have 3 or more characters.
Burner bowls needed replacement
488 of 507 people
found this instruction helpful.
Very easy repair, Pulled burner coil out, removed old burner bowl. Put in new burner bowl, plugged burner coil back in... easy as 1,2,3
Other Parts Used:


Was this helpful?
Thank you for voting!
Burner Bowl Needed Replaced
524 of 693 people
found this instruction helpful.
Removed burner element and put in bowl
Other Parts Used:
Was this helpful?
Thank you for voting!