This 40-Watt light bulb is sold individually.
It is specially designed to withstand extreme temperatures, so this bulb is compatible with a variety of appliance types including refrigerators, ranges, microwaves, and dryers. It features a frosted glass bulb with a standard metal socket base, which allows you to easily unscrew the burnt-out light and twist the new bulb into place.
This surface element control switch, also known as an infinite switch, regulates the power supplied to a 6-inch, 1560-watt heating element on electric ranges. It allows for precise adjustment of heat levels by cycling the element on and off, rather than relying on fixed temperature settings. Operating at 240 volts and drawing between 4.4 ...Read moreto 7.4 amps, the switch ensures consistent and responsive heat control. Replacing a faulty switch can resolve issues such as the element not heating, staying stuck on high, or fluctuating in temperature. This component is essential for maintaining safe and efficient cooking performance.
This part is the replacement light socket for your oven. The oven light socket provides power to the light, and at the same time holds the light bulb in place.
This part is a replacement screw for your oven. It is made of black metal and is sold individually. This screw is approximately 1/4 inch in diameter and about 1/2 inch in length. It is designed to connect the different parts of your oven door. This part is an authentic OEM part sourced directly from the manufacturer.
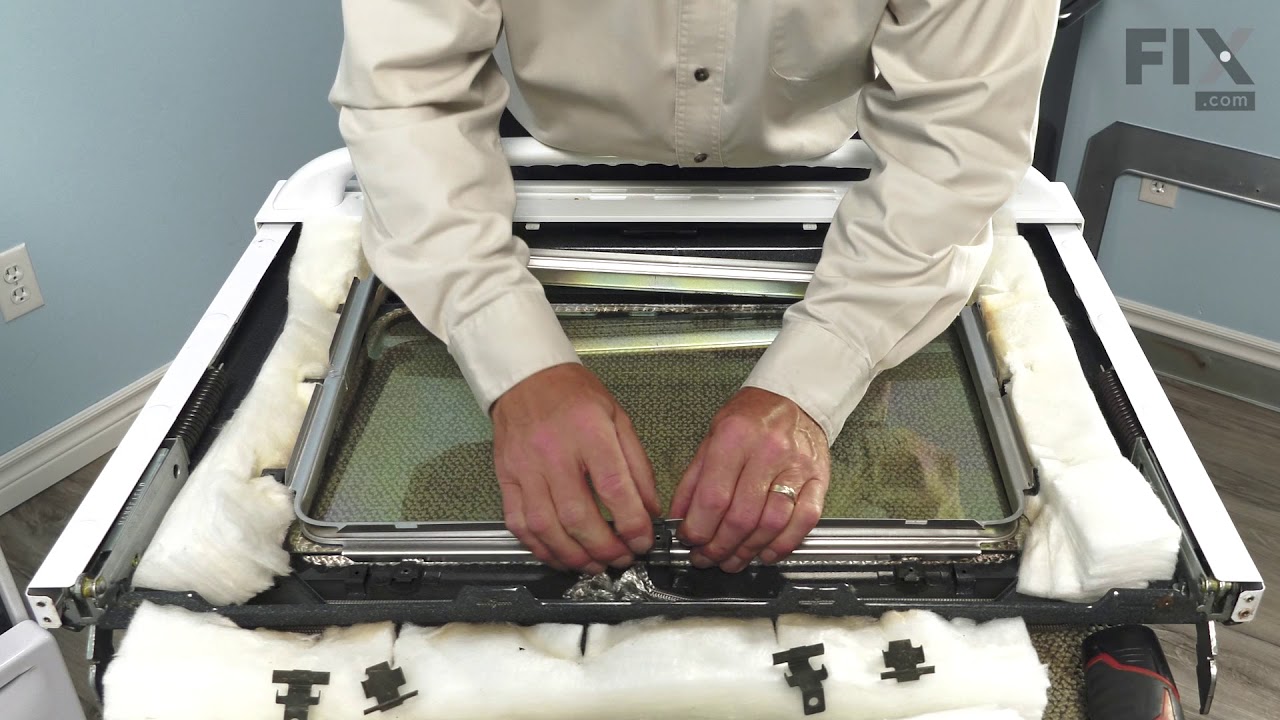
This oven door gasket assembly forms a tight, heat-retaining seal around the oven cavity to keep temperatures consistent and ensure even baking and roasting. Made from durable, heat-resistant rubber, it prevents warm air and moisture from escaping, helping the oven cook efficiently while reducing energy loss. Replacing a worn or damaged g...Read moreasket can resolve issues such as uneven cooking, visible gaps around the door, or excess condensation on the exterior. Installation is typically simple—remove the old seal from its clips or grooves and press the new gasket securely into place to restore optimal oven performance.
Ask our experts a question about this model and we'll get back to you as soon as possible!
We may have answered a similar question already! Search questions and answers left by others using simple keywords like "fit", "broken", "easy", or "quality" to find questions that match.
Search filter:
Clear Filter
Your search term must have 3 or more characters.
Sort by:
Prev
1
Next
Sorry, we couldn't find any existing answers that matched.Try using some different or simpler keywords, or submit your new question by using the "Ask a Question" button above!
Joe - For model number JCB870SF1SS
April 7, 2024
Hi. I have a dual element on my GE stove and it’s stuck on high heat all the time. The model number is JCB870SK1SS.
Thanks. Joe
Hello Joe, thank you for your inquiry. We have concluded that the issue is with the surface element switch, part number PS9862006. You may need to check it to solve the problem. Glad to be of assistance!
See how others fixed this model. Time, tools, difficulty, and steps that lead to victory!View More
Search repair tips from other customers using simple keywords like "replace", "fit", "remove", "inspect". DIY doesn't mean you have to do it alone!
Search filter:
Clear Filter
Your search term must have 3 or more characters.
Oven sensor was not holding temperature range.
48 of 81 peoplefound this instruction helpful.
CHARLA from NEW BRAUNFELS, TX
Really Easy
Less than 15 mins
Nutdriver
Per the instructions included with part.
Was this helpful?
Thank you for voting!
defective temp. sensor
20 of 30 peoplefound this instruction helpful.
Armand from COVENTRY, CT
Easy
30 - 60 mins
Screw drivers
Removed oven from cabinet. unblug old sensor pluged in new and reinstalled oven. Esay repair though wish oven was designed so did not have to pull itout of cabinet which requires disconect electric cabel
Was this helpful?
Thank you for voting!
When baking at temps > 400 the oven would beep with an error code F5 and shut off
16 of 20 peoplefound this instruction helpful.
Jack from Cypress, TX
Easy
30 - 60 mins
Nutdriver, Screw drivers
I downloaded the installaion manual from the web for this model. First htings first, I located the circuit breaker for the oven and turned it off. Removed the lower trim piece from the bottom, next lifted the oven door off its hinges and set it to the side. I then wrapped a couple of small towels around the hinges for the door as per
... Read morethe manual (the hinges can pinch a finger). I then removed the four screws which secured the oven into the cabinet. Next I slid the oven forward allowing me access to the rear. I removed the pieces from the rear to gain access to the sensors connector, and unpl;ugged the sensor. Went around to the front and unscrewed the 2 screws securing the sensor and removed it. I then installed the new sensor, replaced the rear covers, slid the oven back into the cabinet, secured the four screws, snapped on the lower trim, remounted the oven door, and turned the breaker on. Oven working fine now.


 My Orders