


 My Orders




JCB840SF2SS General Electric Range - Overview
Diagrams for JCB840SF2SS
See every part. Know exactly what you need.


Enter a part description. DIY Heroes keep it simple, eg. "belt" or "pump".
Search filter:
Clear Filter
Your search term must have 3 or more characters.

$30.53
In Stock
Temperature Sensor
Part #WR55X10025
This temperature sensor, also called a thermistor, measures temperature inside the refrigerator or freezer and sends readings to the main control board. The board uses this information to control cooling, including compressor and fan operation. Incorrect readings may cause the compartment to become too warm or too cold, or make cooling ru...Read moren longer than needed. The replacement includes the sensor body and wire leads. Its location varies by appliance. This is an OEM part sourced directly from the manufacturer.
Read less

$30.53
In Stock
Temperature Sensor
Part #WB21X22134
The temperature sensor, also known as the oven temperature sensor assembly is usually found in the back of the oven. The function of the oven temperature sensor assembly is to measure the temperature inside your oven while it is on and send the temperature back up to the electronic control, which adjusts as necessary. If your oven is havi...Read moreng difficulty achieving warmer temperatures and/or keeping warmer temperatures up, you may want to test your temperature sensor. Before you make this repair remember to unplug your range from the power source, and turn off the gas shut off valve.
Read less

$77.75
In Stock
Refrigerator Fresh Food Evaporator Fan Motor (DC)
Part #WR60X26866
Air moving over the refrigerator coils helps maintain refrigerator and freezer temperatures. This black OEM evaporator fan motor is for the fresh food section. Confirm compatibility with your refrigerator’s model number.

$112.60
In Stock
Dual Radiant Element - 9 Inch
Part #WB30T10133
This 9-inch dual radiant element is a genuine replacement component designed for use in electric ranges and cooktops. Positioned beneath the main glass cooktop surface, it provides the high, consistent heat required for cooking. As the larger of the two element sizes, it accommodates larger cookware and supports versatile cooking needs. I...Read moref the element fails to heat or heats unevenly, replacement is necessary to restore proper function. This part is sold individually and is engineered for durability and compatibility with a range of models. Always disconnect the appliance from the power source before beginning installation to ensure safety.
Read less

$166.42
In Stock
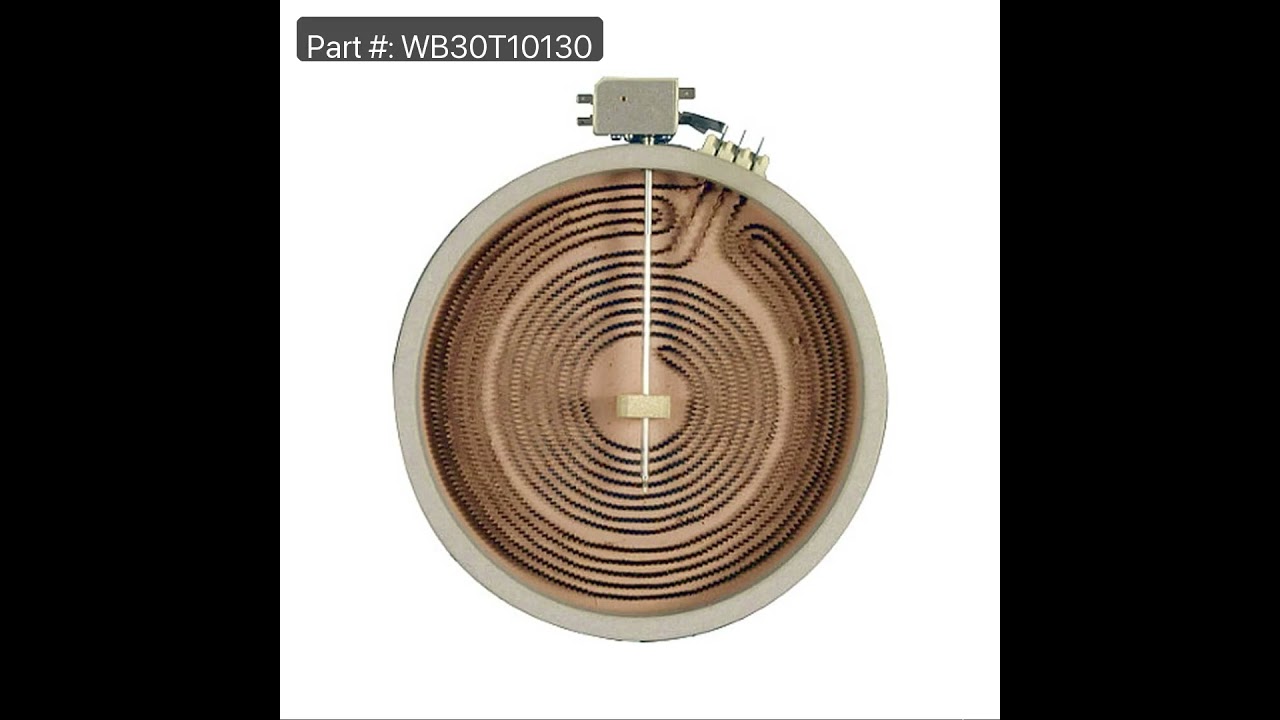
Haliant Element - 12 Inch
Part #WB30T10130
This dual radiant surface heating element is a genuine replacement component designed for select GE electric flat-top ranges, stoves, and cooktops. Commonly referred to as a "haliant" element, it features an integrated 12-inch and 9-inch heating zone, allowing for flexible cooking options based on pan size. Constructed from a durable nick...Read moreel-chromium alloy, it delivers consistent heat output and long-lasting performance. With a standard wattage of 1950 watts—though some replacements may offer up to 3000 watts—this element ensures efficient heat transfer to the glass cooking surface. Replacing a worn or malfunctioning element can restore proper heating and improve overall cooking performance. Compatibility should be verified using your appliance’s model number prior to installation.
Read less

$46.22
In Stock
COVER LED Assembly
Part #WR55X11132
Brighten the fresh food compartment with this refrigerator LED light and cover assembly. The built-in light board illuminates stored food, making containers, labels, and items at the back easier to see. Its cover holds the light in place and helps protect the components from accidental contact. A failed module may cause dim lighting, flic...Read morekering, or a dark section inside the refrigerator. Replacing a faulty assembly helps restore clear, steady lighting. Unplug the refrigerator before disconnecting the old module or installing the replacement. This is an OEM part sourced directly from the manufacturer.
Read less

$41.65
In Stock
GLASS Vegetable PAN
Part #WR32X10911
This is the glass drawer cover insert for models of refrigerator. This glass pane is used as a shelf and cover that lays on top of the drawer below it. If this glass is missing or damaged in any way, it will need to be replaced. To replace this glass drawer cover, simply lift the old one out from underneath, and lay the new one in. This g...Read morelass pane measures 30-inches long by 10-inches wide, and is an OEM part for your fridge, so it is not sold with any other parts or accessories.
Read less

$16.47
In Stock
RECEPTACLE PUSH-IN
Part #WB08T10026
This part is the replacement light socket for your oven. The oven light socket provides power to the light, and at the same time holds the light bulb in place.

$16.05
In Stock
Lens
Part #WB25T10041
This part is a replacement lens for your oven or range. The lens is red in color, and when the elements are turned on, the light behind the lens will turn on to inform the user that the element is, in fact, on. The lens is a little less than half an inch in diameter and is made of plastic. If the light behind the lens still works, you sho...Read moreuld be able to simply remove the front panel and pop the damaged lens out of position, then replace it with the new one. This part is sold individually and is an OEM part sourced directly from the manufacturer.
Read less

$17.28
In Stock

$105.26
In Stock

$64.77
In Stock
Terminal Block Kit
Part #WB17T10011
This part provides a way of connecting individual electrical wires and offers protection of the device from electrical surges (voltages and/or currents).
Common Symptoms of the JCB840SF2SS
How this model fails, and the parts that fix it.
Fridge too warm
Fixed by
these parts
these parts


Show All
Element will not heat
Fixed by
these parts
these parts


Show All
Freezer section too warm
Fixed by
these parts
these parts
Show All
Fridge too cold
Fixed by
these parts
these parts
Show All
Freezer not defrosting
Fixed by
these parts
these parts
Show All
Little to no heat when baking
Fixed by
these parts
these parts
Show All
Oven not heating evenly
Fixed by
these parts
these parts
Show All
Light not working
Fixed by
these parts
these parts


Show All
Fridge and Freezer are too warm
Fixed by
these parts
these parts
Show All
Oven is too hot
Fixed by
these parts
these parts
Show All
Frost buildup
Fixed by
these parts
these parts
Show All
Too warm
Fixed by
these parts
these parts
Show All
Will Not Start
Fixed by
these parts
these parts

Show All
Freezer too cold
Fixed by
these parts
these parts
Show All
Fridge runs too long
Fixed by
these parts
these parts
Show All
Noisy
Fixed by
these parts
these parts

Show All
Not dispensing water
Fixed by
these parts
these parts


Show All
Ice maker not making ice
Fixed by
these parts
these parts
Show All
Leaking
Fixed by
these parts
these parts

Show All
Little to no heat when broiling
Fixed by
these parts
these parts
Show All
Doesn’t stop running
Fixed by
these parts
these parts
Show All
Too cold
Fixed by
these parts
these parts
Show All
Watch our pros, then fix it yourself.
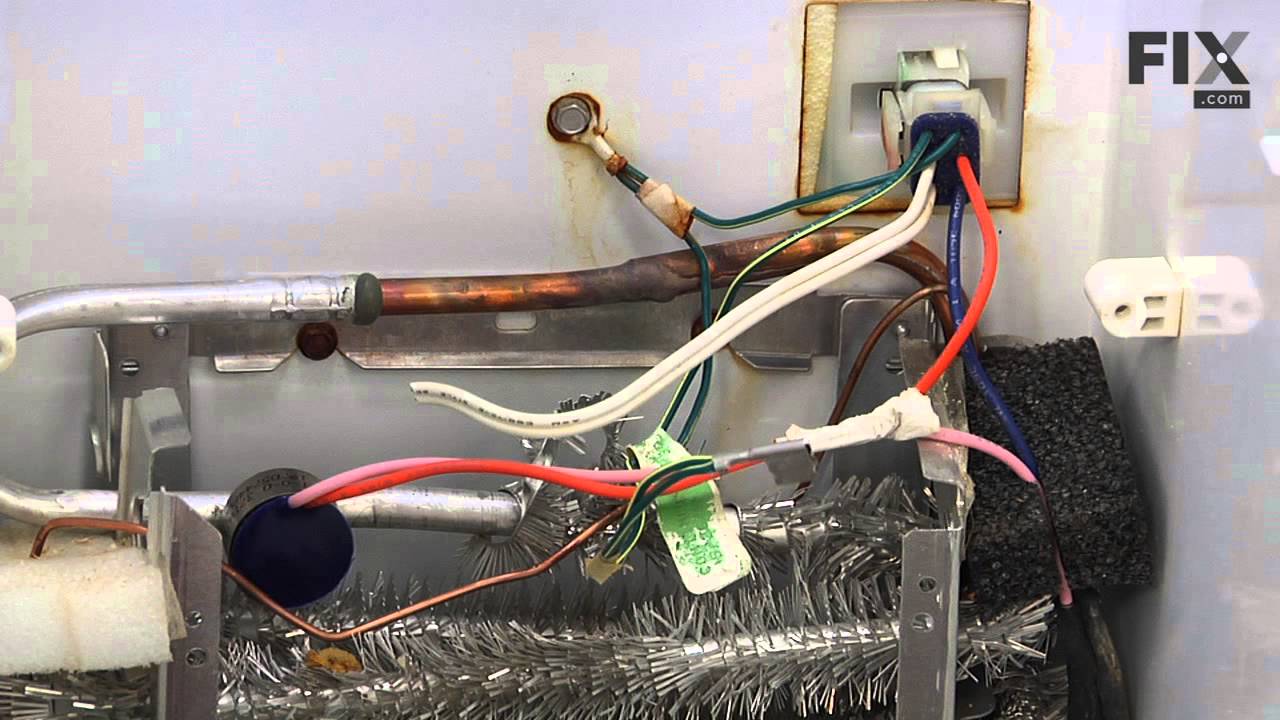
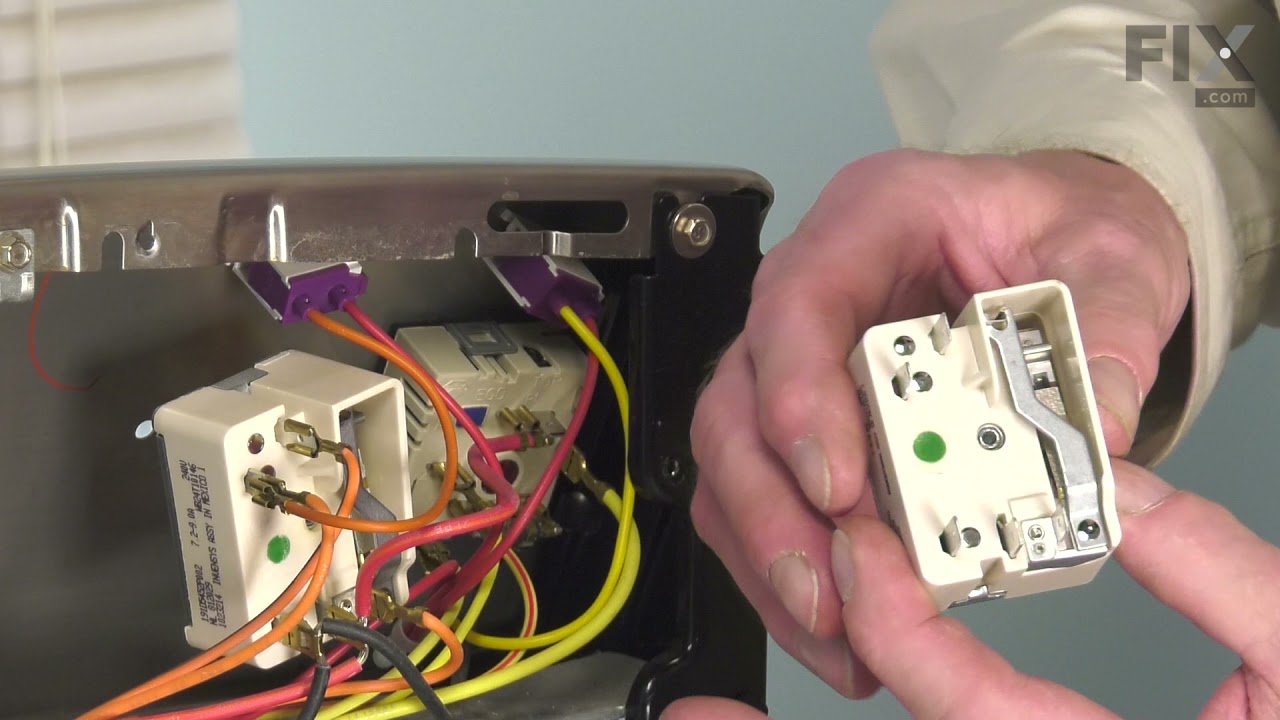
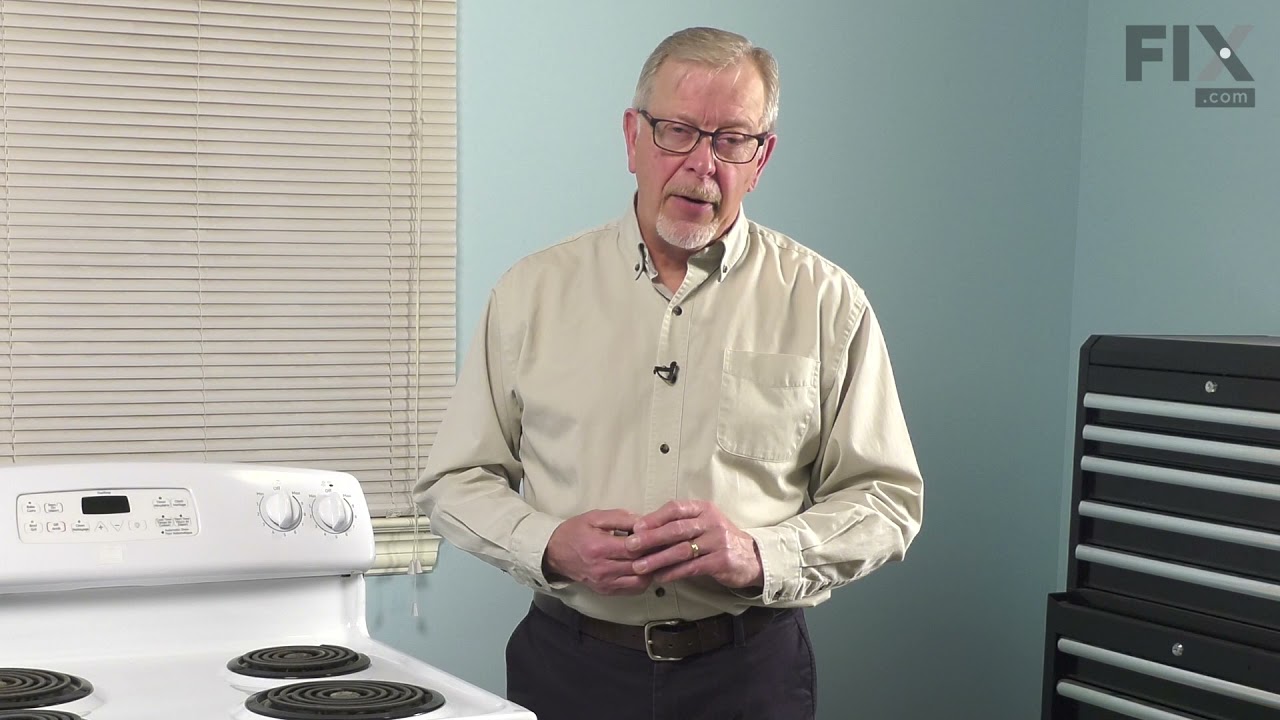
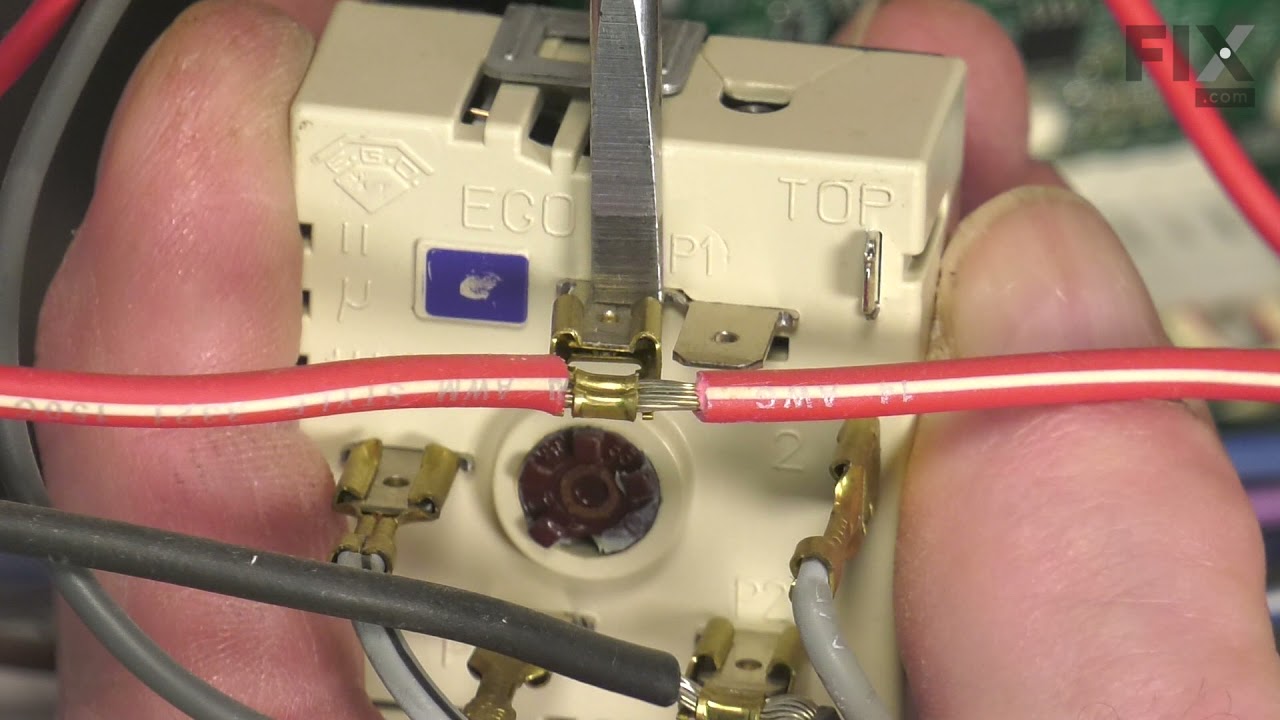
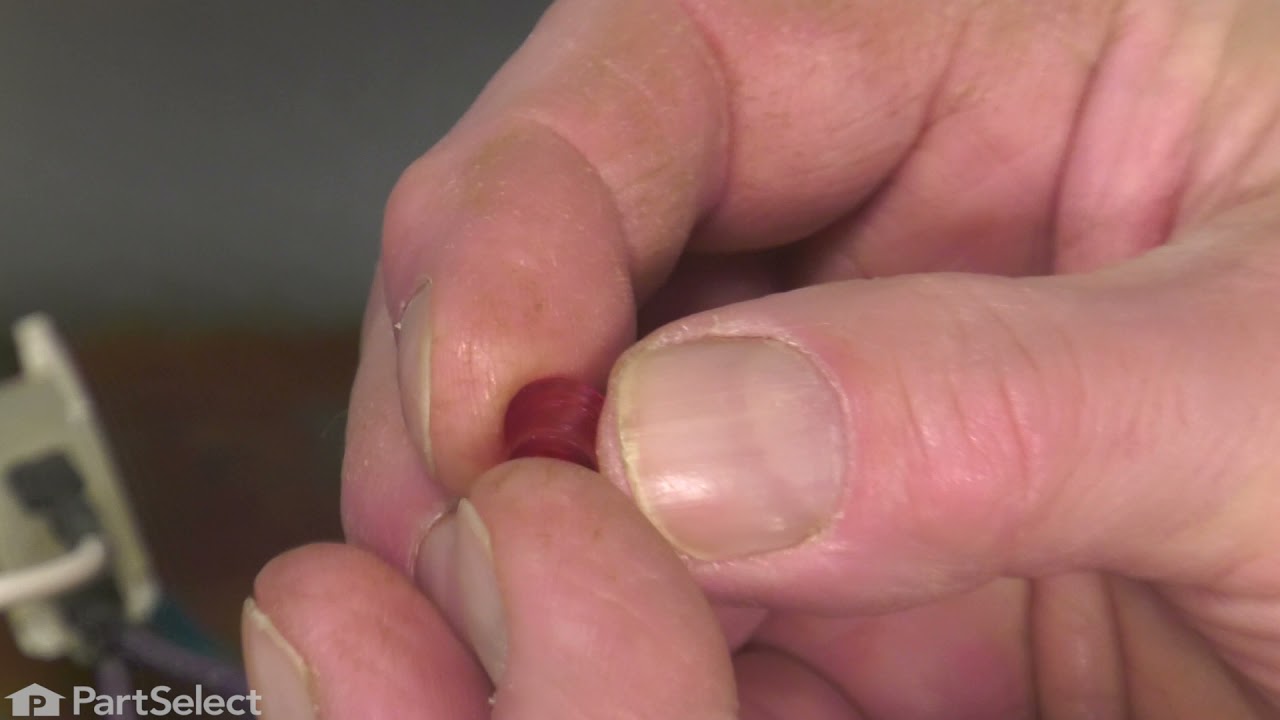
See how others fixed this model. Time, tools, difficulty, and steps that lead to victory!
View More