


 My Orders




JCB730DF3BB General Electric Range - Overview
Diagrams for JCB730DF3BB
See every part. Know exactly what you need.


Enter a part description. DIY Heroes keep it simple, eg. "belt" or "pump".
Search filter:
Clear Filter
Your search term must have 3 or more characters.

$30.53
In Stock
Temperature Sensor
Part #WR55X10025
This temperature sensor, also called a thermistor, measures temperature inside the refrigerator or freezer and sends readings to the main control board. The board uses this information to control cooling, including compressor and fan operation. Incorrect readings may cause the compartment to become too warm or too cold, or make cooling ru...Read moren longer than needed. The replacement includes the sensor body and wire leads. Its location varies by appliance. This is an OEM part sourced directly from the manufacturer.
Read less

$38.32
In Stock
LIGHT SWITCH
Part #WR23X37285
The interior light of your refrigerator is controlled by a switch that is activated when the door is opened and closed. If your refrigerator light will not turn on, there could be an issue with the switch. The switch is spring loaded and is a generally closed type of switch meaning there should be no continuity when the button is depresse...Read mored, and continuity through the switch when the button is not depressed. This plastic, white, OEM switch is sourced directly from the manufacturer, is sold individually and is easy to replace. The repair usually takes less than 15 minutes and requires a flat blade screwdriver and needle nose pliers.
Read less

$61.39
In Stock
Run Capacitor
Part #WR55X24064
Support steady compressor operation with this refrigerator run capacitor. It provides the electrical phase shift needed for the compressor motor to run properly as the cooling system operates. A failing capacitor may contribute to humming, difficulty starting, interrupted compressor operation, or rising compartment temperatures. Visible s...Read morewelling, leaking, or burned terminals may also indicate damage. Unplug the refrigerator before accessing the component. Capacitors can retain an electrical charge after power is disconnected, so follow approved discharge procedures and avoid touching or shorting the terminals. Record the wire positions before replacement. This is an OEM part sourced directly from the manufacturer.
Read less

$70.34
In Stock
Door Shelf Bin
Part #WR71X11052
Keep milk, juice, and other large containers within easy reach with this refrigerator gallon door bin. Its deep design provides roomy door storage, freeing up the main shelves for other groceries. The clear front makes contents easy to see, while the white plastic base supports bottles and jugs. Cracks, broken mounting tabs, or a sagging ...Read morebase may leave items poorly supported. Replacing a damaged bin restores useful storage space and helps keep containers secure when the refrigerator door opens and closes. This is an OEM part sourced directly from the manufacturer.
Read less

$16.05
In Stock
Door Handle Fastener
Part #WR01X11007
A stable refrigerator handle depends on a secure mounting point at the door. This metal door handle fastener threads into the door and provides a stud for the handle to fit over and lock onto. A missing, bent, or broken fastener may allow the handle to wobble, pull away, or detach during use. Replacing damaged hardware helps restore firm ...Read morehandle support and a reliable grip when opening the appliance. The fastener anchors the handle assembly while allowing the handle to be removed for maintenance or replacement. This is an OEM part sourced directly from the manufacturer.
Read less

$16.05
In Stock
Screw 8-16 hxw 1/2 Stainless Steel
Part #WD02X10067
This OEM-compatible screw is designed for use with many GE dishwashers. Measuring 8-16 HXW and 1/2" in length, this stainless steel screw secures the middle spray arm hub to the upper rack assembly, ensuring stable and effective spray arm performance.
Sold individually, this durable metal fastener requires a nutdriver for proper installation.

$19.48
In Stock
Mounting Screw
Part #WR01X11014
This OEM part is from GE and is designed for use in your refrigerator. This part is known as a door mounting screw, and is for mounting the handles of the refrigerator to the door studs.

$46.22
In Stock
COVER LED Assembly
Part #WR55X11132
Brighten the fresh food compartment with this refrigerator LED light and cover assembly. The built-in light board illuminates stored food, making containers, labels, and items at the back easier to see. Its cover holds the light in place and helps protect the components from accidental contact. A failed module may cause dim lighting, flic...Read morekering, or a dark section inside the refrigerator. Replacing a faulty assembly helps restore clear, steady lighting. Unplug the refrigerator before disconnecting the old module or installing the replacement. This is an OEM part sourced directly from the manufacturer.
Read less

$205.04
In Stock
Motor and Drain Pump
Part #WH23X10028
This pump helps expel water from the washing machine and is activated after the spin speed is maintained for a specific period of time. This pump has sound isolation mounting washers and a filter.

$64.76
In Stock
Freezer Door Gasket (Dorian Gray)
Part #WR14X36194
Frost buildup can mean the freezer door gasket needs replacement. It seals the door opening to help keep cooled air inside. This OEM gasket is listed for select refrigerators; check your appliance model number to confirm compatibility.

$83.74
In Stock

$55.24
In Stock
Common Symptoms of the JCB730DF3BB
How this model fails, and the parts that fix it.
Fridge too warm
Fixed by
these parts
these parts


Show All
Light not working
Fixed by
these parts
these parts


Show All
Freezer section too warm
Fixed by
these parts
these parts

Show All
Fridge too cold
Fixed by
these parts
these parts
Show All
Freezer not defrosting
Fixed by
these parts
these parts

Show All
Will not drain
Fixed by
these parts
these parts


Show All
Will Not Start
Fixed by
these parts
these parts
Show All
Fridge and Freezer are too warm
Fixed by
these parts
these parts

Show All
Frost buildup
Fixed by
these parts
these parts
Show All
Too warm
Fixed by
these parts
these parts
Show All
Leaking
Fixed by
these parts
these parts


Show All
Door won’t open or close
Fixed by
these parts
these parts


Show All
Fridge runs too long
Fixed by
these parts
these parts
Show All
Not dispensing water
Fixed by
these parts
these parts


Show All
Freezer too cold
Fixed by
these parts
these parts
Show All
Not cleaning dishes properly
Fixed by
these parts
these parts

Show All
Ice maker not making ice
Fixed by
these parts
these parts

Show All
Noisy
Fixed by
these parts
these parts
Show All
Door Sweating
Fixed by
these parts
these parts

Show All
Clicking sound
Fixed by
these parts
these parts
Show All
No hot or cold water
Fixed by
these parts
these parts
Show All
Doesn’t stop running
Fixed by
these parts
these parts
Show All
Too cold
Fixed by
these parts
these parts
Show All
Ice maker won’t dispense ice
Fixed by
these parts
these parts

Show All
Draining Issues
Fixed by
these parts
these parts
Show All
Watch our pros, then fix it yourself.
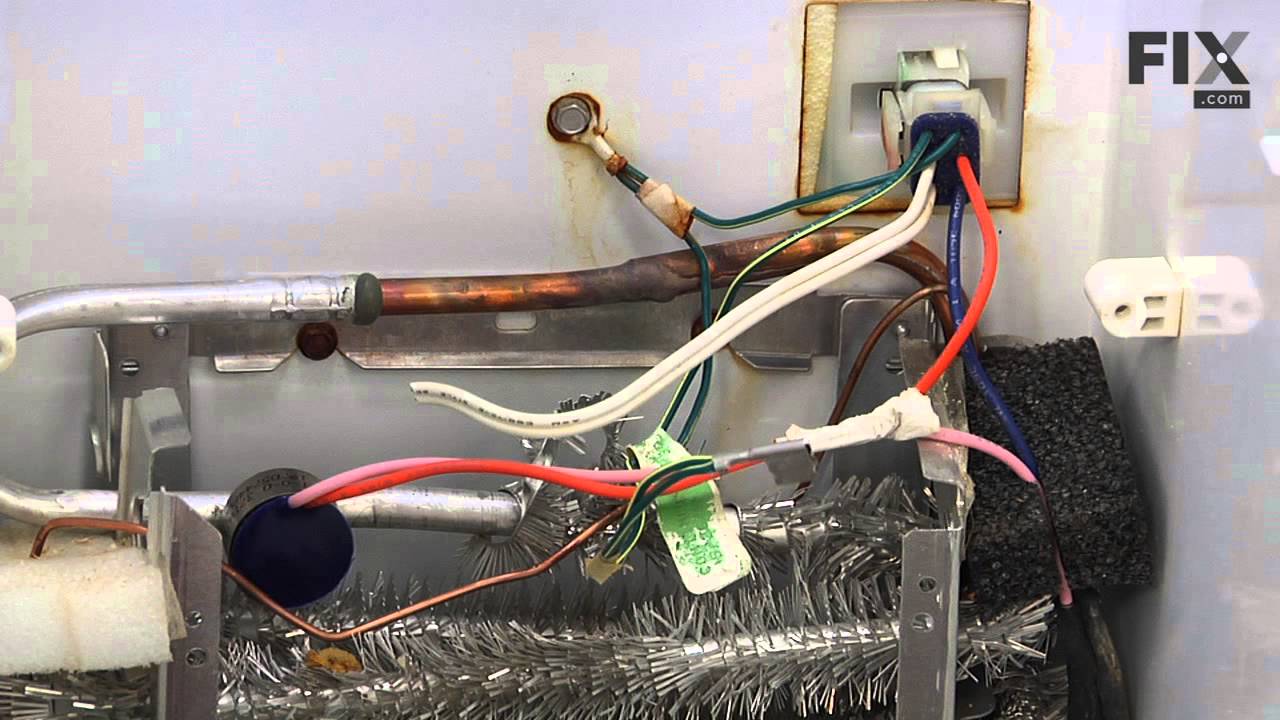
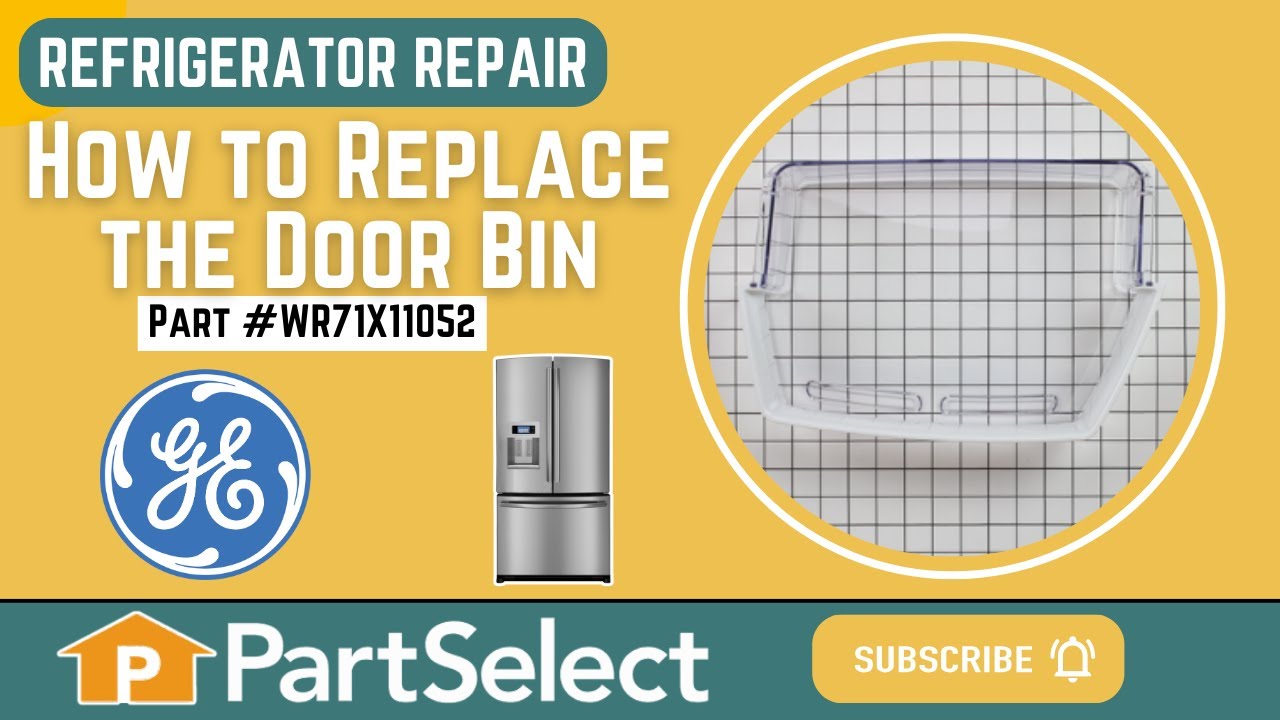
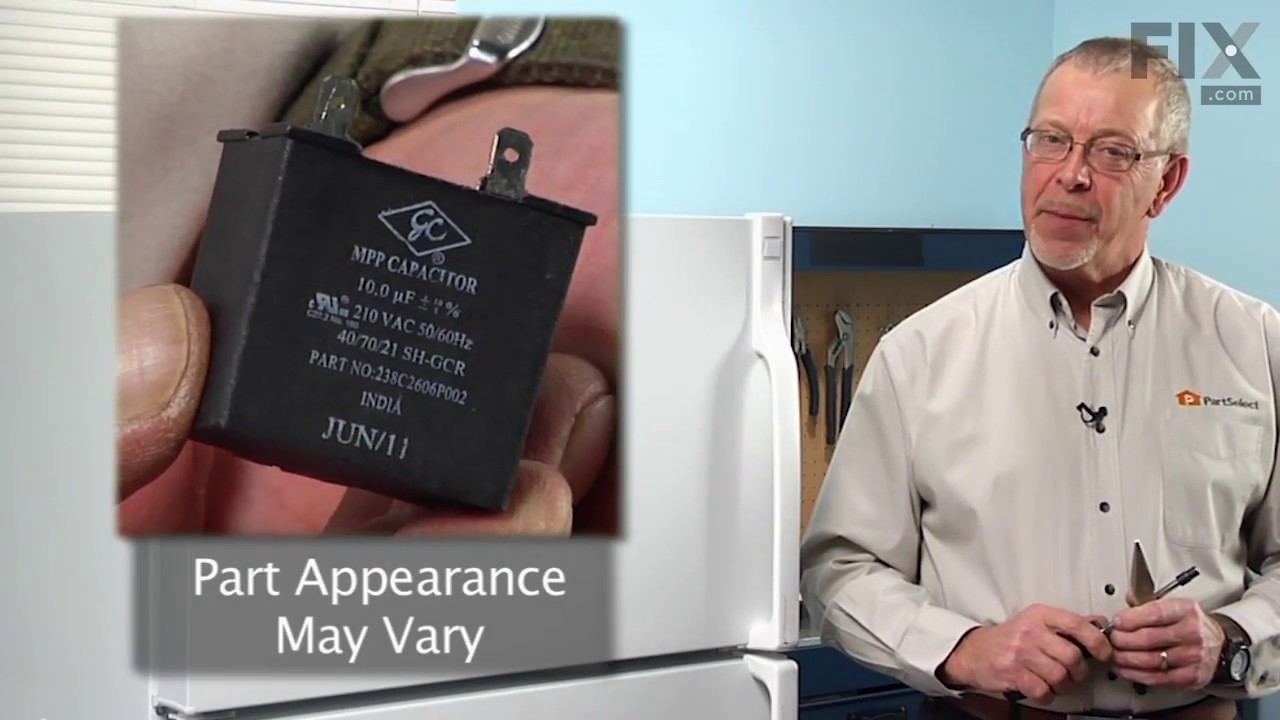
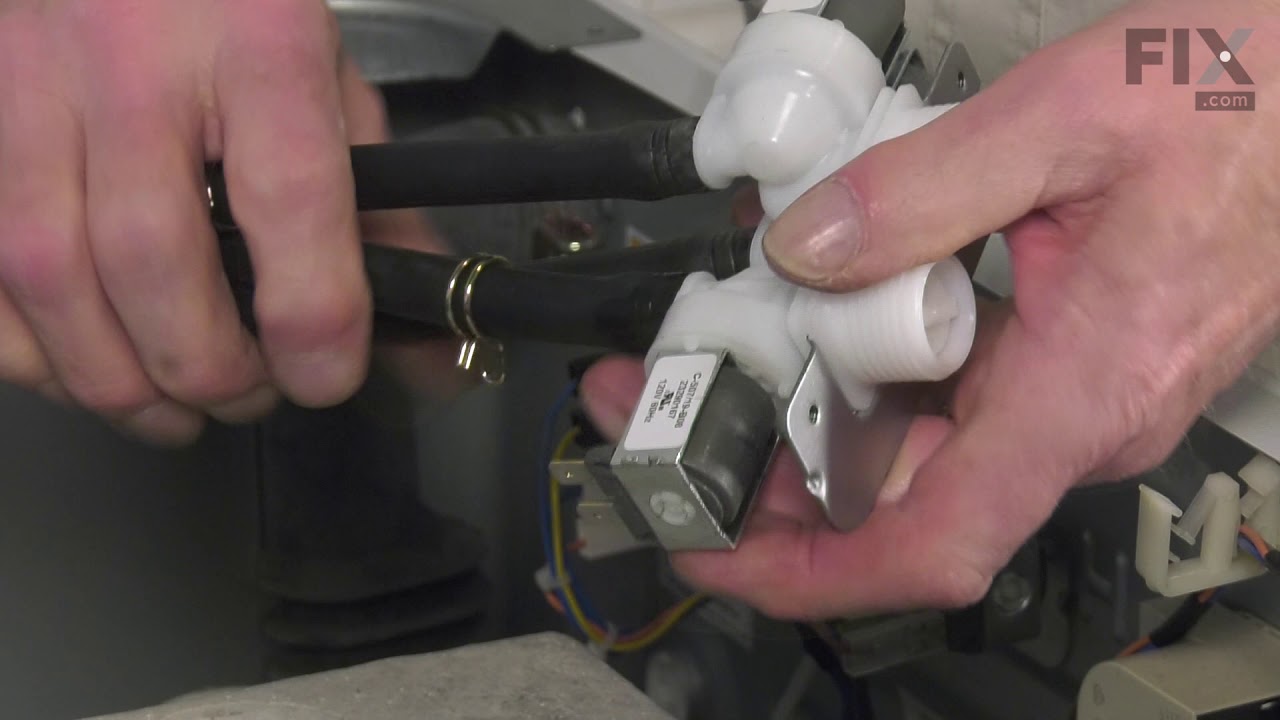
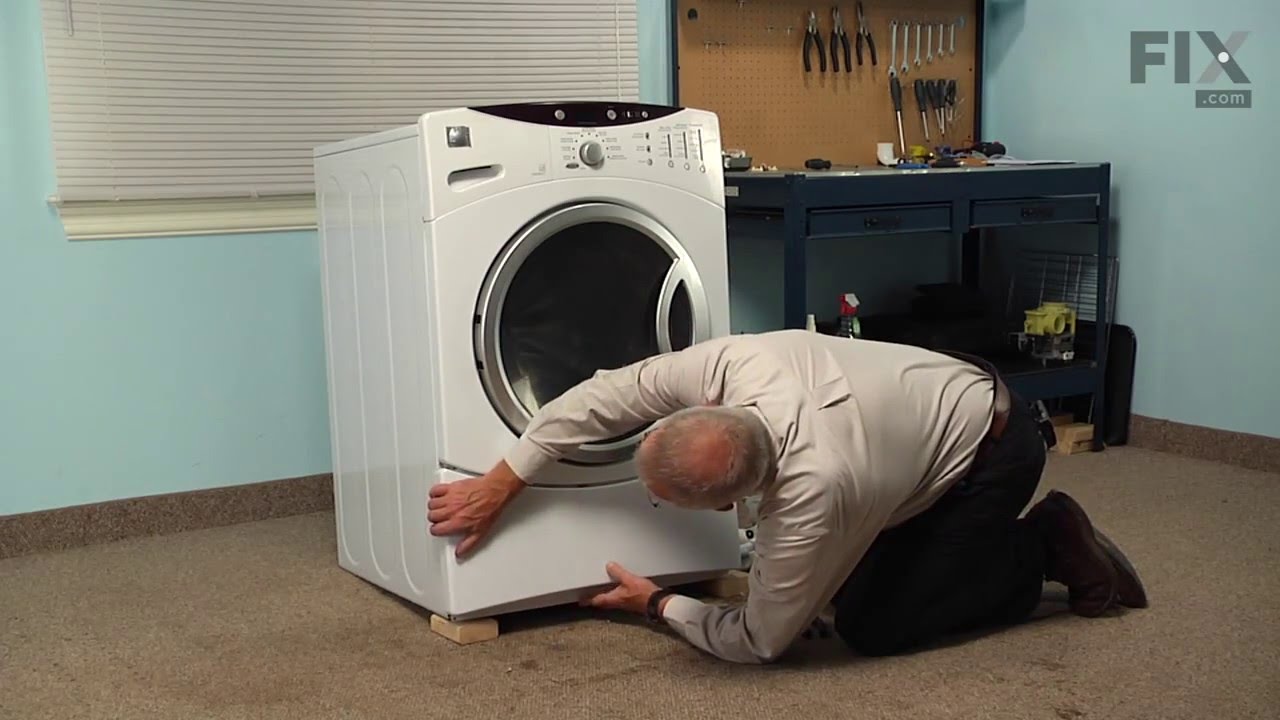
See how others fixed this model. Time, tools, difficulty, and steps that lead to victory!
View More