


 My Orders




JCB2388GRB Jenn-Air Refrigerator - Overview
Diagrams for JCB2388GRB
See every part. Know exactly what you need.


Enter a part description. DIY Heroes keep it simple, eg. "belt" or "pump".
Search filter:
Clear Filter
Your search term must have 3 or more characters.

$95.17
In Stock
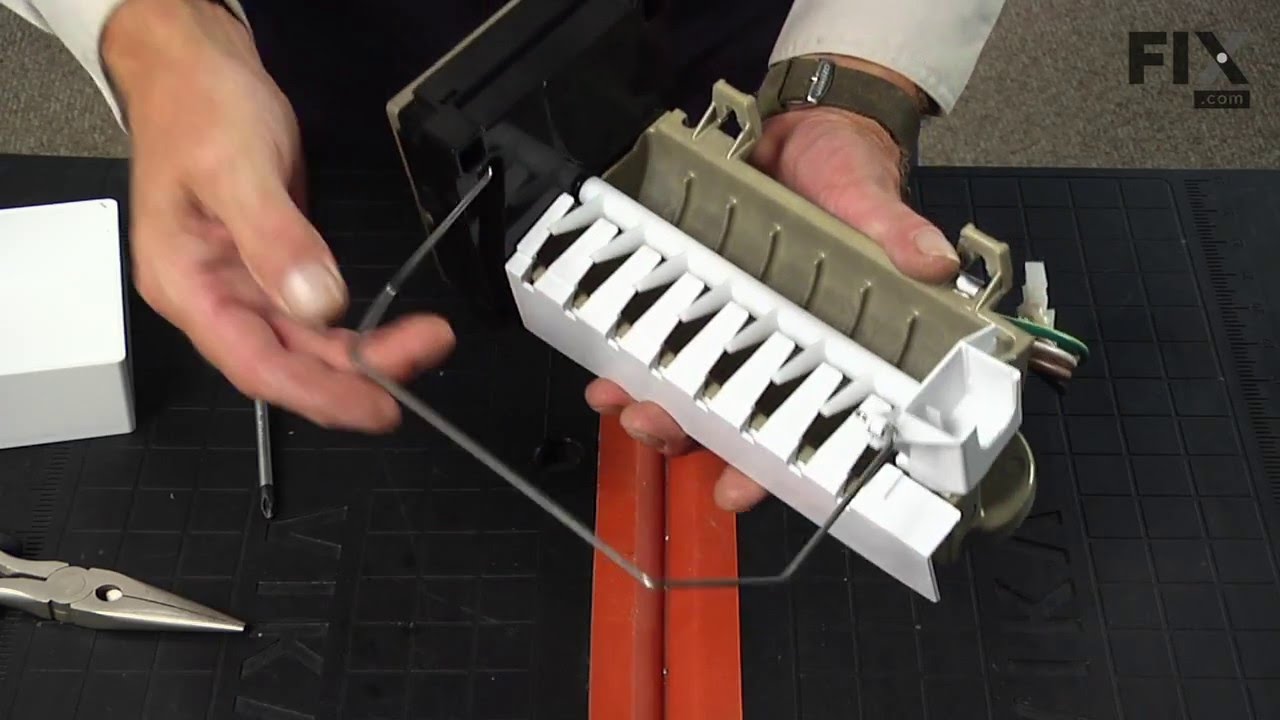
Replacement Ice Maker
Part #D7824706Q
This ice maker (Ice Maker Assembly, Refrigerator Ice Maker) produces ice cubes that are ejected into the storage bucket. It is located in the freezer section of your appliance, mounted on the freezer wall. The ice maker can break from normal wear and accidental damage. If this happens, your refrigerator may no longer make ice cubes, or ma...Read morey not make enough cubes, and the part should be replaced. This model measures approximately 11 inches long and 5 inches wide. It’s constructed of plastic and metal, and comes in black/white/silver. This assembly includes the ice mold and the control device.
Read less

$30.53
In Stock

$13.95
In Stock
Light Bulb - 120V 25W
Part #WPA3073101
This light bulb is a 120 volt, 25 watt incandescent appliance light bulb with a small base screw-in that fits in a variety of appliances such as microwaves, refrigerators, freezers, cooktops, or stoves. Its purpose is to light up the appliance when the door is open. This is a genuine OEM part. You may need to replace the light bulb if the...Read more existing bulb is burnt out or broken. This light bulb is sold individually and is a common wear part, it is recommended to order a spare.
Read less

No Longer Available
Adaptive Defrost Board
Part #61005988
This part allows the refrigerator to go into defrost mode only when required.

$12.20
In Stock

$21.45
In Stock
Screw
Part #W11233072
This is a multi-use and multi-appliance screw. It can be used on a microwave, refrigerator, range/oven, air conditioner, dehumidifier, washer, or dryer. The measurements of this screw are 8 x 1/2 inch. It has 6 threads. Refer to the manual provided by the manufacturer for further information on repair and accurate guidance. Remember to wear work gloves as a safety precaution.

$7.47
In Stock

$54.24
In Stock
Refrigerator Run Capacitor
Part #WP65889-4
This part helps the compressor kick on and off while maintaining a constant temperature to keep things frozen in your freezer. If you are noticing temperature issues with your refrigerator or freezer, the run capacitor may need replacing. This repair is fairly easy to complete, and the only tools you will require are a 1/4 inch nut driver...Read more, and a 1/4 inch socket with a small ratchet. The run capacitor is located in the back of the fridge, so you will need to make sure you have room to work on this repair. Make sure to unplug the fridge prior to beginning the repair.
Read less

No Longer Available
Crisper Drawer Shelf Support
Part #67764-1
This crisper drawer shelf support is used for many refrigerators.

$62.60
In Stock
Defrost Heater and Thermostat Assembly
Part #WP61006199
This part assembly has 2 functions: The defrost heater keeps the cooling coils from frosting over and the thermostat senses that the heat near the cooling coils has reached the desired temperature.

$35.80
In Stock
Refrigerator Water Fill Cup & Bearing
Part #WP628356
This refrigerator ice maker fill cup dispenses the water into the ice cube mold during the fill cycle. Replacing the water fill cup is a possible solution if you notice that the ice maker is leaking, or not making/dispensing ice. If you notice the fill cup has been damaged or cracked; replace the part straight away. This water fill cup is...Read more a genuine OEM part and will fit most refrigerators, but check the list of compatible brands to make sure yours is included before purchasing.
Read less

No Longer Available
Lower Hinge Pin
Part #61003174
This lower hinge pin is almost two inches long. It is made entirely of plastic and it is all black in color.
Manuals & Care Guides for JCB2388GRB
Click to downloadCommon Symptoms of the JCB2388GRB
How this model fails, and the parts that fix it.
Ice maker not making ice
Fixed by
these parts
these parts


Show All
Fridge too warm
Fixed by
these parts
these parts


Show All
Light not working
Fixed by
these parts
these parts

Show All
Leaking
Fixed by
these parts
these parts

Show All
Will Not Start
Fixed by
these parts
these parts


Show All
Freezer section too warm
Fixed by
these parts
these parts
Show All
Ice maker won’t dispense ice
Fixed by
these parts
these parts

Show All
Door won’t open or close
Fixed by
these parts
these parts


Show All
Freezer not defrosting
Fixed by
these parts
these parts
Show All
Noisy
Fixed by
these parts
these parts

Show All
Fridge and Freezer are too warm
Fixed by
these parts
these parts
Show All
Ice maker dispenses too much ice
Fixed by
these parts
these parts
Show All
Clicking sound
Fixed by
these parts
these parts
Show All
Freezer too cold
Fixed by
these parts
these parts
Show All
Door Sweating
Fixed by
these parts
these parts
Show All
Fridge too cold
Fixed by
these parts
these parts

Show All
Fridge runs too long
Fixed by
these parts
these parts
Show All
Ice maker dispenses too little ice
Fixed by
these parts
these parts
Show All
Door latch failure
Fixed by
these parts
these parts

Show All
Won’t start
Fixed by
these parts
these parts
Show All
Frost buildup
Fixed by
these parts
these parts
Show All
Too warm
Fixed by
these parts
these parts
Show All
Watch our pros, then fix it yourself.


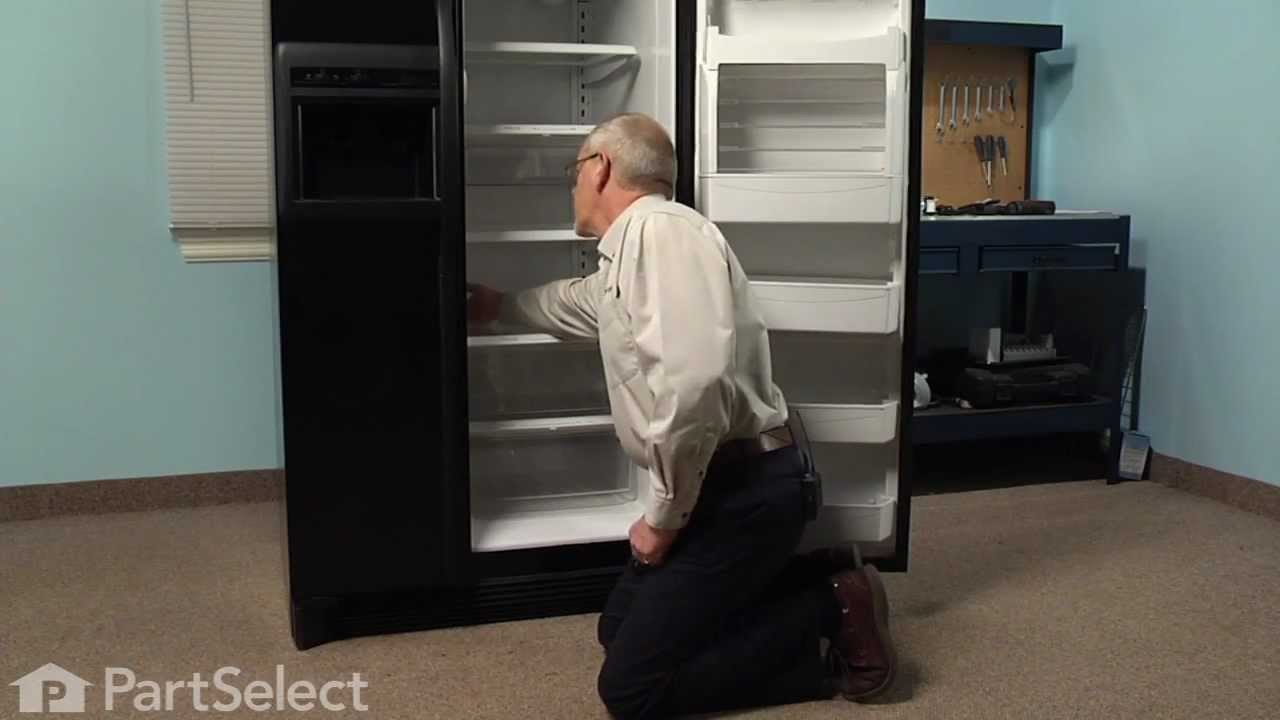

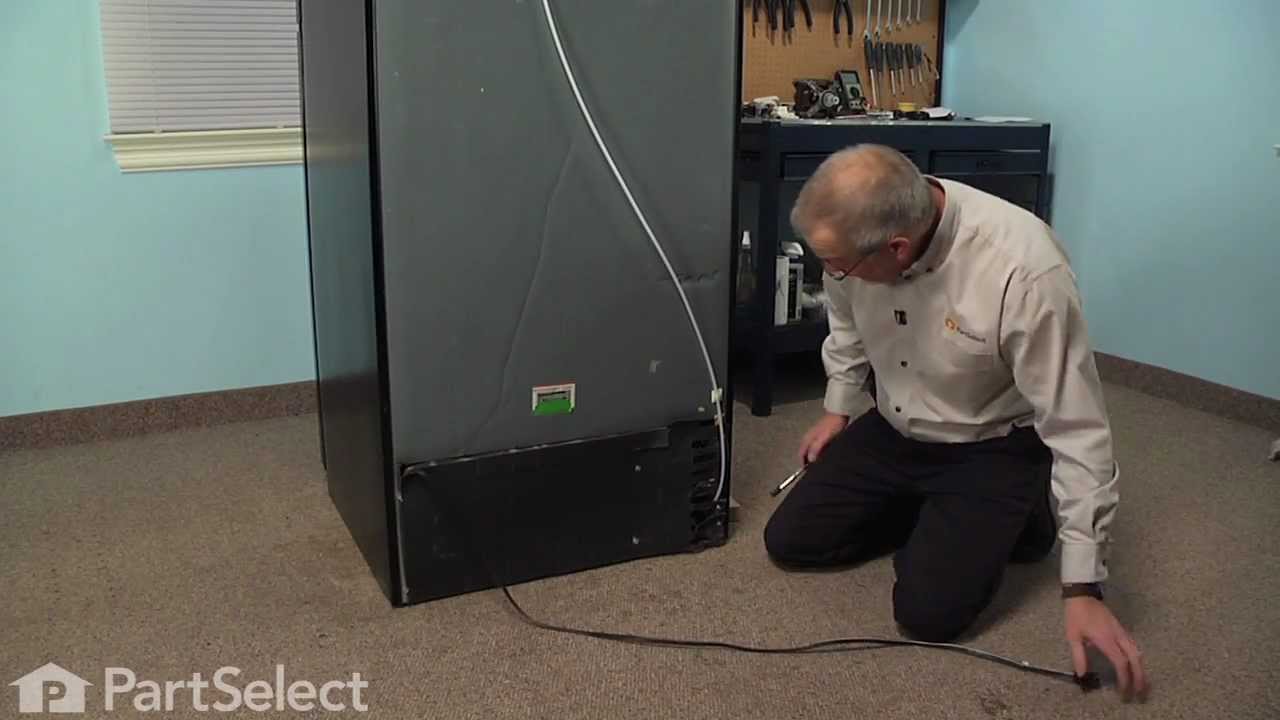
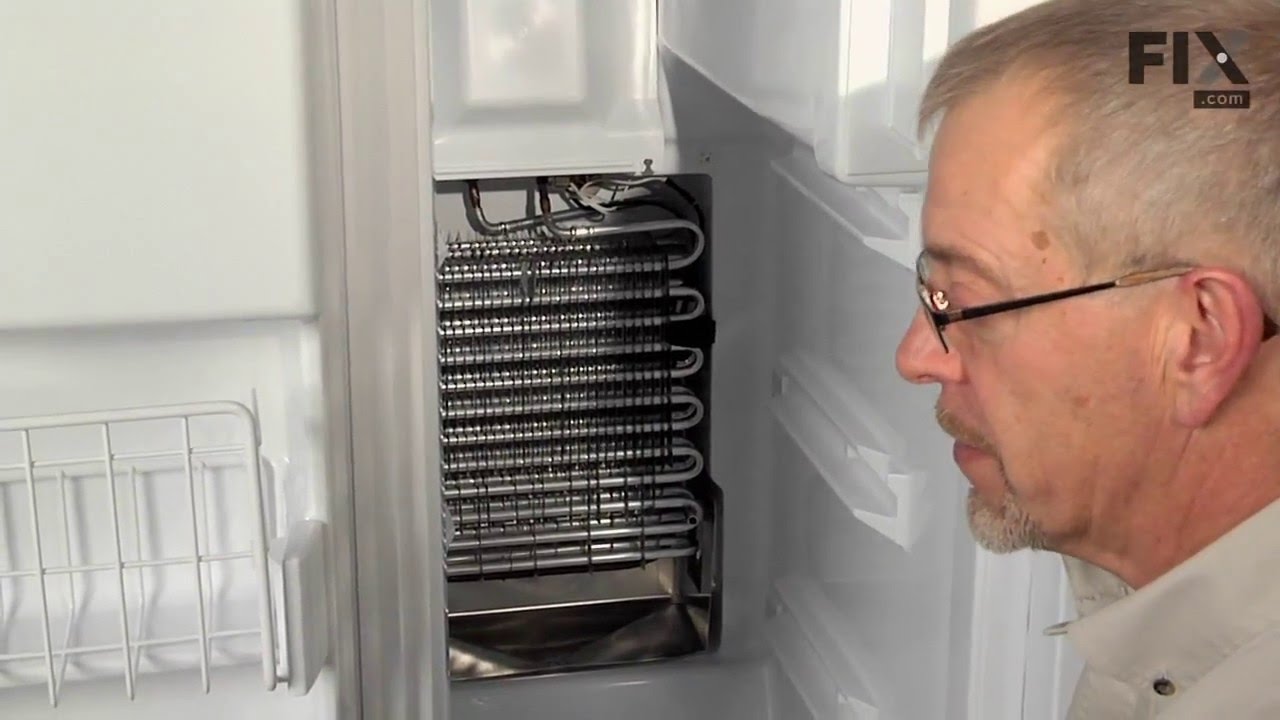
See how others fixed this model. Time, tools, difficulty, and steps that lead to victory!
View More