EasyApplianceParts is now PartSelect! We've merged our sites to provide a better shopping experience for you.   Full Details
✖

Find Parts

Parts Departments

Top Model Types

Top Brands

Repair Help

Expert Repair Videos

Keep typing for more specific results...

JCAP760SM2SS General Electric Range - Overview

Enter a part description. DIY Heroes keep it simple, eg. "belt" or "pump".

Search filter:
Clear Filter
Your search term must have 3 or more characters.
Single Heating Element Support Clip – Part Number: WB2X9719
$20.63
In Stock
Single Heating Element Support Clip
★★★★★
★★★★★
(10)
Part #WB2X9719
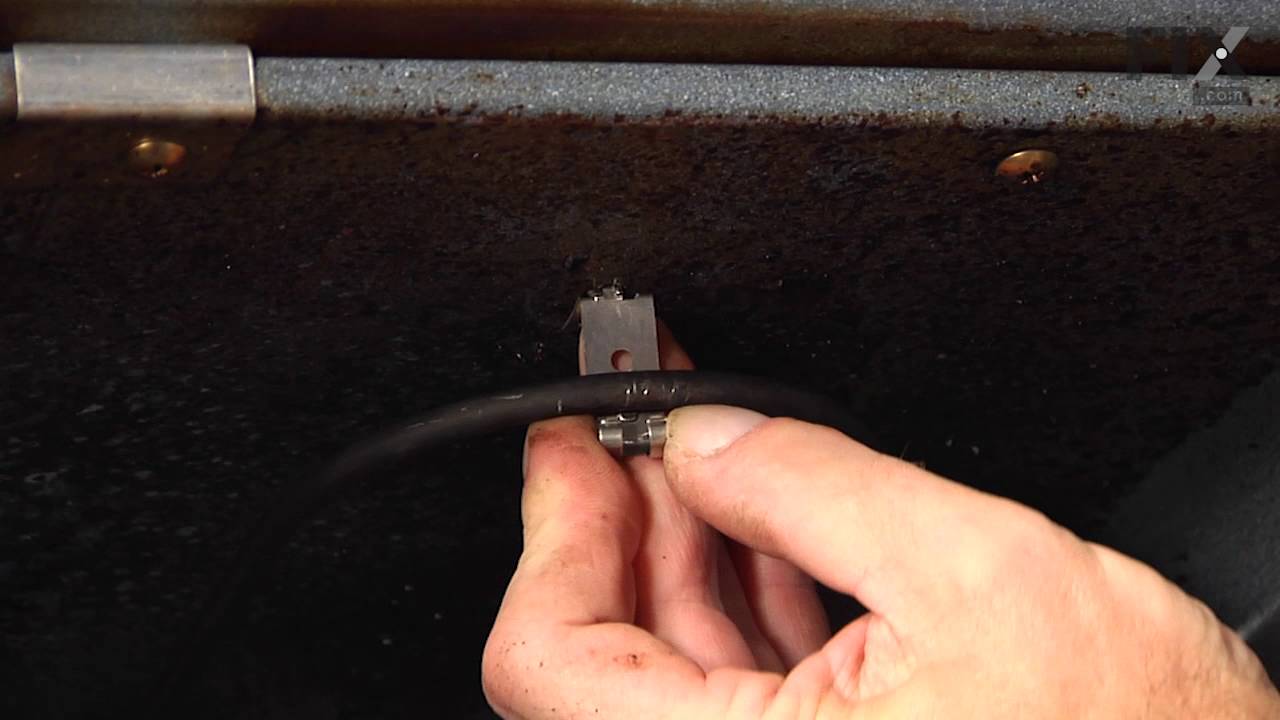
The metallic clip, or also known as a broil element support, is for a oven element on a range. This part holds the broil element in place on top of the oven. If your support clip is broken then this replacement should be the solution. The tools needed for this project are slip joint pliers. For safety precautions, make sure to unplug your range from the power source, or shut off the house circuit breaker before starting this project. Refer to the installation instructions for best results and accuracy.
Door Bumper - Black – Part Number: WB2K15
$17.19
In Stock
Range Surface Element Control Switch - 6 Inch - 1560 W – Part Number: WB24T10029
$52.95
In Stock
Range Surface Element Control Switch - 6 Inch - 1560 W
★★★★★
★★★★★
(19)
Part #WB24T10029
This surface element control switch, also known as an infinite switch, regulates the power supplied to a 6-inch, 1560-watt heating element on electric ranges. It allows for precise adjustment of heat levels by cycling the element on and off, rather than relying on fixed temperature settings. Operating at 240 volts and drawing between 4.4 to 7.4 amps, the switch ensures consistent and responsive heat control. Replacing a faulty switch can resolve issues such as the element not heating, staying stuck on high, or fluctuating in temperature. This component is essential for maintaining safe and efficient cooking performance.
Oven Sensor – Part Number: WB21X5301
$147.53
In Stock
Oven Sensor
★★★★★
★★★★★
(10)
Part #WB21X5301
It is possible that your oven is cold because of a fault in the temperature sensor. The temperature sensor regulates oven temperature in modern ranges, like a thermostat. It is on the back wall near the broiler on the top wall. On a newer oven, there may be a fault code displayed. Faulty temperature sensors are often responsible for F3 and F4 error messages on an electric range. Check your manual or the manufacturer website to find out the proper resistance of the temperature sensor. To check your sensor, unplug the oven and use a multi-meter to see if your sensor is at the correct resistance.
Lens – Part Number: WB25T10041
$16.05
In Stock
Lens
★★★★★
★★★★★
(5)
Part #WB25T10041
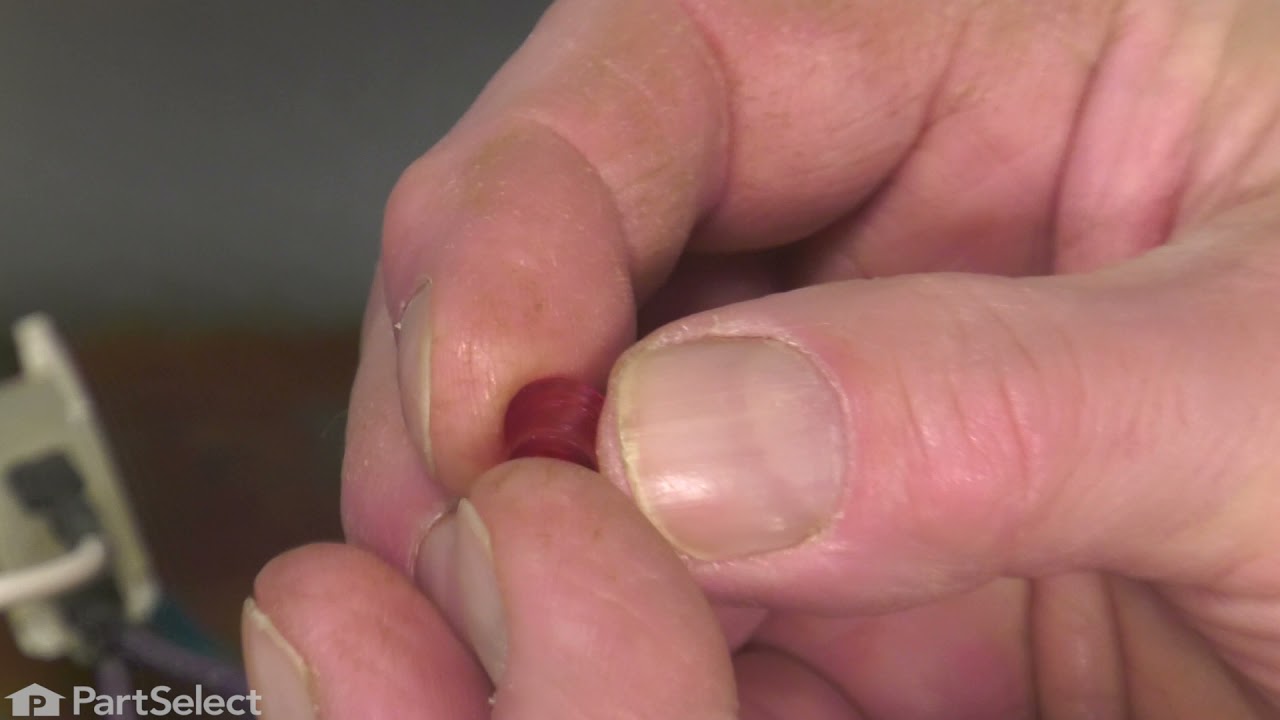
This part is a replacement lens for your oven or range. The lens is red in color, and when the elements are turned on, the light behind the lens will turn on to inform the user that the element is, in fact, on. The lens is a little less than half an inch in diameter and is made of plastic. If the light behind the lens still works, you should be able to simply remove the front panel and pop the damaged lens out of position, then replace it with the new one. This part is sold individually and is an OEM part sourced directly from the manufacturer.
Surface Burner Switch - 8 Inch - 2100W – Part Number: WB24T10027
$104.33
In Stock
Surface Burner Switch - 8 Inch - 2100W
★★★★★
★★★★★
(5)
Part #WB24T10027
This switch controls the large burner on a range/stove top.
Screw – Part Number: WR01X10065
$16.05
In Stock
Screw
★★★★★
★★★★★
(1)
Part #WR01X10065
This replacement screw secures components at the fastening points specified in the appliance parts diagram. It has a listed 10-32 thread and is sold individually. Damaged threads, a worn head, or a missing screw may prevent the attached part from staying secure. Inspect the mating hole and surrounding mounting area as well before replacement. Match the screw to the exact assembly location, since similar looking fasteners can have different thread sizes, lengths, and head shapes. Follow the appliance instructions when removing and securing the replacement hardware. This is an OEM part sourced directly from the manufacturer.
Drawer Glider - Left Side – Part Number: WB02K10062
$16.76
In Stock
Drawer Glider - Right Side – Part Number: WB02K10061
$16.76
In Stock
Drawer Glider - Right Side
★★★★★
★★★★★
(3)
Part #WB02K10061
This right-side drawer glider allows smooth and stable drawer movement. Designed for durability and precise alignment, it supports effortless opening and closing.
Indicator Light – Part Number: WB25K10002
$27.56
In Stock
Indicator Light
Part #WB25K10002
Washer - 12 Pack – Part Number: WB1X119D
$24.09
On Order
Washer - 12 Pack
Part #WB1X119D
Element Spring – Part Number: WB09T10002
$14.28
Special Order
Element Spring
Part #WB09T10002
Sold individually.

Common Symptoms of the JCAP760SM2SS

How this model fails, and the parts that fix it.

Watch our pros, then fix it yourself.
See how others fixed this model. Time, tools, difficulty, and steps that lead to victory! View More

Search repair tips from other customers using simple keywords like "replace", "fit", "remove", "inspect". DIY doesn't mean you have to do it alone!

Search filter:
Clear Filter
Your search term must have 3 or more characters.
Oven tempature was approximately 150 degrees to low
224 of 265 people found this instruction helpful.
  • James from Austin, TX
  • Easy
  • 1- 2 hours
  • Nutdriver, Screw drivers
This repair is EASY if you know how to use an ohm meter. If not, seek help for this step.

SYMPTOM:
The oven (JKP27WOP3WG or JKP27WP3WG and many ovens like it ) was not getting hot enough. Verifying the cooking temperature with an typical oven thermometer, I was able to determine that the oven was cooking temperature was about 150 degrees to low.

FAILURE POINTS:
There are two logical failure points (1) The oven sensor ( WB21X5301 about $75), or the (2) the controller board (PS238233 about $252). In my case it was the controller board. When replaced the oven worked beautifully.

REPAIR:
As with any repair, you MUST DISCONNECT POWER TO THE UNIT BEFORE SERVICING!!!

Pull oven from the wall:
- Disconnect power by flipping the circuit breaker to the OFF position.
- Remove the top flange / cowling from the top of the oven (it just pulls off)
- Remove two screws under the top flange / cowling
- The whole unit easily slides out, but it is highly recommended that you use two people to place the oven on the floor.

As a diagnostic between these two parts, if the oven sensors measure approximately 1.1K ohms of resistance at room temperature, then it is probably not the sensor. The oven sensor wires are connected to two white wires that run up to the controller board. You need to disconnect the oven sensor to make the measurement. You may either completely remove the oven sensor by cutting the wire (be sure to allow yourself enough slack so that they may be safely reconnected) where it connects to the white wires, OR, (preferred method) if leaving the oven sensor partially installed,
- Remove the top sheet metal cover (10 screws)
- Remove the service connect cover (2 screws - this is where the main Power cord comes into the unit)
- Disconnect the white wires from the controller board (this connector which also includes other circuits is on the left side when looking at the controller board).
- Remove two screws from oven sensor but just let in dangle down so that you can put the sensor in the ice water / boiling water.

Measure the resistance under the following conditions. Your ohm meter should read APPROXIMATELY...
- 1.02K ohms in ice water
- 1.09K ohms at room temperature
- 1.36K ohms in boiling water.
If you get approximately these readings, then it is NOT the oven sensor. If that checks out then re-install the sensor AND the connector.

If it is NOT the sensor, replace the controller board.
- Take a moment to write down the color of the wire to the LETTERING (N, L, G, C / COM,,,) on the controller board. The connectors are in different locations on the new controller board so the wire color to the letter designation is significant.
- Carefully remove the wires one at a time
- VERY carefully remove the keypad ribbon cable from the right side of the controller board.
-- The ribbon cable will disconnect by releasing some little pressure clips on the side of the connector.
- Remove the controller board (4 screws)
- Install new controller board (4 screws)
- VERY carefully connect the keypad ribbon cable on the right side.
-- Make sure that the connector is in the OPEN position first, then,
-- Slide in the cable ensuring that all parts of the ribbon made it into the connector, then
-- Press down on the connector locking tabs.
- Reconnect each wire to the correctly lettering on the board.
-- Again, the connectors MAY BE in a different order on the replacement controller board. Match color to letter.
- Reconnect the (5 wire?) connector that includes the white oven sensor wires.
- Make sure everything looks normal, (i.e. no wires are pinched, remove tools from top of oven area, etc.)
- Re-install top cover.
- Re-install service connect cover.

You can test the unit while it is out of the cabinet,
- Make SURE that all sheet metal covers are in place.
- Flip power breaker to "On".
- Test that oven gets to the desired temp.
Was this helpful?
Thank you for voting!
Oven would not heat to the correct temperature
40 of 64 people found this instruction helpful.
  • Michael from Lawrenceville, GA
  • Really Easy
  • Less than 15 mins
  • Screw drivers
First I removed the two screws that hold the element in place. I then pulled the element out about 3 inches and disconnected the two wires
Was this helpful?
Thank you for voting!
F2 error message on my GE oven indicated need for new heat sensor
25 of 31 people found this instruction helpful.
  • Joseph from Brick, NJ
  • A Bit Difficult
  • 30 - 60 mins
  • Nutdriver, Pliers
After unscrewing the old heat sensor from inside the oven, I pulled the range away from the wall, got behind it and removed the small panel over the heat sensor. Naturally, the plastic clips connecting the heat sensor to the range wiring wouldn't come apart, so I eventually had to simply pry them apart with two pliers. Then, naturally, th e new plastic connector clip on the replacement part didn't match the clip from the range, so I had to cut off both receptacles and strip the wires, then used the provided wire nuts to make the connections. After that, it was easy, just secured the heat sensor inside the oven and replaced the panel. I didn't push the range back against the wall until I tested the repair. It worked fine!
Was this helpful?
Thank you for voting!