


 My Orders




JCAP760SM1SS General Electric Range - Overview
Diagrams for JCAP760SM1SS
See every part. Know exactly what you need.


Enter a part description. DIY Heroes keep it simple, eg. "belt" or "pump".
Search filter:
Clear Filter
Your search term must have 3 or more characters.

$20.63
In Stock
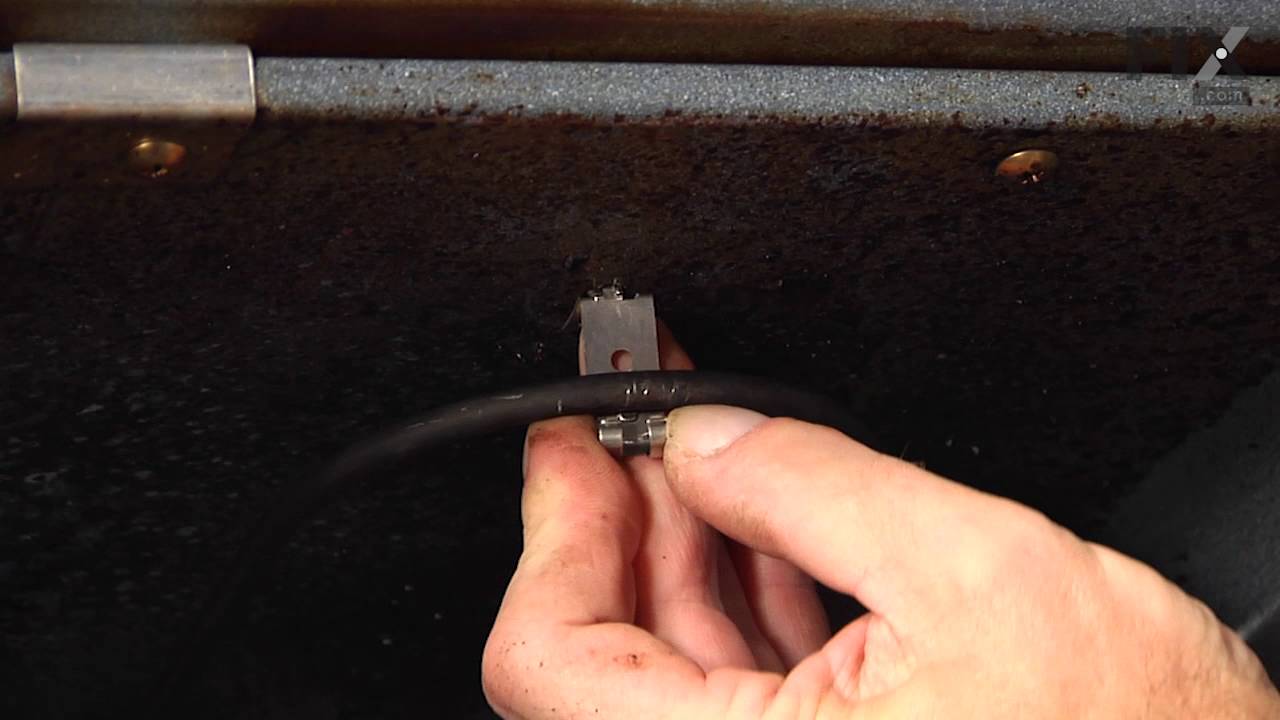
Single Heating Element Support Clip
Part #WB2X9719
The metallic clip, or also known as a broil element support, is for a oven element on a range. This part holds the broil element in place on top of the oven. If your support clip is broken then this replacement should be the solution. The tools needed for this project are slip joint pliers. For safety precautions, make sure to unplug your...Read more range from the power source, or shut off the house circuit breaker before starting this project. Refer to the installation instructions for best results and accuracy.
Read less

$17.19
In Stock

$52.95
In Stock
Range Surface Element Control Switch - 6 Inch - 1560 W
Part #WB24T10029
This surface element control switch, also known as an infinite switch, regulates the power supplied to a 6-inch, 1560-watt heating element on electric ranges. It allows for precise adjustment of heat levels by cycling the element on and off, rather than relying on fixed temperature settings. Operating at 240 volts and drawing between 4.4 ...Read moreto 7.4 amps, the switch ensures consistent and responsive heat control. Replacing a faulty switch can resolve issues such as the element not heating, staying stuck on high, or fluctuating in temperature. This component is essential for maintaining safe and efficient cooking performance.
Read less

$147.53
In Stock
Oven Sensor
Part #WB21X5301
It is possible that your oven is cold because of a fault in the temperature sensor. The temperature sensor regulates oven temperature in modern ranges, like a thermostat. It is on the back wall near the broiler on the top wall. On a newer oven, there may be a fault code displayed. Faulty temperature sensors are often responsible for F3 an...Read mored F4 error messages on an electric range. Check your manual or the manufacturer website to find out the proper resistance of the temperature sensor. To check your sensor, unplug the oven and use a multi-meter to see if your sensor is at the correct resistance.
Read less

$16.05
On Order
Range Screw
Part #WB1K5062

$16.05
In Stock
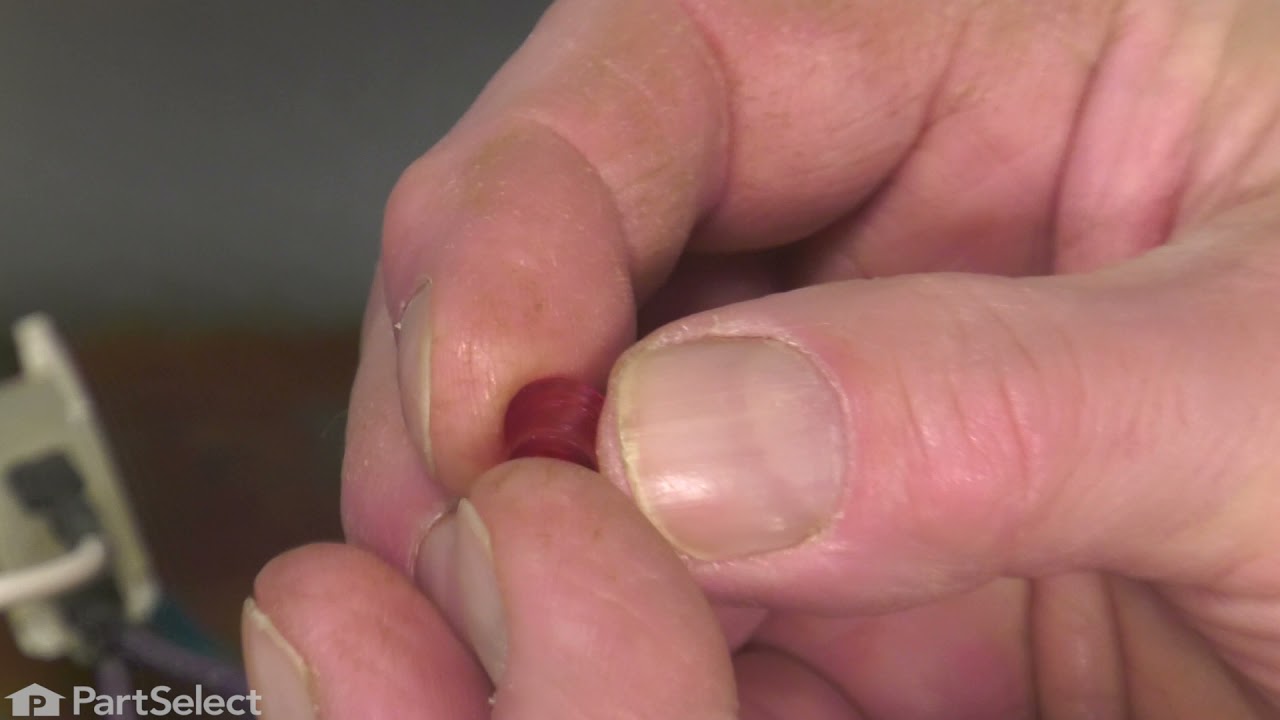
Lens
Part #WB25T10041
This part is a replacement lens for your oven or range. The lens is red in color, and when the elements are turned on, the light behind the lens will turn on to inform the user that the element is, in fact, on. The lens is a little less than half an inch in diameter and is made of plastic. If the light behind the lens still works, you sho...Read moreuld be able to simply remove the front panel and pop the damaged lens out of position, then replace it with the new one. This part is sold individually and is an OEM part sourced directly from the manufacturer.
Read less

$104.33
In Stock
Surface Burner Switch - 8 Inch - 2100W
Part #WB24T10027
This switch controls the large burner on a range/stove top.

$16.05
In Stock
Screw
Part #WR01X10065
This replacement screw secures components at the fastening points specified in the appliance parts diagram. It has a listed 10-32 thread and is sold individually. Damaged threads, a worn head, or a missing screw may prevent the attached part from staying secure. Inspect the mating hole and surrounding mounting area as well before replacem...Read moreent. Match the screw to the exact assembly location, since similar looking fasteners can have different thread sizes, lengths, and head shapes. Follow the appliance instructions when removing and securing the replacement hardware. This is an OEM part sourced directly from the manufacturer.
Read less

$16.76
In Stock

$16.76
In Stock
Drawer Glider - Right Side
Part #WB02K10061
This right-side drawer glider allows smooth and stable drawer movement. Designed for durability and precise alignment, it supports effortless opening and closing.

$27.56
In Stock
Indicator Light
Part #WB25K10002

$24.09
On Order
Washer - 12 Pack
Part #WB1X119D
Common Symptoms of the JCAP760SM1SS
How this model fails, and the parts that fix it.
Element will not heat
Fixed by
these parts
these parts


Show All
Little to no heat when baking
Fixed by
these parts
these parts

Show All
Oven not heating evenly
Fixed by
these parts
these parts
Show All
Will Not Start
Fixed by
these parts
these parts
Show All
Oven is too hot
Fixed by
these parts
these parts
Show All
Door won’t close
Fixed by
these parts
these parts


Show All
Watch our pros, then fix it yourself.
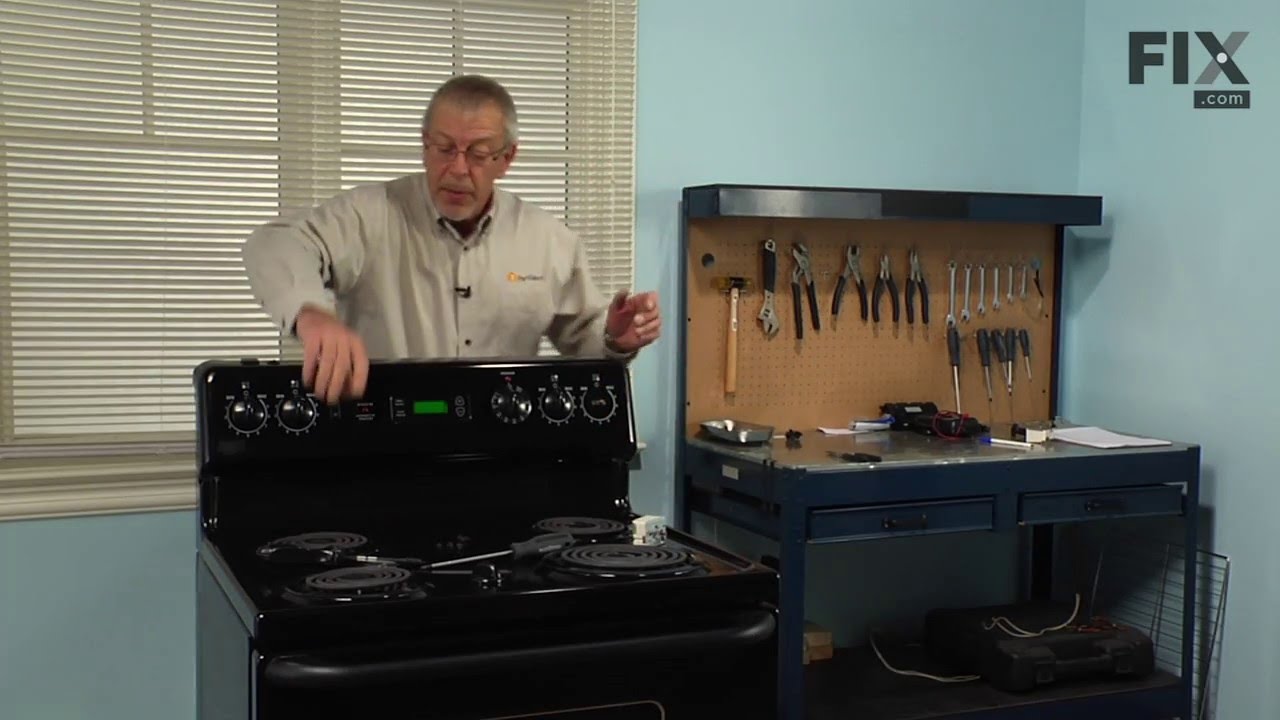
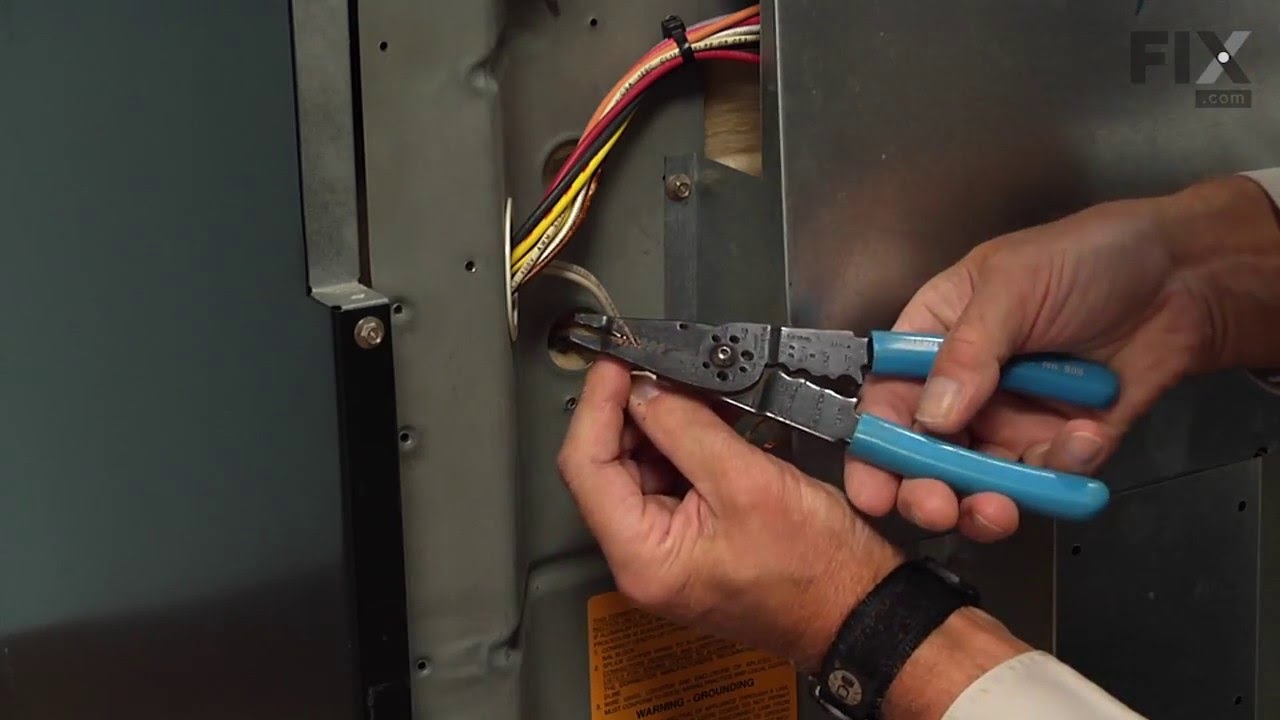

See how others fixed this model. Time, tools, difficulty, and steps that lead to victory!
View More