


 My Orders




JBSS42E22L00 Jenn-Air Refrigerator - Overview
Diagrams for JBSS42E22L00
See every part. Know exactly what you need.
-
Cabinet Parts

-
Cabinet Trim Parts

-
Dispenser Front Parts

-
Freezer Door Parts

-
Freezer Liner And Air Flow Parts

-
Freezer Shelf Parts

-
Icemaker And Ice Container Parts

-
Lower Unit And Tube Parts

-
Refrigerator Door Parts

-
Refrigerator Liner Parts

-
Refrigerator Shelf Parts

-
Top Grille And Unit Cover Parts

-
Upper Unit Parts

Enter a part description. DIY Heroes keep it simple, eg. "belt" or "pump".
Search filter:
Clear Filter
Your search term must have 3 or more characters.

$17.15
In Stock
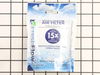
Refrigerator Air Filter
Part #W10311524
This Refrigerator Air Filter is a white 1.8x3.2" plastic filter which neutralizes odor and bacteria in the air. It should be replaced every six months at a minimum. Refer to your user manual and model number to see if this filter is right for your fridge. Location for storage of the air filter may vary from model to model, but generally, ...Read moreyou will find a small cover on the back-middle-top of your fridge, which can be popped off to reveal the air filter, which can be easily changed out from there. This part does not come sold with the indicator; it is the filter only. Sold individually.
Read less

$265.04
In Stock
Electronic Control Board
Part #W11629974
This set of two electronic control boards includes both the emitter and receiver modules, which work together to manage ice production and dispensing in compatible refrigerator models. The emitter sends a signal to detect ice levels, while the receiver interprets that signal to determine when the ice bin is full and when to initiate dumpi...Read moreng or refilling. These boards are essential for maintaining proper ice maker functionality, ensuring efficient operation and preventing overfilling or underproduction. Installation should be performed with the appliance unplugged, and compatibility must be confirmed using the refrigerator’s model number.
Read less

$30.53
In Stock
Door Switch
Part #W11396033
This light switch may also be known as a refrigerator door switch or a light switch kit, and is compatible with your refrigerator. The function of the refrigerator door switch is to turn on the light when your fridge door is open, and to make sure it is off when your refrigerator door is closed. The reason you would need to replace this p...Read moreart is if your light is not turning on when your door is open. For this repair, you will need a putty knife, and a small flat-blade screwdriver.
Read less

$28.42
In Stock
Refrigerator Switch
Part #W11291138
This is a light switch for your refrigerator. It activates when the door of your appliance is opened, and it will turn the light inside on and off. You will need to replace this part is if your light is not working properly. In order to make this repair you will need a Phillips screwdriver, a pair of needle nose pliers, and a small flat b...Read morelade screwdriver. This light switch is almost 2 inches long, 1.5 inches wide, and just over an inch thick.
Read less

$7.47
In Stock
Screw
Part #WP488729
Metallic screw that is less than an inch long. Does not include the plastic washer.

$12.85
In Stock
Refrigerator Seal
Part #WP2198628
This part is a replacement refrigerator drive shaft seal for your refrigerator. The drive shaft seal protects the auger motor from water and condensation that may leak down the drive shaft from the ice bucket. If the seal is broken, water and condensation can get in, causing the ice maker to fail. To replace the seal, first remove the ice...Read more bucket from your freezer. Then remove the two screws on the drive shaft holder, and use a pair of pliers to remove the drive shaft. At this point you can remove the seal from the drive shaft. Be sure to clean the area that the seal sits in before you reinstall the drive shaft. This part is white in color and is about an inch in diameter. The seal is sold individually.
Read less

$7.47
In Stock

$11.77
In Stock

$23.60
In Stock
Refrigerator Water Tube Connector/Union 5/16 To 5/16
Part #WP2300868
Sold Individually. - * Part may differ in appearance, but functions same as original.

$47.40
In Stock

$111.43
In Stock
Ice Bucket Auger Motor
Part #W10822606
This auger motor is for refrigerators.
Auger motor turns the auger that pushes the ice cubes through the dispenser chute.
Safely store any food that could deteriorate while the power is off. Unplug the refrigerator before installing this part. Wear work gloves to protect your hands.

$7.47
In Stock
Common Symptoms of the JBSS42E22L00
How this model fails, and the parts that fix it.
Light not working
Fixed by
these parts
these parts


Show All
Ice maker not making ice
Fixed by
these parts
these parts

Show All
Ice maker won’t dispense ice
Fixed by
these parts
these parts


Show All
Leaking
Fixed by
these parts
these parts


Show All
Fridge too warm
Fixed by
these parts
these parts

Show All
Not cleaning dishes properly
Fixed by
these parts
these parts
Show All
Fridge too cold
Fixed by
these parts
these parts
Show All
Not dispensing water
Fixed by
these parts
these parts
Show All
Noisy
Fixed by
these parts
these parts
Show All
Ice maker dispenses too much ice
Fixed by
these parts
these parts
Show All
Clicking sound
Fixed by
these parts
these parts
Show All
Door Sweating
Fixed by
these parts
these parts
Show All
Watch our pros, then fix it yourself.
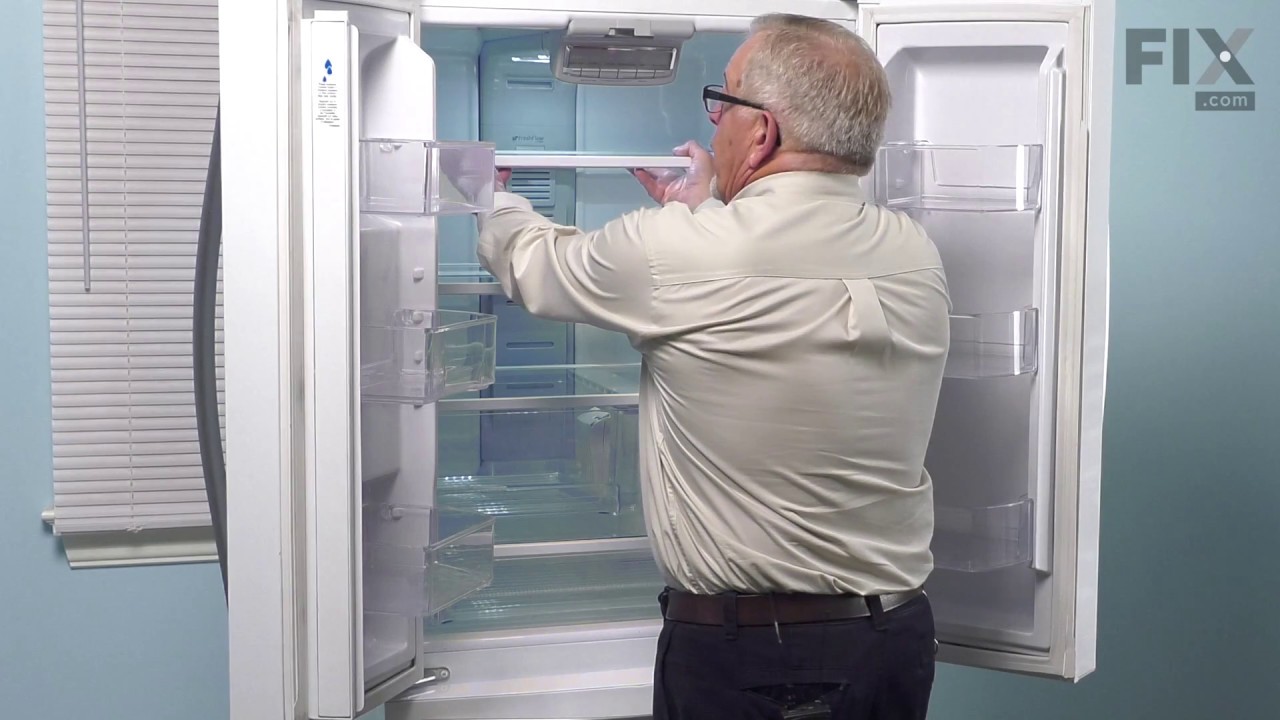

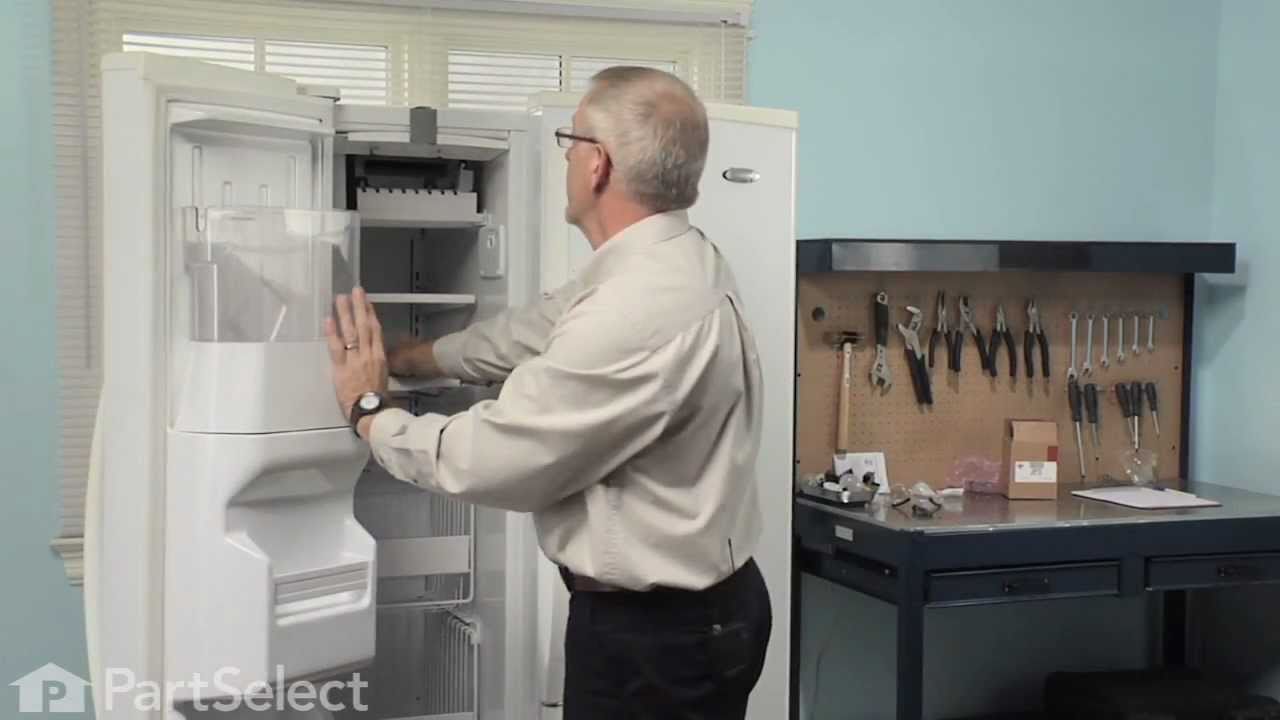
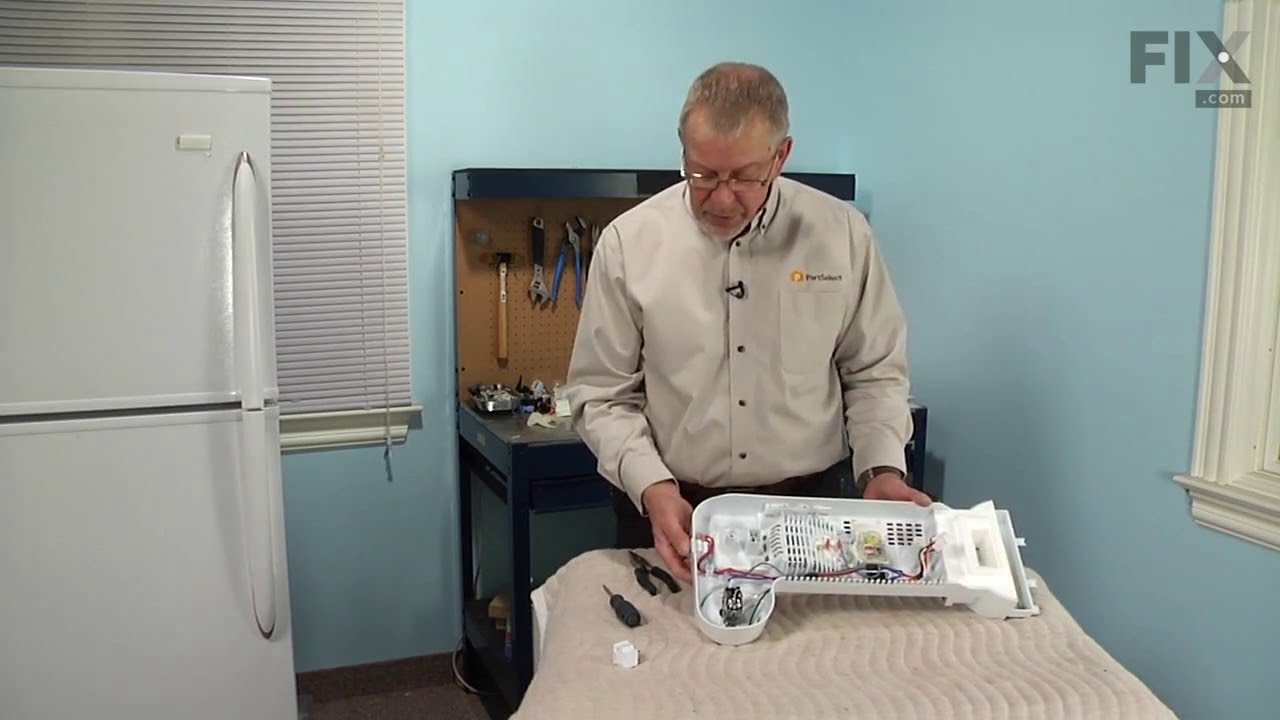
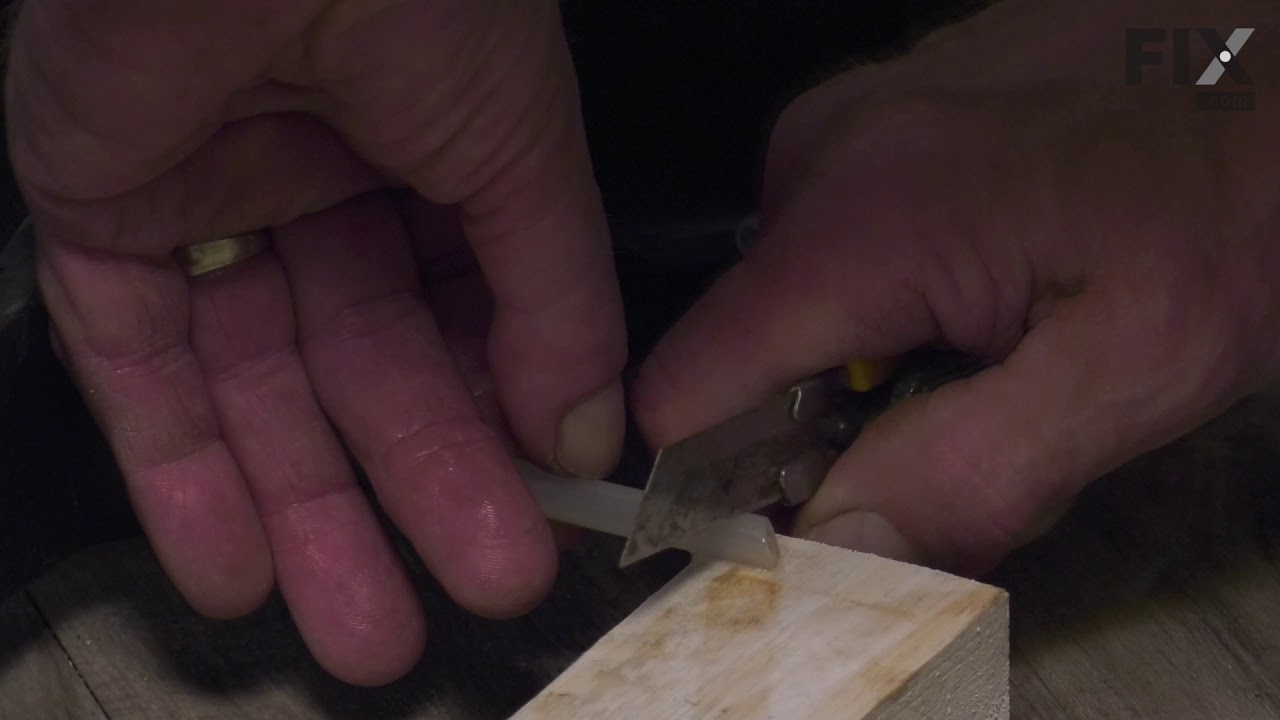
See how others fixed this model. Time, tools, difficulty, and steps that lead to victory!
View More