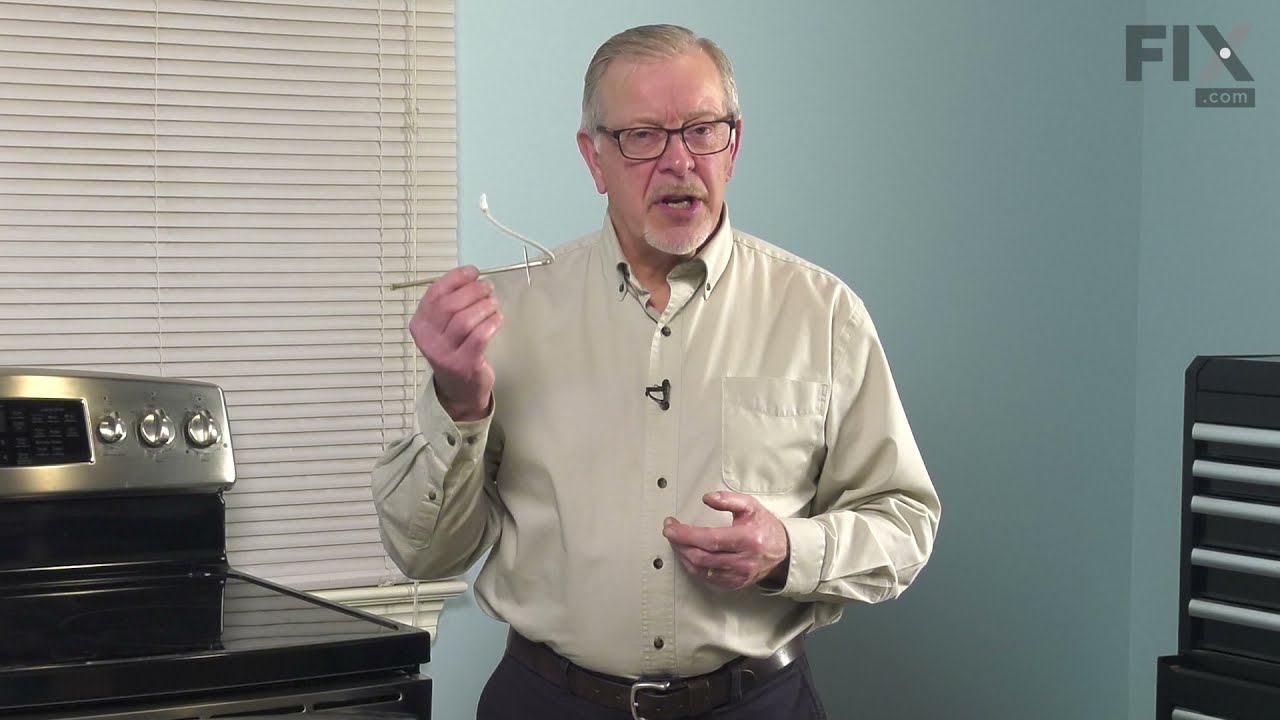
The temperature sensor, also known as the oven temperature sensor assembly is usually found in the back of the oven. The function of the oven temperature sensor assembly is to measure the temperature inside your oven while it is on and send the temperature back up to the electronic control, which adjusts as necessary. If your oven is havi...Read moreng difficulty achieving warmer temperatures and/or keeping warmer temperatures up, you may want to test your temperature sensor. Before you make this repair remember to unplug your range from the power source, and turn off the gas shut off valve.
This 40-Watt light bulb is sold individually.
It is specially designed to withstand extreme temperatures, so this bulb is compatible with a variety of appliance types including refrigerators, ranges, microwaves, and dryers. It features a frosted glass bulb with a standard metal socket base, which allows you to easily unscrew the burnt-out light and twist the new bulb into place.
This surface element control switch, also known as an infinite switch, regulates the power supplied to a 6-inch, 1560-watt heating element on electric ranges. It allows for precise adjustment of heat levels by cycling the element on and off, rather than relying on fixed temperature settings. Operating at 240 volts and drawing between 4.4 ...Read moreto 7.4 amps, the switch ensures consistent and responsive heat control. Replacing a faulty switch can resolve issues such as the element not heating, staying stuck on high, or fluctuating in temperature. This component is essential for maintaining safe and efficient cooking performance.
The function of the oven sensor is to detect the temperature within the oven cavity. If you notice that the oven is too hot or too cold, or it is not heating evenly, you may need to replace the oven sensor. The oven sensor is typically located in the back of the oven so you will most likely need to pull your oven out to access it. Many of...Read more our customers have rated this repair as easy. You will need a Phillips screwdriver to complete this repair. Be sure to disconnect the power source and shut off the gas valve before doing this repair.
This dual radiant surface heating element is a genuine replacement component designed for select GE electric flat-top ranges, stoves, and cooktops. Commonly referred to as a "haliant" element, it features an integrated 12-inch and 9-inch heating zone, allowing for flexible cooking options based on pan size. Constructed from a durable nick...Read moreel-chromium alloy, it delivers consistent heat output and long-lasting performance. With a standard wattage of 1950 watts—though some replacements may offer up to 3000 watts—this element ensures efficient heat transfer to the glass cooking surface. Replacing a worn or malfunctioning element can restore proper heating and improve overall cooking performance. Compatibility should be verified using your appliance’s model number prior to installation.
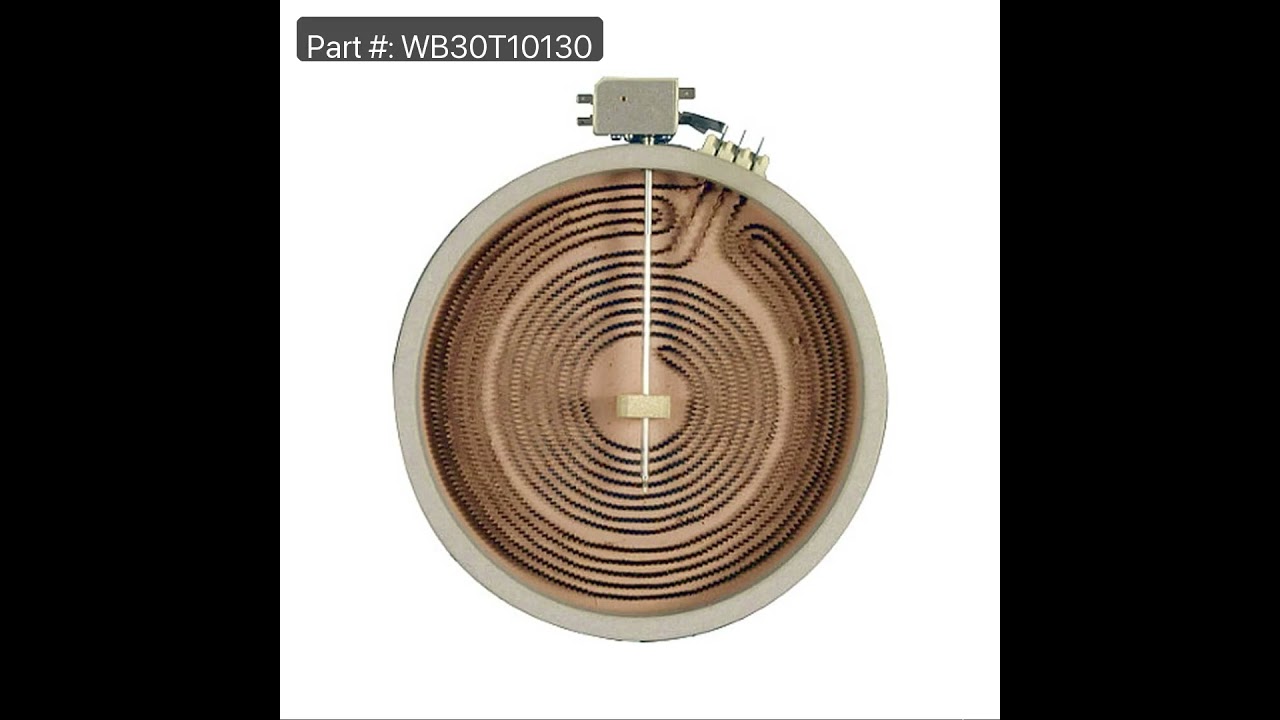
This is a dual ceramic surface burner for ranges. This burner, also known as a heating element, is used within electric ranges to act as a stovetop burner. This burner measures approximately 10 inches in diameter and features a larger and smaller heating element that you can activate with the control board of your stovetop. If your stovet...Read moreop burner is currently not heating correctly or consistently, then it will need to be replaced immediately. This burner features a ceramic construction with metal parts like the terminals that connect directly to your range. This burner is an OEM part and is sold individually, so depending on how many of this burner your range uses, you may need to consider that before ordering.
This part is the replacement oven bulb lens cover. It is made of glass and is approximately 3 inches in diameter. The lens cover is rigid and protects the oven light bulb from being damaged. The main reason to replace the oven bulb lens cover is if it is cracked, damaged, or missing. Be sure that the lens cover is cool to the touch before...Read more you begin this repair. To remove the lens cover simply turn it counterclockwise until you can remove it. Replace it with a new cover and turn it clockwise to lock it into place. This is an OEM part sourced from the manufacturer, and it is sold individually.
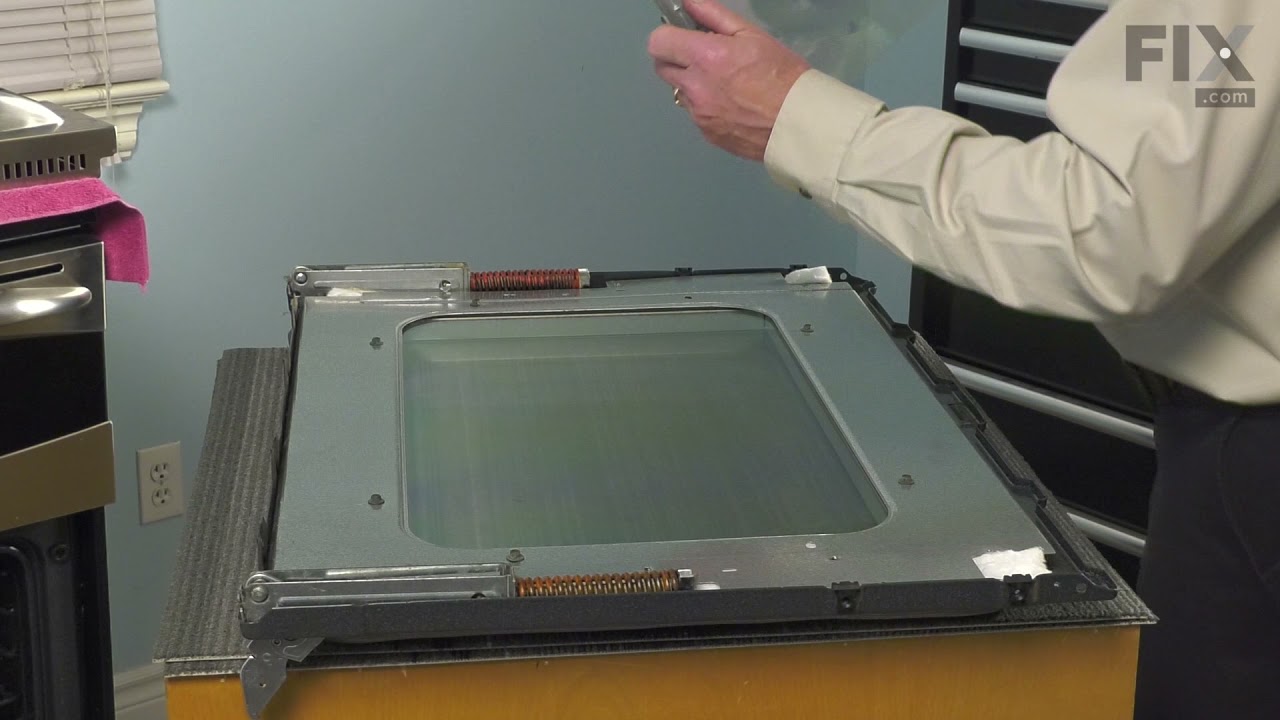
This window pack assembly, also known as inner door glass, is supplied directly by the manufacturer for use in range ovens. It has measurements of approximately 22 inches by 14 inches. The inner door glass is situated between the outer door panel and the oven cavity. It acts as a barrier between the heat generated by the oven and the exte...Read morernal environment. This provides insulation and protection while allowing users to easily view the oven cavity. It is made of tempered glass and is resistant to high temperatures and thermal shock. If the inner door glass becomes damaged or cracked, heat will escape from the oven, you may be unable to see the contents of the oven and the risk of injury will be increased.
This part provides a way of connecting individual electrical wires and offers protection of the device from electrical surges (voltages and/or currents).
Ask our experts a question about this model and we'll get back to you as soon as possible!
We may have answered a similar question already! Search questions and answers left by others using simple keywords like "fit", "broken", "easy", or "quality" to find questions that match.
Search filter:
Clear Filter
Your search term must have 3 or more characters.
Sort by:
Prev
1
2
Next
Sorry, we couldn't find any existing answers that matched.Try using some different or simpler keywords, or submit your new question by using the "Ask a Question" button above!
Susan - For model number JBS86SP1SS
January 20, 2023
How do I set the clock on my range?
Hi Susan, thank you for your question! To set the time on your range, you would simply press and hold the "Cook Time" button for 3 seconds, and then enter the time with the number keypads. It says below Cook Time to "Set Clock Press and hold for 3 seconds". Press Start to save time. We hope this information helps!
2 peoplefound this instruction helpful.
Was this helpful?
Thank you for voting!
Carolyn - For model number JBS86SP1SS
January 21, 2023
BOTH OVENS STOPPED WORKING AS WELL AS THE DIGITAL READOUT ON THE FRONT PANEL. WHAT PART DO I NEED? THE RANGE IS ABOUT 2 YEARS OLD.
Hello Carolyn, Thank you for writing. With the information provided, this could be an indication the Oven Control Board is faulty and may need to be replaced. We also suggest verifying there is power is getting to the appliance and the outlet tests to be good and all wiring is secure and in good condition. We hope this solves your problem!
My large front right burner had 2 sizes and the largest one doesn't heat up. Is it an element issue?
Hello Kathi, Thank you for writing. This could be an issue with the Element or the Switch that controls the Element. We suggest testing the Element with the Multimeter to check the continuity. We hope this helps, good luck with this repair!
Hello Robert, thank you for reaching out to PartSelect. It seems like there is a problem with your light housing, part number PS230438. You need to check this part to fix the issue. We hope that helps!
I was boiling hotdogs. Water boiled over on the stove top. I cut the stove off. Couple days later when I was using the stove. There was first a f222 error message. I changed both heating sensors in the top and bottom oven. When I cut the breaker switch on a minute later the f220 error message is on. Does that mean I have to order a control board? I took the silver back off the range check the board for chars, scorch, burns and found none. Again Does that mean I still need to order a new control board?
Hi Lavonda, thank you for getting in touch. The F220 error indicates a temperature sensor or control board issue. Since you have already replaced the temperature sensors, the issue could be with the control board, part number PS16219550. You may need to replace it to fix the issue. We hope this sorts out your problem!
See how others fixed this model. Time, tools, difficulty, and steps that lead to victory!View More
Search repair tips from other customers using simple keywords like "replace", "fit", "remove", "inspect". DIY doesn't mean you have to do it alone!
Search filter:
Clear Filter
Your search term must have 3 or more characters.
Oven would go in to a F2 Error
148 of 226 peoplefound this instruction helpful.
Peter from stamford, CT
Really Easy
15 - 30 mins
Nutdriver
Removed six 1/4" hex nuts on rear of oven. Then through front/inside removed a single 1/4" hex nut to actually remove sensor. Unplug sensor connector, remove. Reversed steps, push oven back in place and plugged in. Tested oven function.
Was this helpful?
Thank you for voting!
Oven was not coming up to temperature
57 of 79 peoplefound this instruction helpful.
Sean from Highlands Ranch, CO
Really Easy
15 - 30 mins
Nutdriver, Screw drivers
I had to remove the oven from the wall because the sensor plug connction is behind the unit. Two screws hold the sensor inside the oven and then I disconnected the lead and pulled the sensor out from the front. I installed the new sensor, tightened the two screws holding it in and connected the lead. Then reinstalled the oven into the wal
... Read morel. Overall, a very easy repair once you get the oven out.
Read less
Was this helpful?
Thank you for voting!
terminal block melted
56 of 77 peoplefound this instruction helpful.
jonathan from willow springs, IL
Easy
Less than 15 mins
Nutdriver, Screw drivers
The existing terminal block on my Ge oven/Range had melted due to a loose wire causing sparking and starting the plastic casing of the terminal block on fire and melting it, Part select made the part easy to find and had it at my house in 2 days. All I had to do was remove six screws to take the back sheet metal cover off of the oven. U
... Read morenscrew the terminal connections remove two mounting screws that held the terminal on to the oven body. This was a little trickier than it should have been because the melted plastic had reformed making it very hard to access the mounting screws. i then mounted the new piece and plugged the oven in, it took 15 minutes and was very easy. definitely saved me at-least a $100 for the service call i would have made if finding the part wasn't so convenient


 My Orders