This is an OEM bottom bake element for your oven. Make sure to wait until your oven is cool before replacing this part, and disconnect power to the oven. In order to replace this part, you will need to pull out the oven and open up the back panel to disconnect the bake element wires and install the new ones.
The temperature sensor, also known as the oven temperature sensor assembly is usually found in the back of the oven. The function of the oven temperature sensor assembly is to measure the temperature inside your oven while it is on and send the temperature back up to the electronic control, which adjusts as necessary. If your oven is havi...Read moreng difficulty achieving warmer temperatures and/or keeping warmer temperatures up, you may want to test your temperature sensor. Before you make this repair remember to unplug your range from the power source, and turn off the gas shut off valve.
This 40-Watt light bulb is sold individually.
It is specially designed to withstand extreme temperatures, so this bulb is compatible with a variety of appliance types including refrigerators, ranges, microwaves, and dryers. It features a frosted glass bulb with a standard metal socket base, which allows you to easily unscrew the burnt-out light and twist the new bulb into place.
This electronic control board is the central component of your wall oven, managing functions such as temperature regulation and heating elements. The manufacturer has modified the wiring on this part, so professional installation may be necessary for proper setup. Before installation, shut off the circuit breaker or unplug the oven for sa...Read morefety. This genuine OEM part ensures optimal oven performance and compatibility with select models.
This genuine GE drawer support is an original replacement part sourced from the manufacturer and is designed for use with electric ranges. Made of durable plastic, it attaches to the rear of the drawer and provides stable support by securing the rear side in place. This part includes the necessary mounting screw for installation and is so...Read moreld individually. It’s a simple yet essential component for maintaining smooth drawer operation and proper alignment.
This 8-inch radiant stovetop element is a genuine replacement part designed to deliver consistent heat to cookware during stovetop use. It fits select electric ranges and cooktops and is engineered to restore proper heating performance when an existing burner is damaged, unevenly heating, or non-functional. The element transfers heat effi...Read moreciently to support even cooking across a variety of pot and pan sizes. Installation involves lifting the cooktop and removing the screw and clip securing the old burner. A screwdriver is required, and the appliance should be disconnected from power before beginning the repair to ensure safety.
This part is the replacement light socket for your oven. The oven light socket provides power to the light, and at the same time holds the light bulb in place.
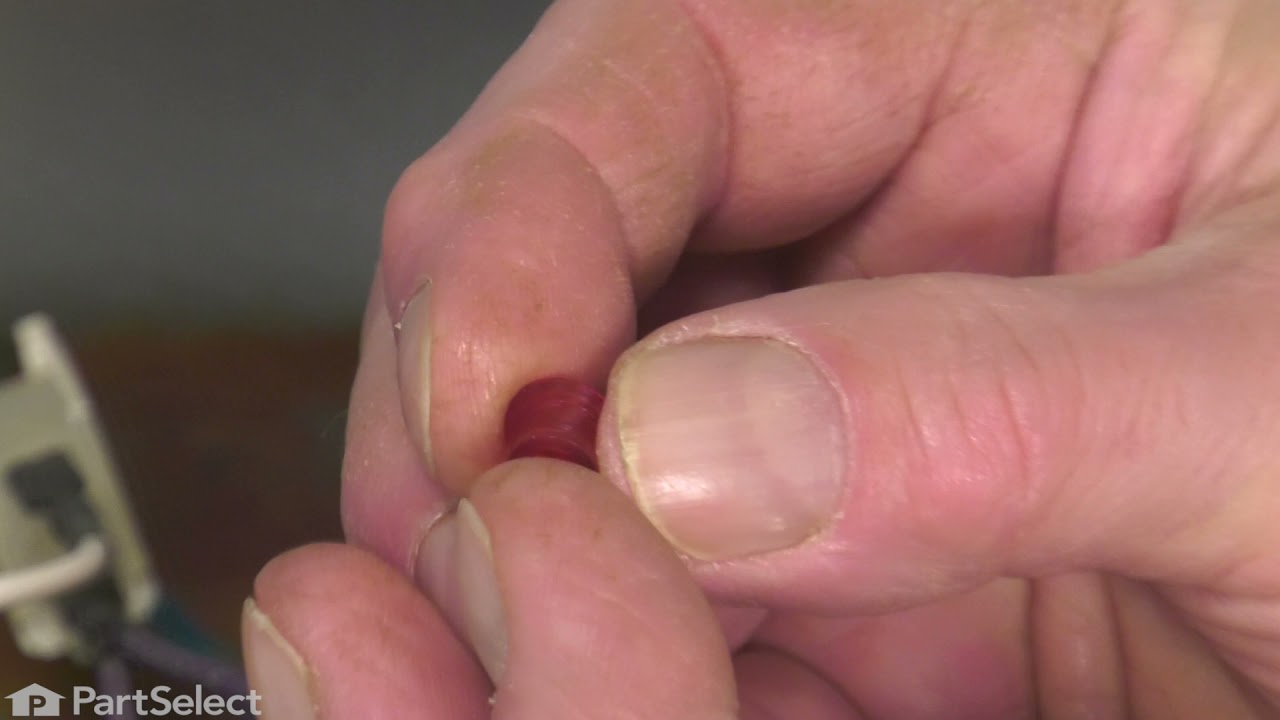
This part is a replacement lens for your oven or range. The lens is red in color, and when the elements are turned on, the light behind the lens will turn on to inform the user that the element is, in fact, on. The lens is a little less than half an inch in diameter and is made of plastic. If the light behind the lens still works, you sho...Read moreuld be able to simply remove the front panel and pop the damaged lens out of position, then replace it with the new one. This part is sold individually and is an OEM part sourced directly from the manufacturer.
Ask our experts a question about this model and we'll get back to you as soon as possible!
We may have answered a similar question already! Search questions and answers left by others using simple keywords like "fit", "broken", "easy", or "quality" to find questions that match.
Search filter:
Clear Filter
Your search term must have 3 or more characters.
Sort by:
Prev
1
Next
Sorry, we couldn't find any existing answers that matched.Try using some different or simpler keywords, or submit your new question by using the "Ask a Question" button above!
Rodney - For model number JBS55DM2BB
December 19, 2022
Took screws out to change oven bulb, shorted out, oven want work. Do I need to change the electronic control board?
Hi Rodney, thank you for reaching out. If your oven is not working, then you need to replace the electronic control board, part number PS3491492. Before replacing the board, we would recommend checking the terminal block, part number PS953027. We hope this information helps! If you need help placing an order, customer service is open 7 days a week. Thanks again for your great question.
Hi Neal, thank you for reaching out. We recommend checking the power supply to the unit at the terminal block kit, part number PS953027, where the cord connects to the unit. Make sure that the wiring is not burned and that you have 240 volts across the outside two terminals. We hope this helps, good luck with this repair!
The oven was working until my husband went to turn it off and now I turn the oven on and the broiler comes on and I can not get it turn off so I can use the oven not the broiler I don't know what he did but I hope you can help me out and thank you
Hello Patricia, thank you for reaching out. Based on the description that you have provided, we would recommend replacing the control board, part number PS3491492, to solve the problem. It manages the functions of the wall oven, such as heating and temperature. We hope this helps!
Why is it that you can not find my model number that is on my stove.when I need to replace my controller panel that controls my oven.
Hello Rickey, thank you for reaching out. If your model number is JBS55DM2BB, then the compatible control board for your model is part number PS3491492. It monitors the temperature and controls the oven heat. We hope that helps!
See how others fixed this model. Time, tools, difficulty, and steps that lead to victory!View More
Search repair tips from other customers using simple keywords like "replace", "fit", "remove", "inspect". DIY doesn't mean you have to do it alone!
Search filter:
Clear Filter
Your search term must have 3 or more characters.
Bake Element burned out, bunt like a sparkler.
353 of 377 peoplefound this instruction helpful.
Brad from Bedford, KY
Easy
15 - 30 mins
Pliers, Screw drivers
Ordered the part on Friday, got it on Saturday, very impressive. Be sure to unplug the range or disconnect the power at the breaker box before any repairs are started.
The lower (Bake) element is held in by 2 screws. Remove them and gently pull out the element to remove the power wires connected to the element. These wires are
... Read more very short and there is not much room in which to work. After having removed the wire connectors one slipped from my fingers and went back in the small opening in the back of the oven where the element is inserted. It took some time to fish out the wire. Not wanting to slide out the range I used some surgical forcepts I happen to have grab the wire ( handy to clip wires or compontents in place for some delicate repairs). Its all blind and the opening is very small plus the insulation must be pushed back to gain access. Anyway I managed to grab the wire, attached both wires to the element, replaced the plate and screws holding the element in place, all finished. Worked great. Other ranges I have owned provided a socket to plug in the element, I guess the bottom line gets in the way of quality.. Being 60 years old the worst part of this job is the getting down on my knees to do the work and getting back up again.
Read less
Was this helpful?
Thank you for voting!
Oven would go in to a F2 Error
148 of 226 peoplefound this instruction helpful.
Peter from stamford, CT
Really Easy
15 - 30 mins
Nutdriver
Removed six 1/4" hex nuts on rear of oven. Then through front/inside removed a single 1/4" hex nut to actually remove sensor. Unplug sensor connector, remove. Reversed steps, push oven back in place and plugged in. Tested oven function.
Was this helpful?
Thank you for voting!
Bake Element fell apart
76 of 85 peoplefound this instruction helpful.
Ronald from Citrus Springs, FL
Really Easy
Less than 15 mins
Nutdriver, Screw drivers
Cut the Power! pull out stove remove the 4 screws in the back, disconnect the two wires from the element.Open oven door, remove racks and remove 2 screws holding the element in place. Replace element and the 2 retaining screws, replace racks.On the back of the oven connect the two wires and replace cover. Slide back in place and turn on
... Read morethe power. Done =)



 My Orders