The bake element is located on the bottom of the oven. If your oven will not heat properly it may be due to a faulty or damaged baking element. If you can see that the element has been separated or blistered, you should replace the part immediately. If there is no visible damage, turn the oven on and check to see if the element heats even...Read morely. If the element is not heating evenly, or if it is not heating at all, it will need to be replaced. This element is 19 inches wide x 19 inches long, and has male spade push on terminals.
This burner drip bowl, also referred to as a drip pan or burner pan, is a genuine OEM replacement part that is designed to fit ranges. The bowl is located beneath the burner where it catches food particles and other items that may fall during the cooking process. It prevents these substances from making contact with and potentially damagi...Read moreng the burner or cooktop surface. Each bowl has a diameter of 8 inches. It also comes with a chrome finish that gives the bowl a sleek and modern appearance, helps to protect the bowl from corrosion, and makes it easier to wipe off spills and drips.
The 8-inch surface element switch is also known as an infinite heat switch, and is a part for your range. It controls the large surface element. It will turn the element on and off, and allow you to change the heat intensity. The knob to adjust the heat setting mounts on the shaft of this swtich. The burner knob is sold separately. If you...Read morer large surface element will not turn on, or you cannot adjust the heat intensity, you may have a broken or damaged surface burner switch. Be sure you disconnect your range from the power source before you begin this repair.
This surface element control switch, also known as an infinite switch, regulates the power supplied to a 6-inch, 1560-watt heating element on electric ranges. It allows for precise adjustment of heat levels by cycling the element on and off, rather than relying on fixed temperature settings. Operating at 240 volts and drawing between 4.4 ...Read moreto 7.4 amps, the switch ensures consistent and responsive heat control. Replacing a faulty switch can resolve issues such as the element not heating, staying stuck on high, or fluctuating in temperature. This component is essential for maintaining safe and efficient cooking performance.
This is a replacement drawer support for your oven. The drawer support provides stability to the drawer unit as it opens and closes. If your oven drawer is hanging or will not slide in or out efficiently, you could have a damaged or missing drawer support. This part is made of white plastic and is sold individually. To replace the support...Read more, simply remove the oven drawer, and unscrew the front support on the sides of the oven. Then, simply screw the new part in and replace the drawer to complete your repair.
This broil element is designed for wall ovens and plays a critical role in achieving high-temperature cooking during broil cycles. Positioned at the top of the oven cavity, it delivers intense, direct heat for broiling meats, vegetables, and other dishes. A malfunctioning element may result in the oven failing to reach proper broil temper...Read moreatures, uneven cooking, or complete loss of broil function. Constructed from heat-resistant materials for durability and performance, this replacement part restores optimal cooking capability. Before installation, always disconnect power to the appliance and verify compatibility with your specific oven model.
This metal oven rack provides a stable and durable surface for baking, roasting, and broiling inside your oven. Designed to fit select gas range and oven models, it promotes even heat circulation and airflow around food for consistent cooking results. Constructed from solid 304 stainless steel, the rack resists rust and warping even at hi...Read moregh temperatures, ensuring long-term reliability. Measuring approximately 23.75 inches in length and 16.25 inches in width, it offers ample space for cookware. Many versions feature convenient handles at each end, allowing for easy placement and removal from the oven.
This part is the replacement light socket for your oven. The oven light socket provides power to the light, and at the same time holds the light bulb in place.
Ask our experts a question about this model and we'll get back to you as soon as possible!
We may have answered a similar question already! Search questions and answers left by others using simple keywords like "fit", "broken", "easy", or "quality" to find questions that match.
Search filter:
Clear Filter
Your search term must have 3 or more characters.
Sort by:
Prev
1
Next
Sorry, we couldn't find any existing answers that matched.Try using some different or simpler keywords, or submit your new question by using the "Ask a Question" button above!
Phil - For model number JBS10DF1WW
February 23, 2022
Hot burner light never goes out. Stays on even after burners are cool to touch.
Hello Phil, Thank you for the question. This is normally an indication the Burner Switch that was in use is faulty and needs to be replaced. The Switch also controls the Light. If you need help placing an order, customer service is open 7 days a week. Please feel free to give us a call. We look forward to hearing from you!
Oven heating light stays on. No heat present. All switches are in off position
Hello Sean, thank you for your inquiry. We have concluded that the issue is with the temperature control thermostat, part number PS8754468. You may need to check it to solve the problem. Glad to be of assistance!
See how others fixed this model. Time, tools, difficulty, and steps that lead to victory!View More
Search repair tips from other customers using simple keywords like "replace", "fit", "remove", "inspect". DIY doesn't mean you have to do it alone!
Search filter:
Clear Filter
Your search term must have 3 or more characters.
Lower bake Element would not heat.
230 of 263 peoplefound this instruction helpful.
Ronald from Nassau, NY
Really Easy
Less than 15 mins
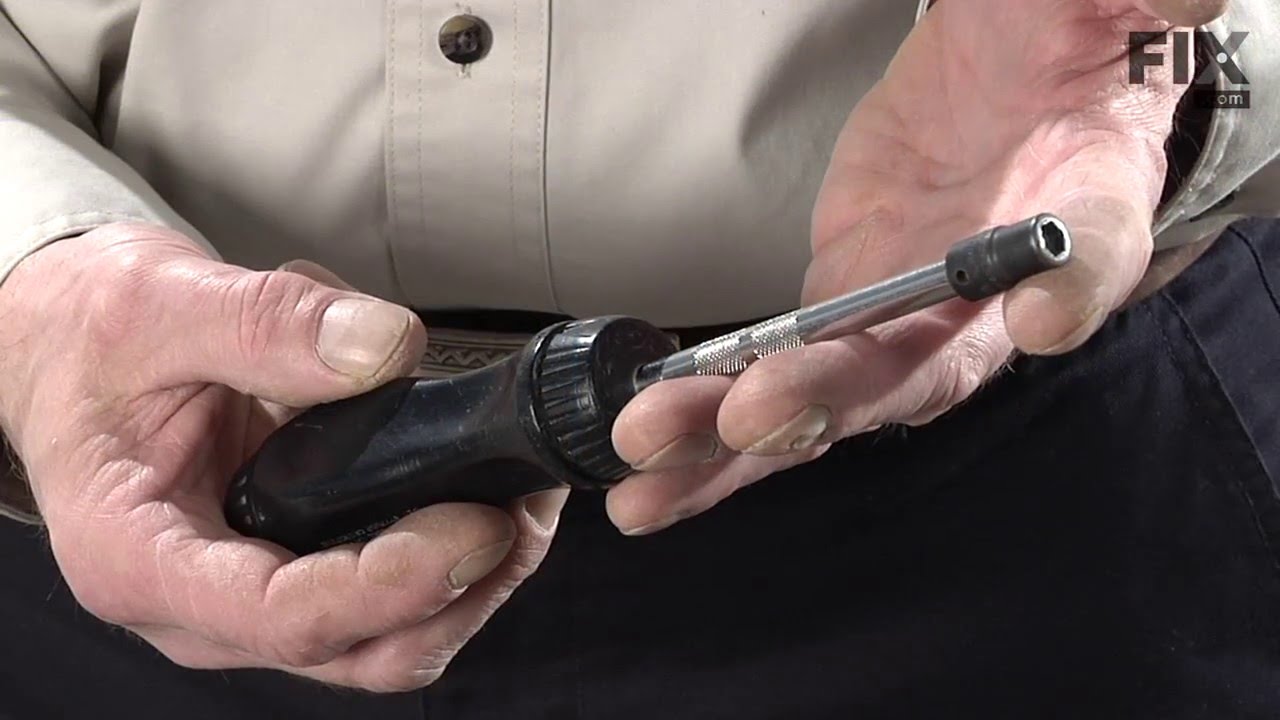
Nutdriver, Pliers
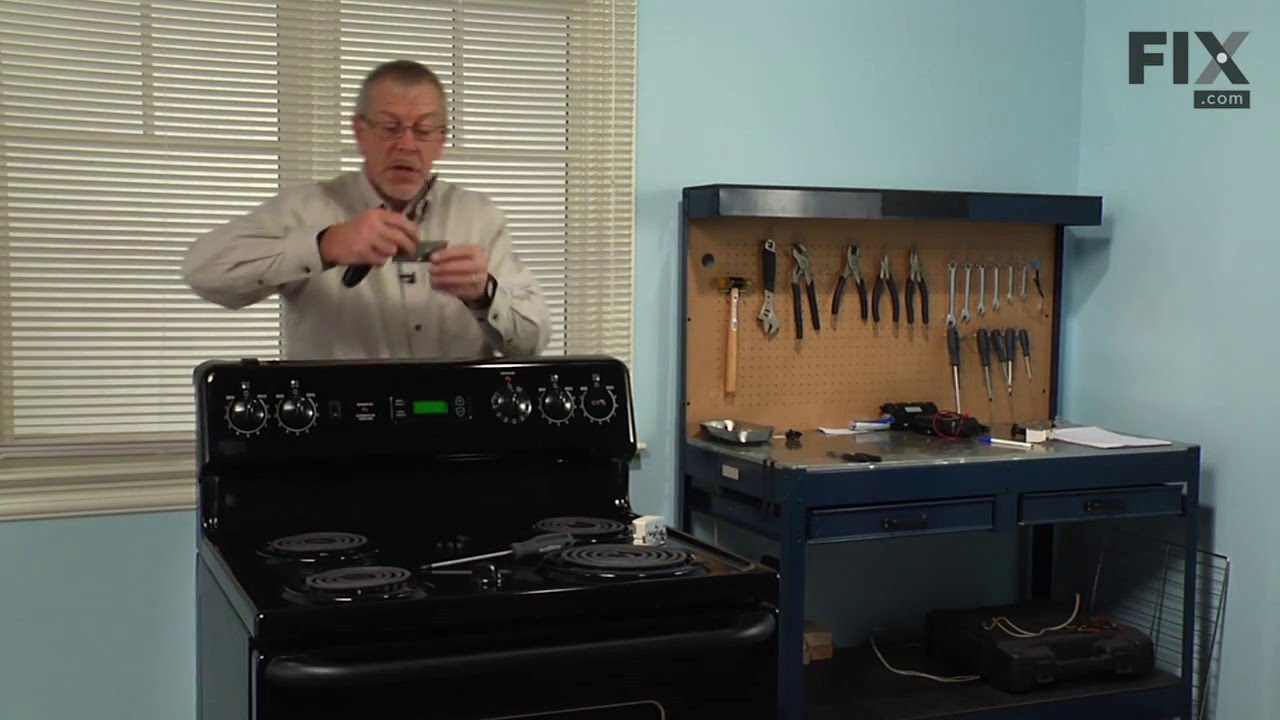
First I slid the stove out and unpluged it, then removed two screws,slid out element, disconected two wires, slid new element in to place, pluged two wires in ,put into place and installed two screws, pluged stove back in, and turned on to try. Works perfect.
Was this helpful?
Thank you for voting!
The switches failed on both front burners.
97 of 108 peoplefound this instruction helpful.
Marc from Columbia, NJ
Easy
15 - 30 mins
Nutdriver, Screw drivers
Remove nobs from both switches. Pull out the range (the hardest part). REMOVE THE POWER PLUG FROM THE WALL Remove 7 screws with nut driver and take off upper back panel. Remove 2 phillips screws from front, they hold the switch brackets. The new switches don't fit in the bracket so discard the bracket keeping the
... Read morescrews. Removing 1 wire at a time from the old switch transfer to the new noting the letter/number ie "H1 P1" combos they are all there just not in the same places on the new switch. When wiring is complete, using the bracket ,screws from the front screw on the switches. Replace the back panel with 7 screws. In my case the old nobs did not fit the shafts of the new switches. I found some at the local hardware store. I bought 4 for $0.29 each! I expect to be replacing the other burner switches shortly.
1)Turn off power to stove 2)remove 2 bolts holding heating element 3)pull element out of the back of the oven about 8" so that the wire connects is visable 4)pull wire clips off of heating element and remove element from the oven 5)put wire clips on the new heating element 6)push new heating element back into the
... Read moreholes in the back of the oven 7)screw botls back into the oven holding the heating element in place 8)Turn power back on



 My Orders