


 My Orders




JBS03BY1 General Electric Range - Overview
Diagrams for JBS03BY1
See every part. Know exactly what you need.


Enter a part description. DIY Heroes keep it simple, eg. "belt" or "pump".
Search filter:
Clear Filter
Your search term must have 3 or more characters.

$15.00
In Stock

$16.07
In Stock
Chrome Burner Bowl - 8 Inch
Part #WB31K10266
This burner drip bowl, also referred to as a drip pan or burner pan, is a genuine OEM replacement part that is designed to fit ranges. The bowl is located beneath the burner where it catches food particles and other items that may fall during the cooking process. It prevents these substances from making contact with and potentially damagi...Read moreng the burner or cooktop surface. Each bowl has a diameter of 8 inches. It also comes with a chrome finish that gives the bowl a sleek and modern appearance, helps to protect the bowl from corrosion, and makes it easier to wipe off spills and drips.
Read less

$58.42
In Stock
Surface Element - 8 Inch - 2350W
Part #WB30M2
The surface element, also known as the coil surface element, transfers heat to the area on top of range. The element is 8 inches in diameter. If your surface element does not heat, over heats, or heats inconsistently, replacing this part can be the solution to your issue. To determine whether the element is defective, use a multimeter to ...Read moretest it. Before installing the new element, make sure the drip bowl is properly aligned with the notch of the pan. Insert the new element into the reciprocal at a 40 degree angle. Refer to the instructions provided by the manufacturer for more guidance.
Read less

$51.61
In Stock
Surface Element - 6 Inch - 240V
Part #WB30M1
If you notice that your surface element will not heat properly, you may need to replace it. This surface element is 6 inches in diameter and 240V. It is a Y-frame surface burner element with five turns and a metallic center medallion. When completing this repair, if you notice any signs of corrosion or overheating on the terminal, you may...Read more want to consider replacing the terminal block as well as the surface element. Many of our customers have rated this repair as easy. To complete this repair, simply tilt the old element up and remove it, and then replace it with your new one.
Read less

$46.21
In Stock
Oven Handle End Cap - Left or Right Side
Part #WB07X10034
This oven handle end cap connects to your oven door handle, and acts as the joint that connects it to the oven door. This part is made of black plastic and can be used as the left or right-side end cap. If your oven door handle is loose or disconnected, this part may fix the problem. The end cap will need to be screwed into the oven door itself, but simply snaps in to the door handle. This part is sold individually.

$53.20
In Stock
Range Infinite Heat Switch Kit
Part #WB21X36771
The infinite switch controls the stove top surface burner. This switch will work with most of the electrical range models with coil burner elements.

$73.69
In Stock

$43.18
In Stock
Broiler Pan - Large
Part #WB48X10056
This large broiler pan is found in the bottom of your oven and is used to catch drippings from broiling foods. This part includes the grate and bottom pan and is made of porcelain. The grate measures 15-1/2 inches wide by 13 inches deep and the pan is about 17 inches wide by 13 inches deep. No tools are required to replace this item, simp...Read morely pull out the lower drawer of your range, pull down the front of the drawer, slide the pan out and slide the new one into place. This is a genuine part sourced right from the manufacturer.
Read less

$77.22
In Stock
Door Handle
Part #WB15X10003
This oven door handle is a genuine OEM replacement designed for select GE, Hotpoint, and Kenmore ranges. Made from heavy-duty materials and typically finished in black, it provides a secure grip for opening and closing the oven door. Engineered for durability and a precise fit, it restores proper function and appearance when the original ...Read morehandle is broken, loose, or missing. Installation is straightforward and typically requires basic hand tools; wearing work gloves is recommended for safety. Always verify compatibility with your specific model before installation, as similar handles may differ in size and mounting configuration.
Read less

No Longer Available
Element Center Medallion
Part #WB31X5021
This medallion is located in the middle of the surface burner.

$77.75
Special Order

$168.18
In Stock
Oven Thermostat
Part #WB20X5071
This part establishes and maintains the internal temperature of the oven cavity.
Common Symptoms of the JBS03BY1
How this model fails, and the parts that fix it.
Element will not heat
Fixed by
these parts
these parts


Show All
Little to no heat when broiling
Fixed by
these parts
these parts
Show All
Watch our pros, then fix it yourself.
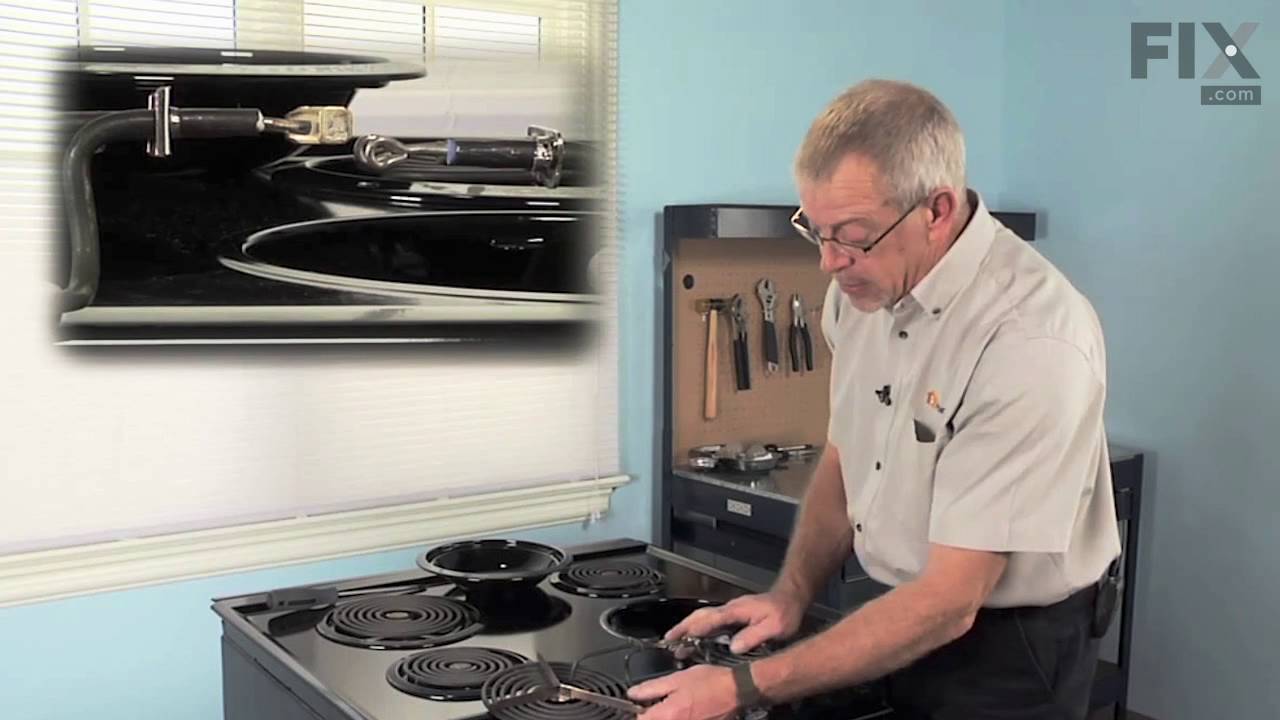
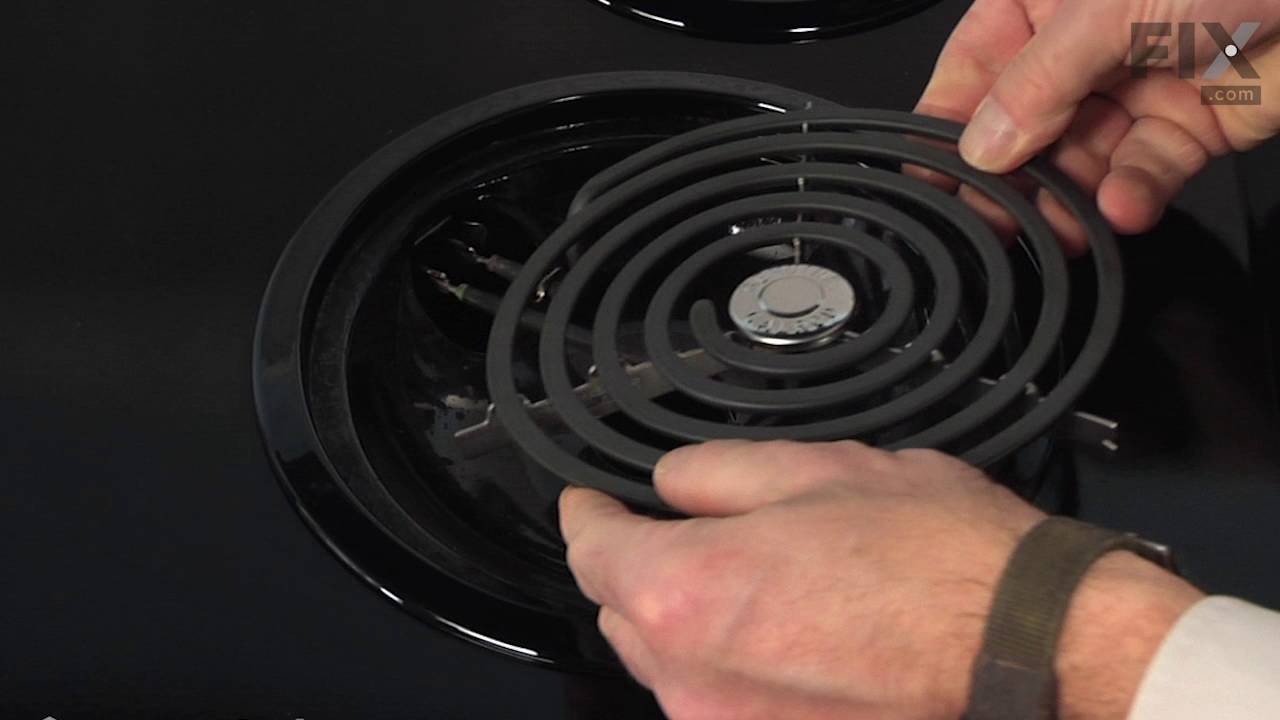
See how others fixed this model. Time, tools, difficulty, and steps that lead to victory!
View More
Search repair tips from other customers using simple keywords like "replace", "fit", "remove", "inspect". DIY doesn't mean you have to do it alone!
Search filter:
Clear Filter
Your search term must have 3 or more characters.
Replacement of Coils
35 of 42 people
found this instruction helpful.
Removed by slightly wiggling out of the coupling. No tools needed, seriously, (and I'm a contractor). Basically, pull out and snap back in.
Other Parts Used:


Was this helpful?
Thank you for voting!