


 My Orders




JBS032R3 General Electric Range - Overview

Enter a part description. DIY Heroes keep it simple, eg. "belt" or "pump".
Search filter:
Clear Filter
Your search term must have 3 or more characters.

$52.67
In Stock
Bake Element - 220V 2300W
Part #WB44X5082
This bake element goes in the bottom of your range and is 220 volts and 2300 watts. This closed hinged style element with screw-in terminals measures at 15-1/4 inches long and 18-1/4 inches wide. The bottom bake element provides heat for baking. Tools you will need for this repair include pliers, screwdrivers, and an adjustable wrench. Be...Read morefore you begin this installation, remember to shut off the house circuit breaker or unplug your range. For safety purposes we also recommend wearing work gloves.
Read less

$15.00
In Stock

$16.07
In Stock
Chrome Burner Bowl - 8 Inch
Part #WB31K10266
This burner drip bowl, also referred to as a drip pan or burner pan, is a genuine OEM replacement part that is designed to fit ranges. The bowl is located beneath the burner where it catches food particles and other items that may fall during the cooking process. It prevents these substances from making contact with and potentially damagi...Read moreng the burner or cooktop surface. Each bowl has a diameter of 8 inches. It also comes with a chrome finish that gives the bowl a sleek and modern appearance, helps to protect the bowl from corrosion, and makes it easier to wipe off spills and drips.
Read less

$37.91
In Stock

$58.42
In Stock
Surface Element - 8 Inch - 2350W
Part #WB30M2
The surface element, also known as the coil surface element, transfers heat to the area on top of range. The element is 8 inches in diameter. If your surface element does not heat, over heats, or heats inconsistently, replacing this part can be the solution to your issue. To determine whether the element is defective, use a multimeter to ...Read moretest it. Before installing the new element, make sure the drip bowl is properly aligned with the notch of the pan. Insert the new element into the reciprocal at a 40 degree angle. Refer to the instructions provided by the manufacturer for more guidance.
Read less

$47.31
In Stock
Broil Element
Part #WB44X173
The broil element is located at the top of the oven and gives off heat in order to bake evenly. If you notice that the element is not heating up or is not cooking evenly it could be because it is broken or burnt out. The depth of the screw-on terminals is 2-3/4 inches and they are 1-1/4 inches apart. Does not include mounting bracket. All...Read more you need for this simple repair is small screwdriver. To complete this repair, you will need to first turn the oven off (or shut off the house circuit breaker), remove the two screws that are holding the old element in place, remove the two wires from the old part, and then connect them to the new part and screw back into place.
Read less

$51.61
In Stock
Surface Element - 6 Inch - 240V
Part #WB30M1
If you notice that your surface element will not heat properly, you may need to replace it. This surface element is 6 inches in diameter and 240V. It is a Y-frame surface burner element with five turns and a metallic center medallion. When completing this repair, if you notice any signs of corrosion or overheating on the terminal, you may...Read more want to consider replacing the terminal block as well as the surface element. Many of our customers have rated this repair as easy. To complete this repair, simply tilt the old element up and remove it, and then replace it with your new one.
Read less

$53.20
In Stock
Range Infinite Heat Switch Kit
Part #WB21X36771
The infinite switch controls the stove top surface burner. This switch will work with most of the electrical range models with coil burner elements.

$43.18
In Stock
Broiler Pan - Large
Part #WB48X10056
This large broiler pan is found in the bottom of your oven and is used to catch drippings from broiling foods. This part includes the grate and bottom pan and is made of porcelain. The grate measures 15-1/2 inches wide by 13 inches deep and the pan is about 17 inches wide by 13 inches deep. No tools are required to replace this item, simp...Read morely pull out the lower drawer of your range, pull down the front of the drawer, slide the pan out and slide the new one into place. This is a genuine part sourced right from the manufacturer.
Read less

No Longer Available

$24.09
Special Order
Washer - 12 Pack
Part #WB1X119D

No Longer Available
Center Piece - 6 Inch Burner
Part #WB32X52
Common Symptoms of the JBS032R3
How this model fails, and the parts that fix it.
Element will not heat
Fixed by
these parts
these parts


Show All
Little to no heat when baking
Fixed by
these parts
these parts

Show All
Little to no heat when broiling
Fixed by
these parts
these parts
Show All
Oven not heating evenly
Fixed by
these parts
these parts
Show All
Will Not Start
Fixed by
these parts
these parts
Show All
Oven is too hot
Fixed by
these parts
these parts
Show All
Watch our pros, then fix it yourself.
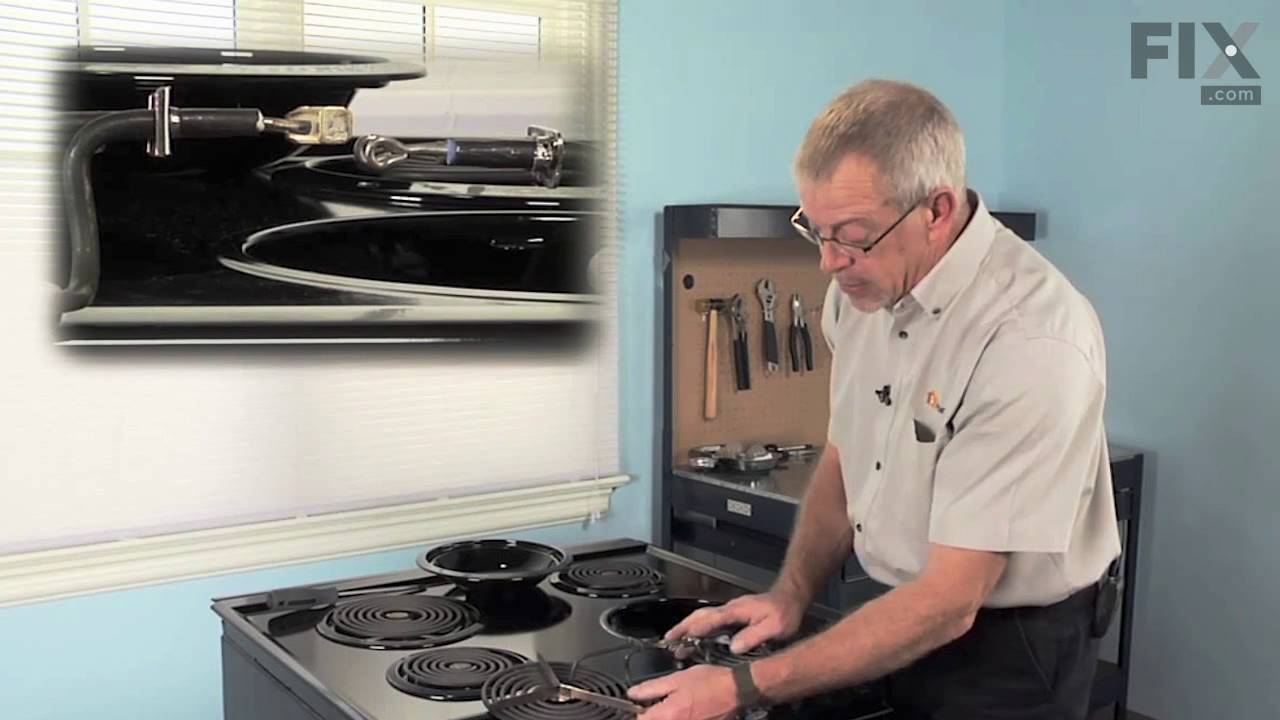
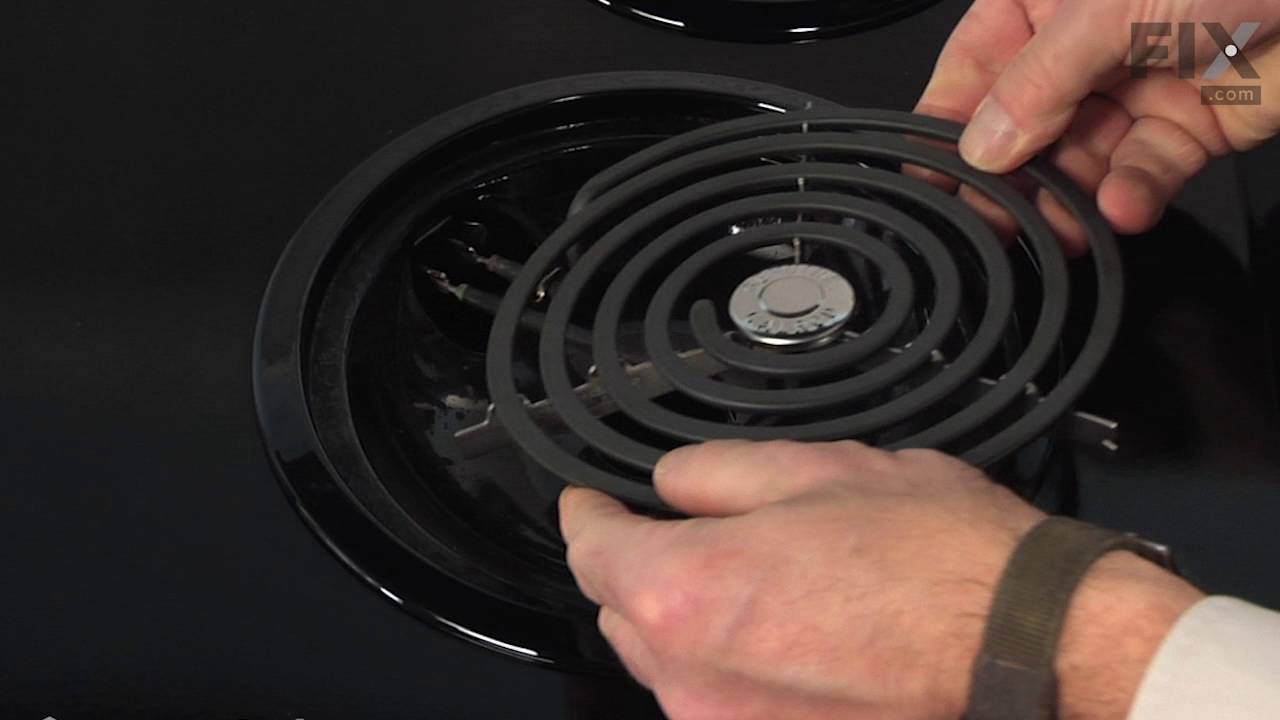
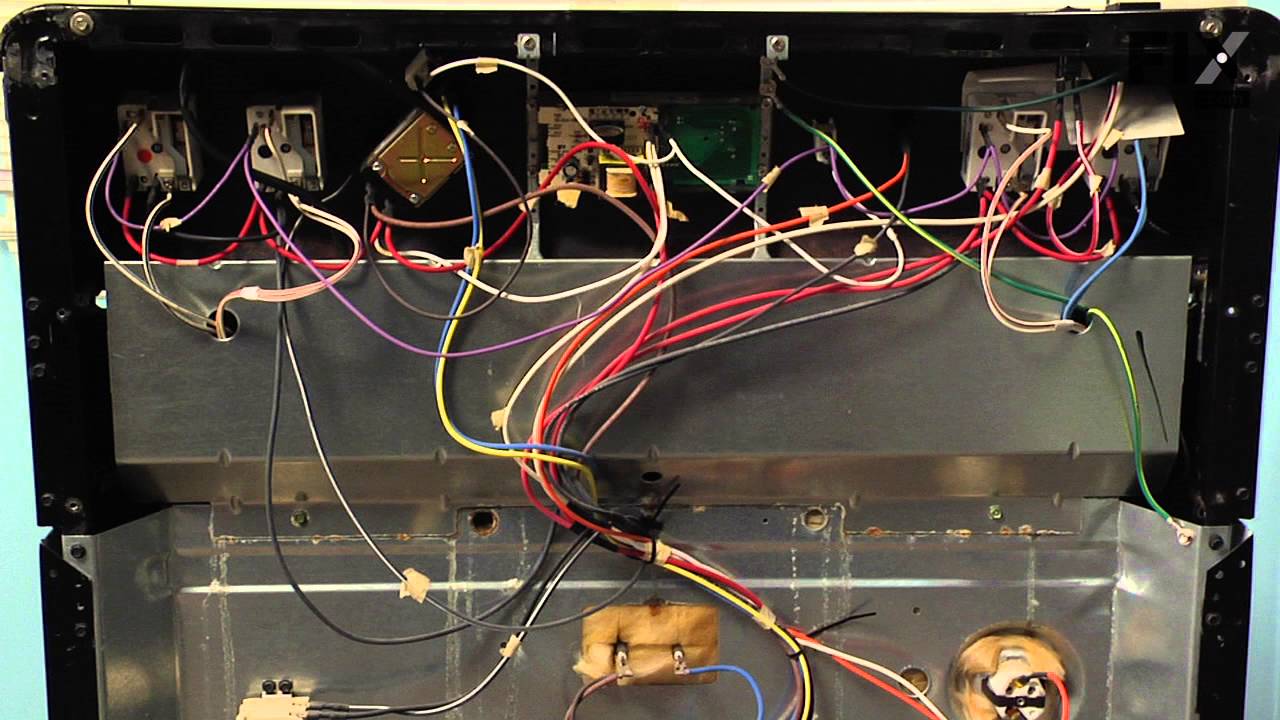
See how others fixed this model. Time, tools, difficulty, and steps that lead to victory!
View More