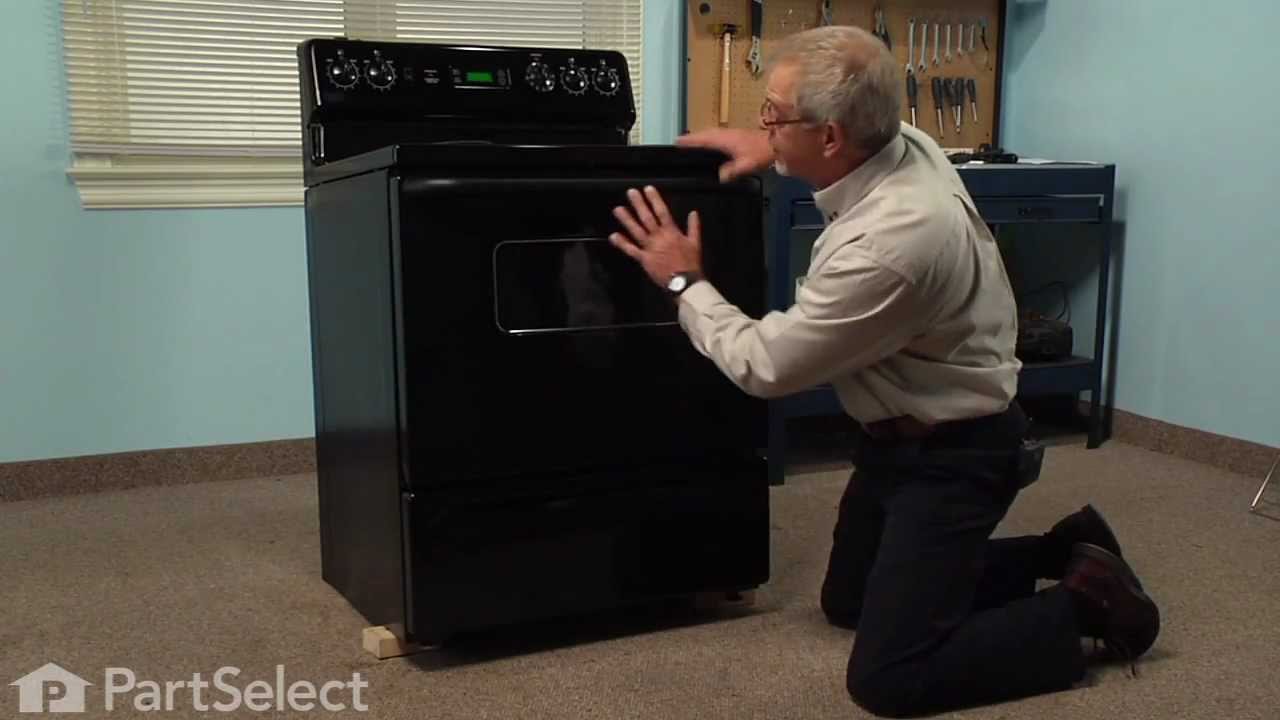
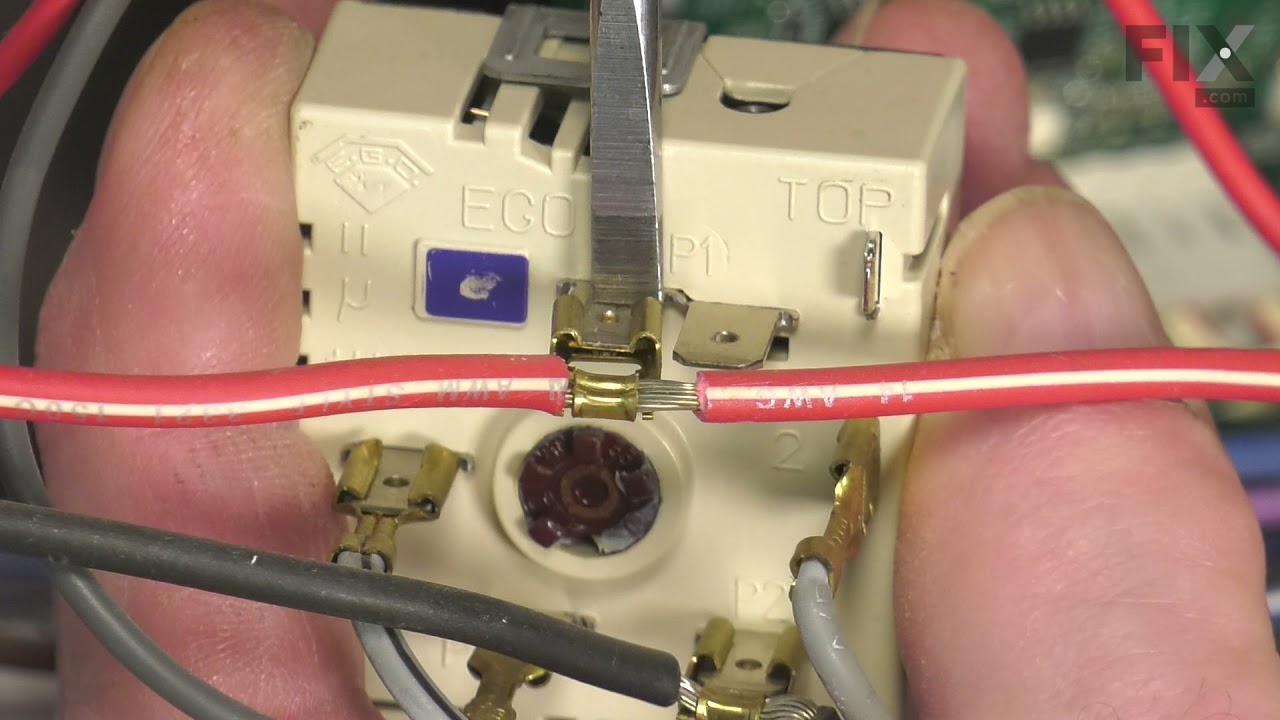
The temperature sensor, also known as the oven temperature sensor assembly is usually found in the back of the oven. The function of the oven temperature sensor assembly is to measure the temperature inside your oven while it is on and send the temperature back up to the electronic control, which adjusts as necessary. If your oven is havi...Read moreng difficulty achieving warmer temperatures and/or keeping warmer temperatures up, you may want to test your temperature sensor. Before you make this repair remember to unplug your range from the power source, and turn off the gas shut off valve.
This 40-Watt light bulb is sold individually.
It is specially designed to withstand extreme temperatures, so this bulb is compatible with a variety of appliance types including refrigerators, ranges, microwaves, and dryers. It features a frosted glass bulb with a standard metal socket base, which allows you to easily unscrew the burnt-out light and twist the new bulb into place.
This electronic control board is the central component of your wall oven, managing functions such as temperature regulation and heating elements. The manufacturer has modified the wiring on this part, so professional installation may be necessary for proper setup. Before installation, shut off the circuit breaker or unplug the oven for sa...Read morefety. This genuine OEM part ensures optimal oven performance and compatibility with select models.
This genuine GE drawer support is an original replacement part sourced from the manufacturer and is designed for use with electric ranges. Made of durable plastic, it attaches to the rear of the drawer and provides stable support by securing the rear side in place. This part includes the necessary mounting screw for installation and is so...Read moreld individually. It’s a simple yet essential component for maintaining smooth drawer operation and proper alignment.
This 9-inch dual radiant element is a genuine replacement component designed for use in electric ranges and cooktops. Positioned beneath the main glass cooktop surface, it provides the high, consistent heat required for cooking. As the larger of the two element sizes, it accommodates larger cookware and supports versatile cooking needs. I...Read moref the element fails to heat or heats unevenly, replacement is necessary to restore proper function. This part is sold individually and is engineered for durability and compatibility with a range of models. Always disconnect the appliance from the power source before beginning installation to ensure safety.
This 8-inch radiant stovetop element is a genuine replacement part designed to deliver consistent heat to cookware during stovetop use. It fits select electric ranges and cooktops and is engineered to restore proper heating performance when an existing burner is damaged, unevenly heating, or non-functional. The element transfers heat effi...Read moreciently to support even cooking across a variety of pot and pan sizes. Installation involves lifting the cooktop and removing the screw and clip securing the old burner. A screwdriver is required, and the appliance should be disconnected from power before beginning the repair to ensure safety.
This is an authentic GE oven rack, sourced directly from the manufacturer. It is made of metal, and provides a stable surface for cookware inside the oven. If your current oven rack is damaged or missing, simply lift it up gently to slide it out. Insert the new rack, ensuring it is level.
This part is the replacement light socket for your oven. The oven light socket provides power to the light, and at the same time holds the light bulb in place.
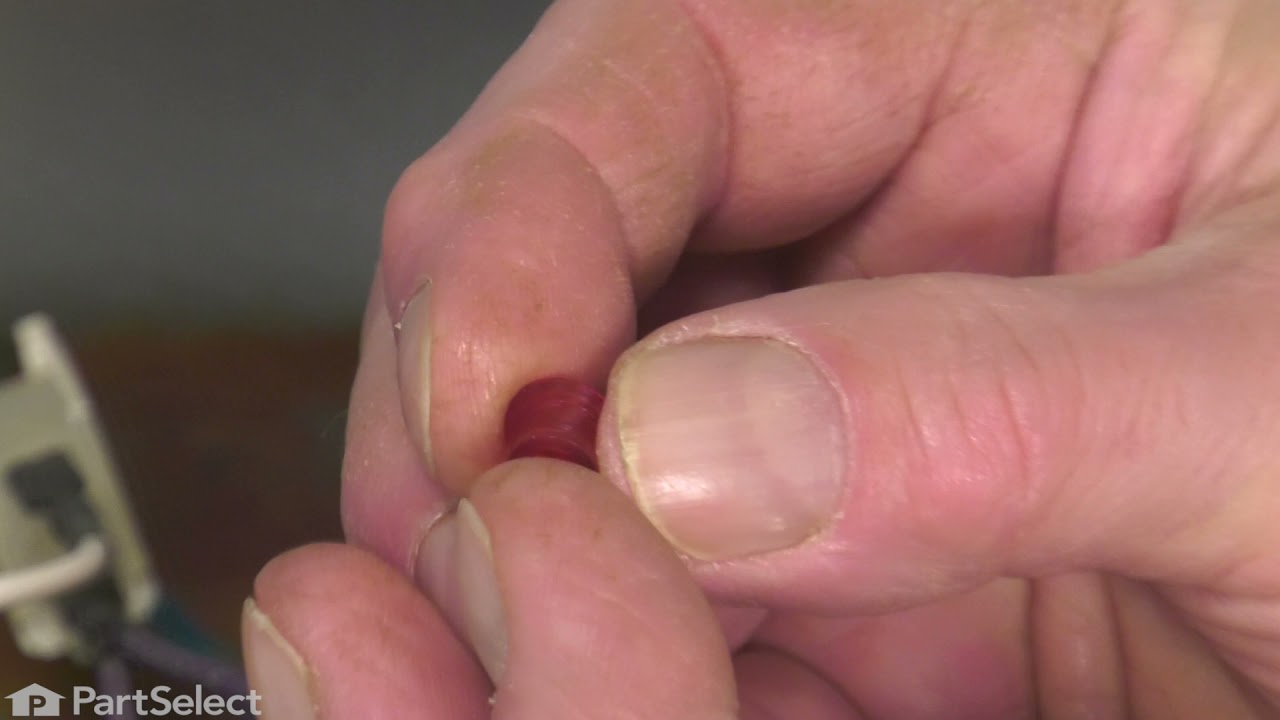
This part is a replacement lens for your oven or range. The lens is red in color, and when the elements are turned on, the light behind the lens will turn on to inform the user that the element is, in fact, on. The lens is a little less than half an inch in diameter and is made of plastic. If the light behind the lens still works, you sho...Read moreuld be able to simply remove the front panel and pop the damaged lens out of position, then replace it with the new one. This part is sold individually and is an OEM part sourced directly from the manufacturer.
Ask our experts a question about this model and we'll get back to you as soon as possible!
We may have answered a similar question already! Search questions and answers left by others using simple keywords like "fit", "broken", "easy", or "quality" to find questions that match.
Search filter:
Clear Filter
Your search term must have 3 or more characters.
Sort by:
Prev
1
Next
Sorry, we couldn't find any existing answers that matched.Try using some different or simpler keywords, or submit your new question by using the "Ask a Question" button above!
Manuel - For model number JB400DP1BB
January 17, 2025
How to adjust the level & Highet on this unit?
Hello Manual, Thank you for your inquiry. Using a pair of pliers and a carpenter's level, tip the stove back and adjust each of the legs by turning them until they are even, and then check the stove's level with the level and adjust each leg until the stove is even. We have included a link to our video on accessing the legs. If you do not have a level, you can check using a bowl of water on top of the stove after you have adjusted each of the legs. We hope this helps.
See how others fixed this model. Time, tools, difficulty, and steps that lead to victory!View More
Search repair tips from other customers using simple keywords like "replace", "fit", "remove", "inspect". DIY doesn't mean you have to do it alone!
Search filter:
Clear Filter
Your search term must have 3 or more characters.
Oven would go in to a F2 Error
148 of 226 peoplefound this instruction helpful.
Peter from stamford, CT
Really Easy
15 - 30 mins
Nutdriver
Removed six 1/4" hex nuts on rear of oven. Then through front/inside removed a single 1/4" hex nut to actually remove sensor. Unplug sensor connector, remove. Reversed steps, push oven back in place and plugged in. Tested oven function.
Was this helpful?
Thank you for voting!
Blown Oven Control Board
56 of 64 peoplefound this instruction helpful.
Julien from Barnhart, MO
A Bit Difficult
15 - 30 mins
Nutdriver, Screw drivers
After removing the back of the range the oven control board was visible and accessible by removing four nuts. There was some resistance removing the leads from the oven coils and light-bulb mechanisms but with some leverage and pliers they came loose. The only challenge was the face plate of the unit is attached using adhesive and neede
... Read mored to be carefully peeled off and added to the new oven control board. Getting this right was just a matter of taking time and lining up the components correctly. After applying the face, the new control board went right in. I reattached the back, plugged the unit back in, and the over has worked great for the past week. Part select being able to identify the part numbers listed from the component likely saved me at least $100 of having a GE certified repair technician come in.
Read less
Was this helpful?
Thank you for voting!
terminal block melted
56 of 77 peoplefound this instruction helpful.
jonathan from willow springs, IL
Easy
Less than 15 mins
Nutdriver, Screw drivers
The existing terminal block on my Ge oven/Range had melted due to a loose wire causing sparking and starting the plastic casing of the terminal block on fire and melting it, Part select made the part easy to find and had it at my house in 2 days. All I had to do was remove six screws to take the back sheet metal cover off of the oven. U
... Read morenscrew the terminal connections remove two mounting screws that held the terminal on to the oven body. This was a little trickier than it should have been because the melted plastic had reformed making it very hard to access the mounting screws. i then mounted the new piece and plugged the oven in, it took 15 minutes and was very easy. definitely saved me at-least a $100 for the service call i would have made if finding the part wasn't so convenient



 My Orders