


 My Orders




JB36NXFXRE00 Jenn-Air Refrigerator - Overview
Diagrams for JB36NXFXRE00
See every part. Know exactly what you need.


Enter a part description. DIY Heroes keep it simple, eg. "belt" or "pump".
Search filter:
Clear Filter
Your search term must have 3 or more characters.

$84.45
In Stock
Whirlpool EveryDrop3 Refrigerator Water Filter
Part #EDR3RXD1
This EveryDrop Filter3 is certified to reduce the most contaminants with Triple Filtration Technology. Now, you and your family can enjoy the enriching benefits of cleaner, freshly filtered ice & water. Not just in beverages, but for preparing meals, too. This advanced generation of ice and water refrigerator filters from EveryDrop Filter...Read mores are certified to reduce more contaminants with Triple Filtration Technology. Filter 5 reduces 16 contaminants, so you can feel reassured that you and your family are getting the most out of your water. Remember to replace your refrigerator filter every 6 months to maximize contaminant reduction.
Read less

$17.15
In Stock
Refrigerator Air Filter
Part #W10311524
This Refrigerator Air Filter is a white 1.8x3.2" plastic filter which neutralizes odor and bacteria in the air. It should be replaced every six months at a minimum. Refer to your user manual and model number to see if this filter is right for your fridge. Location for storage of the air filter may vary from model to model, but generally, ...Read moreyou will find a small cover on the back-middle-top of your fridge, which can be popped off to reveal the air filter, which can be easily changed out from there. This part does not come sold with the indicator; it is the filter only. Sold individually.
Read less

$24.15
In Stock
Touch-Up Paint - White
Part #72017
This touch-up paint can be used on a wide variety of household appliances. It is most often used on washers, dryer, refrigerators, dishwashers, ranges, freezers, trash compactors, or microwaves. It is an 18 ml, or.6 fluid ounces, bottle of touch-up paint. It also features a brush for easy application. This quick-drying, long-lasting paint...Read more is perfect for fixing any nicks, scratches, or chips on the exterior of your appliance. This paint is white in color, and provides a durable finish.
Read less

$45.29
In Stock
Refrigerator Armshut
Part #W11342242
This ice level arm, also known as an ice shutoff arm, is designed to detect the level of ice within the ice bin of your ice maker or refrigerator and turn it off when enough ice has been made. When the ice maker is empty, the arm will be down. When the ice maker is full, the arm will be raised, and over time, wear and tear to the level ar...Read morem can cause the ice maker to stop making ice completely. To replace this arm, unplug your appliance and remove the ice making assembly, then pull the levelling arm out of the assembly and place the new one. Consisting of a long, angled metal arm and a plastic flap, this level arm is a genuine OEM part that is compatible with a wide-range of refrigerators and icemakers and measures at approximately 9-inches by 4.5-inches.
Read less

$193.51
In Stock
LED MODULE SERVICE KIT, CHROME
Part #W11683242
The LED light attaches inside the cabinet and illuminates the inside of the refrigerator or freezer

$98.81
In Stock
Icemaker Motor Kit
Part #8201515
This kit includes the module motor, ejector arm, and ice stripper arm. The complete icemaker is sold separately.

$162.26
In Stock
Refrigerator Ice Mold
Part #WPW10190929
This is an ice maker mold and heater assembly for a refrigerator ice maker. It is used with modular style icemakers and is located in the freezer section of the refrigerator. This ice mold is flake resistant which prevents the coating on the mold from flaking into the ice cubes when the ice mold begins to wear. The ice mold forms the ice ...Read morecubes and the heater allows the ice cubes to fall from the ice mold to drop them into the ice bucket. You will need to remove the ice maker from the refrigerator to access the mold and heater assembly. This is a genuine replacement part.
Read less

$60.51
In Stock
Cycling thermostat
Part #WP627985
The ice maker thermostat, also known as the cycling thermostat, controls and regulates the ice maker ejection cycle by monitoring the temperature inside the freezer to determine when to release the ice into the bin and start the ice making cycle again. If your ice maker is making unusual noises, or if the ice maker is not making or dispen...Read moresing ice, there could be an issue with the thermostat. Before you begin this repair, make sure the power is disconnected from your refrigerator, and that any food that may spoil is safely stored. This is an OEM part and is sourced directly from the manufacturer. This thermostat is sold individually, and comes with two attachment clips.
Read less

$7.47
In Stock

$36.85
In Stock
Spray Paint - 12 oz. - White
Part #350930
Appliance spray paint is a great way to cover up any chips and scratches that have appeared on your appliances. Instead of replacing the part entirely, this is an easy fix. This is also a great way to give a fresh new look to any handles or areas that have discoloring due to wear. Make sure to clean the area before you begin and wear a pr...Read moreotective mask for safety. Give the can a good shake and spray a few inches away from the surface. Apply the paint until the area is fully covered as desired. Wait until the paint has dried before using the appliance.
Read less

$50.56
In Stock
Freezer Evaporator Fan Blade
Part #WP2163777
This part is used to circulate air through the inside of the refrigerator to help improve the cooling efficiency.

$7.47
In Stock
Common Symptoms of the JB36NXFXRE00
How this model fails, and the parts that fix it.
Ice maker not making ice
Fixed by
these parts
these parts


Show All
Light not working
Fixed by
these parts
these parts


Show All
Leaking
Fixed by
these parts
these parts


Show All
Noisy
Fixed by
these parts
these parts


Show All
Not dispensing water
Fixed by
these parts
these parts
Show All
Fridge too warm
Fixed by
these parts
these parts

Show All
Ice maker won’t dispense ice
Fixed by
these parts
these parts
Show All
Ice maker dispenses too much ice
Fixed by
these parts
these parts


Show All
Will Not Start
Fixed by
these parts
these parts

Show All
Fridge too cold
Fixed by
these parts
these parts
Show All
Ice maker dispenses too little ice
Fixed by
these parts
these parts
Show All
Clicking sound
Fixed by
these parts
these parts
Show All
Door Sweating
Fixed by
these parts
these parts
Show All
Freezer section too warm
Fixed by
these parts
these parts
Show All
Watch our pros, then fix it yourself.
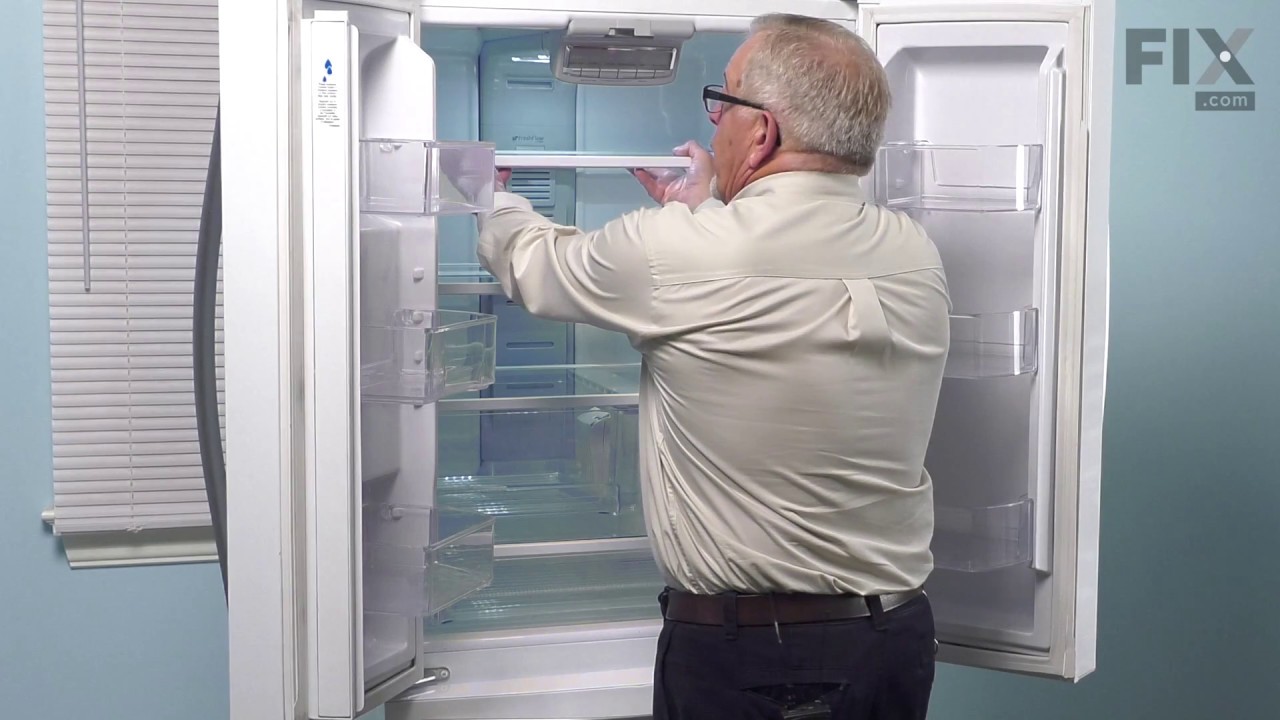
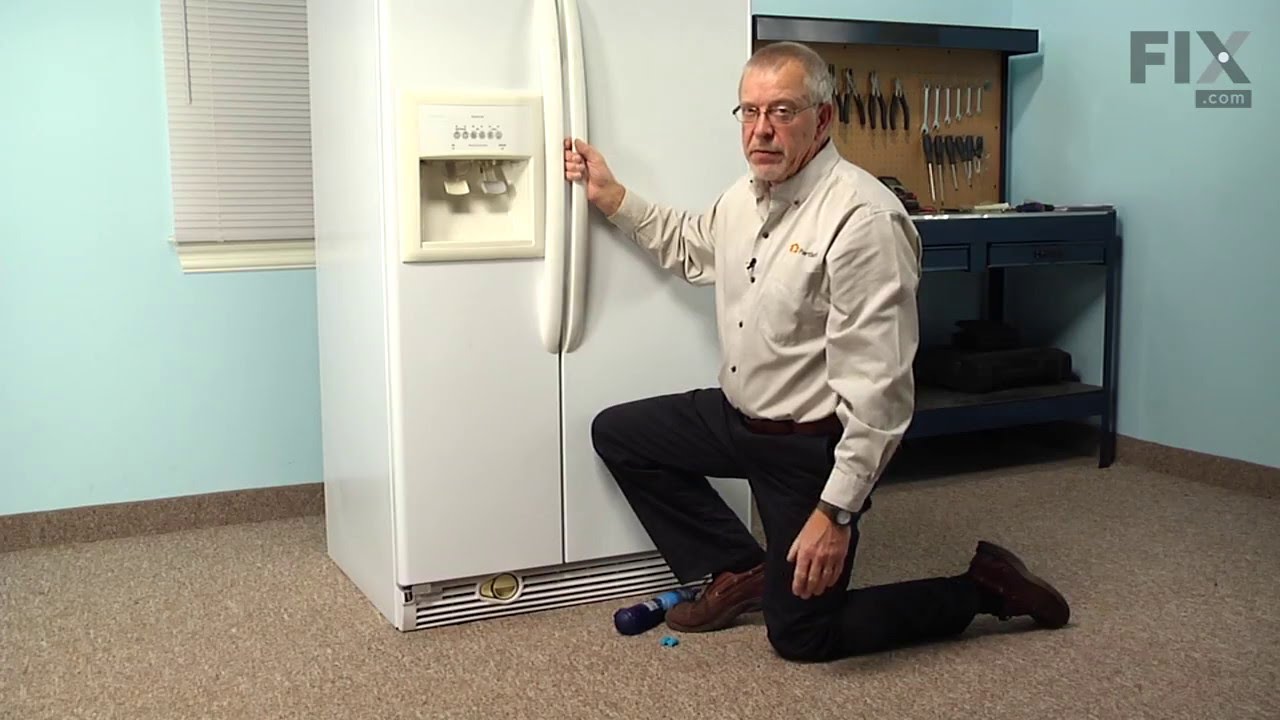
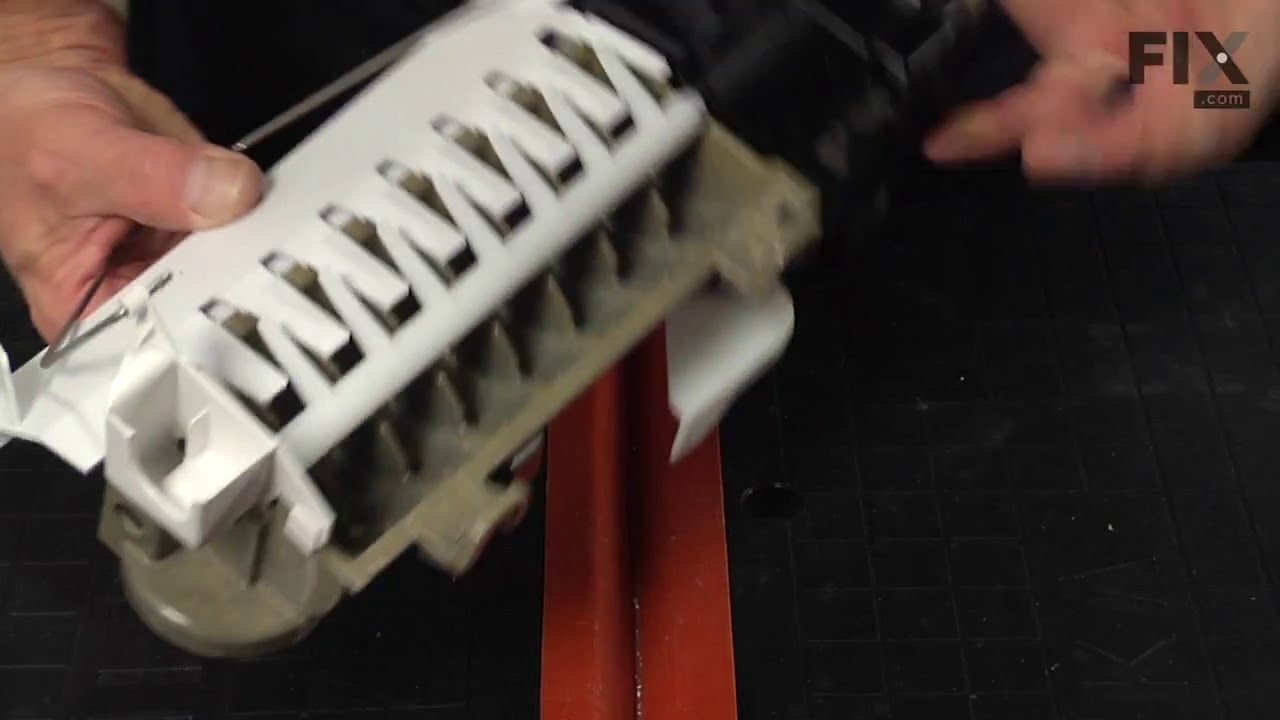
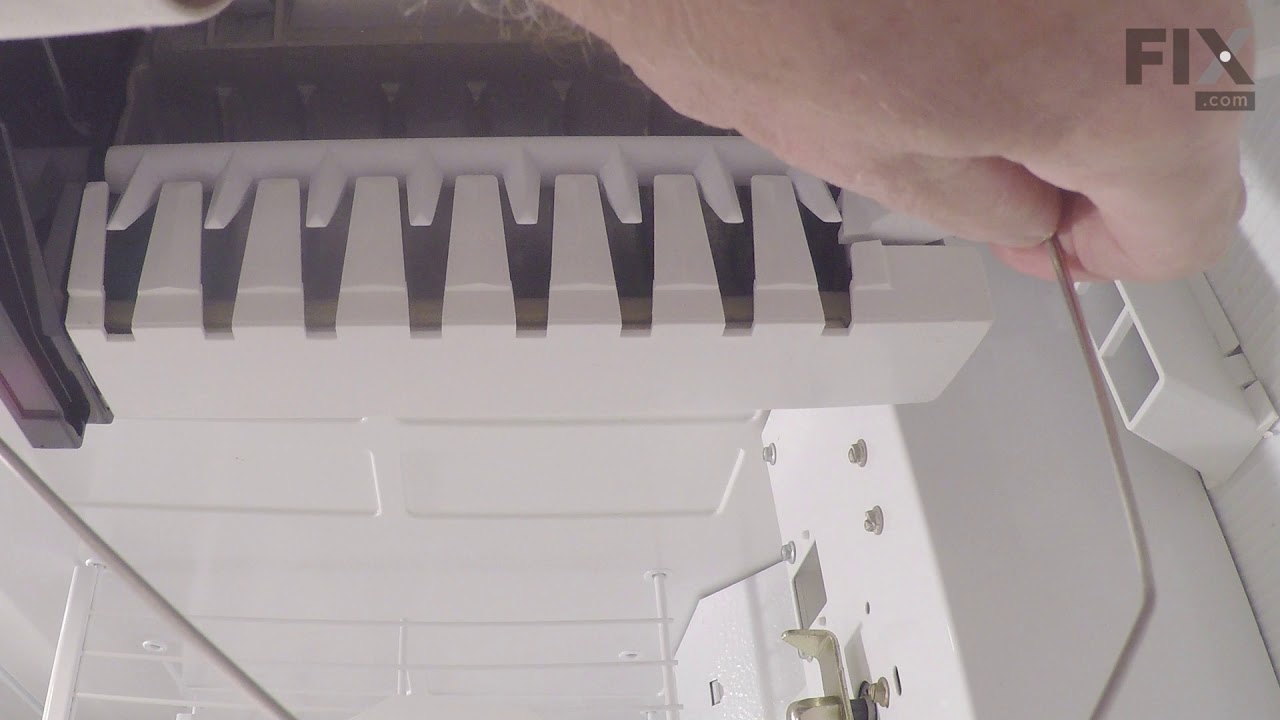

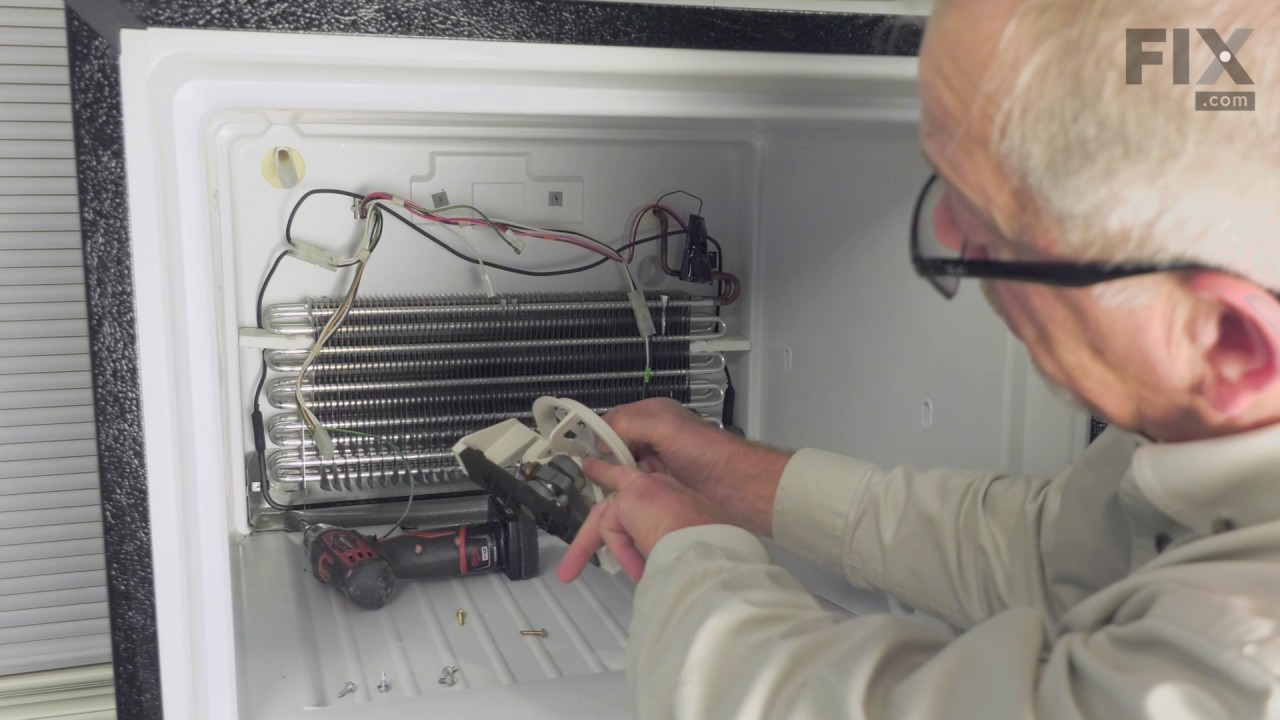
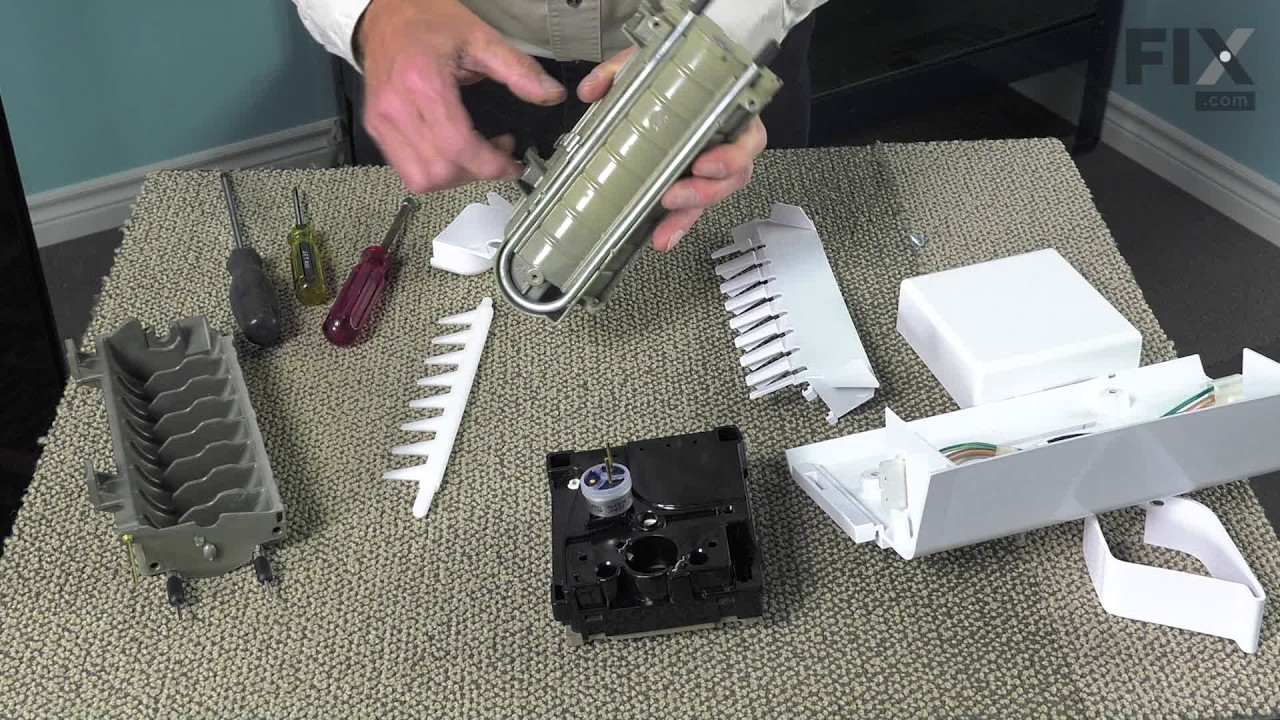
See how others fixed this model. Time, tools, difficulty, and steps that lead to victory!
View More