


 My Orders




IT21AMXRQ03 Inglis Refrigerator - Overview
Diagrams for IT21AMXRQ03
See every part. Know exactly what you need.


Enter a part description. DIY Heroes keep it simple, eg. "belt" or "pump".
Search filter:
Clear Filter
Your search term must have 3 or more characters.

$120.55
In Stock
Replacement Ice Maker
Part #4317943
This ice maker (Complete Icemaker Assembly, Whirlpool Icemaker Kit, Ice Maker Assembly, Refrigerator Ice Maker, Icemaker) receives water from the water inlet valve, freezes it, and dispenses it into the ice bucket until the bucket is full. Ice makers will need to be replaced every 3-10 years depending on the frequency of usage, and water ...Read morequality. You can perform a voltage test with a multimeter or perform an inlet valve test. If you’re unable to make ice, or notice leaks then it may be a sign your ice maker is damaged and could be in need of a replacement. This model measures approximately 11x5 inches, is constructed of plastic and metal, and comes in black/silver. This ice maker is a complete assembly; the whole assembly attaches to the wall of your freezer. ***NOTE: Ice maker does NOT come with the bail or shut off arm. You must order them separately if required. It does come complete with flat and round plug wiring harness, the mounting hardware, and the instructions. The harness can be reused. The ice maker will not fit refrigerators that have the ice auger mounted on the door.
Read less

$70.95
In Stock
Icemaker Control Assembly
Part #W10190935
Automatic ice harvesting relies on this refrigerator ice maker control module and motor assembly to coordinate the operating cycle. Located behind the ice maker cover, it drives the ejector mechanism and controls the sequence for loosening, releasing, and refilling the ice mold. A failed module may leave cubes stuck in the mold, stop the ...Read moreice maker from cycling, or cause unusual clicking during operation. Water supply problems and incorrect freezer temperatures can cause similar symptoms, so a lack of ice alone does not confirm module failure. This is an OEM part sourced directly from the manufacturer.
Read less

$109.58
In Stock
Refrigerator Crisper Drawer
Part #W10854037
A leaking crisper pan can be replaced to restore produce storage in your refrigerator. The pan is clear plastic and is an OEM part. Only the pan is included; the front white trim is not.

$30.53
In Stock
Refrigerator Door Switch
Part #W11384469
If your refrigerators interior light is not working, the door switch may be the cause. It turns the light off when the door closes. This is an OEM part. Confirm compatibility using your refrigerators model number.

$11.77
In Stock
Refrigerator Door Shelf Retainer Bar End Cap
Part #WP2156003
This refrigerator door shelf rail end cap holds the retainer bar securely against the inner door panel. It snaps into the door liner and supports the bar that keeps bottles, jars, and condiments from falling off the shelf. Cracked plastic or broken tabs may let the bar sag, loosen, or detach when the door moves. Replacing a damaged end ca...Read morep restores firm support and secure storage. Empty the shelf before replacement, then gently snap the new cap into place and reattach the bar. This is an OEM part sourced directly from the manufacturer.
Read less

$55.29
In Stock
Refrigerator Single Water Inlet Valve
Part #WP2315576
The single water inlet valve, also known as a water solenoid valve, is used for refrigerators. This part is a solenoid-operated switch that releases water from the supply line to the water valve and into the icemaker mold when activated. If your icemaker is making small cubes, does not dispense ice or water, or leaks, this replacement cou...Read moreld solve the issue. The tools needed for this repair are a 1/4 inch nut driver and a utility knife. Refer to the diagram provided by the manufacturer for further instructions. As a safety precaution, remember to unplug your dryer from the power source.
Read less

$53.20
In Stock
Refrigerator Evaporator Fan Motor
Part #WPW10189703
This is a 60 Hertz, 120-volt evaporator fan motor for your refrigerator. This part is located in the back of the freezer, and circulates air over the refrigerator coils. These coils will convert the heat into cool air, which is then circulated. The most common reason for needing to replace the motor is if the temperature in your freezer a...Read morend fridge are inconsistent, or there is no air circulating at all. You will need a quarter inch nut driver and a pair of needle nose pliers for this repair. Note: This motor uses 2 brackets, which are sold separately.
Read less

$126.63
In Stock
Meat Drawer
Part #WP2218132K
This refrigerator meat drawer keeps meats, cheeses, and snacks organized in a separate storage area. Its clear plastic design makes contents easy to see, while the sliding shape provides convenient access beneath the shelf. Cracks, broken edges, or a warped base may cause sticking or leave food poorly supported. Replacing a damaged drawer...Read more restores useful storage and smoother movement. Transfer the original decorative trim if needed, and wash the new bin with mild soapy water before drying it and putting it into use. This is an OEM part sourced directly from the manufacturer.
Read less

$10.70
In Stock

$58.42
In Stock
Refrigerator Door Shelf Retainer Bar
Part #WPW10421486
Keep bottles, jars, and condiments contained with this refrigerator door shelf retainer bar. The white rail spans the front of the shelf, creating a barrier that helps prevent items from sliding forward as the door moves. Cracks, bends, or damaged ends may leave the bar loose or unable to retain contents securely. Replacing a damaged rail...Read more helps restore usable door storage. End caps are sold separately, so retain undamaged original caps for transfer. Empty the shelf before removal and secure both ends before reloading. This is an OEM part sourced directly from the manufacturer.
Read less

$146.44
In Stock

$35.80
In Stock
Refrigerator Water Fill Cup & Bearing
Part #WP628356
This refrigerator ice maker fill cup dispenses the water into the ice cube mold during the fill cycle. Replacing the water fill cup is a possible solution if you notice that the ice maker is leaking, or not making/dispensing ice. If you notice the fill cup has been damaged or cracked; replace the part straight away. This water fill cup is...Read more a genuine OEM part and will fit most refrigerators, but check the list of compatible brands to make sure yours is included before purchasing.
Read less
Manuals & Care Guides for IT21AMXRQ03
Click to downloadManual
Owner's Manuals
(0.94MB)
Manual
Owner's Manuals
(5.23MB)
Specs
Product Specifications Sheet
(0.05MB)
Common Symptoms of the IT21AMXRQ03
How this model fails, and the parts that fix it.
Ice maker not making ice
Fixed by
these parts
these parts


Show All
Light not working
Fixed by
these parts
these parts


Show All
Leaking
Fixed by
these parts
these parts

Show All
Fridge too warm
Fixed by
these parts
these parts


Show All
Ice maker won’t dispense ice
Fixed by
these parts
these parts
Show All
Door won’t open or close
Fixed by
these parts
these parts

Show All
Noisy
Fixed by
these parts
these parts


Show All
Will Not Start
Fixed by
these parts
these parts


Show All
Fridge and Freezer are too warm
Fixed by
these parts
these parts

Show All
Freezer section too warm
Fixed by
these parts
these parts
Show All
Ice maker dispenses too much ice
Fixed by
these parts
these parts

Show All
Freezer not defrosting
Fixed by
these parts
these parts


Show All
Ice maker dispenses too little ice
Fixed by
these parts
these parts
Show All
Not dispensing water
Fixed by
these parts
these parts
Show All
Won’t start
Fixed by
these parts
these parts
Show All
Door Sweating
Fixed by
these parts
these parts
Show All
Fridge runs too long
Fixed by
these parts
these parts
Show All
Fridge too cold
Fixed by
these parts
these parts
Show All
Too warm
Fixed by
these parts
these parts
Show All
Clicking sound
Fixed by
these parts
these parts
Show All
Watch our pros, then fix it yourself.
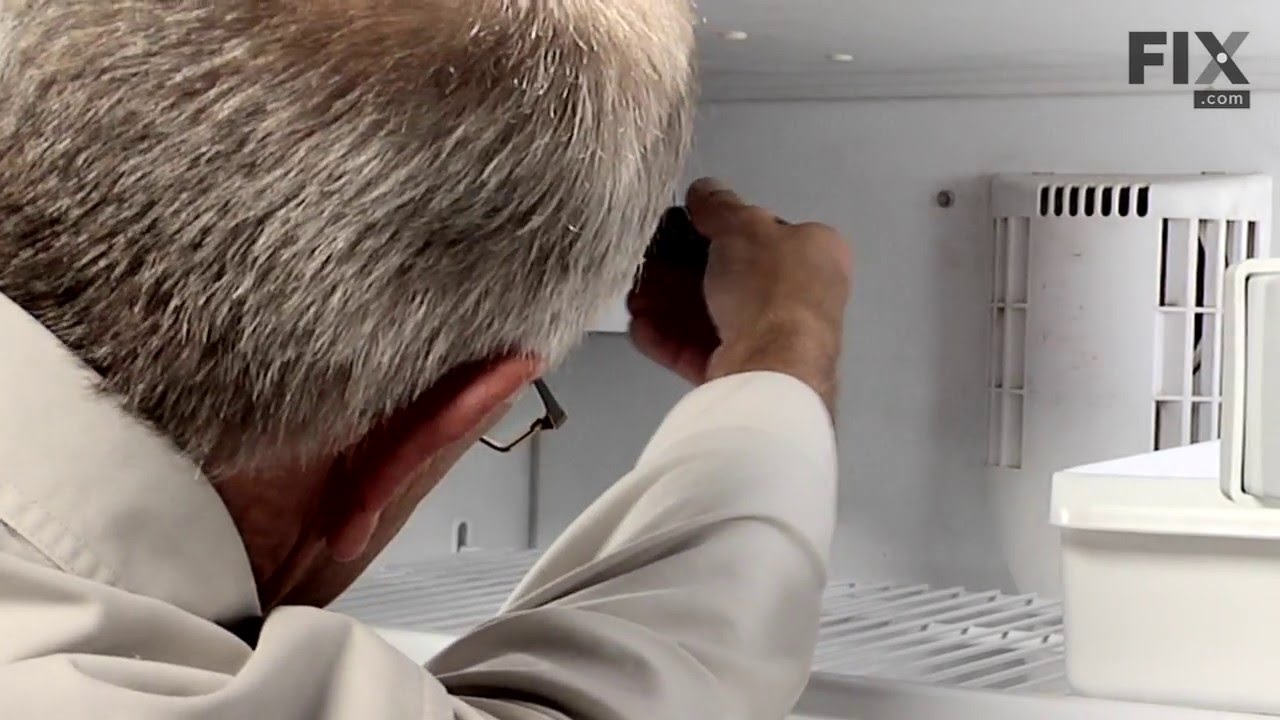
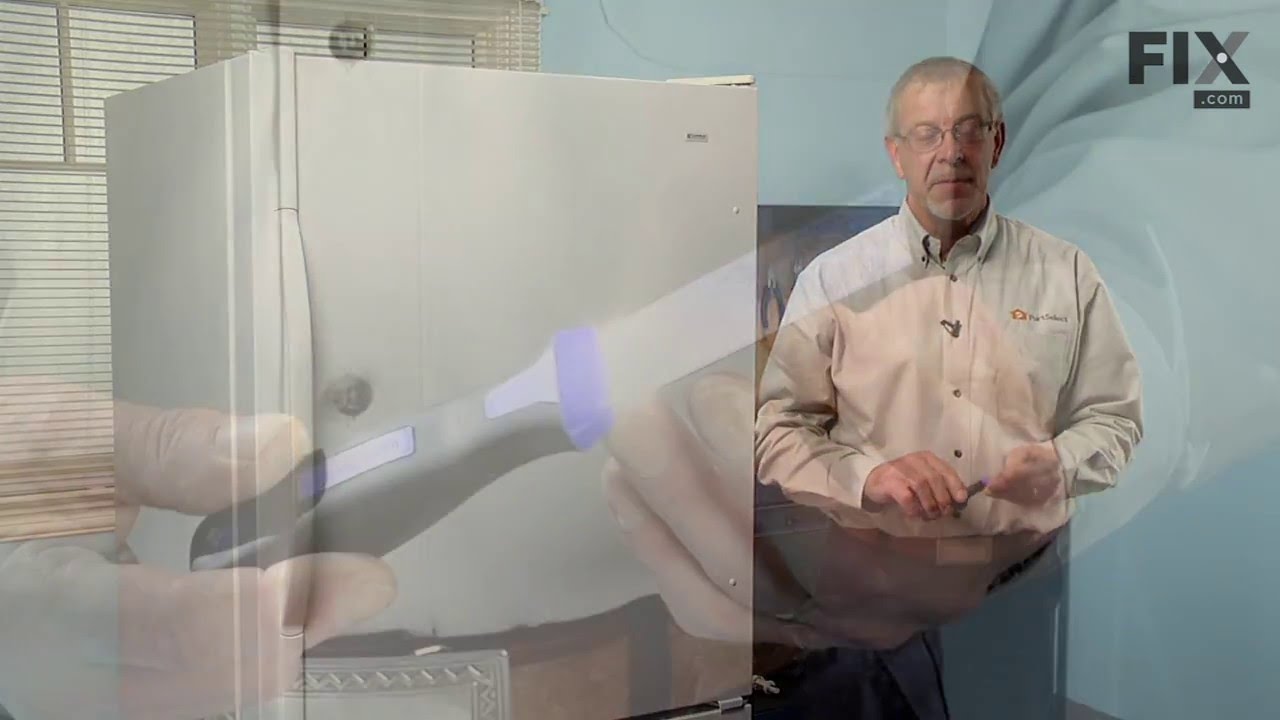
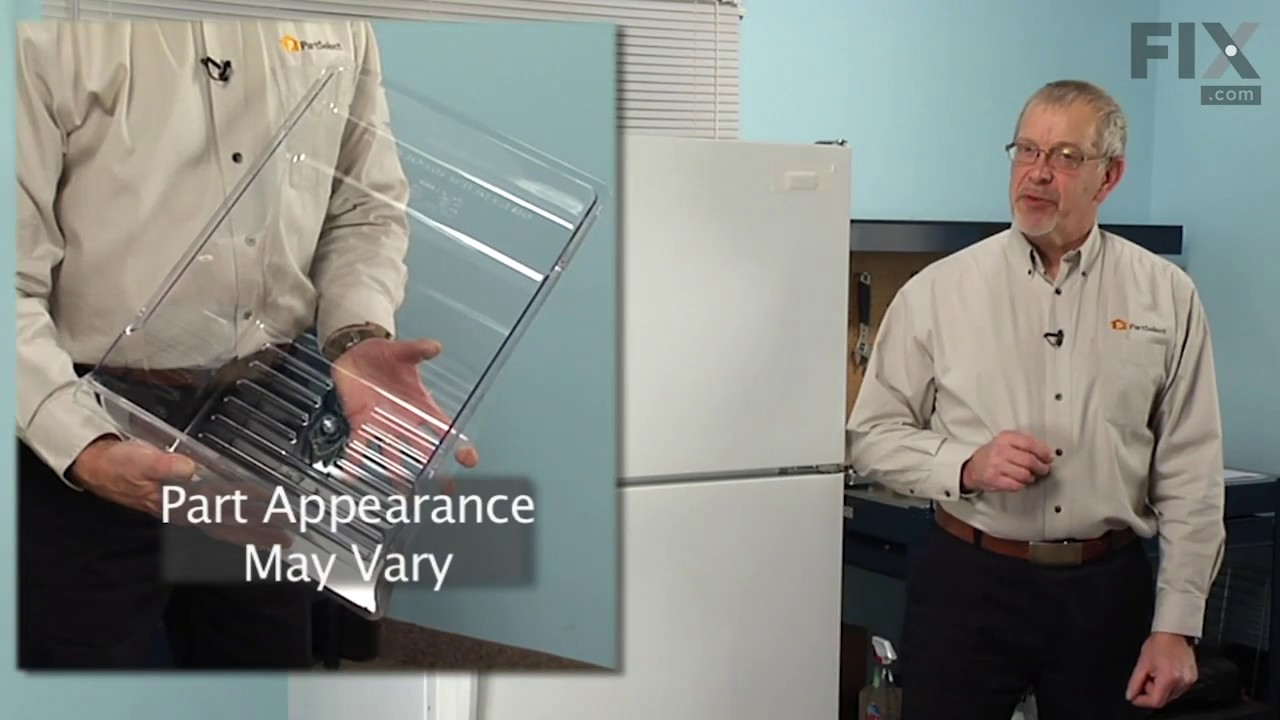
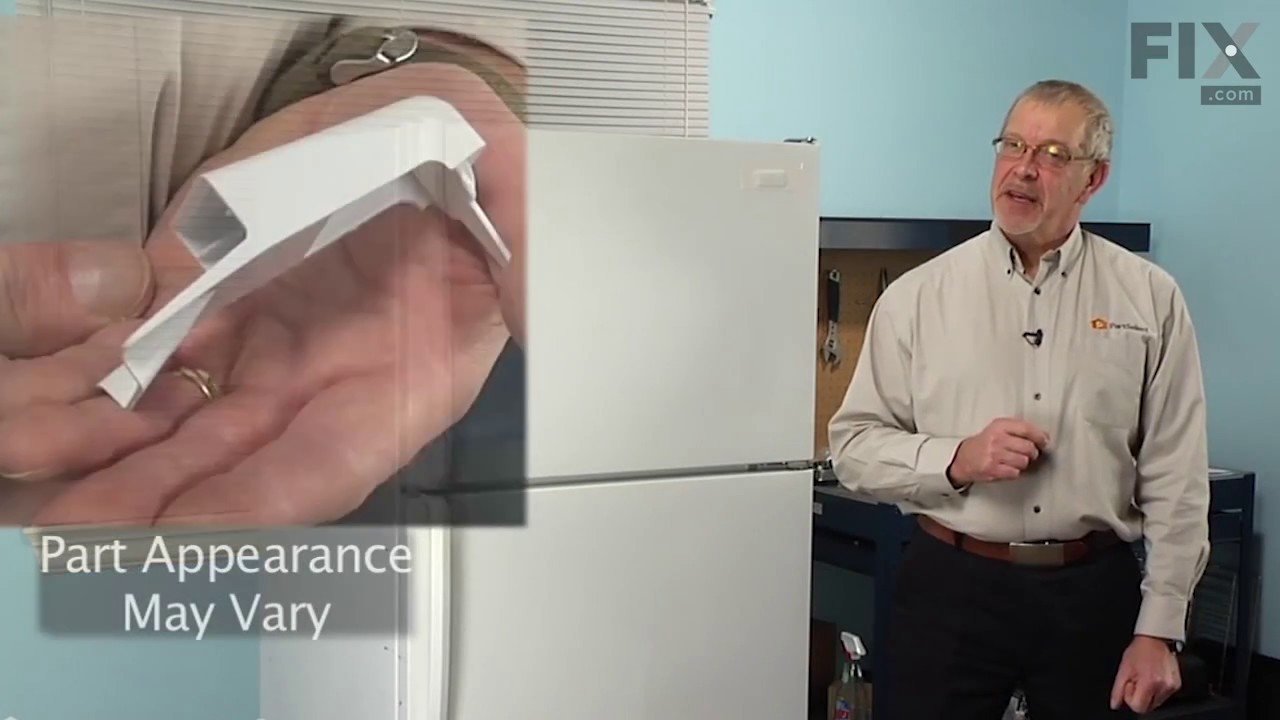
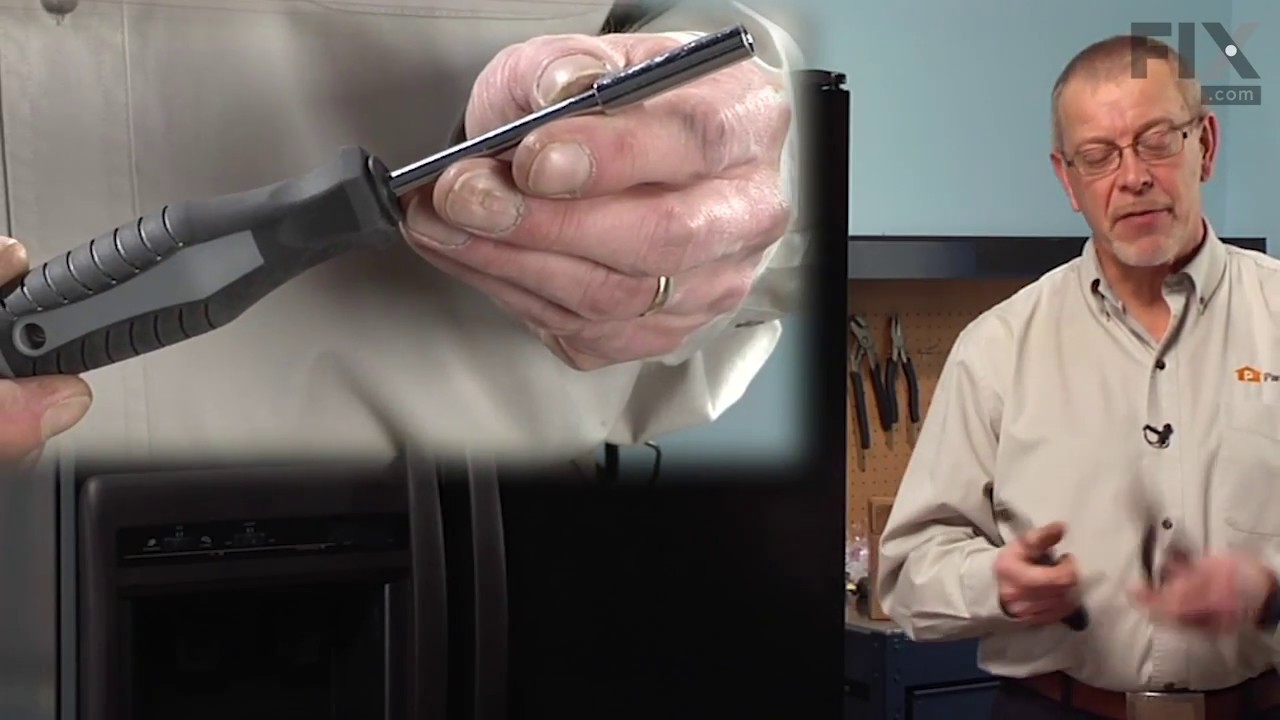
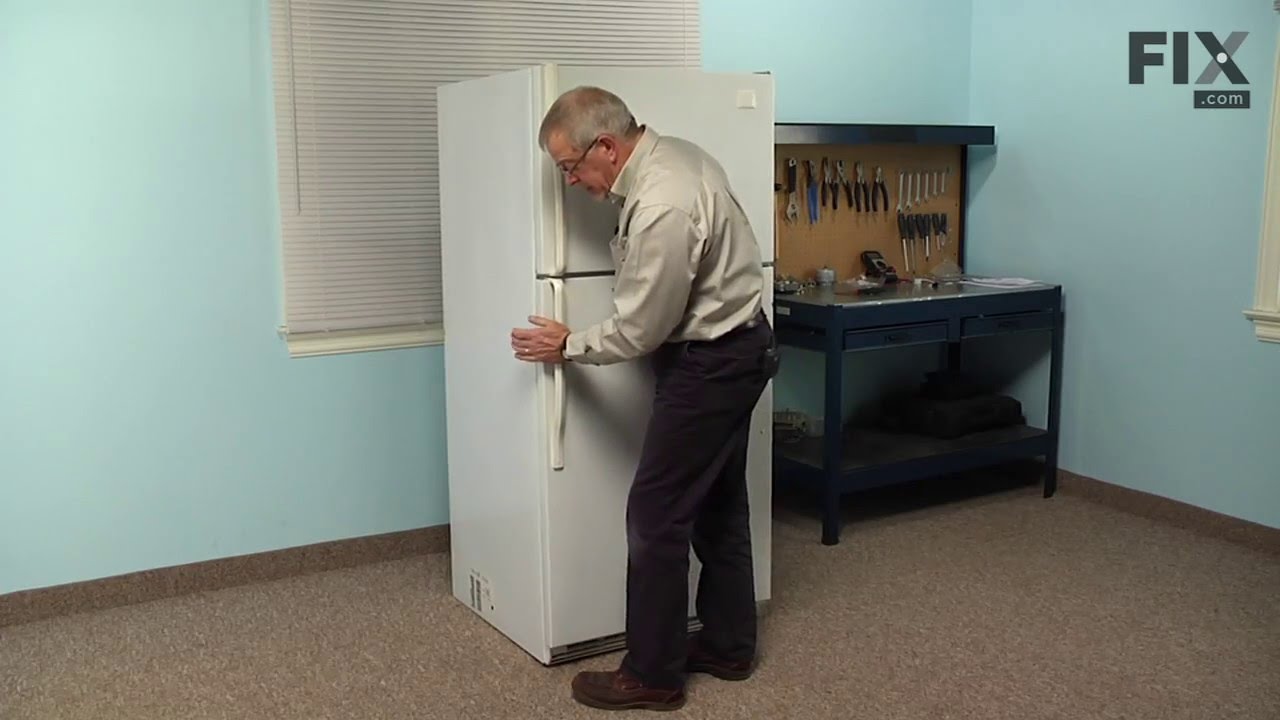
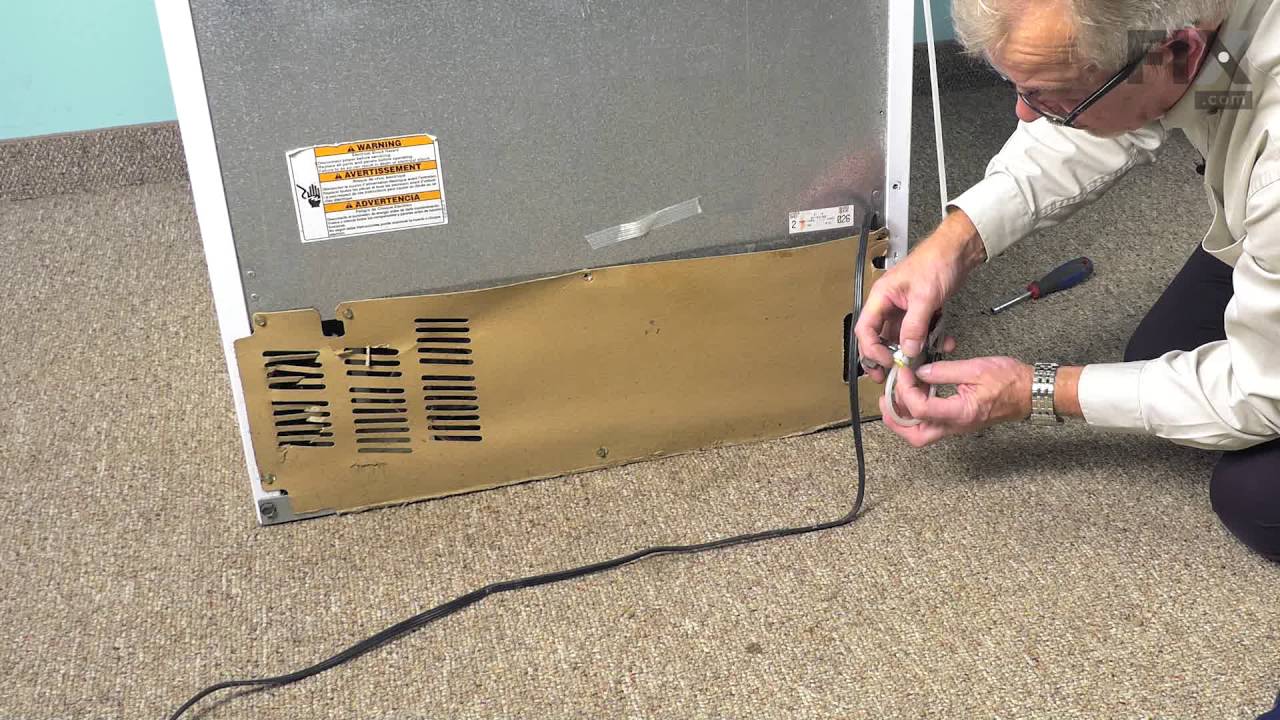
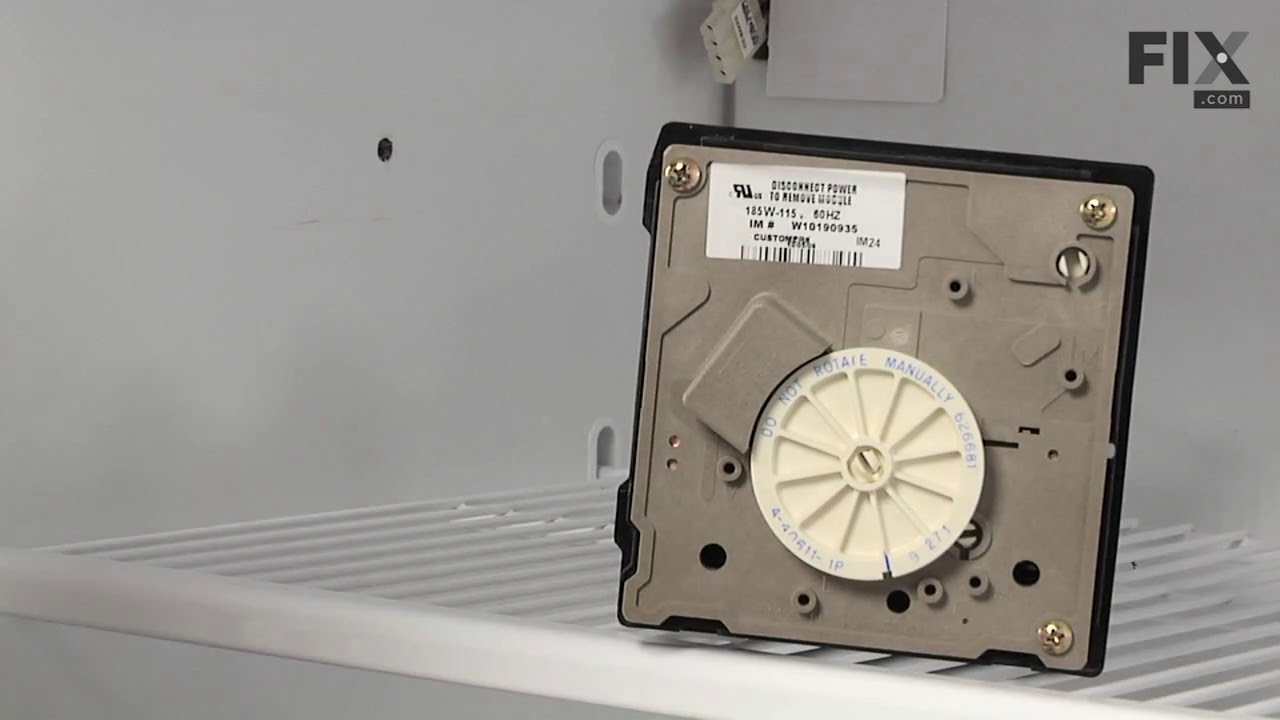
See how others fixed this model. Time, tools, difficulty, and steps that lead to victory!
View More