



 My Orders




IM115 Uni Ice Maker - Overview


Enter a part description. DIY Heroes keep it simple, eg. "belt" or "pump".
Search filter:
Clear Filter
Your search term must have 3 or more characters.

$87.51
In Stock
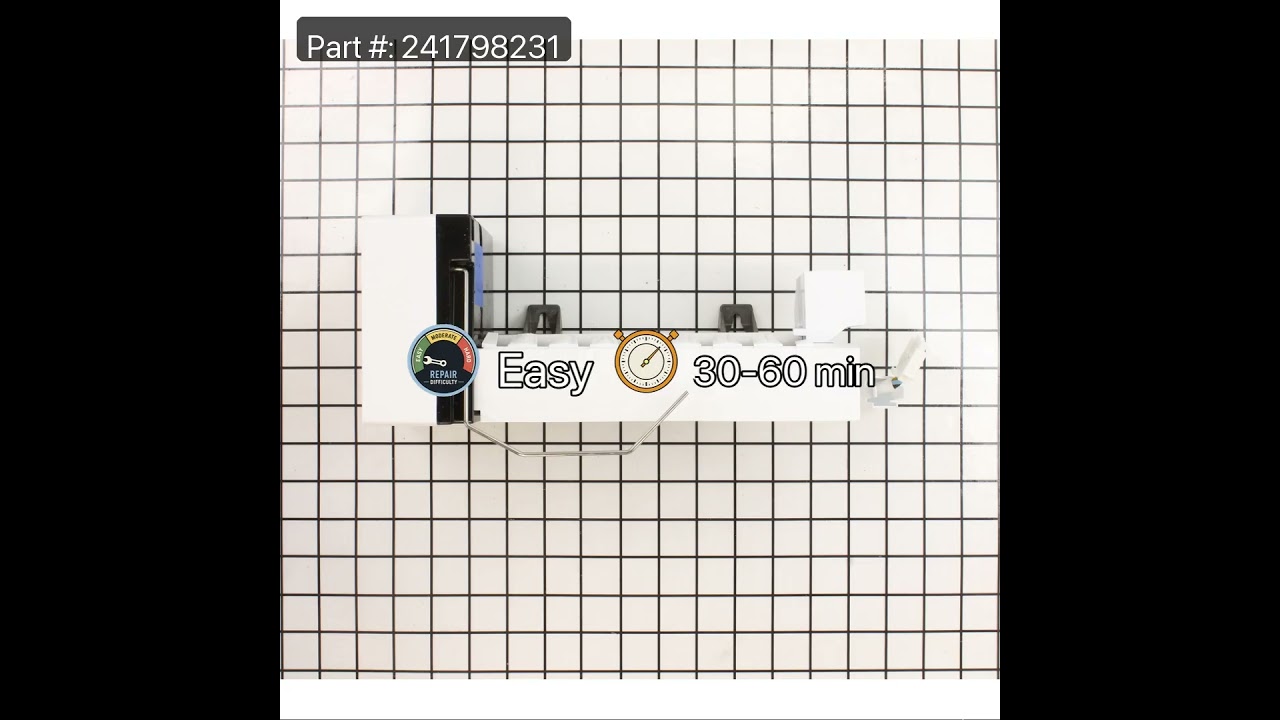
Refrigerator Ice Maker Assembly
Part #241798231
This 8-cube ice maker is used to create ice for your refrigerator. The ice maker receives water from the water inlet valve and will freeze until ice cubes are formed. Once the water has been frozen the cubes will be ejected from the mold in to the ice bucket. The ice maker will continue the process until the ice bucket has reached the l...Read moreimit. If your ice maker is not making ice you may need to replace this part. Please remember to disconnect the power and water supply before starting your repair. This ice maker is a genuine OEM part.
Read less

$64.95
In Stock
Water Inlet Valve
Part #242252603
If you notice that the ice maker in your refrigerator is leaking or is not making or dispensing ice, you may need to replace the water inlet valve. When energized, the water inlet valve releases water from the supply line into the ice mold. The water inlet valve is in the back of your refrigerator so you will need to pull the fridge out f...Read morerom the wall before completing this repair. To complete this job, you will need a 1/2 inch wrench, a 1/4 inch nut driver and a utility knife. If your old inlet valve has a screw-in fitting, you may need to simply cut the end of the hose to fit in the new part. Be sure to disconnect both the water and power supply from the refrigerator prior to beginning this repair.
Read less

$99.95
In Stock
Replacement Ice Maker
Part #5303918277
This replacement icemaker may also be known as the ice maker assembly and is compatible with your refrigerator/freezer. This assembly replaces the heat-release ice maker unit only. The kit comes with four round female connectors at the end of the wire harness. It also comes with the adaptor that converts the harness to three round female,...Read more and one round male connectors. The tools you will need in order to make this installation include a 1/4-inch nut driver, and a Phillips screwdriver. Before starting this repair make sure to unplug your refrigerator and shut off the water supply.
Read less

$35.15
In Stock
Drive Gear
Part #5304469403
The ejector drive gear is a part for your refrigerator. This icemaker drive gear is for the ejector blades. The part rotates the cube ejector arm, which cycles the icemaker and pushes the cubes out and into the ice bucket, ready for the ice to be used. The outside diameter of this piece is almost two inches by two inches. The reason for n...Read moreeeding to replace your gear is if the current one is broken/missing a tooth, or if your icemaker is not dispensing ice and is noisy.
Read less

$79.51
In Stock
Ice Container
Part #240385201
The ice bin, located in a freezer, is a storage container used for storing ice. Ice cubes collect there after they are made. If your bin is cracked or damaged, it is best to replace this part. To repair, first open your freezer door and dump any leftover ice residing in bin before removing it. Next, release ice bin from assembly by releas...Read moreing the locking tabs. With a flathead screwdriver, flex the tabs inwards on each side. Make sure to bend them enough to unlock and pull assembly from the ice bucket. Line up the new ice bin with assembly before installing it. Refer to the manual provided by the manufacturer for further installation instructions.
Read less

$32.67
In Stock
Water Tube
Part #241796405
This is a water fill tube which is used in refrigerators. It attaches to the water inlet valve and supplies water to the components in your appliance that need it, such as the icemaker and water dispenser. You will need to replace your fill tube if you notice it is leaking or damaged. This replacement tube is approximately 7 inches in len...Read moregth, and it is made entirely of plastic. The fill tube is sold individually. Before you begin repairing your refrigerator, make sure the water supply has been turned off and that the appliance has been unplugged.
Read less

No Longer Available

No Longer Available
ICE STRIPPER
Part #5304469378
The ice stripper goes on the front of the ice maker and directs the ice cubes from the maker to the bin. Due to the frigid temperatures, the plastic breaks down and cracks from time to time. This may cause the ice cubes to get stuck in the ice maker and not dispense properly. You will need to open the freezer door, pull out the ice contai...Read morener by lifting and pulling out. Unplug the ice maker by releasing the locking tabs. Use your 1/4-inch nut driver to remove the screws holding the ice maker in place. Take the ice maker out of the freezer for easy access. The ice stripper can be removed by simply unlatching from the pin holding it in place. The new ice stripper should just click into place so the tab goes into the control head with ease.
Read less

$76.79
Special Order
Water Inlet Tube
Part #218976901
This water inlet tube is designed for use in your refrigerator. This part supplies water to refrigerator components that require water, such as the ice maker and water dispenser. The water inlet tube connects the water inlet valve to the icemaker and water dispenser. If you notice that your icemaker is not making ice, your water dispenser...Read more is not working, or your refrigerator is leaking, you may need to replace the water inlet tube. This part is made of plastic and is blue-green in color, with white plastic tips. This part is sold individually. Be sure to disconnect the water source to the refrigerator before you begin this repair.
Read less

$21.95
In Stock
SCREW
Part #218359202

$75.93
In Stock
Micro Switch
Part #5304456667
The micro switch in your refrigerator aids in the dispensing of ice and water. This micro switch controls the on/off function of the ice/water dispenser of your refrigerator. If you notice that your refrigerator is not dispensing ice or water properly, you may need to replace your micro switch. This part is made of black plastic, with thr...Read moreee metal prongs. The plastic portion of this part is approximately one inch in length. This is an OEM part sourced directly from the manufacturer. Be sure to unplug your refrigerator from the power source before you begin this repair.
Read less

$50.56
Special Order
Icemaker Thermal Cut-Off
Part #3206319
This part is a one-time limit fuse used as a safety device. Once tripped, this part must be replaced.
Manuals & Care Guides for IM115
Click to downloadExact Part matches for your search term

$128.92
In Stock
Ice Maker Assembly with Water Inlet Valve
This part number matches the current model number IM115
Part #IM116000
This add-on icemaker assembly is a part for your refrigerator/freezer. The kit includes an icemaker that makes eight radius ice cubes, the water valve, an ice bucket, the fill tube, the harness, and installation instructions. Note: This icemaker assembly will fit most Frigidaire models manufactured from 2001 to present.

$101.29
Special Order
Common Symptoms of the IM115
How this model fails, and the parts that fix it.
Ice maker not making ice
Fixed by
these parts
these parts


Show All
Leaking
Fixed by
these parts
these parts

Show All
Ice maker won’t dispense ice
Fixed by
these parts
these parts
Show All
Won’t start
Fixed by
these parts
these parts
Show All
Noisy
Fixed by
these parts
these parts
Show All
Not dispensing water
Fixed by
these parts
these parts
Show All
Clicking sound
Fixed by
these parts
these parts
Show All
Watch our pros, then fix it yourself.
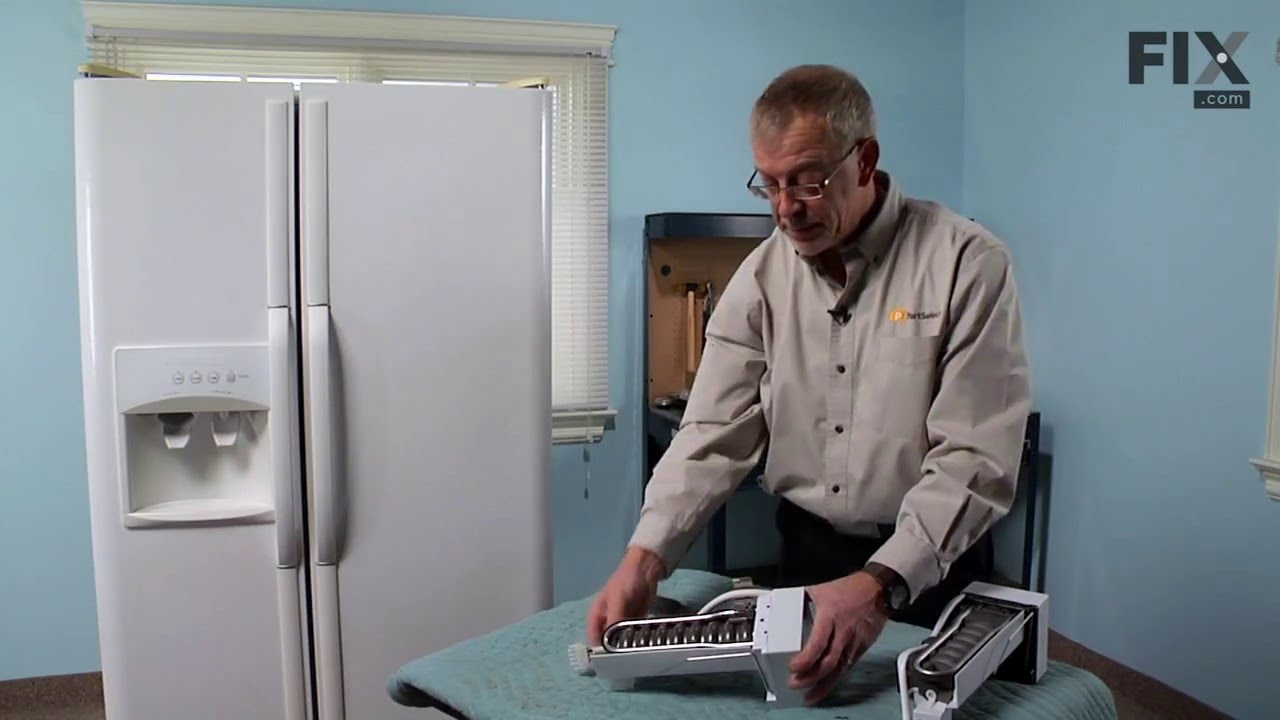
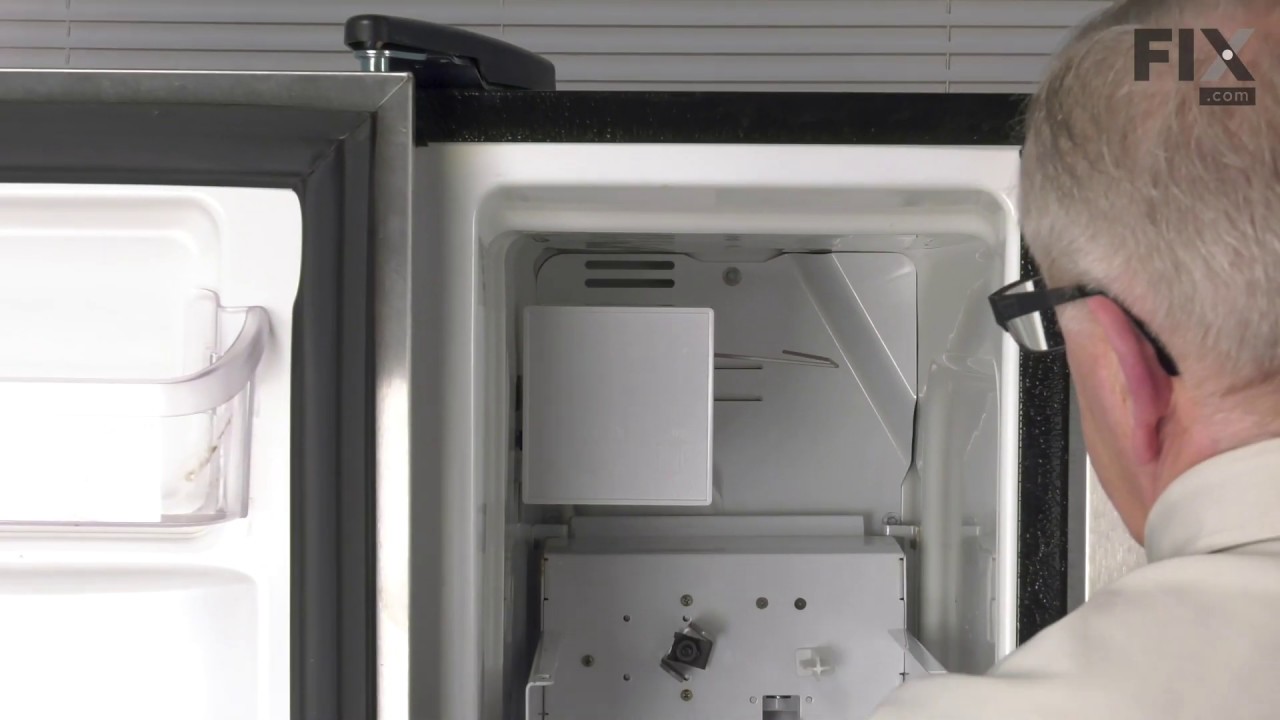
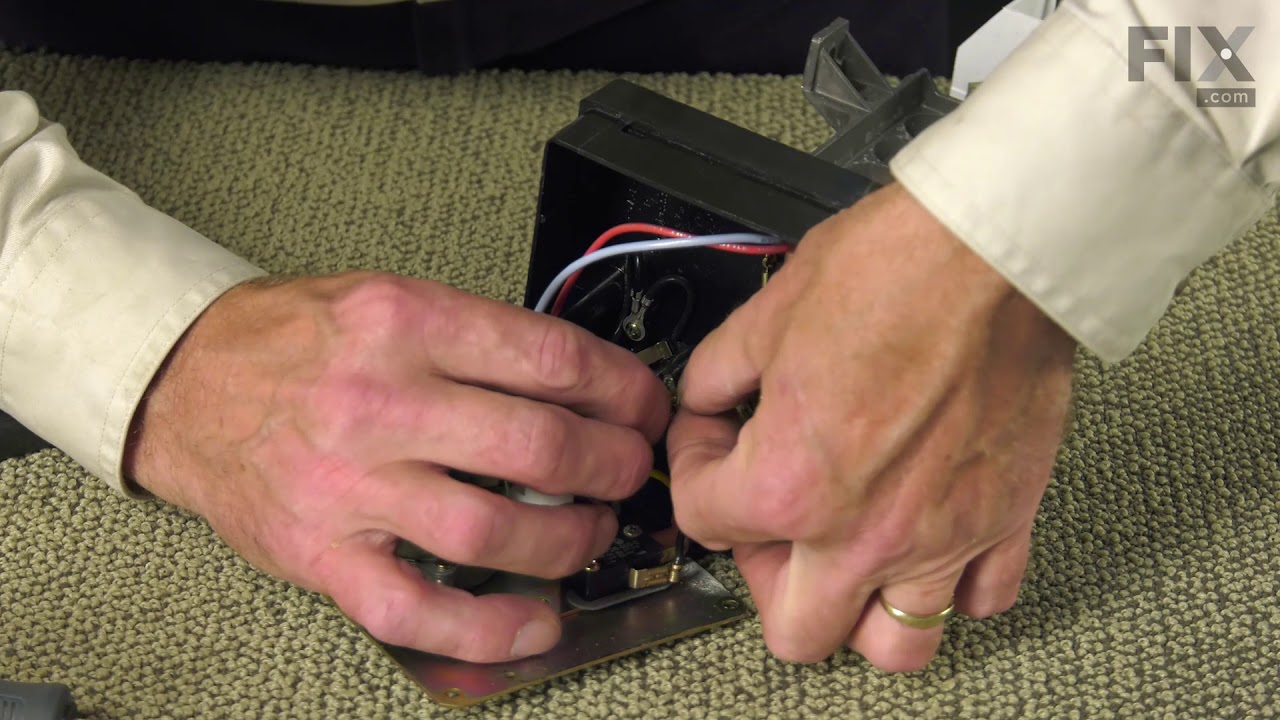
See how others fixed this model. Time, tools, difficulty, and steps that lead to victory!
View More