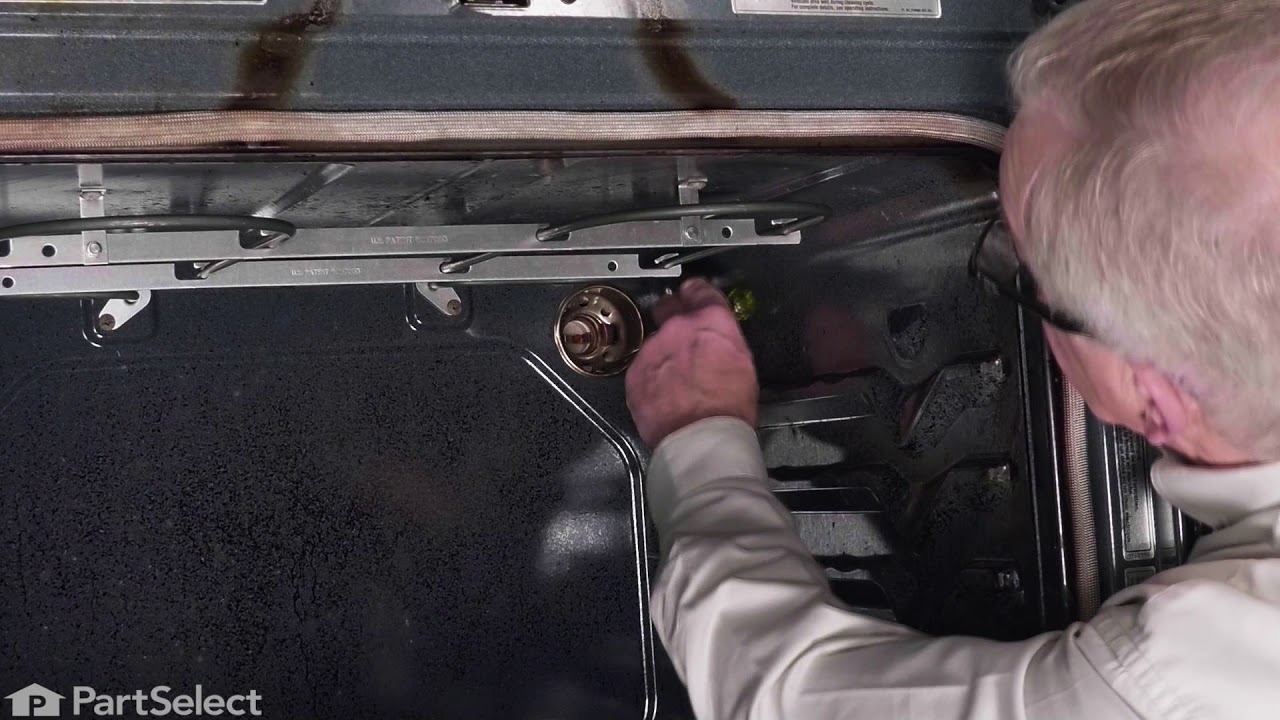
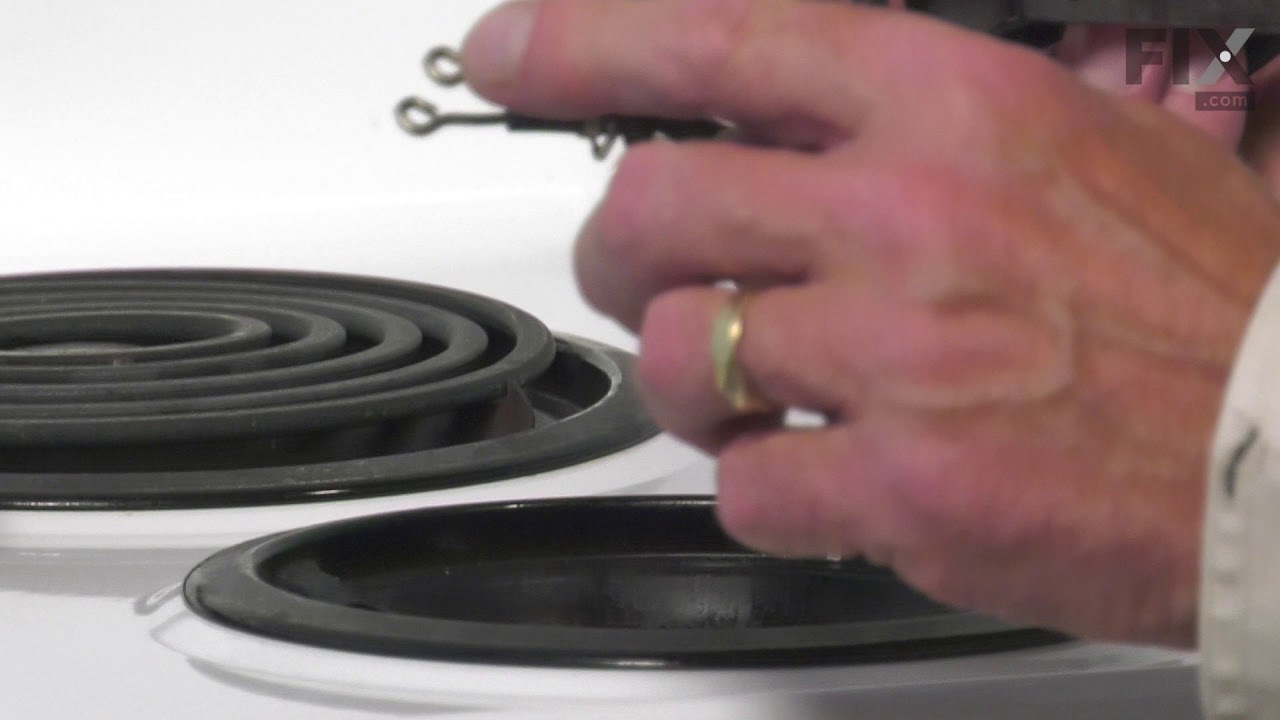
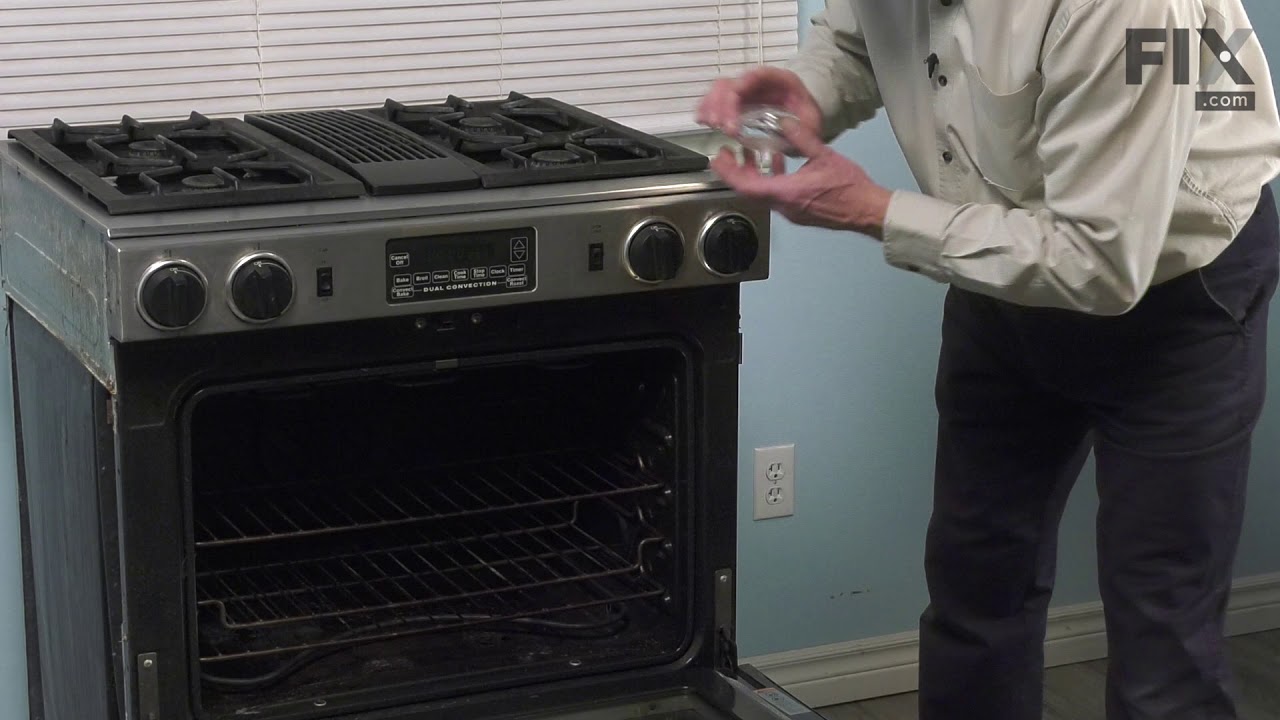
This an authentic OEM 40-Watt replacement light bulb, used in a number of household appliances. It is specially designed to withstand extreme temperatures, which is why these replacement bulbs are most often used to light the inside of refrigerators and ranges. It features a standard socket base, which means you simply unscrew the burnt-o...Read moreut bulb and screw in the replacement. Depending on the appliance you may require a screwdriver or nut driver to access the light bulb. We recommend you wear work gloves while handling this replacement part. It is constructed of glass and metal and is sold individually. Depending on the appliance and location of the bulb within it, you may want to consider disconnecting power and using a flashlight for easier access to unscrewing and re-screwing in your bulb during this repair.
This touch-up paint can be used on a wide variety of household appliances. It is most often used on washers, dryer, refrigerators, dishwashers, ranges, freezers, trash compactors, or microwaves. It is an 18 ml, or.6 fluid ounces, bottle of touch-up paint. It also features a brush for easy application. This quick-drying, long-lasting paint...Read more is perfect for fixing any nicks, scratches, or chips on the exterior of your appliance. This paint is white in color, and provides a durable finish.
This broiler pan and roasting rack set is designed to help reduce mess while cooking by allowing grease to drain away from food. Its durable porcelain-coated construction stands up to high temperatures and makes cleanup simple. With approximate dimensions of 16 3/4 inches long, 12 3/4 inches wide, and 1 3/4 inches high, it offers a convenient size for everyday broiling and roasting.
The light socket on your electric range connects the power source to the light bulb. If your oven light is malfunctioning, you may need to replace the light socket. The light socket is located in the back of your range, so in order to access it you will need to remove the back panel. Many of our customers have rated this repair as easy, a...Read morend it should take less than 15 minutes. Before you begin this repair, make sure to disconnect the power source from your range. This is an OEM part sourced directly from the manufacturer.
The light cover lens in your oven is designed to protect the light bulb. If your light cover lens is damaged, you will need to replace it. This part is made of clear glass and is roughly 3 inches in diameter. Many of our customers have rated this repair as easy, and it should take less than 10 minutes to complete. In order to do this repa...Read moreir, simply unscrew the old light cover lens, and replace it with the new one. If your old light cover lens is damaged, be careful of any broken glass when completing this repair.
Appliance spray paint is a great way to cover up any chips and scratches that have appeared on your appliances. Instead of replacing the part entirely, this is an easy fix. This is also a great way to give a fresh new look to any handles or areas that have discoloring due to wear. Make sure to clean the area before you begin and wear a pr...Read moreotective mask for safety. Give the can a good shake and spray a few inches away from the surface. Apply the paint until the area is fully covered as desired. Wait until the paint has dried before using the appliance.
Ask our experts a question about this model and we'll get back to you as soon as possible!
We may have answered a similar question already! Search questions and answers left by others using simple keywords like "fit", "broken", "easy", or "quality" to find questions that match.
Search filter:
Clear Filter
Your search term must have 3 or more characters.
Sort by:
Prev
1
Next
Sorry, we couldn't find any existing answers that matched.Try using some different or simpler keywords, or submit your new question by using the "Ask a Question" button above!
Ross - For model number IHP33801
February 4, 2026
How do you change the oven light bulb?
Hi Ross, thank you for your inquiry. The replacement instructions for the light bulb can be found here in the user manual. Refer to page 19. Here is the link: Glad to be of help!
See how others fixed this model. Time, tools, difficulty, and steps that lead to victory!View More
Search repair tips from other customers using simple keywords like "replace", "fit", "remove", "inspect". DIY doesn't mean you have to do it alone!
Search filter:
Clear Filter
Your search term must have 3 or more characters.
mice had made nests in the insulation wrap in the range
127 of 208 peoplefound this instruction helpful.
Wendy from Red Hook, NY
Easy
More than 2 hours
Screw drivers
I numbered every part. ex: 1 L., for first part removed left side. I used a magic marker to circle the holes and wrote the number of screws used on the part, set the srews in a separete place, so that I new where these screws went to. The cleanup was pretty time consuming, but I was able to keep my stove, when every repairman I called to
... Read more fix my stove told me I was better off buying a new stove. ($600.00 stove 2 years old)Please Note: The insulation blanket needed for the entire stove is two pieces, the sides and top are one part # and the bottom and back, are another part #. I did not know this. I just purchased the top and sides. I got lucky, the back and bottom were still in good shape. So I guess I should have read the description of the part more carefully to see what it covers, before I ordered it. It took two people two hours to do the work, it was really nice to have an extra set of eyes, to remember what direction pieces of metal from the stove went. I would do it all over in a heart beat instead of buying a new stove.
Read less
Was this helpful?
Thank you for voting!
Socket Light had a bad thread
44 of 65 peoplefound this instruction helpful.
Edmund from Emporium, PA
Easy
15 - 30 mins
Pliers, Screw drivers
Socket Lite come with clips attached to the outside of the housing. After you unhook the 3 lead wires that are attached to the unit. All you have to do is push in on the clips and release the unit. Then you snap in the new unit. Attach the 3 wire leads, put a oven bulb in the socket end, and the install the light cove
... Read morer
Read less
Was this helpful?
Thank you for voting!
The bake element went out of the stove.
65 of 146 peoplefound this instruction helpful.
Theodore from Concordia, KS
Really Easy
Less than 15 mins
Screw drivers
The element went out and I ordered the element on about 3:00 P.M. on Friday and before 9:00 A.M. on Saturday the unit was on my front porch. Couldn't believe how quick it was! Thanks for the good service. Ted Samuelson



 My Orders