


 My Orders




IGD7200TW10 Inglis Dryer - Overview
Diagrams for IGD7200TW10
See every part. Know exactly what you need.


Enter a part description. DIY Heroes keep it simple, eg. "belt" or "pump".
Search filter:
Clear Filter
Your search term must have 3 or more characters.

$35.80
In Stock
Dryer Radiant Flame Sensor
Part #WP338906
If your gas dryer is not heating up or igniting, then replacing the flame sensor, located in the burner assembly, could solve it. This part senses heat from the igniter to monitor if it is hot enough to ignite gas to light the burner. Once the igniter is hot enough it will open the valve and allow gas to flow. This is a safety mechanism t...Read moreo prevent dangerous levels of gas from building up. To repair, the main top of the dryer should be lifted, as well as the front panel to access the component. This flame sensor assembly is made of both plastic and metal.
Read less

$61.57
In Stock
Idler Pulley Assembly
Part #DC93-00634A
This idler pulley assembly is sourced from the original manufacturer for use in dryers. The assembly includes the pulley wheel and bracket. It is found near the motor where it provides tension to the dryer belt, allowing it to rotate the drum during the drying cycle. Over time, the pulley wheel and its bearings can wear out leading to squ...Read moreeaking and grinding noises when the drum rotates. The bracket or pulley wheel can also fall out of alignment which can damage the belt and cause it to slip off. Eventually, a faulty idler pulley assembly will prevent the drum from rotating altogether. Depending on your dryer model, you may need to disassemble the dryer to access the pulley assembly. Remove the dryer belt from the idler pulley wheel and detach the assembly from the dryer frame. Position the new assembly in its place and secure it in position. Thread the belt over the pulley and around the dryer drum, ensuring that the grooved side lays flat against the drum. Manually spin the drum to check that the belt is properly tensioned and reassemble your appliance.
Read less

No Longer Available
Touch-Up Paint - White
Part #72017
This touch-up paint can be used on a wide variety of household appliances. It is most often used on washers, dryer, refrigerators, dishwashers, ranges, freezers, trash compactors, or microwaves. It is an 18 ml, or.6 fluid ounces, bottle of touch-up paint. It also features a brush for easy application. This quick-drying, long-lasting paint...Read more is perfect for fixing any nicks, scratches, or chips on the exterior of your appliance. This paint is white in color, and provides a durable finish.
Read less

$49.50
In Stock
Gas Dryer Conversion Kit - NG to LP
Part #MAL9000AXX
This conversion kit contains all parts needed to convert your gas dryer from natural gas (NG) to liquid propane (LP). This kit will work with some Samsung dryers as well. Use model # to ensure you are getting the correct part.

No Longer Available
Dryer Thermistor
Part #WP35001191
This part controls the temperature of the inside of the dryer drum and prevents the dryer from overheating.

$50.95
In Stock
Dryer Thermostat
Part #WP35001087
This thermostat helps to regulate the dryer's internal temperature.

$36.85
In Stock
Spray Paint - 12 oz. - White
Part #350930
Appliance spray paint is a great way to cover up any chips and scratches that have appeared on your appliances. Instead of replacing the part entirely, this is an easy fix. This is also a great way to give a fresh new look to any handles or areas that have discoloring due to wear. Make sure to clean the area before you begin and wear a pr...Read moreotective mask for safety. Give the can a good shake and spray a few inches away from the surface. Apply the paint until the area is fully covered as desired. Wait until the paint has dried before using the appliance.
Read less

$66.77
In Stock

No Longer Available

$69.91
In Stock
Liquid Propane to Natural Gas Conversion Kit
Part #WP33002924
This kit converts liquid propane to natural gas.

$9.62
In Stock

$82.52
In Stock
Dryer Drive Belt
Part #WPW10205415
This dryer drum belt is a key component that transfers power from the motor to rotate the drum during operation. Measuring approximately 92 inches in length and featuring 5 ribs with 4 grooves, it ensures smooth and consistent tumbling of clothes throughout the drying cycle. If your dryer runs but the drum doesn’t turn, or if you hear unu...Read moresual noises, replacing the belt may resolve the issue. Designed for compatibility with a wide range of models, this OEM part offers reliable performance and a secure fit.
Read less
Common Symptoms of the IGD7200TW10
How this model fails, and the parts that fix it.
Noisy
Fixed by
these parts
these parts


Show All
Not Heating
Fixed by
these parts
these parts

Show All
Drum Not Spinning
Fixed by
these parts
these parts
Show All
Won’t Start
Fixed by
these parts
these parts
Show All
Watch our pros, then fix it yourself.
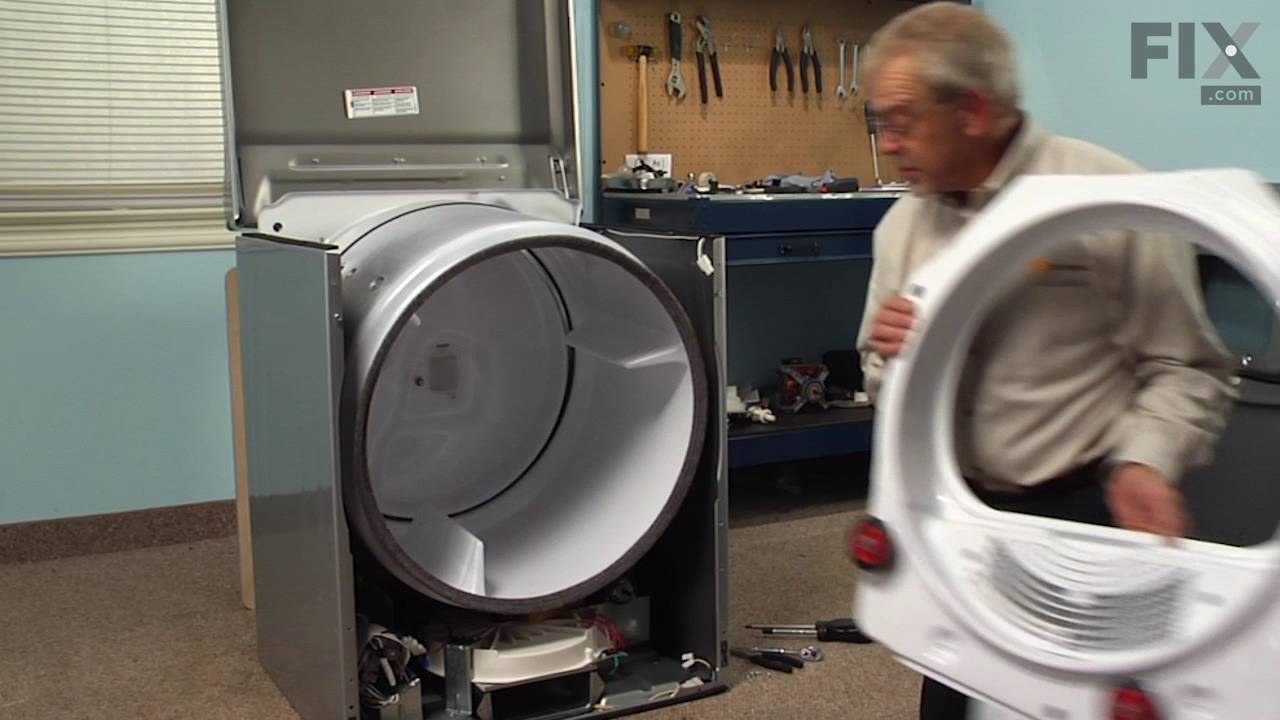

See how others fixed this model. Time, tools, difficulty, and steps that lead to victory!
View More
Search repair tips from other customers using simple keywords like "replace", "fit", "remove", "inspect". DIY doesn't mean you have to do it alone!
Search filter:
Clear Filter
Your search term must have 3 or more characters.
Dryer did not turn when power was on.
56 of 68 people
found this instruction helpful.
Callled the service company to diagnose the problem. Watched him take machine apart. He found the problem. Told me the parts that I needed. Didnt know what they were. Went to partselect.com looked my model up and found parts and ordered. Followed same steps as repair guy: Two screws in back of machine then slide top off. Six screws in
... Read more
front to remove front door ( 4 screws on top 2 on bottom) Changed the thermostat and thermistor. Saved 320 dollars :)
Read less
Other Parts Used:
Was this helpful?
Thank you for voting!