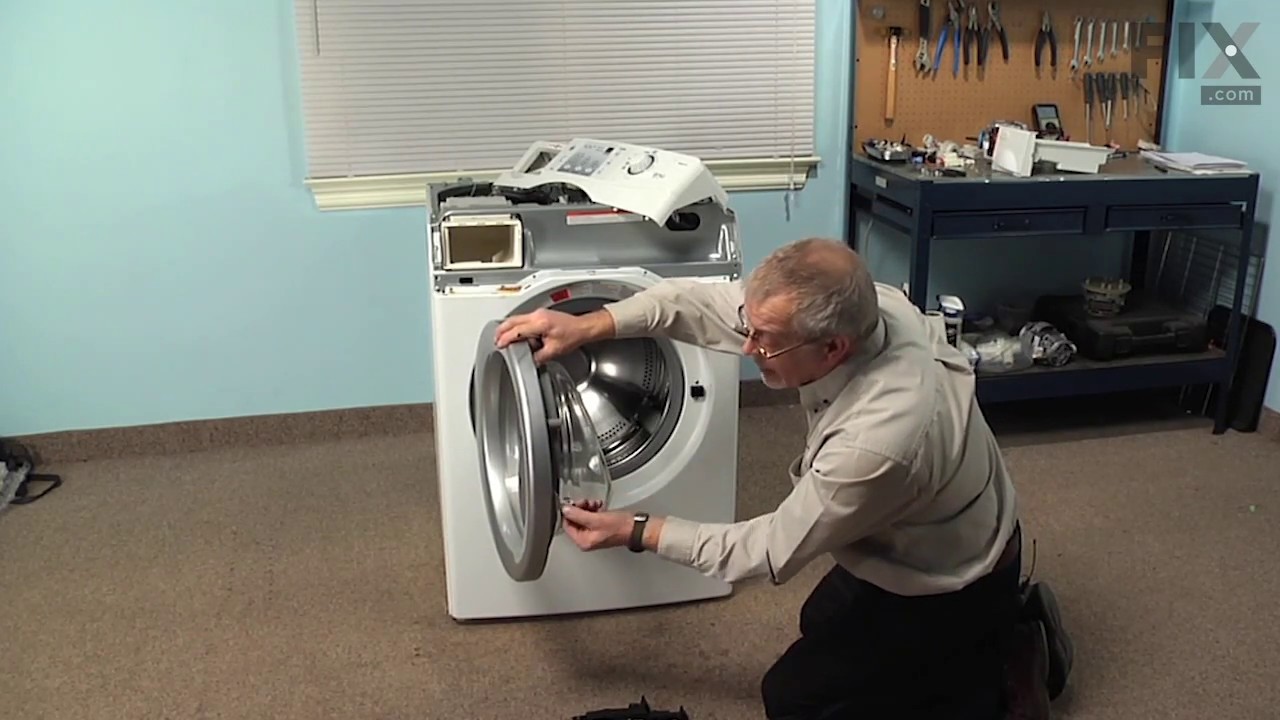
This washer door lock and switch assembly is a critical safety and control component for front-loading washing machines. It secures the door during wash and spin cycles, preventing accidental opening and ensuring the appliance operates only when properly latched. The integrated interlock switch communicates with the washer’s control syste...Read morem to verify door status, helping prevent cycle interruptions and operational errors. This model features a four-lead switch for precise functionality and is compatible with a wide range of front-load washers. Replacing this part can resolve issues such as a door that won’t close, won’t open, or won’t lock, as well as a washer that fails to start. Installation should be performed with the appliance unplugged and may require basic tools.
This hose clamp is used in a wide variety of household appliances. Most often it is found in washers, dishwashers, refrigerators, freezers, dehumidifiers, garbage disposals, or air conditioners. This clamp is used to securely attach a hose to another part of your appliance, which helps prevent leaks from those connections. Depending on th...Read moree appliance, it can attach hoses to drain pumps, water inlet valves, pressure switches, and injector nozzles. We recommend you refer to model-specific diagrams for appropriate uses and exact placement. This hose clamp is made of metal, and is sold individually. To access and replace this part you will need a nut driver, pliers, and screwdrivers. Before you begin any repair work, make sure you have unplugged your appliance, and shut off the water supply if applicable.
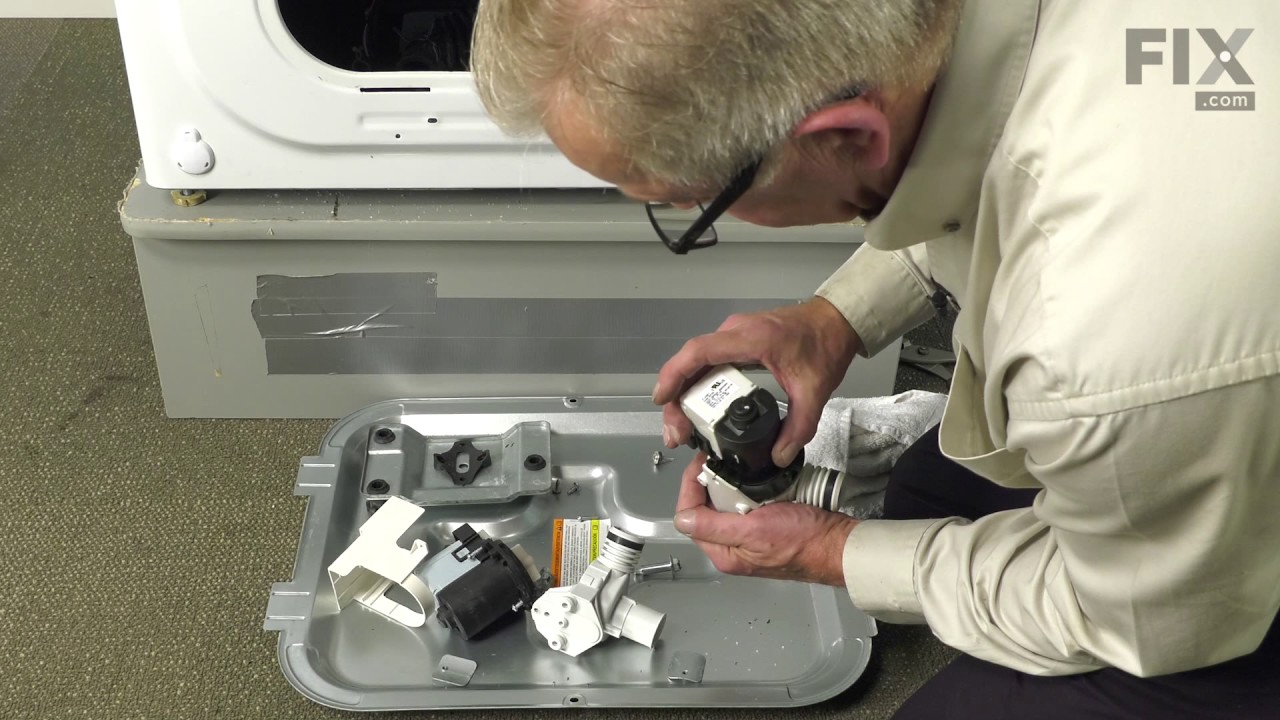
This pump helps expel water from the washing machine and is activated after the spin speed is maintained for a specific period of time.
NOTE: Pump only, mounting bracket is NOT included.
This touch-up paint can be used on a wide variety of household appliances. It is most often used on washers, dryer, refrigerators, dishwashers, ranges, freezers, trash compactors, or microwaves. It is an 18 ml, or.6 fluid ounces, bottle of touch-up paint. It also features a brush for easy application. This quick-drying, long-lasting paint...Read more is perfect for fixing any nicks, scratches, or chips on the exterior of your appliance. This paint is white in color, and provides a durable finish.
The hose clamp is used to hold the water hose in place which will prevent the hose from leaking water. Sometimes the clamp may lose its ability to latch on, causing a leaking washer. For the installation, you will need a flat head screw driver to replace the clamp and a drill to access the screws to remove the front of the washer. Be care...Read moreful if you do not have specific clamp pliers as the clamp could fly off. Once the front of the washer has been removed, take a quick look for water damage or any obvious signs of where the leak is coming from. If it is not obvious, run water to test.
Appliance spray paint is a great way to cover up any chips and scratches that have appeared on your appliances. Instead of replacing the part entirely, this is an easy fix. This is also a great way to give a fresh new look to any handles or areas that have discoloring due to wear. Make sure to clean the area before you begin and wear a pr...Read moreotective mask for safety. Give the can a good shake and spray a few inches away from the surface. Apply the paint until the area is fully covered as desired. Wait until the paint has dried before using the appliance.
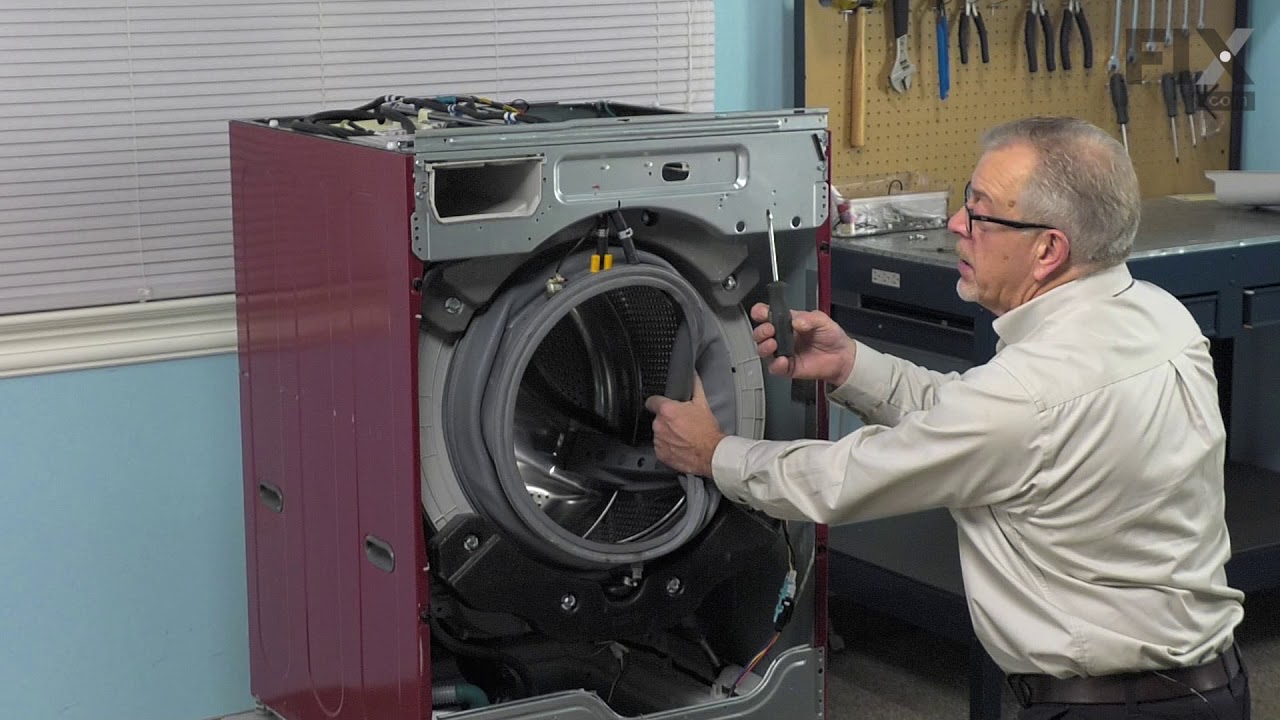
Also known as Door Diaphragm or Bellow. This part is used to keep the clothes inside the tub during the wash cycle. The folds in the bellow allow the tub to move separately from the door during the spin cycle.
This part helps keep the washer from vigorous shaking during its cycles. They are sold individually. They mount to the rear half of the outer tub. Appliance would take 2.
Ask our experts a question about this model and we'll get back to you as soon as possible!
We may have answered a similar question already! Search questions and answers left by others using simple keywords like "fit", "broken", "easy", or "quality" to find questions that match.
Search filter:
Clear Filter
Your search term must have 3 or more characters.
Sort by:
Prev
1
Next
Sorry, we couldn't find any existing answers that matched.Try using some different or simpler keywords, or submit your new question by using the "Ask a Question" button above!
Steve - For model number IFW7200TW10
January 21, 2020
This is an Inglis front load washer. The washer gets stuck at the 19-minute mark on the rinse and spin cycle. The water does not seem to drain. If i drain the water the washer spins. I have replaced the pump already and still having same symptoms. I am guessing maybe the mother board or??
Hello and thank you for writing.
It certainly sounds like it could be a faulty sensor control board PS11741583, you should check the part(s) for signs of damage burn marks, and replace as necessary. We hope this helps. Please contact us anytime if you require further assistance.
Est-ce que je peux mettre la secheuse dessus la laveuse
Can I put the dryer on the washer
Salut Francine. Tant que cela vous convient techniquement, vous le pouvez. Cela peut cependant annuler votre garantie. Merci pour votre question et bonne chance pour votre réparation.
Hi Francine. As long as it fits you technically can. This however may void your warranty. Thank you for your question and good luck with your repair.
1 personfound this instruction helpful.
Was this helpful?
Thank you for voting!
Lucien - For model number IFW7200TW10
July 22, 2021
I am looking for a spider assy. Cannot find around here or online. Would you be able to help me with this?
Hello Lucien, Thank you for contacting us. We have researched the model you have provided and have found the part you are looking for is PartSelect Number PS2037330. We looked up the part and it is listed as No Longer Available/Discontinued sorry. There are no part substitutions listed. Our suggestion here would be to call the manufacturer and see if they can provide you with a substitution for these part numbers and contact us back with he updated substitution number. We hope this helps!
What does the code nd means on this model 1fw7200tw
Hello Lucie, Thank you for writing. If your display is flashing "Nd", your machine is showing a no drain condition which is usually related to a backed up drain hose or a clogged debris filter. The Drain Hose is PartSelect Number PS11741562. Good luck with your repair.
See how others fixed this model. Time, tools, difficulty, and steps that lead to victory!View More
Search repair tips from other customers using simple keywords like "replace", "fit", "remove", "inspect". DIY doesn't mean you have to do it alone!
Search filter:
Clear Filter
Your search term must have 3 or more characters.
front load washer latch replacement
198 of 242 peoplefound this instruction helpful.
James from Vilonia, AR
A Bit Difficult
Less than 15 mins
Nutdriver, Screw drivers
1. remove the three screws from the top backside of the top panel 2. push the top panel to the rear 1/8 to 1/4 inch 3. lift/rotate top panel from rear to front, set aside. 4. remove the three wire connectors from latch. 5. use #15 Torx to remove the three screws from the latch. 6. remove and replace part using to
... Read morep opening. 7. reverse order to finish.
Read less
Was this helpful?
Thank you for voting!
Coins had been pulled into the pump, breaking blades and cracked casing.
150 of 167 peoplefound this instruction helpful.
Robert from El Paso, TX
Easy
30 - 60 mins
Pliers, Socket set, Wrench set
First I unplugged the washer and removed the back cover plate of the washer. I drained the pump and drainage lines. I then removed the two hose clamps and removed the connecting hoses. I removed the electrical connection. I loosened the three mounting bolts holding the mounting plate holding the pump. Once out, I could remove the pum
... Read morep from the plate and replaced it with the new part. I remounted the mounting plate, attached the hoses and clamps. I reattached the electrical connection and the back plate to the washer.
The Maytag is well designed and the parts are easy to reach. At least from this experience, the machine was designed with efficient repairs in mind. This is a sign of a well made machine.
Read less
Was this helpful?
Thank you for voting!
Door lock was in the locked position and door could not close
67 of 76 peoplefound this instruction helpful.
Suryakant from Cortlandt Manor, NY
Easy
15 - 30 mins
Screw drivers
I bought a new door lock for 132 dollars (item number PS2037196).
Ultimately you have to get to the inside of the machine where the door lock is located in order to see if you will need this door lock that I bought.
DISCONNECT POWER FROM MACHINE.
First take off the top by taking off the 2 screws on the bac
... Read morek of the machine.
Second take off the control panel, I believe there are about 5 or 6 screws for that. (there's also a screw when you open up the detergent compartment on the bottom left- also, a lever must be pushed in order for the compartment to come off- it MUST be taken off).
Third unscrew the top of the front white plate.. there should be a 5 or 6 screws for that. You don't need to take off the entire front plate.
Finally unscrew 3 screws that hold the door lock in place .. make sure your hands is in the machine- the back of door lock to catch the lock when you're on the last screw.
Gently take out the door lock from the side with the cables attached by holding the white metal door open (it bends).
Try to pull on the bottom of the door lock (its a manual release). If it doesn't release you need to buy a new door lock like I did... if it does release then you don't need a door lock and just reassemble. (Note: You can also try plugging in the machine and THEN pulling down on the manual release. When I tried this the door lock just vibrated and nothing happened so I bought a new door lock.)
If you have the new door lock continue here:
Take out all 3 cables on the old door lock by pressing on the corresponding clips.
Attach the new door lock with the correct cables. Assemble machine back together.



 My Orders