


 My Orders




IF42BDCBOL Dacor Refrigerator - Overview
Diagrams for IF42BDCBOL
See every part. Know exactly what you need.


.gif "SUPPLEMENTAL INFORMATION Diagram and Parts List for Dacor Refrigerator")

Enter a part description. DIY Heroes keep it simple, eg. "belt" or "pump".
Search filter:
Clear Filter
Your search term must have 3 or more characters.

No Longer Available
Water Filter
Part #EDR7D1
This is the replacement water filter for your refrigerator. It is white in color with a red cap and is approximately 3 inches wide and 6 inches tall. The water filter reduces contaminants and improves taste in your refrigerator water supply. It is recommended to replace the water filter every six months to maintain effectiveness. You will...Read more find the water filter at the back, top portion of your fresh food compartment. To remove the filter, simply twist it to the left until it can be removed. Then, remove the cap on the new filter, line up the arrow with the indentation, and twist to the right until it is secure. You may want to put a towel down below the filter when completing this repair, to catch any spills or drips. When you replace the water filter, hold down the dispenser trigger for a few minutes so that all the air is purged from the water lines, and the water tank fills up. This is an OEM part and is sold individually.
Read less

$13.95
In Stock
Light Bulb - 120V 25W
Part #WPA3073101
This light bulb is a 120 volt, 25 watt incandescent appliance light bulb with a small base screw-in that fits in a variety of appliances such as microwaves, refrigerators, freezers, cooktops, or stoves. Its purpose is to light up the appliance when the door is open. This is a genuine OEM part. You may need to replace the light bulb if the...Read more existing bulb is burnt out or broken. This light bulb is sold individually and is a common wear part, it is recommended to order a spare.
Read less

$12.20
In Stock

$21.45
In Stock
Screw
Part #W11233072
This is a multi-use and multi-appliance screw. It can be used on a microwave, refrigerator, range/oven, air conditioner, dehumidifier, washer, or dryer. The measurements of this screw are 8 x 1/2 inch. It has 6 threads. Refer to the manual provided by the manufacturer for further information on repair and accurate guidance. Remember to wear work gloves as a safety precaution.

$7.47
In Stock

$7.47
In Stock
Washer Hose Clamp
Part #WP596669
This hose clamp is used in a wide variety of household appliances. Most often it is found in washers, dishwashers, refrigerators, freezers, dehumidifiers, garbage disposals, or air conditioners. This clamp is used to securely attach a hose to another part of your appliance, which helps prevent leaks from those connections. Depending on th...Read moree appliance, it can attach hoses to drain pumps, water inlet valves, pressure switches, and injector nozzles. We recommend you refer to model-specific diagrams for appropriate uses and exact placement. This hose clamp is made of metal, and is sold individually. To access and replace this part you will need a nut driver, pliers, and screwdrivers. Before you begin any repair work, make sure you have unplugged your appliance, and shut off the water supply if applicable.
Read less

$16.07
In Stock
Light Bulb - 7W
Part #W10857122
Sold individually. This bulb is a 7-watt appliance incandescent light bulb. This appliance light bulb is two inches long. It is used for many clothes dryers. You will need a Phillips screwdriver and needle-nose pliers. Unplug the power from your dryer. You will find the light bulb by opening your dryer door and locating the casing surroun...Read moreding the bulb on the top of the inside of the door. You will need to remove the single screw holding it in place to access the bulb. Twist the old bulb out of place. Use your pliers if the base of the bulb is still inside the socket once the glass part of the bulb has been removed. Check to make sure that the socket itself is not damaged. If the socket is damaged it will need to be replaced as well. Screw your new bulb into place.
Read less

$35.80
In Stock
Refrigerator Water Fill Cup & Bearing
Part #WP628356
This refrigerator ice maker fill cup dispenses the water into the ice cube mold during the fill cycle. Replacing the water fill cup is a possible solution if you notice that the ice maker is leaking, or not making/dispensing ice. If you notice the fill cup has been damaged or cracked; replace the part straight away. This water fill cup is...Read more a genuine OEM part and will fit most refrigerators, but check the list of compatible brands to make sure yours is included before purchasing.
Read less

No Longer Available
Limit Switch - 2 Terminal
Part #61005520
This limit switch is located in the ice/water dispenser section. The switch pictured here is black, though this type of switch is also available in white.

$7.47
In Stock

No Longer Available

$7.47
In Stock
Common Symptoms of the IF42BDCBOL
How this model fails, and the parts that fix it.
Leaking
Fixed by
these parts
these parts


Show All
Ice maker not making ice
Fixed by
these parts
these parts


Show All
Not dispensing water
Fixed by
these parts
these parts


Show All
Ice maker won’t dispense ice
Fixed by
these parts
these parts


Show All
Noisy
Fixed by
these parts
these parts


Show All
Fridge too warm
Fixed by
these parts
these parts

Show All
Ice maker dispenses too much ice
Fixed by
these parts
these parts
Show All
Door won’t open or close
Fixed by
these parts
these parts
Show All
Light not working
Fixed by
these parts
these parts

Show All
Door latch failure
Fixed by
these parts
these parts

Show All
Will Not Start
Fixed by
these parts
these parts


Show All
Fridge and Freezer are too warm
Fixed by
these parts
these parts
Show All
Watch our pros, then fix it yourself.



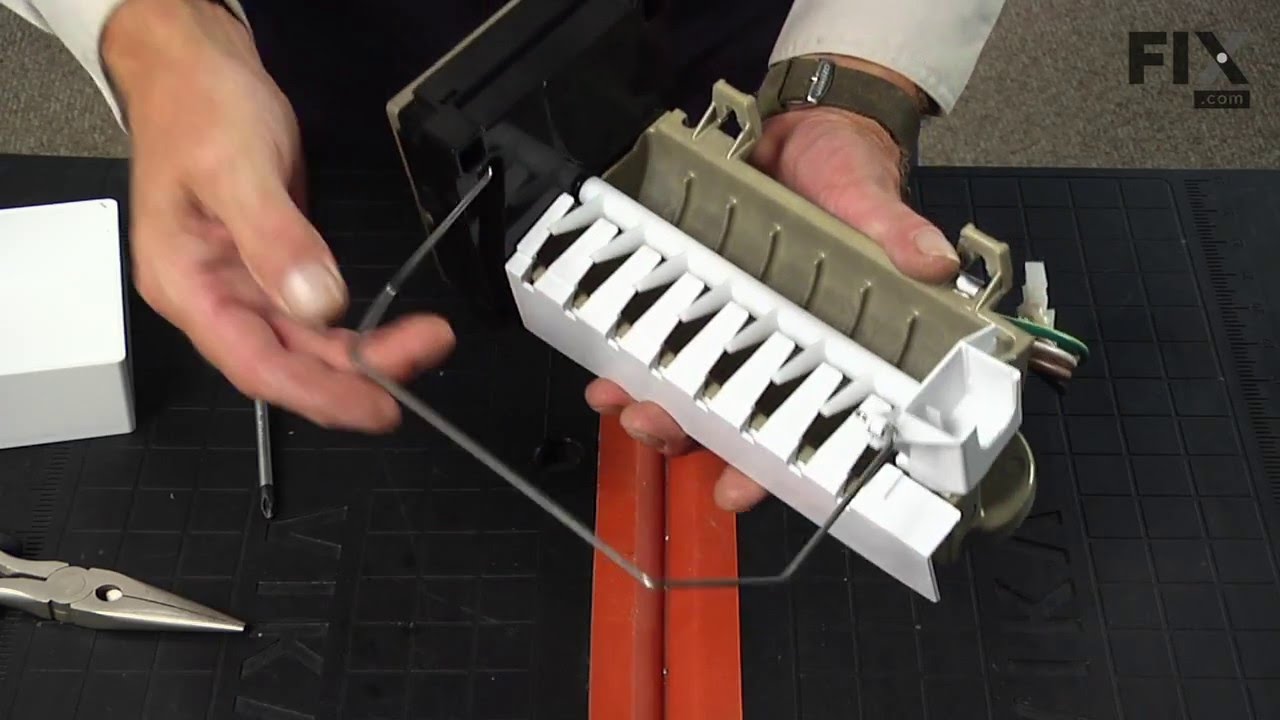
See how others fixed this model. Time, tools, difficulty, and steps that lead to victory!
View More