


 My Orders




IC3Q (P1110702W) Amana Ice Maker - Overview

Enter a part description. DIY Heroes keep it simple, eg. "belt" or "pump".
Search filter:
Clear Filter
Your search term must have 3 or more characters.

$95.17
In Stock
Replacement Ice Maker
Part #D7824706Q
This ice maker (Ice Maker Assembly, Refrigerator Ice Maker) produces ice cubes that are ejected into the storage bucket. It is located in the freezer section of your appliance, mounted on the freezer wall. The ice maker can break from normal wear and accidental damage. If this happens, your refrigerator may no longer make ice cubes, or ma...Read morey not make enough cubes, and the part should be replaced. This model measures approximately 11 inches long and 5 inches wide. It’s constructed of plastic and metal, and comes in black/white/silver. This assembly includes the ice mold and the control device.
Read less

$47.40
In Stock
Single Outlet Water Valve Kit
Part #4318047
This part is a solenoid-operated switch located at the bottom of the refrigerator. When the water inlet valve is turned on, water is released from the supply line through the water valve and into the compact icemaker mold. The kit includes the mounting hardware and bracket plastic tubing fittings. The retaining nut must be cut off the pla...Read morestic water line and gently pushed into the new valve. To remove, press down on the ring that the tube slides into. Refer to the installation instructions for further guidance. Please note: the manufacturer has redesigned this part and it can appear different than the original. It has a new quick connection.
Read less

$55.29
In Stock
Ice Maker Shutoff Arm
Part #WP67004028
The icemaker shut off arm, used in a refrigerator, gives the icemaker a signal to stop making ice once the bin has a reached a certain limit. This helps monitor ice production. If your icemaker is not making ice properly or consistently, replacing this part could be a solution to your problem. The tools required for this installation are ...Read morea 1/4 inch nut driver, a Phillips screwdriver, and needle nose pliers. Refer to the manual guide provided by the manufacturer for further guidance and instructions. Remember to safely store food when the refrigerator power is off to keep it from deteriorating.
Read less

$104.20
On Order
Ice Bucket
Part #WP67001255
The ice bucket in your freezer catches and holds the ice when it is released by the icemaker. If your ice bucket is cracked or damaged, you may need to replace it to prevent a potential leak. This part is made of white plastic and is sold individually. This ice bucket is approximately 15 inches long by 12 inches wide. Many of our customer...Read mores have rated this repair as very easy. To complete this repair, simply remove the old ice bucket and replace it with the new one. Be sure to remove any broken pieces of the old ice bucket before replacing it.
Read less

$11.77
On Order
Refrigerator Compression Nut
Part #WP627018
The compression nut is used as a connection between the water supply line and other components in your refrigerator such as your ice maker and your water dispenser. Tools required for this repair include a pair of pliers and a socket set. Before installing this part you should take all perishable foods out of your refrigerator and store t...Read morehem somewhere cool, unplug the refrigerator from the power source, and shut off the water supply. This repair may require you to wear work gloves to protect your hands, and is considered an easy do-it-yourself fix.
Read less

$17.15
In Stock
Refrigerator Plastic Tubing
Part #WPB5705307
This part supplies water to refrigerator components that require water, such as the ice maker and water dispenser. If you notice a leak coming from your refrigerator, the plastic tubing that feeds your water and ice dispenser might need to be replaced. This part is made of clear plastic and is 1/4 inch thick, and 8 1/2 feet long. Make sur...Read moree to disconnect power to the refrigerator and shut off the water supply prior to installing this part. Safely store any perishable food items that could deteriorate while the power to the refrigerator is disconnected. Work gloves are recommended to protect your hands during this installation.
Read less

$7.47
In Stock
Refrigerator Screw
Part #WP98165
This screw is a little under an inch long and is made of metal. It is used with a refrigerator's ice maker assembly. Sold individually.

$7.47
In Stock

$11.77
In Stock
Refrigerator Speed Clamp Clip
Part #WPM0114003
This is a speed lamp clip, and may also be known as the water line spring clamp. It is used in conjunction with your refrigerator. If you have a leak at your fill tub, this part may be the reason. The function of this clip is to keep the fill tube and the water line connected. This will allow water to flow freely without leakage into your...Read more water/ice dispensers. This part is quite small, with less than a half-inch in outer diameter. The clip is an off-black, almost olive color, and is rounded.
Read less

$47.40
In Stock
Ice Maker Wire Harness
Part #WPD7813010
This part connects to the electrical and allows power to flow through your appliance.

$9.62
In Stock

$8.17
Special Order
Clip
Part #WPM0104106
Exact Part matches for your search term

No Longer Available
Ice Maker Kit with Flat Plug Connector
This part number matches the current model number IC3Q
Part #1110702A
Please Note: This part has been updated by the manufacturer and includes the ice maker and flat plug connector only. It does not include the cover, ice level arm or the wire harness. You can reuse those from the original ice maker.
Common Symptoms of the IC3Q
How this model fails, and the parts that fix it.
Ice maker not making ice
Fixed by
these parts
these parts


Show All
Leaking
Fixed by
these parts
these parts

Show All
Ice maker won’t dispense ice
Fixed by
these parts
these parts
Show All
Ice maker dispenses too much ice
Fixed by
these parts
these parts
Show All
Ice maker dispenses too little ice
Fixed by
these parts
these parts
Show All
Won’t start
Fixed by
these parts
these parts
Show All
Will Not Start
Fixed by
these parts
these parts
Show All
Noisy
Fixed by
these parts
these parts
Show All
Watch our pros, then fix it yourself.

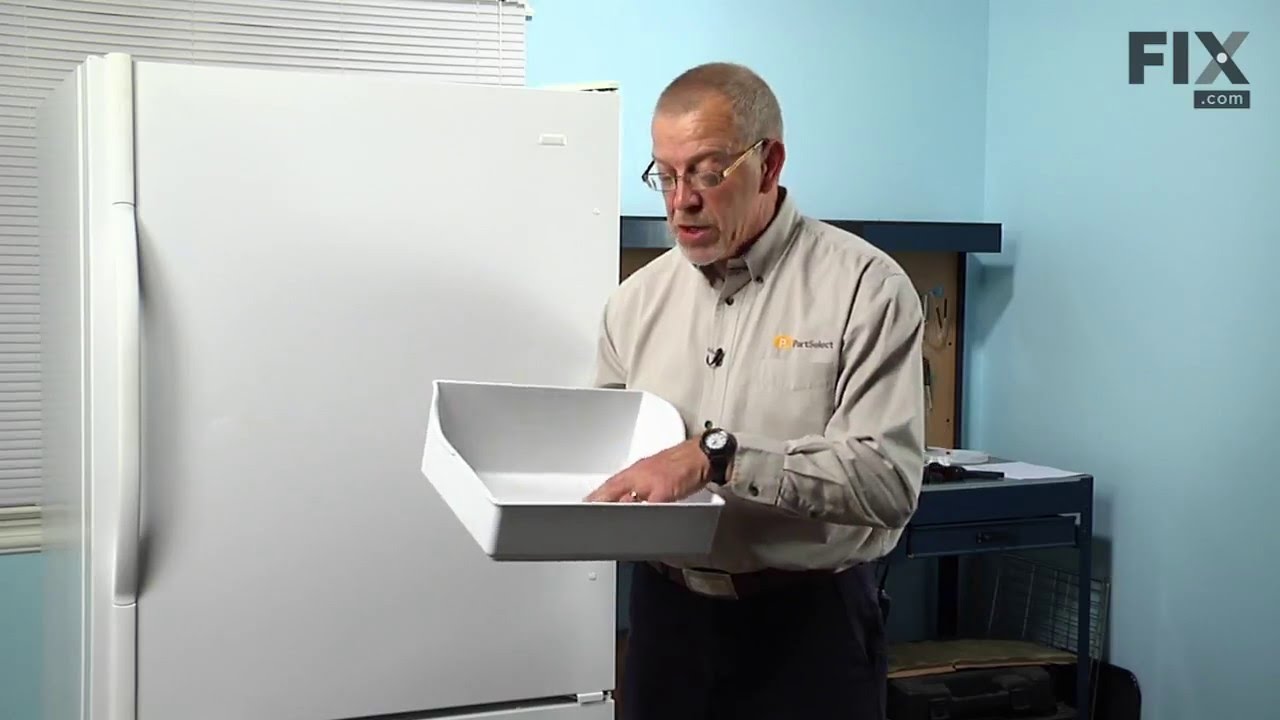
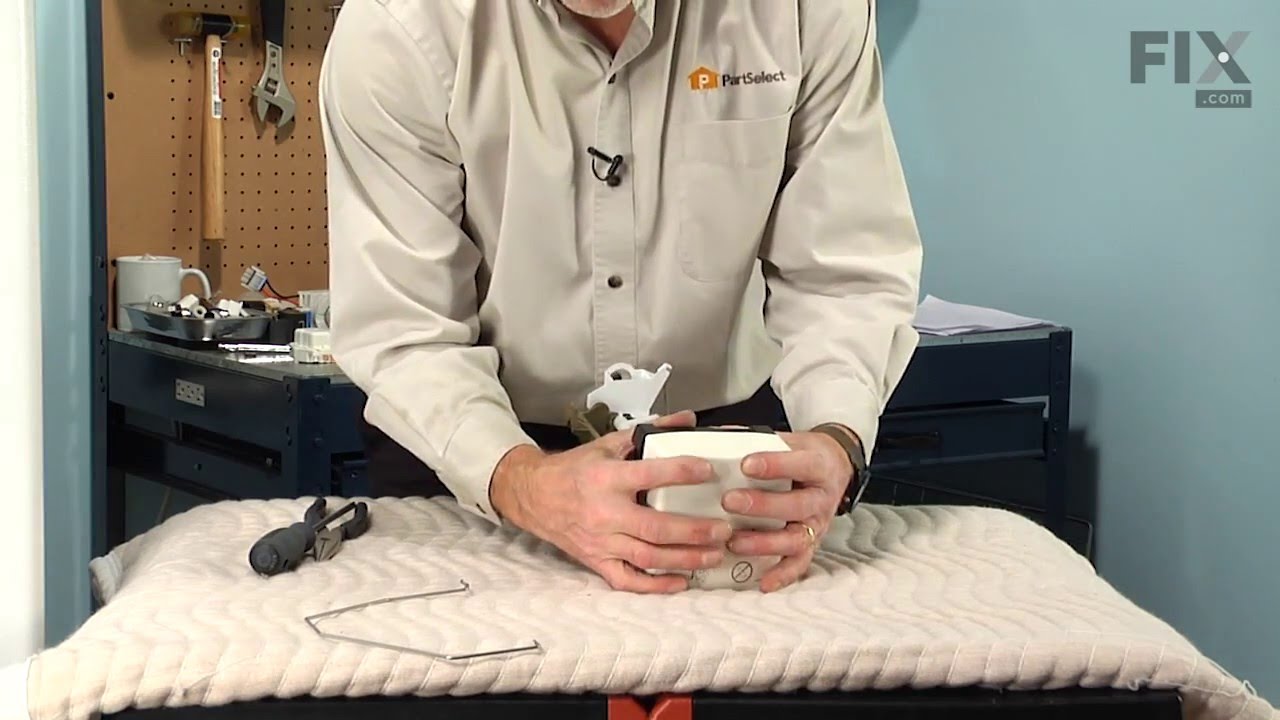
See how others fixed this model. Time, tools, difficulty, and steps that lead to victory!
View More