


 My Orders




IBD350DS04 Whirlpool Wall Oven - Overview
Diagrams for IBD350DS04
See every part. Know exactly what you need.


Enter a part description. DIY Heroes keep it simple, eg. "belt" or "pump".
Search filter:
Clear Filter
Your search term must have 3 or more characters.

$7.47
In Stock

$24.15
In Stock
Touch-Up Paint - White
Part #72017
This touch-up paint can be used on a wide variety of household appliances. It is most often used on washers, dryer, refrigerators, dishwashers, ranges, freezers, trash compactors, or microwaves. It is an 18 ml, or.6 fluid ounces, bottle of touch-up paint. It also features a brush for easy application. This quick-drying, long-lasting paint...Read more is perfect for fixing any nicks, scratches, or chips on the exterior of your appliance. This paint is white in color, and provides a durable finish.
Read less

$49.50
In Stock
2 Piece Broiler Pan
Part #4396923
This broiler pan and roasting rack set is designed to help reduce mess while cooking by allowing grease to drain away from food. Its durable porcelain-coated construction stands up to high temperatures and makes cleanup simple. With approximate dimensions of 16 3/4 inches long, 12 3/4 inches wide, and 1 3/4 inches high, it offers a convenient size for everyday broiling and roasting.

$7.47
In Stock

$82.56
On Order

$28.42
In Stock
Light Bulb
Part #WPW10412711
This is a 25W 125-130V incandescent light bulb designed for use and compatible within various makes and models of microwaves, ranges, oven/microwave combos, and wall ovens. If you notice the lightbulb flickering, getting progressively dimmer, emitting a slight humming noise, taking excessively long to brighten, or if it is simply dead ? i...Read moret needs replacing as soon as possible. This light bulb normally comes with a bulb cover lens, which may also need to be replaced depending on why your lightbulb needs replacing. Make sure to follow all safety precautions during this replacement process and seek professional assistance if necessary. To replace this bulb, disconnect your appliance from its power source. Locate the bulb within your appliance and use a screwdriver to disconnect and remove the panel housing the light bulb. Be careful not to touch any capacitors within the appliance, or you could electrocute yourself. Unscrew the lightbulb socket housing and then unscrew and replace the bulb within it. Then you can reassemble the rest of the microwave.
Read less

$33.69
In Stock
Wall Oven Thermal Fuse
Part #WPW10545291
The thermal fuse protects the oven from damage in the event of an electrical short or overheating.

$20.37
In Stock
Light Cover Lens
Part #WPW10412722
This oven light lens cover is a durable, heat-resistant component designed to shield the interior light bulb from heat, debris, and everyday wear while still allowing bright, clear illumination inside the appliance. Made from sturdy plastic, it features a simple, straightforward design that makes installation quick and easy when replacing...Read more a cracked or damaged cover. The lens is typically clear or slightly frosted to diffuse light evenly throughout the oven cavity. Because this part is used across a wide range of appliances, it’s important to confirm that it matches your specific model to ensure a proper fit.
Read less

$89.54
In Stock
Broil Element
Part #WPW10260252
This genuine broil element provides the intense radiant heat required for broiling and upper-oven cooking functions. Mounted at the top of the oven cavity, it helps deliver consistent high-temperature performance for broiling meats, browning foods, and achieving even cooking results. Replacing a damaged or failed broil element can help re...Read moresolve issues such as the oven not heating properly, uneven broiling, visible element damage, sparking, or incomplete cooking performance. Installation typically involves disconnecting power to the appliance, removing the mounting screws securing the existing element, carefully pulling the element forward to access the wire connections, transferring the wires to the replacement element, securing the new element in place, and restoring power to test operation. Designed for reliable, long-lasting performance, this genuine replacement part helps restore proper broiling functionality and overall oven performance.
Read less

$8.17
In Stock
Refrigerator Screw
Part #WP12990527

$91.74
In Stock
Thermostat
Part #WP4449751
This high-limit thermostat is a safety-critical component designed to prevent overheating in ranges and wall ovens. It monitors internal temperatures and cuts power to the heating elements if the oven exceeds a preset threshold, typically around 335°F (170°C). Constructed from heat-resistant materials for long-term durability, it helps pr...Read moreotect internal components and reduce the risk of fire or damage caused by control system failures, ventilation blockages, or fan malfunctions. A faulty thermostat may result in no heat, uneven cooking, or failure to start. Replacing this part restores safe and reliable oven operation. Installation should be performed with the appliance disconnected from power.
Read less

$211.77
In Stock
Bottom Vent - Stainless Steel
Part #WPW10351279
This bottom oven vent assembly is designed to direct hot air away from the oven cavity, helping regulate airflow and maintain a stable internal temperature during cooking. Made from stainless steel, it also provides a clean, finished appearance to the lower front of the oven. Manufactured to original equipment standards, it fits select wa...Read morell oven models and serves as a direct replacement for damaged or missing vents. Installation involves shutting off power at the circuit breaker, allowing the oven to cool, removing the lower door, unscrewing the old vent, securing the new one, and reinstalling the door. Proper installation ensures safe and efficient oven performance.
Read less
Common Symptoms of the IBD350DS04
How this model fails, and the parts that fix it.
Element will not heat
Fixed by
these parts
these parts


Show All
Door won’t open after self cleaning cycle
Fixed by
these parts
these parts

Show All
Will Not Start
Fixed by
these parts
these parts
Show All
Watch our pros, then fix it yourself.

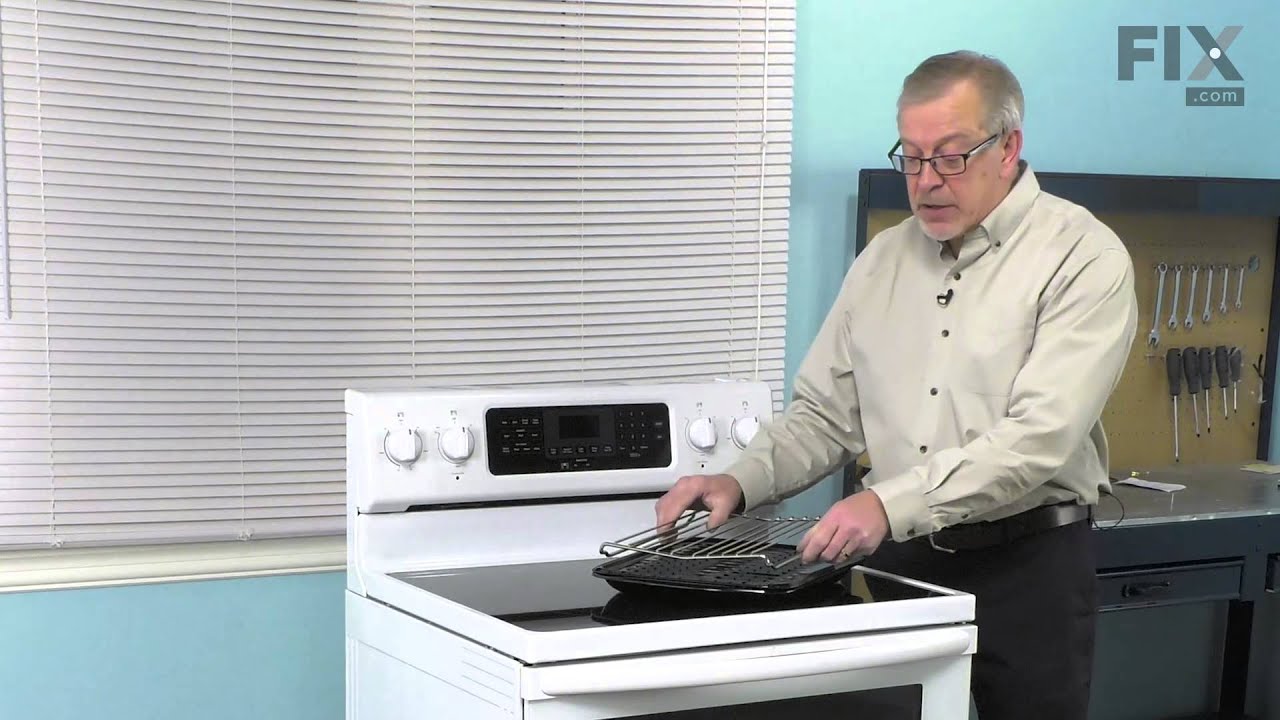
See how others fixed this model. Time, tools, difficulty, and steps that lead to victory!
View More