


 My Orders




HTS18JBPARWW Hotpoint Refrigerator - Overview
Diagrams for HTS18JBPARWW
See every part. Know exactly what you need.


Enter a part description. DIY Heroes keep it simple, eg. "belt" or "pump".
Search filter:
Clear Filter
Your search term must have 3 or more characters.

$21.95
In Stock
Light Bulb - 40W
Part #40A15
This 40-Watt light bulb is sold individually.
It is specially designed to withstand extreme temperatures, so this bulb is compatible with a variety of appliance types including refrigerators, ranges, microwaves, and dryers. It features a frosted glass bulb with a standard metal socket base, which allows you to easily unscrew the burnt-out light and twist the new bulb into place.

$38.32
In Stock
LIGHT SWITCH
Part #WR23X37285
The interior light of your refrigerator is controlled by a switch that is activated when the door is opened and closed. If your refrigerator light will not turn on, there could be an issue with the switch. The switch is spring loaded and is a generally closed type of switch meaning there should be no continuity when the button is depresse...Read mored, and continuity through the switch when the button is not depressed. This plastic, white, OEM switch is sourced directly from the manufacturer, is sold individually and is easy to replace. The repair usually takes less than 15 minutes and requires a flat blade screwdriver and needle nose pliers.
Read less

$16.05
In Stock
Compression Ring
Part #WR02X12149
This compression ring is meant to hold the evaporator fan motor in place in the freezer compartment of your refrigerator. This is is a genuine OEM part. The tools needed to complete this repair are a Phillips screw driver and small flat blade screw driver. Be sure to turn off your refrigerator before removing the evaporator fan cover so t...Read morehe fan does not turn on during repair. It is recommended to check the grommets, evaporator fan, and fan blades during repair in case they also need replacning. The compression ring may need replacing if the fan is noisy, or the refrigerator compartments are too warm. This part is sold individually.
Read less

$83.19
In Stock
REFRIGERATOR VEGETABLE BIN
Part #WR32X28064
This part has slanted at the back and also known as a 1/2 pan. Sold individually.

$19.40
Special Order
Condenser Fans Blade Assembly
Part #WR60X10207
The condenser fan blade assembly helps to regulate the temperature in your refrigerator or freezer. This fan assembly has 4 blades, but other fans may have 3 blades, so be sure to check the number of blades on your fan. The fan blade is made of white plastic and is approximately 6 inches in diameter. If your freezer section is too warm, o...Read morer you notice a strange noise coming from your refrigerator when it is running, you may need to replace the condenser fan blade assembly. This part is sold individually.
Read less

$16.05
In Stock
Door Hinge Nylon Washer
Part #WR01X27364
This is the replacement hinge washer for your refrigerator. The hinge washer is mounted on the top of the door hinge pin, and supports the refrigerator door, allowing it to open and close easily. The main reason you would need to replace the hinge washer is if it is worn out, causing the refrigerator door to be more difficult to open and ...Read moreclose. You may also hear an unpleasant noise when you open your refrigerator door. The washer is a little less than an inch in diameter and is sold individually. This is an authentic OEM part sourced directly from the manufacturer.
Read less

$80.08
On Order

$28.72
In Stock
Evaporator Fan Blade
Part #WR60X10205

$36.05
In Stock
Snack Pan Slide - Left Side
Part #WR72X10055
This part is the replacement snack pan slide rail for your refrigerator. It is made of white plastic and is approximately 16 inches by 2 inches. The crisper draw will slide in and out along this rail. If the rail is damaged or missing, the crisper will either hang from one side, or it will not stay in place at all. The drawer slide rail i...Read mores for the left side of the drawer only, so be sure to check that you are replacing the correct drawer rail. This part is sold individually and is an OEM part sourced directly from the manufacturer.
Read less

$78.05
In Stock
Fresh Food Door Gasket
Part #WR24X10186
This white fresh food door gasket is used to seal the refrigerator door when closed to keep the cool air inside and the room air out.

$73.82
In Stock
Evaporator Fan Motor
Part #WR60X10172
This evaporator fan motor is located in the back of the freezer, and circulates air over the refrigerator coils. These coils will convert the heat into cool air, which is then circulated.

$42.81
In Stock
Snack Pan Slide - Right Side
Part #WR72X10086
This snack pan slide rail, also known as a drawer slide rail, is a genuine OEM replacement part for your refrigerator. This slide rail is white in color, and serves to help your snack pan slide in and out of the refrigerator with ease. It can become cracked or broken over time and need replacing. This is a very easy repair, to complete it...Read more you simply need to remove the snack pan, uninstall the current slide rail and affix the new one in place.
Read less
Manuals & Care Guides for HTS18JBPARWW
Click to downloadCommon Symptoms of the HTS18JBPARWW
How this model fails, and the parts that fix it.
Noisy
Fixed by
these parts
these parts


Show All
Light not working
Fixed by
these parts
these parts

Show All
Fridge too warm
Fixed by
these parts
these parts


Show All
Freezer section too warm
Fixed by
these parts
these parts
Show All
Freezer not defrosting
Fixed by
these parts
these parts
Show All
Door won’t open or close
Fixed by
these parts
these parts

Show All
Frost buildup
Fixed by
these parts
these parts
Show All
Will Not Start
Fixed by
these parts
these parts

Show All
Door Sweating
Fixed by
these parts
these parts

Show All
Watch our pros, then fix it yourself.

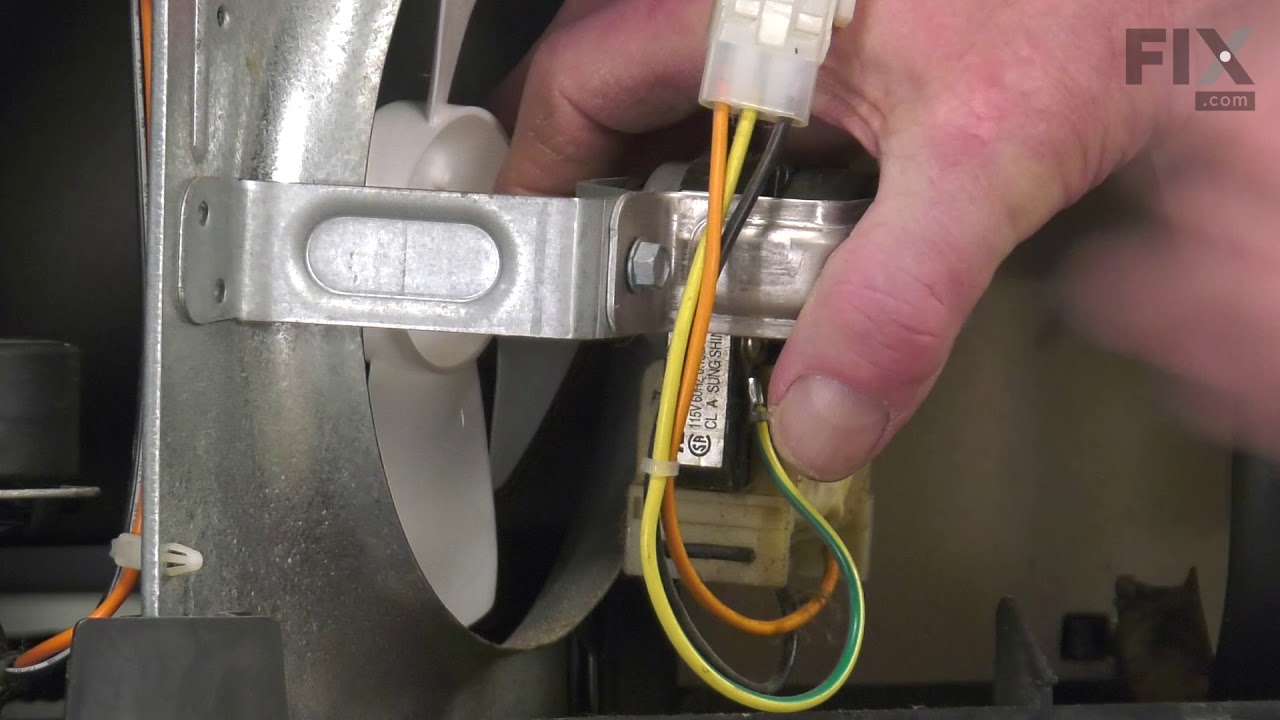
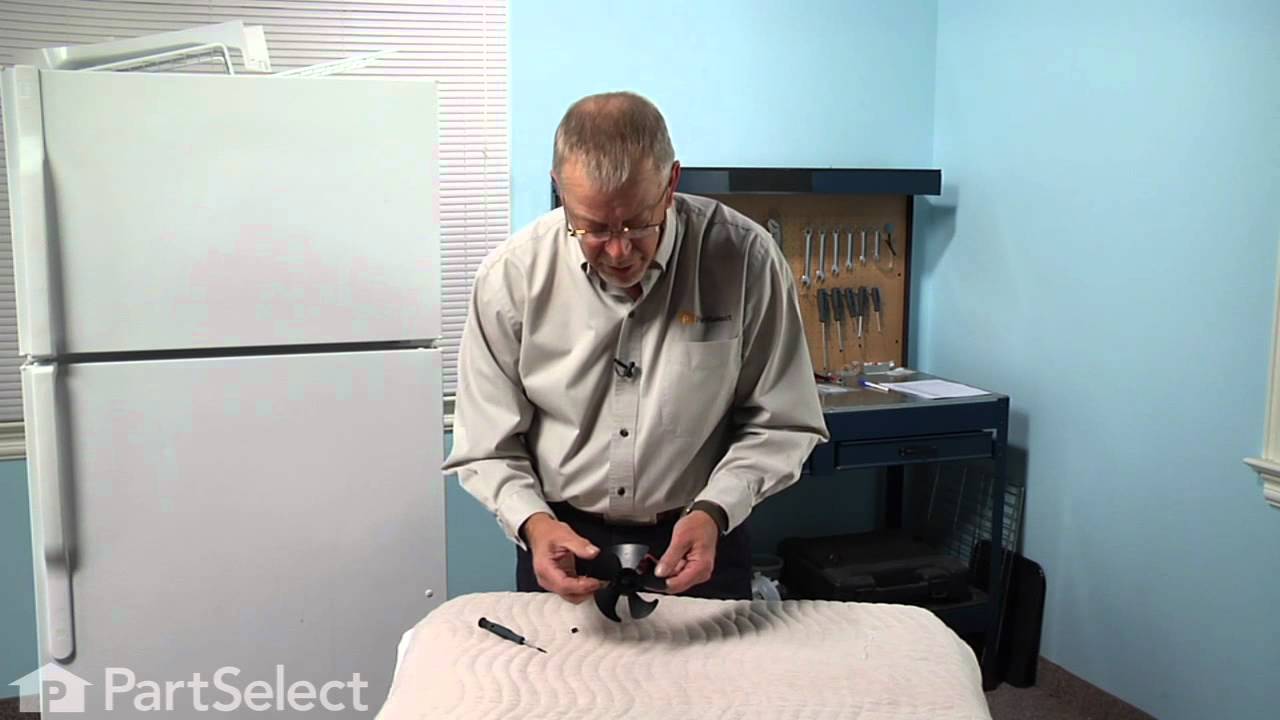
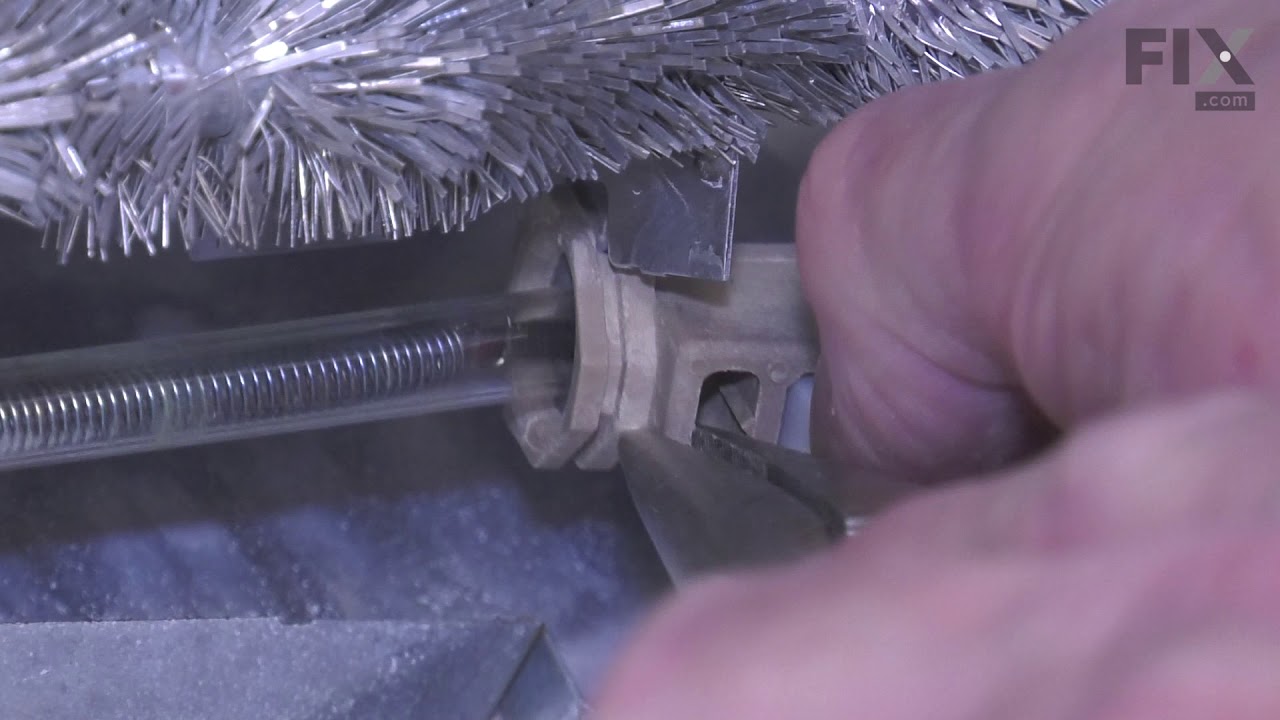
See how others fixed this model. Time, tools, difficulty, and steps that lead to victory!
View More
Search repair tips from other customers using simple keywords like "replace", "fit", "remove", "inspect". DIY doesn't mean you have to do it alone!
Search filter:
Clear Filter
Your search term must have 3 or more characters.
Noisy Evap Fan Motor
27 of 33 people
found this instruction helpful.
Could not haven been easier. Simply unplug fridge, remove air duct mounted on rear panel, release panel itself, pull fan blade off, disconnect grounding wire, detach fan motor bracket, disconnect wire harness to release fan motor, install new fan motor and reconnect, secure with bracket, reconnect grounding wire, reposition fan blade onto
... Read more
motor shaft, reinstall rear panel and secure screws. Remount air duct and plug appliance back in. VOILA. All done in less than 15 minutes!!!
Read less
Other Parts Used:


Was this helpful?
Thank you for voting!