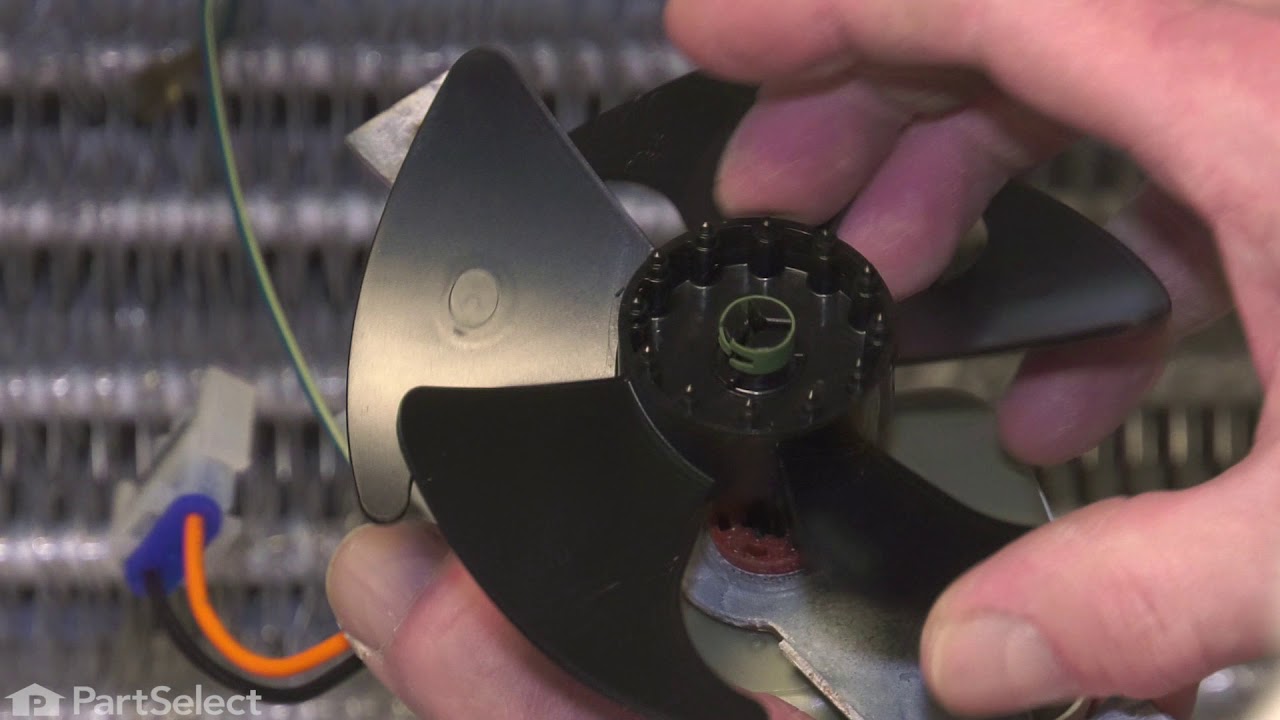
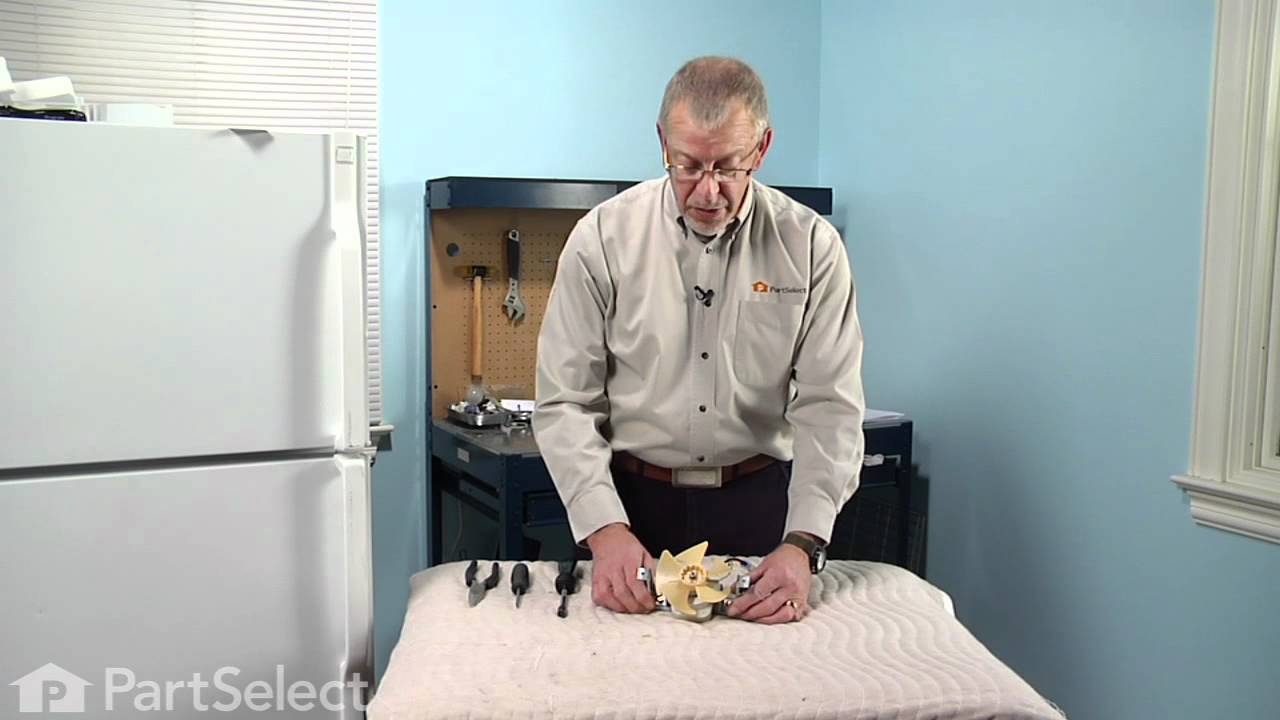
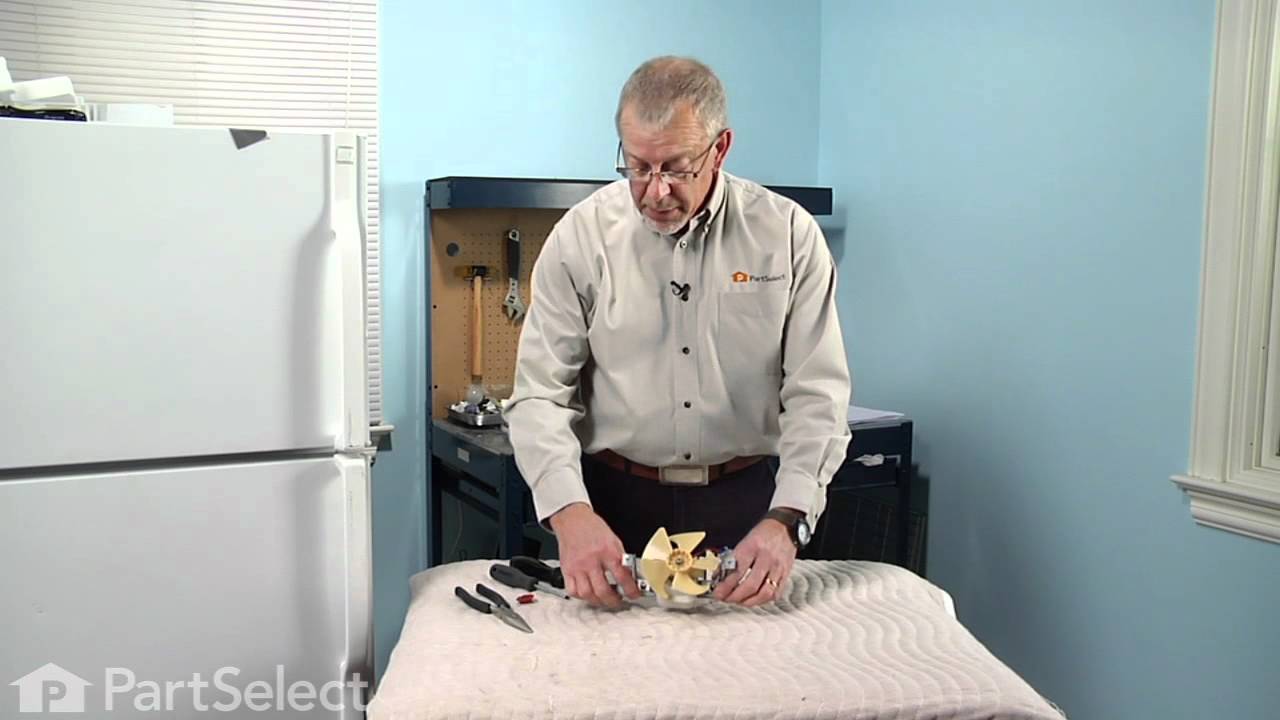
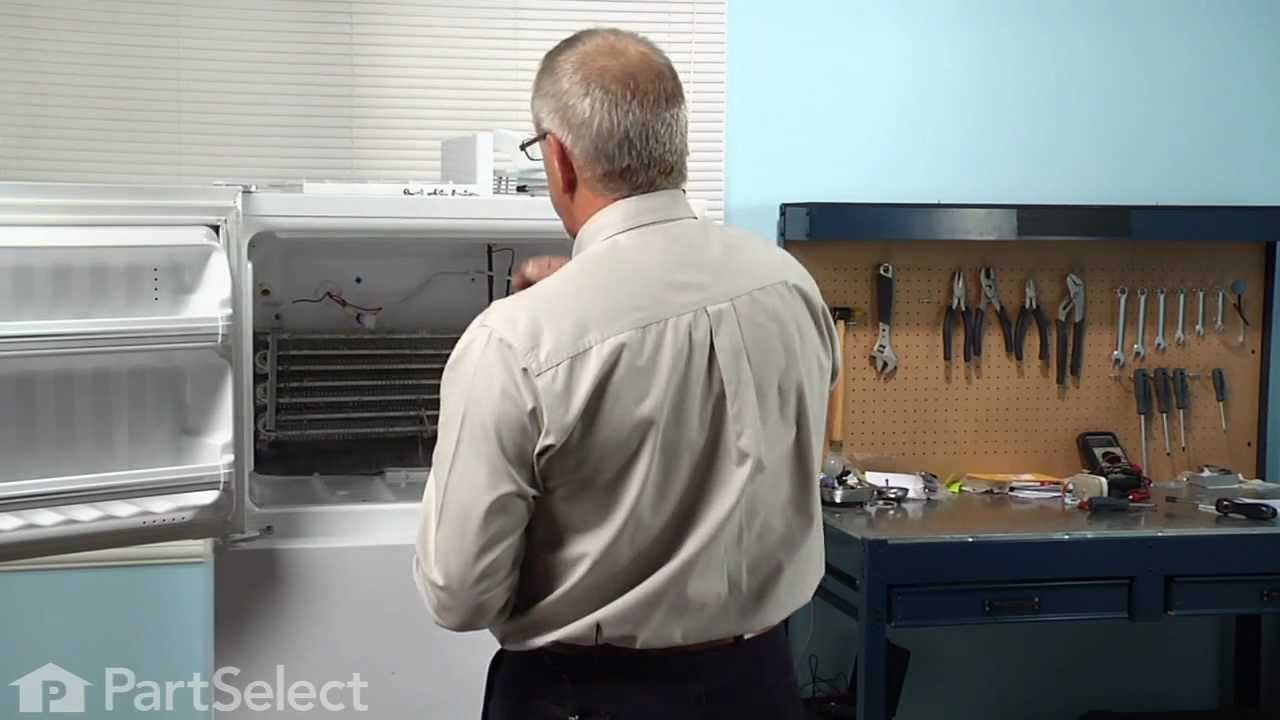
This 115-volt 60Hz evaporator fan motor is located in the back of the freezer and circulates air over the refrigerator coils. These coils will convert the heat into cool air, which is then circulated. If the motor has failed, the freezer/refrigerator will become too warm because the fan motor is not circulating the cool air from the freez...Read moreer into the refrigerator. This is a genuine OEM part. Please remember to disconnect the power to the appliance before starting your repair.
If you notice that your refrigerator or freezer is noisy or too warm, you may need to replace the evaporator fan grommet. This part is red in color, and is about 1 inch in diameter. The evaporator fan grommet is located behind the evaporator fan cover in the back of the freezer. You will need to remove the evaporator fan cover to access t...Read morehe evaporator fan and complete this repair. Before you begin this repair, ensure the power to the refrigerator is disconnected. You will need a pair of needle nose pliers, a small flat blade screw driver and both a 1/4 and 5/16-inch nut driver to complete this repair.
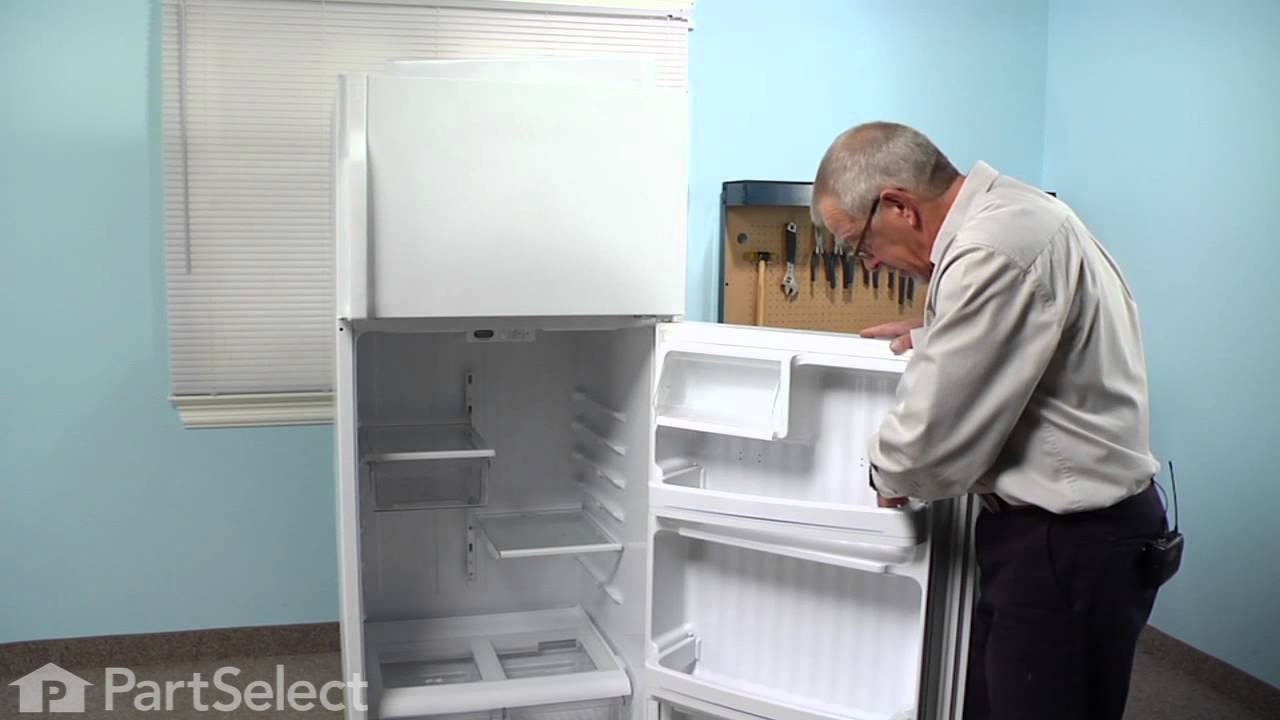
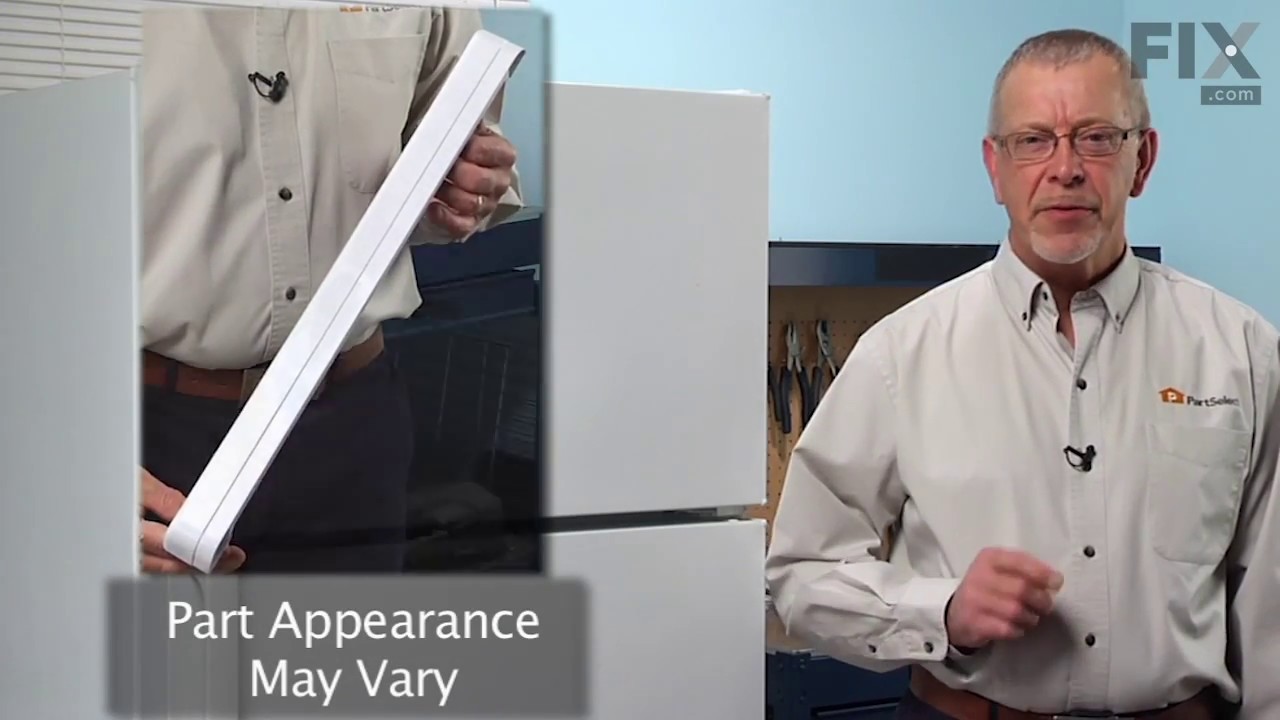
This door shelf is a replacement part for your refrigerator. It is very easy to install and requires no tools. Simply pull out the existing shelf bar and snap the new one into place, making sure the locking tabs are secure.
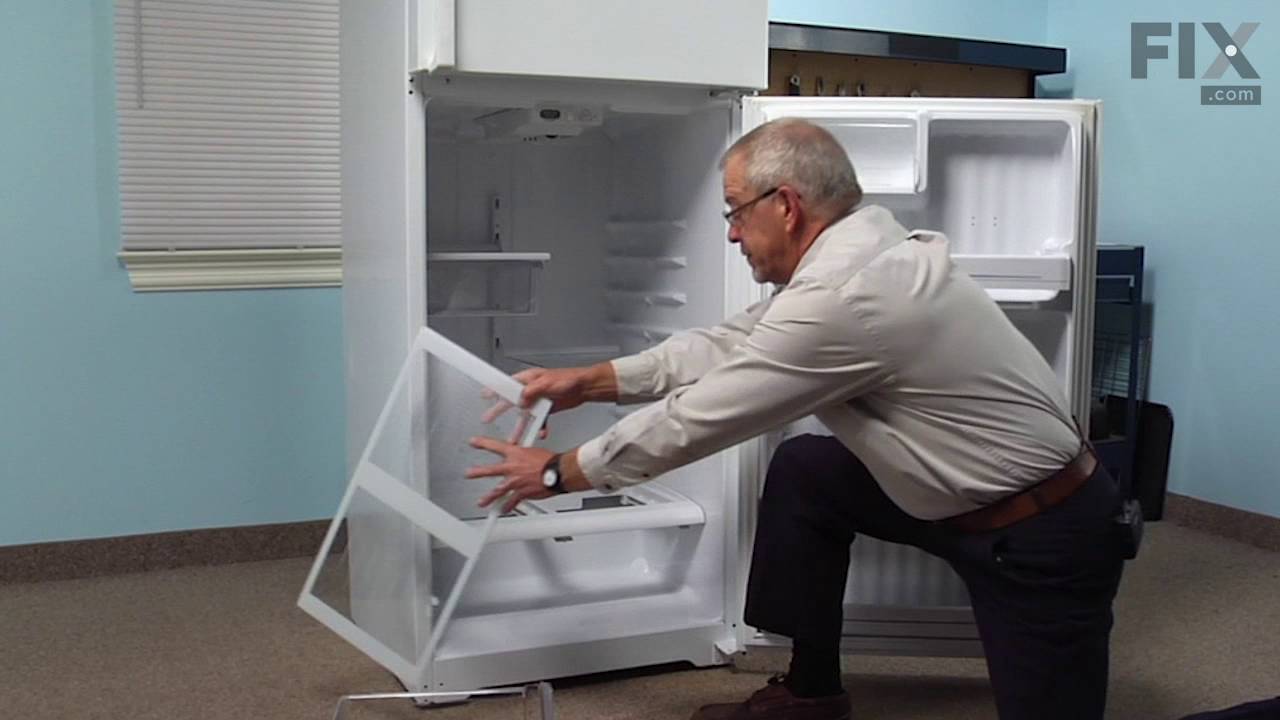
This part is the door fixed shelf, also known as the door shelf bar, and it is built for your refrigerator. It allows food and beverages items to stay in the door shelf. It is made of white plastic. If your current door shelf bar is broken or missing, you will need to replace it. Many of our customers have rated this repair as easy. Simpl...Read morey lift out the old bar, and replace it with a new one. Be sure you can properly close your freezer door after the repair is complete.
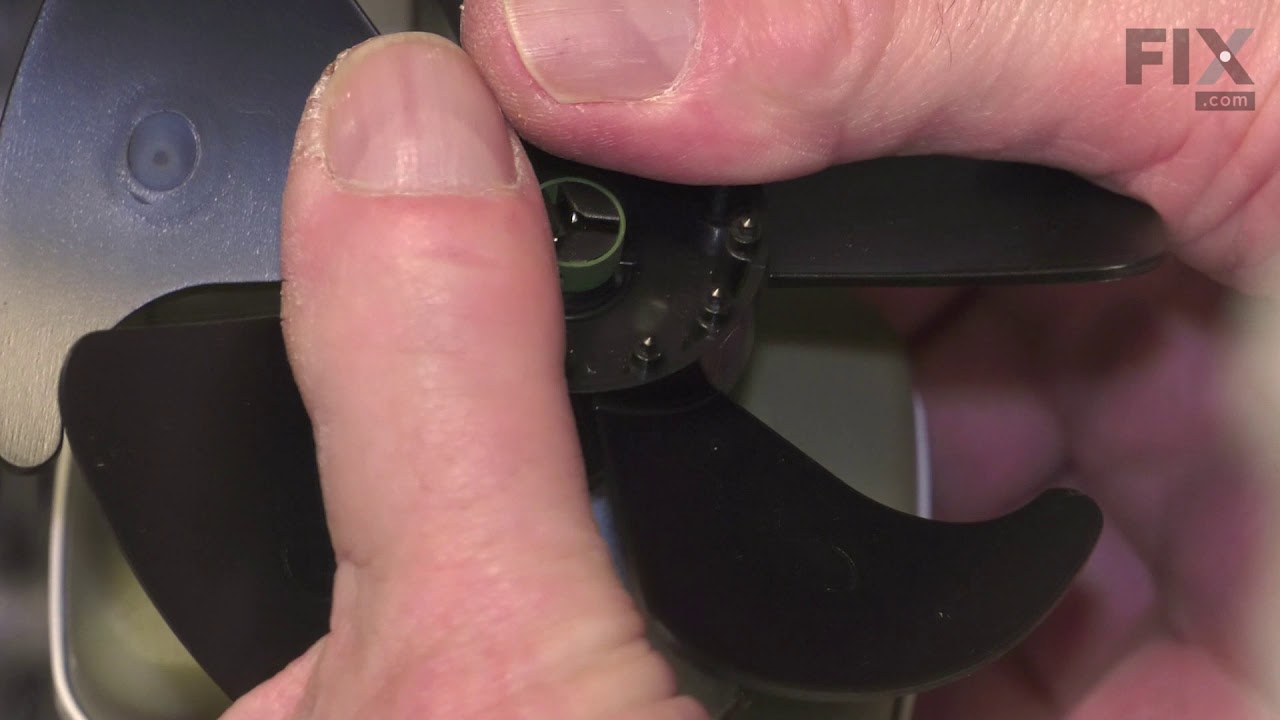
This evaporator fan motor grommet, or condenser fan grommet is built for refrigerators. It provides a cushion between the fan motor and the motor mounting bracket. It is made or round, black plastic and is approximately one inch in diameter. If your grommet is torn or damaged and you are getting noise from the fan motor, you may need to replace it. This is an OEM part sourced directly from the manufacturer.
This 40-Watt light bulb is sold individually.
It is specially designed to withstand extreme temperatures, so this bulb is compatible with a variety of appliance types including refrigerators, ranges, microwaves, and dryers. It features a frosted glass bulb with a standard metal socket base, which allows you to easily unscrew the burnt-out light and twist the new bulb into place.
The interior light of your refrigerator is controlled by a switch that is activated when the door is opened and closed. If your refrigerator light will not turn on, there could be an issue with the switch. The switch is spring loaded and is a generally closed type of switch meaning there should be no continuity when the button is depresse...Read mored, and continuity through the switch when the button is not depressed. This plastic, white, OEM switch is sourced directly from the manufacturer, is sold individually and is easy to replace. The repair usually takes less than 15 minutes and requires a flat blade screwdriver and needle nose pliers.
This compression ring is meant to hold the evaporator fan motor in place in the freezer compartment of your refrigerator. This is is a genuine OEM part. The tools needed to complete this repair are a Phillips screw driver and small flat blade screw driver. Be sure to turn off your refrigerator before removing the evaporator fan cover so t...Read morehe fan does not turn on during repair. It is recommended to check the grommets, evaporator fan, and fan blades during repair in case they also need replacning. The compression ring may need replacing if the fan is noisy, or the refrigerator compartments are too warm. This part is sold individually.
The lid bumper or evaporator fan motor bumper in your refrigerator prevents the fan motor from scraping against the side bracket. If your refrigerator/freezer is noisy, the bumper could be worn down or missing, and the sound could be a result of the motor scraping the side bracket. You will find it between the fan motor and the side brack...Read moreet on the evaporator fan motor assembly. To access the bumper, you will need to remove the evaporator fan motor assembly from the freezer. This part is made of orange rubber and is less than half an inch in diameter. It has a rounded top and a slightly pointed bottom, and is sold individually.
This defrost timer will cycle for 25 minutes after every six hours of run time. The timer itself is made of plastic, and its terminals are bent, the leads are internal, and the label is orange. If you notice that your fridge is too warm, the fridge is running for a long time or is leaking, it could be due to the defrost timer becoming ina...Read morective. The defrost timer is found underneath the light cover (may need to remove lightbulb) and will need to be removed along with the air inlet assembly and housing.
Ask our experts a question about this model and we'll get back to you as soon as possible!
We may have answered a similar question already! Search questions and answers left by others using simple keywords like "fit", "broken", "easy", or "quality" to find questions that match.
Search filter:
Clear Filter
Your search term must have 3 or more characters.
Sort by:
Prev
1
Next
Sorry, we couldn't find any existing answers that matched.Try using some different or simpler keywords, or submit your new question by using the "Ask a Question" button above!
Dennis - For model number HTS17GBSERWW
December 19, 2023
Cannot get fan off of evaporator fan shaft, i removed the retainer clip but cannot get fan off of motor shaft.
Hello Dennis, thank you for getting in touch. We have attached a relevant video which may not be of the exact same model but will help while removing the evaporator fan blades from the motor shaft. You may need to watch the video from 4:40 to 5:10. We hope that helps!
Was this helpful?
Thank you for voting!
Patti - For model number HTS17GBSERWW
April 15, 2026
Water is dripping occasionally from top of refrigerator onto top shelf of refrigerator, after hearing a kind of clicking sound? Was told sounds like line from freezer is frozen? Trying to find instructions on what needs to be removed to get at this line. Also, would turning off the refrigerator to let any ice defrost solve this issue? I do not have an ice maker . Thanks
Hello Patti, thank you for reaching out. The dripping is caused by a clogged defrost drain, which you can clear by removing the freezer's back panel and flushing the drain hole with hot water. We hope this helps!
Was this helpful?
Thank you for voting!
James - For model number HTS17GBSERWW
June 15, 2021
How old is it?
Hi James, thank you for your question. To verify the age of your refrigerator, we would also need the serial number from it. Once we have this information, we would be happy to look into this for you.
Was this helpful?
Thank you for voting!
Pat - For model number HTS17GBSERWW
November 30, 2023
Need to buy the two handles
Hello Pat, thank you for getting in touch. The door handle for the fresh food section is part number PS2371003, and for the freezer section is part number PS2371004. We hope this information is useful!
See how others fixed this model. Time, tools, difficulty, and steps that lead to victory!View More
Search repair tips from other customers using simple keywords like "replace", "fit", "remove", "inspect". DIY doesn't mean you have to do it alone!
Search filter:
Clear Filter
Your search term must have 3 or more characters.
Freezer Fan
265 of 300 peoplefound this instruction helpful.
Luis from College Station, TX
Really Easy
15 - 30 mins
Screw drivers, Socket set
I removed two srews from the back panel inside fthe reezer compartment and the two that hold the air manifold/baffle? and pulled the baffle out. Then, I removed the two srews that hold the front part of the fan bracket behind the baffle and the back panel came out easily. Two more screws and one quick connect plug attached to the fan and
... Read moreI was done with removal. Insallation was even quicker, I slid the original fan right off the old motor and slid it on the new motor's shaft. Piece of cake! Thanks Partselect.
the repair was really easy!!! took longer to put the little clip on the fan part than it was to install the whole moter and put everthing back together
I applied some tips learned by reading other reviews. So before I started I grabbed my trusty vise grip pliers and a small screw driver. I locked onto the switch actuator, the part that the refrigerator door pushes in, with the vise grips and pulled on it just hard enough to get the screw driver inserted in the right side to push in the c
... Read moreatch clip so the switch could be pulled out further each time the catch clip was depressed to the next detent. Then I used the screw driver on the left site to encourage the switch past the detents on the left and very quickly the switch was out of the mount. The wires from the refrigerator pulled out with the old switch. I unplugged the old switch from the wires and plugged in the new switch and shoved the new switch back into the mount, wiggled it a couple of times to make sure it was secure and the job was done. Once I applied the vise gripes at first, the whole job took less than a minute.



 My Orders