


 My Orders




HTS17BCSHRWW Hotpoint Refrigerator - Overview
Diagrams for HTS17BCSHRWW
See every part. Know exactly what you need.


Enter a part description. DIY Heroes keep it simple, eg. "belt" or "pump".
Search filter:
Clear Filter
Your search term must have 3 or more characters.

$72.54
In Stock
Crisper Drawer Cover
Part #WR32X10398
The crisper drawer cover sits on top of your vegetable crispers and helps to maintain proper crisper temperatures. It also doubles as a sturdy lower shelf for extra storage in your refrigerator. If the drawer cover is damaged or cracked, it will not be able to do either of its jobs, and should be replaced. This replacement cover features ...Read moreshallow, wide grooves to prevent leaks and to catch spills. It also has rail brackets underneath to hold the drawer, allowing the drawer to slide in and out. It is made with some added structural rigidity that makes it stronger and more durable than the original. This model measures 24 1/2 inches long x 19 inches wide x 2 5/8 inches deep.
Read less

$207.55
In Stock
Ice Maker
Part #WR30X10093
This 10 by 5 inch ice maker (Electromechanical Icemaker Kit, Ice Maker Assembly) produces ice. This particular model will produce seven crescent shaped cubes every cycle. It is constructed of plastic and metal, and comes in black/white. This kit includes a set of installation instructions, a 4-pin round plug-in connector, 6 post plug-in c...Read moreonnectors, tube and fill cup. The ideal temperature of a freezer is zero degrees Fahrenheit. If the temperature in your freezer is at an appropriate level yet ice is still not being made, it could be an issue with the water inlet valve or your ice maker assembly. If you determine it is the ice maker, this is the replacement you need. The ice maker can break from normal wear and accidental damage. Ice makers will need to be replaced every 3-10 years depending on the frequency of usage and water quality. This model is mounted on the freezer wall.
Read less

$33.81
On Order
Door Shelf Bar
Part #WR17X11889
This door shelf is a replacement part for your refrigerator. It is very easy to install and requires no tools. Simply pull out the existing shelf bar and snap the new one into place, making sure the locking tabs are secure.

$25.75
In Stock
Door Shelf Bar
Part #WR17X11890
This part is the door fixed shelf, also known as the door shelf bar, and it is built for your refrigerator. It allows food and beverages items to stay in the door shelf. It is made of white plastic. If your current door shelf bar is broken or missing, you will need to replace it. Many of our customers have rated this repair as easy. Simpl...Read morey lift out the old bar, and replace it with a new one. Be sure you can properly close your freezer door after the repair is complete.
Read less

$21.95
In Stock
Light Bulb - 40W
Part #40A15
This 40-Watt light bulb is sold individually.
It is specially designed to withstand extreme temperatures, so this bulb is compatible with a variety of appliance types including refrigerators, ranges, microwaves, and dryers. It features a frosted glass bulb with a standard metal socket base, which allows you to easily unscrew the burnt-out light and twist the new bulb into place.

$38.32
In Stock
LIGHT SWITCH
Part #WR23X37285
The interior light of your refrigerator is controlled by a switch that is activated when the door is opened and closed. If your refrigerator light will not turn on, there could be an issue with the switch. The switch is spring loaded and is a generally closed type of switch meaning there should be no continuity when the button is depresse...Read mored, and continuity through the switch when the button is not depressed. This plastic, white, OEM switch is sourced directly from the manufacturer, is sold individually and is easy to replace. The repair usually takes less than 15 minutes and requires a flat blade screwdriver and needle nose pliers.
Read less

$56.34
In Stock
Refrigerator Outlet Valve Kit
Part #WR57X10033
The water inlet valve on your refrigerator allows water to enter the ice maker and water dispenser. If your ice maker or water dispenser is not functioning properly, or you notice a leak, you may need to replace the single outlet valve. This single outlet valve has 1/4-inch compressions fittings and is intended for use with refrigerators ...Read morethat make crescent-shaped ice cubes. As per the manufacturer, this valve has a new quick connection. You must cut the retaining nut off your current plastic water line, and gently push it into the new valve. Be sure to disconnect the water and power sources from the refrigerator before you begin this repair.
Read less

$16.05
In Stock
Compression Ring
Part #WR02X12149
This compression ring is meant to hold the evaporator fan motor in place in the freezer compartment of your refrigerator. This is is a genuine OEM part. The tools needed to complete this repair are a Phillips screw driver and small flat blade screw driver. Be sure to turn off your refrigerator before removing the evaporator fan cover so t...Read morehe fan does not turn on during repair. It is recommended to check the grommets, evaporator fan, and fan blades during repair in case they also need replacning. The compression ring may need replacing if the fan is noisy, or the refrigerator compartments are too warm. This part is sold individually.
Read less

$78.14
In Stock
Defrost Timer - 120V 60Hz
Part #WR9X502
This defrost timer will cycle for 25 minutes after every six hours of run time. The timer itself is made of plastic, and its terminals are bent, the leads are internal, and the label is orange. If you notice that your fridge is too warm, the fridge is running for a long time or is leaking, it could be due to the defrost timer becoming ina...Read morective. The defrost timer is found underneath the light cover (may need to remove lightbulb) and will need to be removed along with the air inlet assembly and housing.
Read less

$19.40
Special Order
Condenser Fans Blade Assembly
Part #WR60X10207
The condenser fan blade assembly helps to regulate the temperature in your refrigerator or freezer. This fan assembly has 4 blades, but other fans may have 3 blades, so be sure to check the number of blades on your fan. The fan blade is made of white plastic and is approximately 6 inches in diameter. If your freezer section is too warm, o...Read morer you notice a strange noise coming from your refrigerator when it is running, you may need to replace the condenser fan blade assembly. This part is sold individually.
Read less

$16.05
In Stock
Door Hinge Nylon Washer
Part #WR01X27364
This is the replacement hinge washer for your refrigerator. The hinge washer is mounted on the top of the door hinge pin, and supports the refrigerator door, allowing it to open and close easily. The main reason you would need to replace the hinge washer is if it is worn out, causing the refrigerator door to be more difficult to open and ...Read moreclose. You may also hear an unpleasant noise when you open your refrigerator door. The washer is a little less than an inch in diameter and is sold individually. This is an authentic OEM part sourced directly from the manufacturer.
Read less

$87.68
In Stock
Freezer Door Gasket
Part #WR24X10228
This white door gasket is used to seal the freezer door when closed.
Manuals & Care Guides for HTS17BCSHRWW
Click to downloadCommon Symptoms of the HTS17BCSHRWW
How this model fails, and the parts that fix it.
Ice maker not making ice
Fixed by
these parts
these parts


Show All
Light not working
Fixed by
these parts
these parts


Show All
Noisy
Fixed by
these parts
these parts


Show All
Fridge too warm
Fixed by
these parts
these parts


Show All
Leaking
Fixed by
these parts
these parts
Show All
Ice maker won’t dispense ice
Fixed by
these parts
these parts
Show All
Freezer section too warm
Fixed by
these parts
these parts
Show All
Door won’t open or close
Fixed by
these parts
these parts


Show All
Fridge too cold
Fixed by
these parts
these parts
Show All
Freezer not defrosting
Fixed by
these parts
these parts
Show All
Fridge and Freezer are too warm
Fixed by
these parts
these parts
Show All
Fridge runs too long
Fixed by
these parts
these parts
Show All
Will Not Start
Fixed by
these parts
these parts

Show All
Door Sweating
Fixed by
these parts
these parts

Show All
Frost buildup
Fixed by
these parts
these parts
Show All
Ice maker dispenses too little ice
Fixed by
these parts
these parts
Show All
Ice maker dispenses too much ice
Fixed by
these parts
these parts
Show All
Not dispensing water
Fixed by
these parts
these parts
Show All
Won’t start
Fixed by
these parts
these parts
Show All
Freezer too cold
Fixed by
these parts
these parts
Show All
Watch our pros, then fix it yourself.
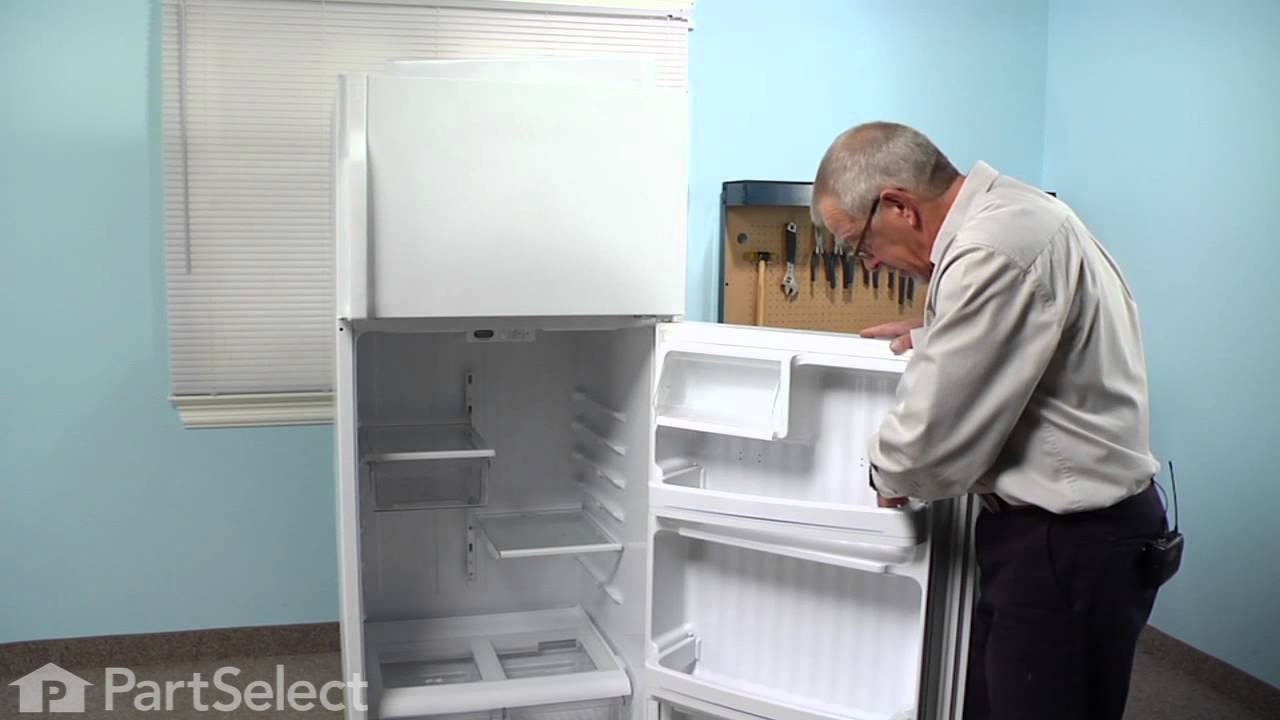
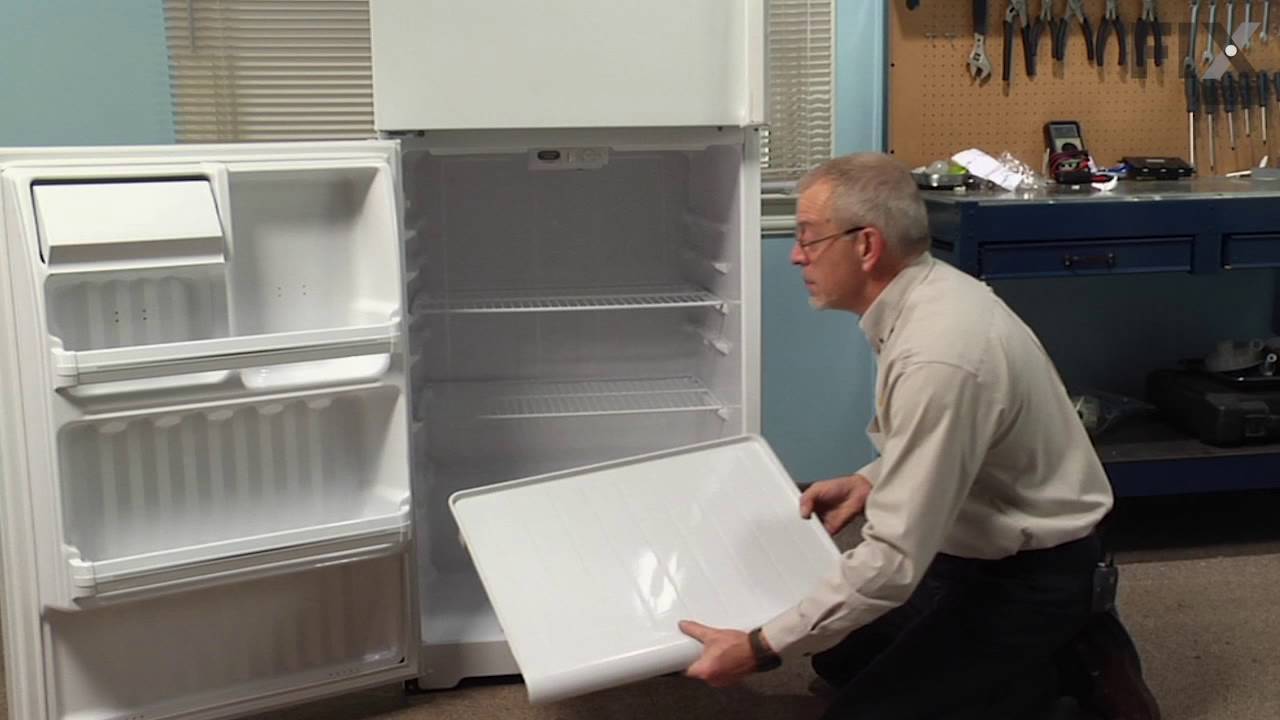

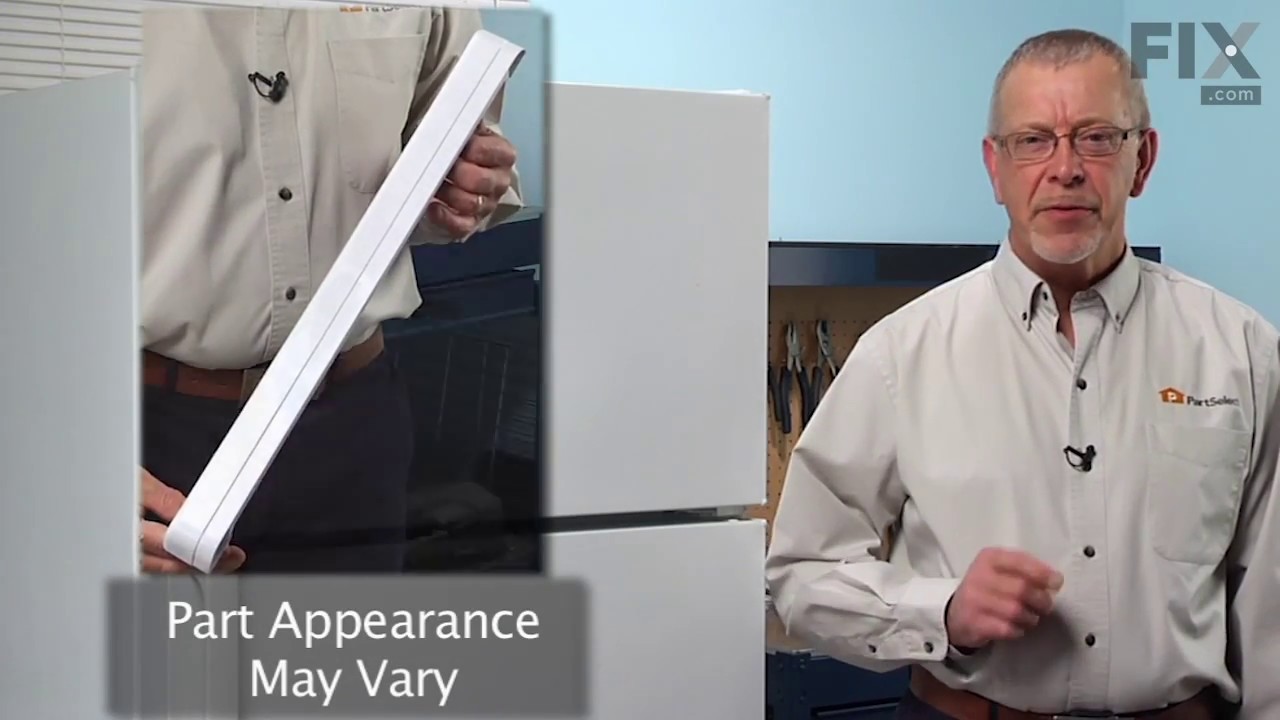

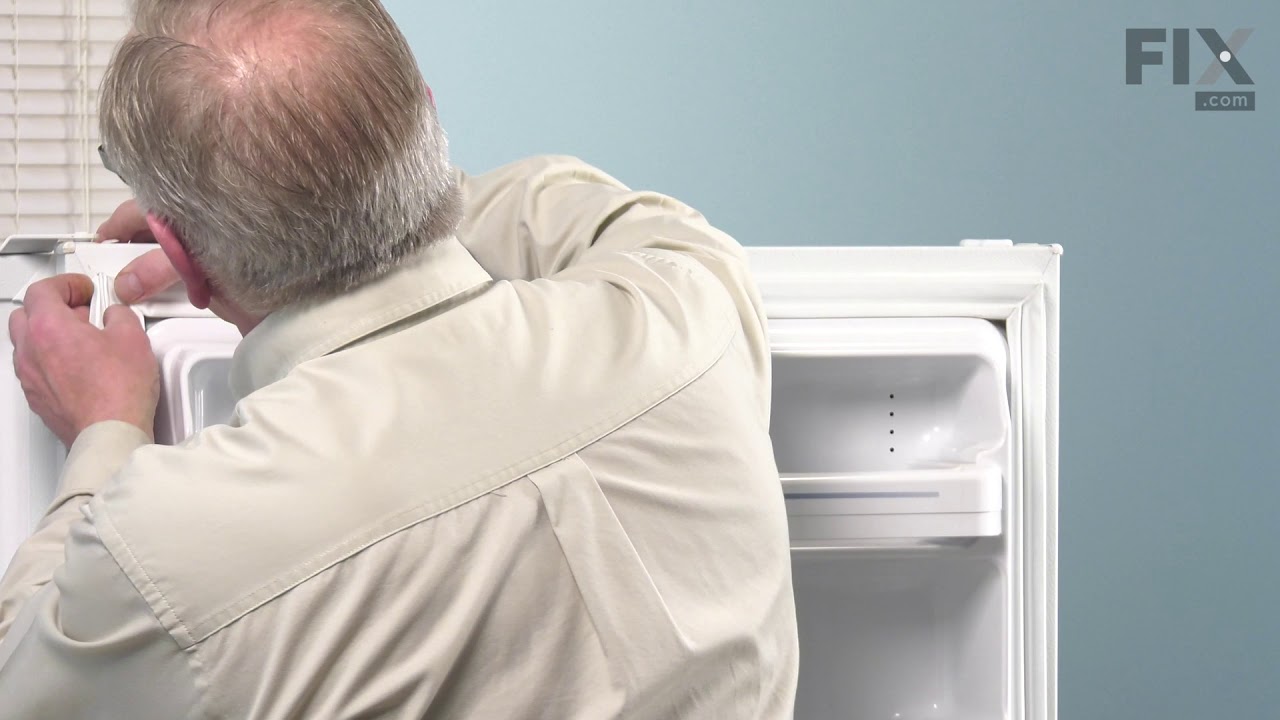
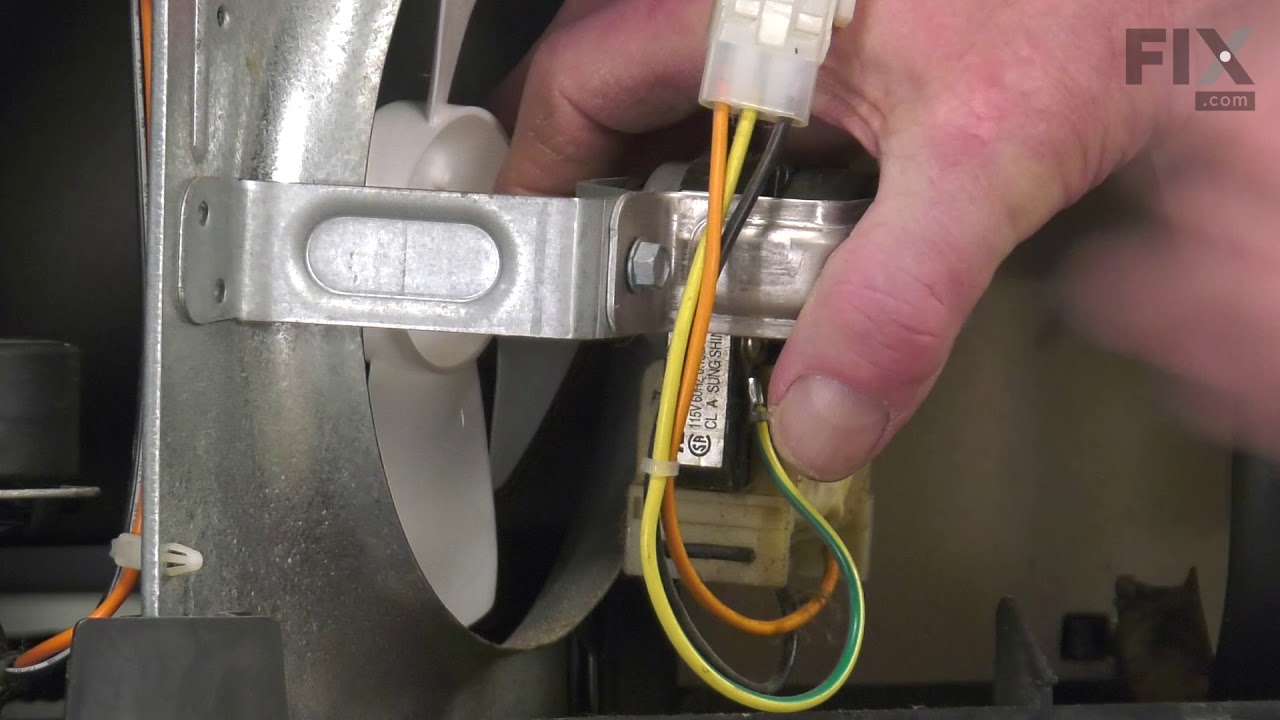
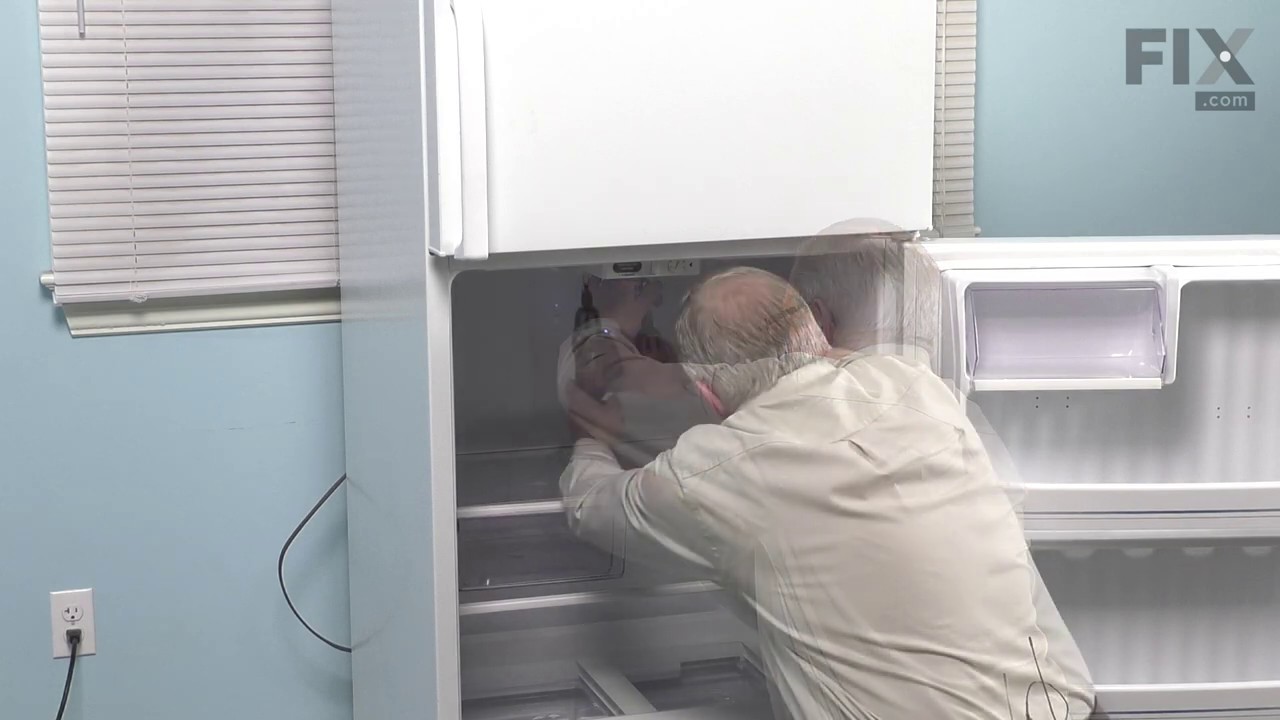
See how others fixed this model. Time, tools, difficulty, and steps that lead to victory!
View More