This Drive Belt is 89.5" long and comes in black, featuring four ribs on the inside for a better grip. This is a long belt that wraps all the way around the dryer drum, around a tension pulley, and then around the drive motor pulley, allowing all the parts to work together, spinning the drum as the motor rotates. If the drum will not turn...Read more when the dryer is turned on the belt is likely broken. It is common for belts to stretch or become brittle over time, which is what leads to the breakage. If broken, it should be replaced; the drum simply cannot spin without this belt. Refer to your model number and user manual to check if this part is right for you. Ensure you use work gloves to protect your hands from sharp internal parts during this repair. Please note: When comparing the length of your old belt to the length of the belt as stated here, remember that a small amount of stretching and contortion may occur with belts over time for a range of different reasons. Unless your belt is drastically different in length, this belt is what you are looking for despite any small inaccuracies. You will need to remove power to your appliance, remove the main panel, and access the motor drive to slip your new belt back into place.
This is a duct felt seal for a dryer. The duct felt seal allows the front-load dryer drum to glide smoothly on the front panel. Your dryer will not function properly if the drum felt seal is compromised. Disconnect power to the dryer before completing this repair. You will need to remove the front of the dryer to gain access to the felt s...Read moreeal. This felt seal may differ in appearance from your original but will function the same as your original. This is an OEM replacement part that is sourced directly from the authentic manufacturer.
This OEM Timer Knob is a white plastic knob which can be easily installed onto your machine's timer rod, in order to control the timer. If the part breaks off, it should be replaced. Refer to your user manual and model number to see if this part is right for you. It is a three-inch-diameter part that accepts a D-shaped shaft. To replace y...Read moreour faulty knob, simply pull the existing knob straight off the shaft and install the replacement back onto the shaft. No tools are required. This item is sold individually and is not part of a set. The timer knob contains the insert as well as the knob itself.
This is a lint filter screen that is used for many dryers. It has a metal screen with a white plastic frame, and is approximately 13 inches wide. This part is sold individually. The lint filter traps lint while clothes are being dried and prevents the lint from building up in clothes and internal parts of your appliance. Neglecting to cle...Read morean your filter on a regular basis can negatively affect the operation of your dryer and is also a fire hazard. Be sure to clean your filter on a regular basis. Installation is easy, simply slide the filter in and out of the filter slot.
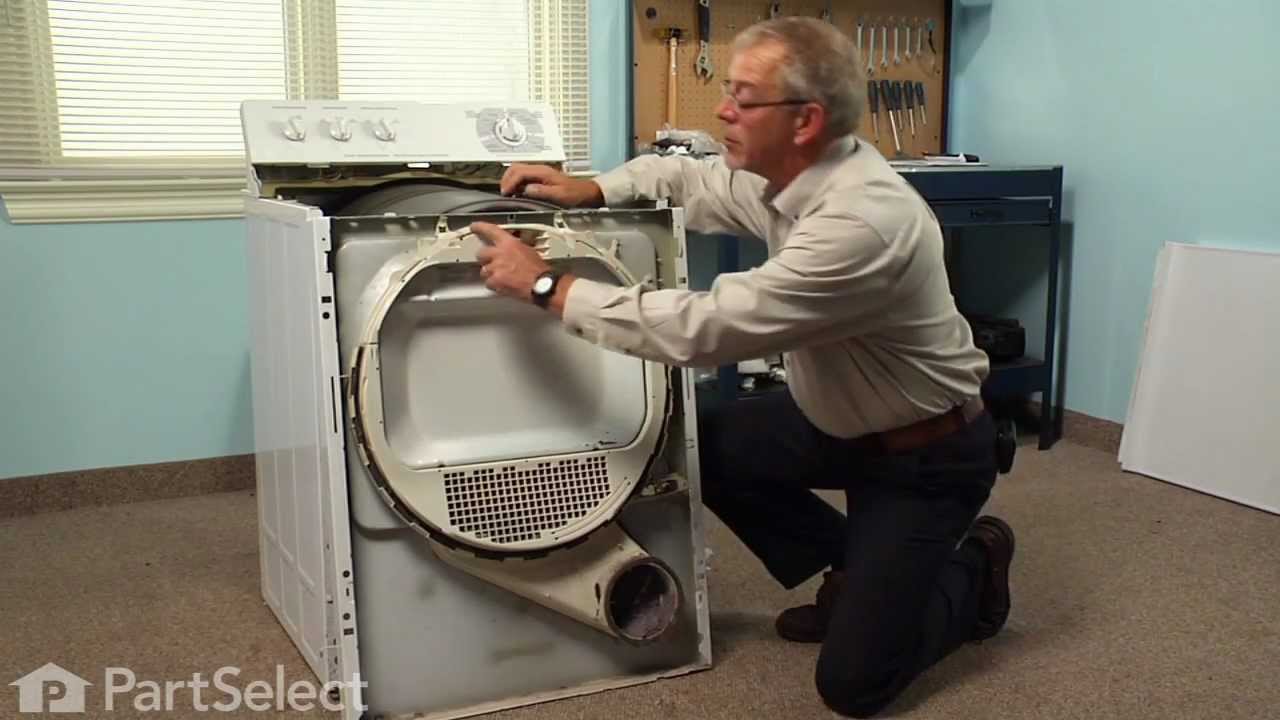
This drum glide bearing is an authentic OEM replacement part that is compatible with dryers. It is white in color and made of highly durable plastic. The bearing allows the drum to rotate smoothly and dry your clothes thoroughly and evenly. It keeps the drum stable and protects it from excessive friction damage. Over time, the bearing may...Read more wear down or break due to normal aging or wear from repeated use. If the bearing is no longer able to support the drum, you will likely notice unusually loud grinding or squeaking noises from the dryer. You may also notice increased drying times due to poor drum rotation. Inspect all the bearings on your dryer, as they tend to wear down at the same time. Each drum glide bearing is sold individually.
This OEM replacement dryer slide bearing is white in color, and approximately 3 inches long. The slide bearings are supportive linings for your dryer. If they have eroded, or are damaged, the drums will scrape against metal during the drying cycle which will produce a squealing, or scraping sound.
Restore reliable operation to your GE dryer with this genuine OEM push-to-start switch, designed specifically for use with a range of GE dryer models. This switch activates the dryer when you press and release the button, making it an essential component for proper startup.
Common signs that this part may need replacement include the dry...Read moreer failing to start or starting unexpectedly without pressing the switch. Replacing the switch is a straightforward repair and requires only a Phillips screwdriver and a flathead screwdriver. Before beginning the installation, always disconnect the power to ensure safety. Once the power is off, remove the control panel screws, disconnect the old switch, and install the new one in its place.
This part is sold individually and is a reliable solution for restoring your dryer's functionality with minimal effort.
This lint chute assembly is a genuine replacement component designed for GE and Hotpoint dryers. It plays a critical role in directing exhaust airflow from the dryer drum to the blower wheel, ensuring efficient drying performance. The assembly houses the lint filter and helps maintain proper airflow, which is essential for preventing over...Read moreheating and reducing drying times. A damaged or clogged lint chute can restrict airflow, leading to performance issues and potential safety hazards such as lint buildup. As an OEM part, it offers a precise fit and reliable operation within compatible dryer models. Sold individually.
This door latch is designed for your dryer, and is mounted to the dryer frame. The door latch holds the door of your dryer closed while the machine is operating. If your dryer door is not catching on the door strike, and will not stay closed, you may need to replace the door latch. This part is square in shape, and is approximately 3/4-in...Read morech in length, by 3/4-inch in width. The part is made of white plastic with a metal tab. To access the door latch, you will need to remove the top and side panels on your dryer. To complete this repair, simply pop the damaged door latch out of position, and snap the new one into place.
Ask our experts a question about this model and we'll get back to you as soon as possible!
We may have answered a similar question already! Search questions and answers left by others using simple keywords like "fit", "broken", "easy", or "quality" to find questions that match.
Search filter:
Clear Filter
Your search term must have 3 or more characters.
Sort by:
Prev
1
Next
Sorry, we couldn't find any existing answers that matched.Try using some different or simpler keywords, or submit your new question by using the "Ask a Question" button above!
Ignacio - For model number HTDX100GM8WW
March 13, 2020
Why does machine make a clanging noise, also a small residue of oil under dryer.
Hello Ignacio, thank you for your question. We would recommend checking the motor and motor pulley and belt. Those are the most common causes of the noise. The residue might be something from the belt or the burner assembly, so we would recommend inspecting that area well. I hope this helps.
2 peoplefound this instruction helpful.
Was this helpful?
Thank you for voting!
Terry - For model number HTDX100GM8WW
August 16, 2021
Dryer timer knobs had broken several times when i turned on this timer this year.Now timer knob can not turning the timer any more. do you have ways to take care this problem.
Hi Terry,
Thank you for your question. If you are unable to turn the timer knob and previous knobs have broken when you tried before, there is an issue with the shaft on the timer and the timer will need to be replaced. The part number listed under your model number for the timer is PS9491767. If you would like to place an order for it, you may order it either online or by calling our customer service line and anyone will be happy to assist you. We hope this helps! If you have any questions, please let us know.
The start button will turn on the dryer but won't keep it running as I take my hand off the button. I have checked the oblivious , dryer button, timer knob is good from a standpoint of it does turn so wondering could it be the control panel? Wasn't thinking the fuse as if I could manually hold the starter button it would run. Or is it the starter button itself? Don't want to replace a part I don't need
Hello Billy, thank you for your inquiry. Based on our understanding of the issue, we would suggest replacing the push-to-start switch, part number PS3487190, to solve the problem. We hope that helps!
My question is what would be the problem if dryer does not get real hot
Hello Anita, Thanks for your question. If the dryer heats but not enough to dry clothes, we would recommend testing the high limit thermostats with a multimeter to see if they have continuity. Replace if it has no continuity. We hope this helps!
See how others fixed this model. Time, tools, difficulty, and steps that lead to victory!View More
Search repair tips from other customers using simple keywords like "replace", "fit", "remove", "inspect". DIY doesn't mean you have to do it alone!
Search filter:
Clear Filter
Your search term must have 3 or more characters.
Drum belt broke
210 of 311 peoplefound this instruction helpful.
Adrian from Middletown, MD
A Bit Difficult
30 - 60 mins
Screw drivers
Removed the front Dryer panel. Left drum in place and lifted it up slightly to get access to motor drive. Slipped belt in place and put panel back on. This was a first attempt ever at fixing an appliance and it was no big deal.
Was this helpful?
Thank you for voting!
original duct was broken
143 of 165 peoplefound this instruction helpful.
Chad from Gilbert, SC
Easy
30 - 60 mins
Screw drivers
Dear PartSelect.com,
My repair went off without a hitch.
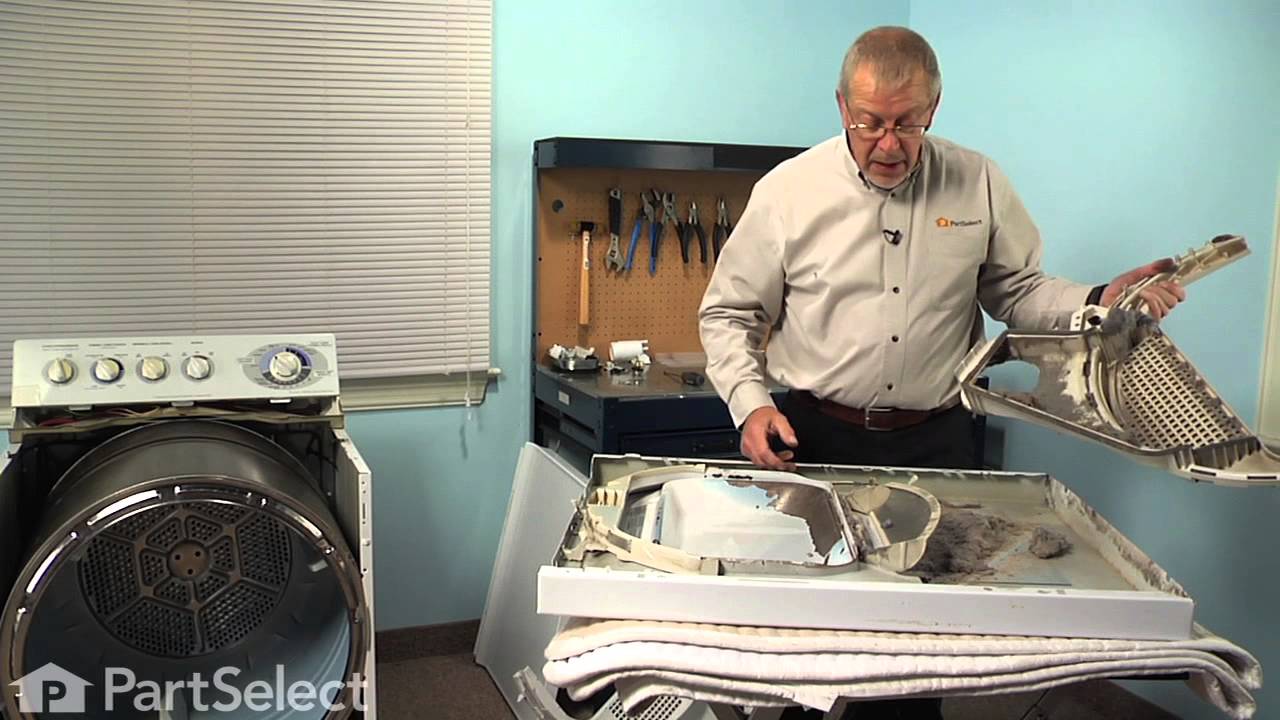
2 screws removed to remove top. 4 screws removed from inside to remove front panel w/ door. 4 screws removed from top of control panel, loosed and popped top right off. Flathead screwdriver to pop off old plastic panel. Removed old wire chas
... Read moree (plastic, approx 3” long). Removed built-up lint, wiped down area for new duct. Snapped new duct on. Dryer works like new!! Took about 35 minutes, most of time spent cleaning up inside of dryer from lint due to broken duct.
One problem was that salesperson sold me on a new felt strip to go with new duct. That felt comes already installed on the new duct so I did not need it. Cost me a few extra dollars I did not need to spend.
Other than that, easy ordering, fast shipment, and parts are as close to original as possible.
I pried out the remaining pieces of the handle out of the door with a screwdriver. When the new part arrived, I snapped it into place and it was done. It fit perfectly.



 My Orders