


 My Orders




HRT21F2APE Haier Refrigerator - Overview

Enter a part description. DIY Heroes keep it simple, eg. "belt" or "pump".
Search filter:
Clear Filter
Your search term must have 3 or more characters.

$38.32
In Stock
LIGHT SWITCH
Part #WR23X37285
The interior light of your refrigerator is controlled by a switch that is activated when the door is opened and closed. If your refrigerator light will not turn on, there could be an issue with the switch. The switch is spring loaded and is a generally closed type of switch meaning there should be no continuity when the button is depresse...Read mored, and continuity through the switch when the button is not depressed. This plastic, white, OEM switch is sourced directly from the manufacturer, is sold individually and is easy to replace. The repair usually takes less than 15 minutes and requires a flat blade screwdriver and needle nose pliers.
Read less

$61.39
In Stock
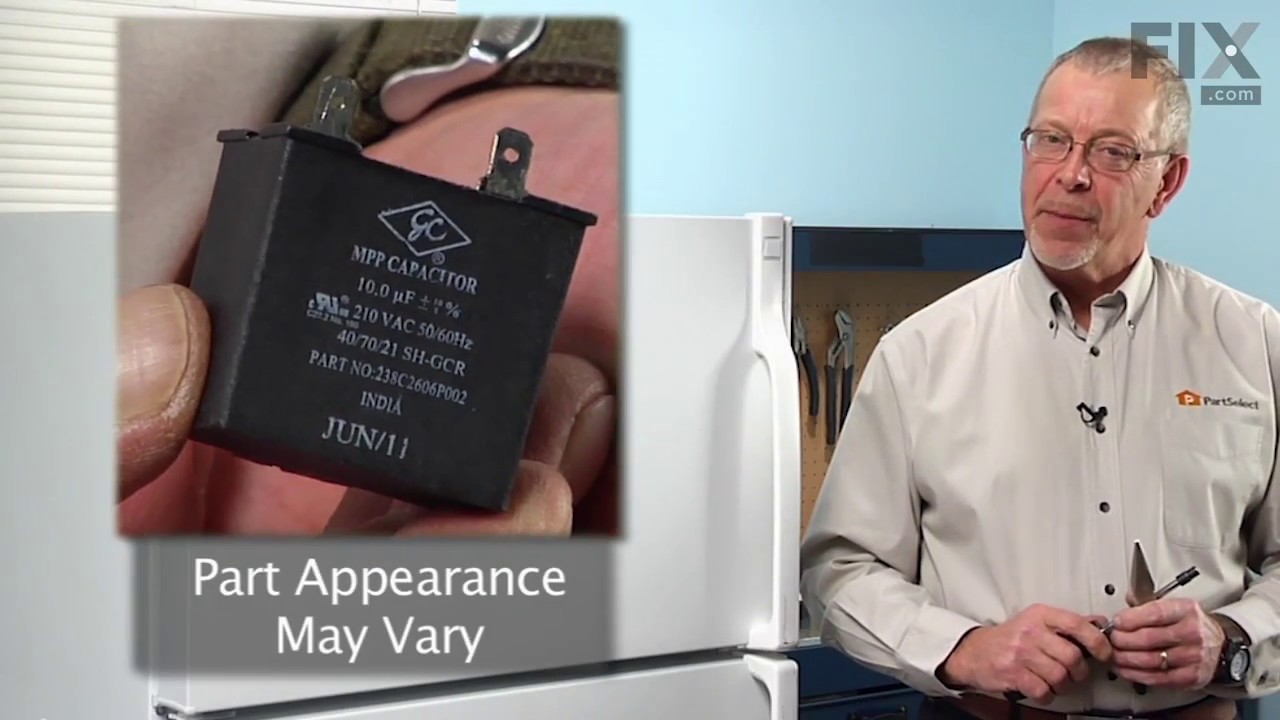
Run Capacitor
Part #WR55X24064
This part helps the compressor kick on and off while maintaining a constant temperature to keep things frozen in your freezer. This part has been updated by the manufacturer and may appear different than the original, but should function the same.

$16.00
Special Order
PLUG DOOR RVSBL
Part #WR02X21195

$70.29
On Order
FRESH FOOD DOOR GASKET DORIAN GRAY
Part #WR14X31069
Condensation near the door or a refrigerator that runs more often may point to a worn fresh food door gasket. This replacement seal helps limit the exchange of cold inside air and warm room air when the door is closed. Inspect it for cracks, tears, stiff areas, loose corners, or sections that no longer touch the cabinet. Also check that t...Read morehe appliance is level and the hinges hold the door straight. Before service, unplug the refrigerator and protect stored food. Follow the appliance diagram when removing the old gasket, clean the door channel, and press the new seal into place without stretching it.
Read less

$104.33
On Order
Door Handle
Part #WR12X27379
This OEM black door handle allows you to easily open and close your refrigerator door. The handle is usually located on the outer surface of the refrigerator door, at the center or on the side, depending on the fridge model. A broken handle may appear loose or wobbly, making it difficult to open or close the door properly. This can be fru...Read morestrating and potentially result in damage to the fridge, such as scratches or dents, as you may need to use excessive force or find alternative ways to grip the door. To replace the handle, you will need an Allen wrench. Open the door and locate the mounting screws on the door frame. Loosen these screws and detach the handle from the appliance. Please keep in mind that the door handle is sold individually and does not have accompanying hardware.
Read less

$15.00
In Stock
SCREW 3.9MM X 16MM
Part #WR01X27333

$65.45
In Stock
Defrost Control Board
Part #WR09X28646
This is a control board meant to control the defrosting function within various compatible models of refrigerator. This is a genuine OEM part that is sold by itself, without any other hardware. This control board communicates with various temperature sensors/thermistors to prevent excessive frost buildup on the evaporator coils and connec...Read morets directly within the cold control housing of your refrigerator. If you notice excessive frost or ice buildup, or the opposite in abnormally warmer temperatures within your refrigerator, it would be worth inspecting this board. You can also test this control board for continuity with a multimeter if you suspect it has failed from electrical problems. You will need a screwdriver to gain access to the housing the control board is kept in, in order for you to remove it. To replace it, disconnect your fridge from its wall outlet and unscrew the securing hardware from the housing with the control board. Remove any wire harnesses or cables connected to the control board and now you can install the new one or test the old one. Then simply reassemble the housing.
Read less

$55.20
In Stock

$64.76
In Stock
R134 DRIER
Part #WR86X25269
The filter dryer filters refrigerant that travels through the sealed system of the refrigerator.

$75.94
In Stock
Evaporator Motor
Part #WR60X28561

$24.67
In Stock
TOP RAIL
Part #WJ86X21742

$59.76
In Stock
Freezer Door Gasket (Dorian Gray)
Part #WR14X31068
Common Symptoms of the HRT21F2APE
How this model fails, and the parts that fix it.
Light not working
Fixed by
these parts
these parts

Show All
Will Not Start
Fixed by
these parts
these parts

Show All
Fridge too warm
Fixed by
these parts
these parts
Show All
Freezer section too warm
Fixed by
these parts
these parts
Show All
Fridge and Freezer are too warm
Fixed by
these parts
these parts
Show All
Clicking sound
Fixed by
these parts
these parts
Show All
Noisy
Fixed by
these parts
these parts
Show All
Fridge runs too long
Fixed by
these parts
these parts
Show All
Too warm
Fixed by
these parts
these parts
Show All
Won’t start
Fixed by
these parts
these parts
Show All
Watch our pros, then fix it yourself.

See how others fixed this model. Time, tools, difficulty, and steps that lead to victory!
View More