



 My Orders




HPS18GTMNRWW Hotpoint Refrigerator - Overview
Diagrams for HPS18GTMNRWW
See every part. Know exactly what you need.


Enter a part description. DIY Heroes keep it simple, eg. "belt" or "pump".
Search filter:
Clear Filter
Your search term must have 3 or more characters.

$75.13
In Stock
Evaporator Fan Motor
Part #WR60X31522
This 115-volt 60Hz evaporator fan motor is located in the back of the freezer and circulates air over the refrigerator coils. These coils will convert the heat into cool air, which is then circulated. If the motor has failed, the freezer/refrigerator will become too warm because the fan motor is not circulating the cool air from the freez...Read moreer into the refrigerator. This is a genuine OEM part. Please remember to disconnect the power to the appliance before starting your repair.
Read less

$207.55
In Stock
Ice Maker
Part #WR30X10093
This 10 by 5 inch ice maker (Electromechanical Icemaker Kit, Ice Maker Assembly) produces ice. This particular model will produce seven crescent shaped cubes every cycle. It is constructed of plastic and metal, and comes in black/white. This kit includes a set of installation instructions, a 4-pin round plug-in connector, 6 post plug-in c...Read moreonnectors, tube and fill cup. The ideal temperature of a freezer is zero degrees Fahrenheit. If the temperature in your freezer is at an appropriate level yet ice is still not being made, it could be an issue with the water inlet valve or your ice maker assembly. If you determine it is the ice maker, this is the replacement you need. The ice maker can break from normal wear and accidental damage. Ice makers will need to be replaced every 3-10 years depending on the frequency of usage and water quality. This model is mounted on the freezer wall.
Read less

$16.05
In Stock
Lid Bumper
Part #WR02X10540
The lid bumper or evaporator fan motor bumper in your refrigerator prevents the fan motor from scraping against the side bracket. If your refrigerator/freezer is noisy, the bumper could be worn down or missing, and the sound could be a result of the motor scraping the side bracket. You will find it between the fan motor and the side brack...Read moreet on the evaporator fan motor assembly. To access the bumper, you will need to remove the evaporator fan motor assembly from the freezer. This part is made of orange rubber and is less than half an inch in diameter. It has a rounded top and a slightly pointed bottom, and is sold individually.
Read less

$61.39
In Stock
Run Capacitor
Part #WR55X24064
This part helps the compressor kick on and off while maintaining a constant temperature to keep things frozen in your freezer. This part has been updated by the manufacturer and may appear different than the original, but should function the same.

$59.16
On Order
Refrigerator Crisper Drawer
Part #WR02X31766
This crisper drawer is for refrigerators. Crisper drawer stores fruits and vegetables at a humidity level that helps keep them fresh longer. Follow the instructions in the owner's manual when installing this part.

$39.55
In Stock
Defrost Thermostat
Part #WR50X10071
this part acts as a safety device against over-heating in case of mechanical failure.

$16.23
In Stock

$15.00
Special Order
Water Tubing Clip
Part #WR1X5278
This water tubing clip, also known as a P-clamp, is usually used within refrigerators and freezers to organize the water line and tubing, but due to its versatility, this clip may also be used in other applications, like securing other cables. Made of metal and measuring approximately 1-inch in length, this clip features a hole on each si...Read morede to allow you to screw it into the side of your appliance and secure the appropriate valve, tube, or cable. This clip is a genuine OEM part that is sold individually.
Read less

$50.68
In Stock
Wire Shelf
Part #WR71X21169
This coated wire freezer shelf is designed to provide durable, reliable storage within the freezer compartment of select refrigerators. Its open-wire construction promotes consistent airflow, helping to maintain even temperatures and reduce the risk of frost buildup. Ideal for replacing a damaged or missing shelf, it restores organization...Read more and maximizes usable space. The shelf is made from sturdy, coated wire to support frozen items and resist wear over time. Installation is quick and tool-free—simply slide the shelf into the designated grooves within the freezer compartment for a secure fit.
Read less

$90.83
In Stock
VEGETABLE PAN COVER W/ SLIDES
Part #WR32X32505
This clear shelf sits above your crisper drawers and helps keep fruits and veggies fresh by maintaining the right humidity. It also gives you extra space to store items and makes it easy to slide the drawers in and out. If your current cover is cracked or missing, this replacement snaps right into place—no tools needed.

$59.15
In Stock
Water Valve And Tube Assembly
Part #WR57X39965
A leaking water line or empty ice bin may point to a faulty refrigerator inlet valve. This replacement assembly includes the valve and connected tubing used to direct water toward the dispenser and ice-making system. Before replacing it, inspect the water filter, supply line, fill tube, connectors, and household water pressure. Turn off t...Read morehe refrigerators power and water supply before opening the rear service area. Some refrigerators use flammable refrigerant, so do not pierce, heat, or damage any nearby sealed-system tubing. Install each water line in the correct port, secure the electrical plug, and watch the connections for leaks when service is restored.
Read less

$42.85
In Stock
ICE BUCKET
Part #WR30X30034
If ice spills inside the freezer or the storage bin no longer slides correctly, a damaged bucket may be the cause. This replacement container collects and stores cubes made by the refrigerators automatic ice maker. Its simple plastic design allows the bin to be removed for serving or cleaning. Inspect the support rails and nearby ice-maki...Read moreng parts before installation, since a bent guide or heavy ice buildup can also block movement. Confirm the appliance model and compare the new bin with the old one. Remove any stored ice, slide out the worn bucket, clean the mounting area, and insert the replacement evenly.
Read less
Common Symptoms of the HPS18GTMNRWW
How this model fails, and the parts that fix it.
Noisy
Fixed by
these parts
these parts


Show All
Ice maker not making ice
Fixed by
these parts
these parts

Show All
Fridge too warm
Fixed by
these parts
these parts

Show All
Will Not Start
Fixed by
these parts
these parts
Show All
Leaking
Fixed by
these parts
these parts


Show All
Ice maker won’t dispense ice
Fixed by
these parts
these parts
Show All
Freezer section too warm
Fixed by
these parts
these parts
Show All
Fridge and Freezer are too warm
Fixed by
these parts
these parts
Show All
Clicking sound
Fixed by
these parts
these parts
Show All
Freezer not defrosting
Fixed by
these parts
these parts
Show All
Door won’t open or close
Fixed by
these parts
these parts

Show All
Too warm
Fixed by
these parts
these parts
Show All
Won’t start
Fixed by
these parts
these parts
Show All
Fridge runs too long
Fixed by
these parts
these parts
Show All
Ice maker dispenses too little ice
Fixed by
these parts
these parts
Show All
Ice maker dispenses too much ice
Fixed by
these parts
these parts
Show All
Frost buildup
Fixed by
these parts
these parts
Show All
Watch our pros, then fix it yourself.
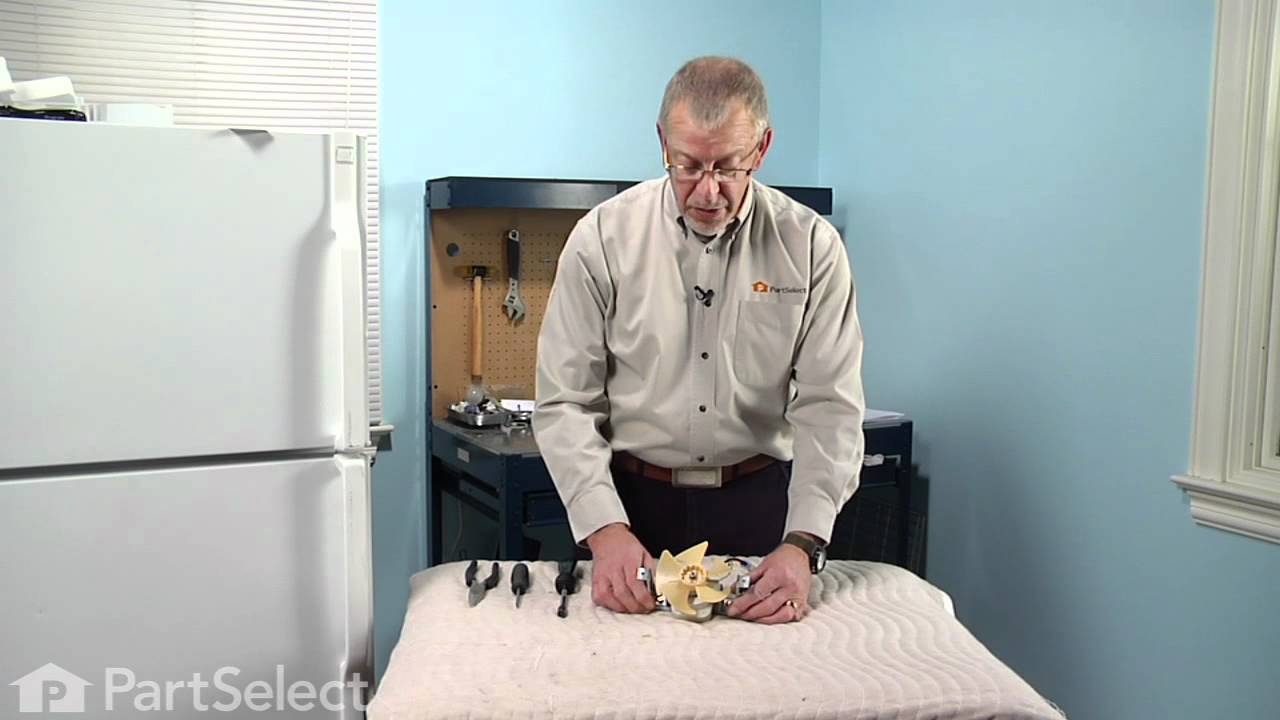

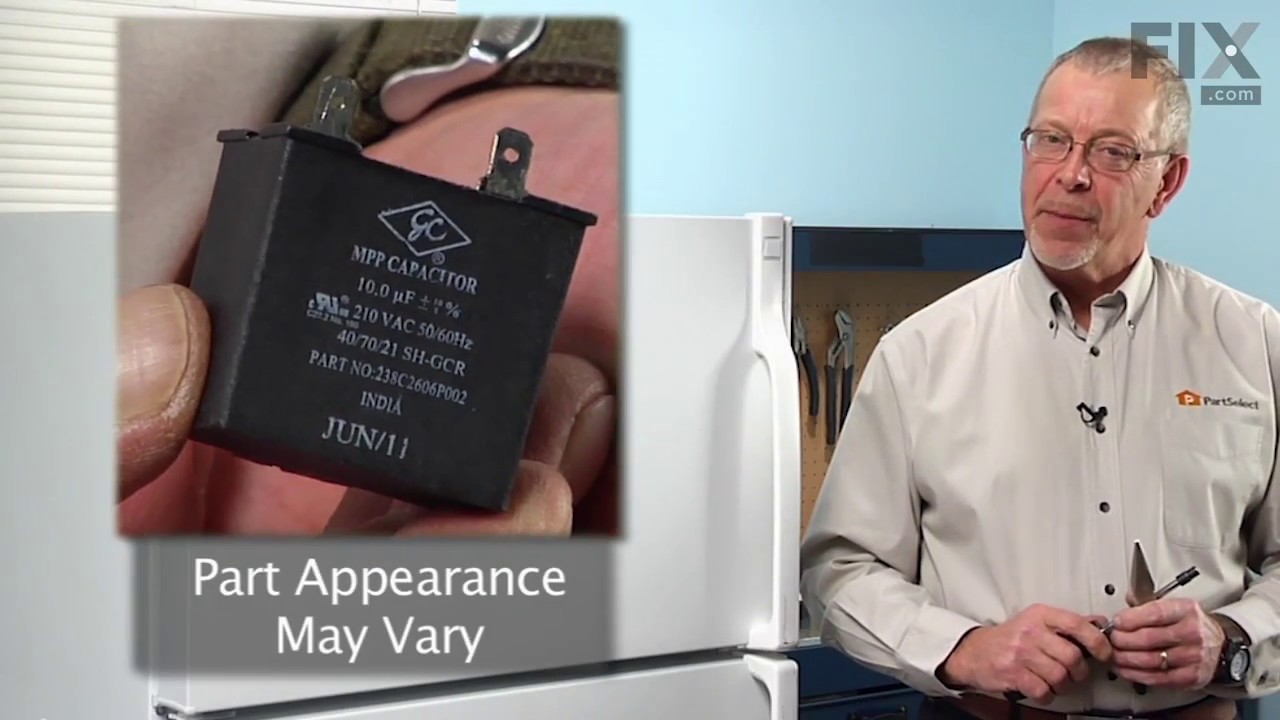

See how others fixed this model. Time, tools, difficulty, and steps that lead to victory!
View More