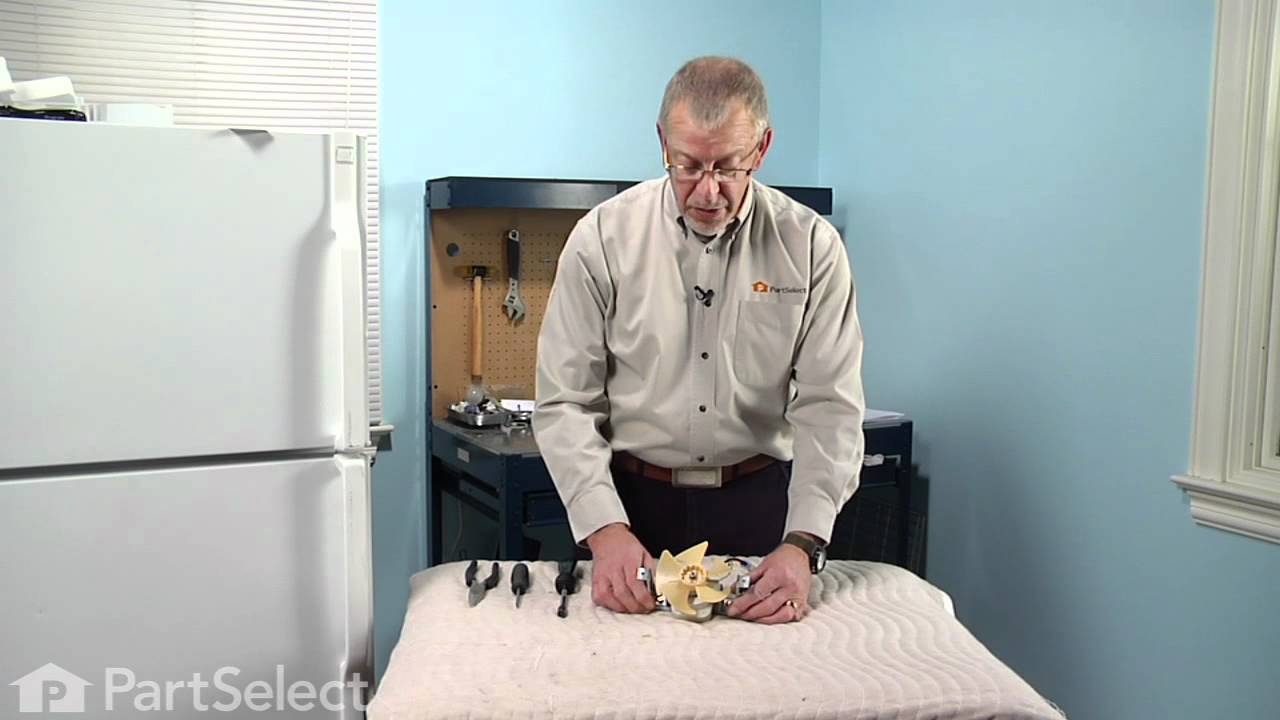
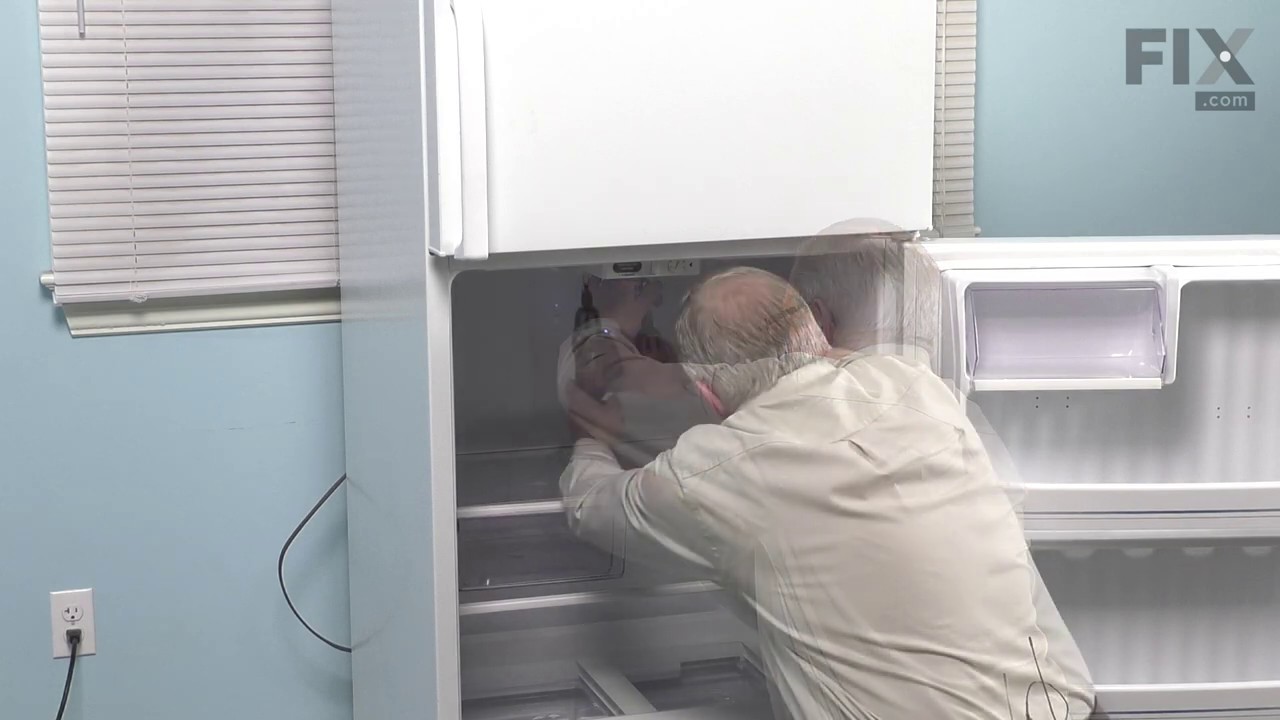
This 115-volt 60Hz evaporator fan motor is located in the back of the freezer and circulates air over the refrigerator coils. These coils will convert the heat into cool air, which is then circulated. If the motor has failed, the freezer/refrigerator will become too warm because the fan motor is not circulating the cool air from the freez...Read moreer into the refrigerator. This is a genuine OEM part. Please remember to disconnect the power to the appliance before starting your repair.
This glass shelf is a genuine OEM replacement part is specially designed for refrigerators. It has a length of approximately 23 inches and a width of 13.5 inches. The glass shelf provides a wide surface for you to store various food items and containers inside your refrigerator. It is designed to easily slide in and out of the fridge as n...Read moreeeded. If your glass shelf is cracked or damaged it is recommended to replace it promptly for your safety. No mounting hardware is needed, simply pull out the damaged glass shelf and position the new one its place.
This defrost timer will cycle for 25 minutes after every six hours of run time. The timer itself is made of plastic, and its terminals are bent, the leads are internal, and the label is orange. If you notice that your fridge is too warm, the fridge is running for a long time or is leaking, it could be due to the defrost timer becoming ina...Read morective. The defrost timer is found underneath the light cover (may need to remove lightbulb) and will need to be removed along with the air inlet assembly and housing.
This crisper drawer is for refrigerators. Crisper drawer stores fruits and vegetables at a humidity level that helps keep them fresh longer. Follow the instructions in the owner's manual when installing this part.
This condenser fan shroud assembly is supplied directly by the manufacturer for use in refrigerators. It is a protective housing that surrounds the condenser fan motor and fan blade assembly. Its primary function is to circulate air over the condenser coils to help dissipate heat more efficiently. The fan draws air from the surrounding en...Read morevironment and blows it over the coils, enhancing the cooling process. This helps maintain the optimal temperature inside the refrigerator and prevents the compressor from overheating. You can find the assembly at the rear side of the refrigerator. Signs of a faulty assembly include a broken or cracked housing, unusual noise, and poor temperature control.
This dairy door is a genuine OEM replacement designed to cover the butter or cheese compartment inside your refrigerator. Made from durable materials with a sleek finish, it helps maintain proper temperature and organization for dairy items while providing easy access through its integrated handle. Ideal for replacing a cracked, broken, o...Read morer missing door, this part ensures a secure fit and smooth operation. Installation is quick and requires no special tools—simply follow your appliance’s manual for proper placement.
This plug button is designed for use with various makes and models of refrigerators and is made of white plastic. Used for cosmetic purposes to fill and cover the securing screw of the door handle, this plug button features an approximately 0.5-inch outer-diameter. To install, simply remove the old plug with a flathead screwdriver or flat tool and push the new plug into place.
Ask our experts a question about this model and we'll get back to you as soon as possible!
We may have answered a similar question already! Search questions and answers left by others using simple keywords like "fit", "broken", "easy", or "quality" to find questions that match.
Search filter:
Clear Filter
Your search term must have 3 or more characters.
Sort by:
Prev
1
Next
Sorry, we couldn't find any existing answers that matched.Try using some different or simpler keywords, or submit your new question by using the "Ask a Question" button above!
Kim - For model number HPS18BTHNRWW
April 29, 2024
Can an icemaker be installed in this model?
Hi Kim, thank you for contacting us. Yes, the ice maker can be installed in this model. The compatible ice maker kit for your model is part number PS1993870. We hope that helps!
See how others fixed this model. Time, tools, difficulty, and steps that lead to victory!View More
Search repair tips from other customers using simple keywords like "replace", "fit", "remove", "inspect". DIY doesn't mean you have to do it alone!
Search filter:
Clear Filter
Your search term must have 3 or more characters.
Freezer Fan
267 of 302 peoplefound this instruction helpful.
Luis from College Station, TX
Really Easy
15 - 30 mins
Screw drivers, Socket set
I removed two srews from the back panel inside fthe reezer compartment and the two that hold the air manifold/baffle? and pulled the baffle out. Then, I removed the two srews that hold the front part of the fan bracket behind the baffle and the back panel came out easily. Two more screws and one quick connect plug attached to the fan and
... Read moreI was done with removal. Insallation was even quicker, I slid the original fan right off the old motor and slid it on the new motor's shaft. Piece of cake! Thanks Partselect.
Read less
Was this helpful?
Thank you for voting!
refrigerator was not cooling but the freezer worked fine.
93 of 110 peoplefound this instruction helpful.
Wanda from Cabins, WV
Really Easy
15 - 30 mins
Nutdriver, Screw drivers
My husband put on the defrost timer. At first I thought the part was not going to fix the problem. After about 5 hours my refrigerator was still warm. I went to work and when I got home that evening my refrigerator was cooling and down to 28 degrees. So if you replace this part wait at least 12-24 hours. Give it time to stablize.
... Read moreMy husband says it has to go through its cycle. It works on a 24 hour timer. My refrigerator is working fine and this has saved me alot of money. My husband says, once you put on the timer you may have to use a flat screwdriver and turn the small dial clockwise one click to start it. He removed the kick grill and replaced the part. Dont forget to shut breaker off to replace this part. Turn power back on and start the timer. We are so happy that we now have a working refrigerator.
Read less
Was this helpful?
Thank you for voting!
display showed dE
75 of 119 peoplefound this instruction helpful.
Nancy from Hamburg, NY
Easy
Less than 15 mins
Nutdriver
popped off front grille, removed 2 screws for bracket, then had to remove one screw for timer. unplugged old timer, reversed procedure, all works.




 My Orders