



 My Orders




HPS16BTNDLWW Hotpoint Refrigerator - Overview
Diagrams for HPS16BTNDLWW
See every part. Know exactly what you need.

Enter a part description. DIY Heroes keep it simple, eg. "belt" or "pump".
Search filter:
Clear Filter
Your search term must have 3 or more characters.

$75.13
In Stock
Evaporator Fan Motor
Part #WR60X31522
This 115-volt 60Hz evaporator fan motor is located in the back of the freezer and circulates air over the refrigerator coils. These coils will convert the heat into cool air, which is then circulated. If the motor has failed, the freezer/refrigerator will become too warm because the fan motor is not circulating the cool air from the freez...Read moreer into the refrigerator. This is a genuine OEM part. Please remember to disconnect the power to the appliance before starting your repair.
Read less

$30.41
In Stock
FRESH FOOD SHELF
Part #WR17X30024
The door shelf rail snaps into place on the door to hold items on the door shelf.

$19.40
Special Order
Condenser Fans Blade Assembly
Part #WR60X10207
The condenser fan blade assembly helps to regulate the temperature in your refrigerator or freezer. This fan assembly has 4 blades, but other fans may have 3 blades, so be sure to check the number of blades on your fan. The fan blade is made of white plastic and is approximately 6 inches in diameter. If your freezer section is too warm, o...Read morer you notice a strange noise coming from your refrigerator when it is running, you may need to replace the condenser fan blade assembly. This part is sold individually.
Read less

$59.16
On Order
Refrigerator Crisper Drawer
Part #WR02X31766
This crisper drawer is for refrigerators. Crisper drawer stores fruits and vegetables at a humidity level that helps keep them fresh longer. Follow the instructions in the owner's manual when installing this part.

$16.23
In Stock

$70.35
In Stock
Refrigerator Door Gasket
Part #WR14X27233
The door gasket is on the inner door panel and creates a seal around the door to prevent warm air from entering the refrigerator.

$31.60
In Stock
DAIRY DOOR
Part #WR22X30023
This dairy door is a genuine OEM replacement designed to cover the butter or cheese compartment inside your refrigerator. Made from durable materials with a sleek finish, it helps maintain proper temperature and organization for dairy items while providing easy access through its integrated handle. Ideal for replacing a cracked, broken, o...Read morer missing door, this part ensures a secure fit and smooth operation. Installation is quick and requires no special tools—simply follow your appliance’s manual for proper placement.
Read less

$50.68
In Stock
Wire Shelf
Part #WR71X21169
This coated wire freezer shelf is designed to provide durable, reliable storage within the freezer compartment of select refrigerators. Its open-wire construction promotes consistent airflow, helping to maintain even temperatures and reduce the risk of frost buildup. Ideal for replacing a damaged or missing shelf, it restores organization...Read more and maximizes usable space. The shelf is made from sturdy, coated wire to support frozen items and resist wear over time. Installation is quick and tool-free—simply slide the shelf into the designated grooves within the freezer compartment for a secure fit.
Read less

$56.92
In Stock
VEGETABLE PAN COVER 28
Part #WR32X31471
This genuine OEM cover fits over the crisper drawer to help maintain optimal humidity, keep produce fresh, and prevent spills inside the refrigerator. Made from durable plastic, it ensures proper airflow and sealing for longer-lasting fruits and vegetables while improving organization. Ideal for replacing cracked or damaged covers, this p...Read moreart restores food preservation efficiency and a clean, functional interior. Installation is simple—remove the old cover and slide the new one into place for a secure fit.
Read less

$42.85
In Stock
ICE BUCKET
Part #WR30X30034
If ice spills inside the freezer or the storage bin no longer slides correctly, a damaged bucket may be the cause. This replacement container collects and stores cubes made by the refrigerators automatic ice maker. Its simple plastic design allows the bin to be removed for serving or cleaning. Inspect the support rails and nearby ice-maki...Read moreng parts before installation, since a bent guide or heavy ice buildup can also block movement. Confirm the appliance model and compare the new bin with the old one. Remove any stored ice, slide out the worn bucket, clean the mounting area, and insert the replacement evenly.
Read less

$49.57
In Stock

$31.52
In Stock
FREEZER FIXED SHELF
Part #WR71X30014
Common Symptoms of the HPS16BTNDLWW
How this model fails, and the parts that fix it.
Noisy
Fixed by
these parts
these parts


Show All
Fridge too warm
Fixed by
these parts
these parts
Show All
Freezer section too warm
Fixed by
these parts
these parts
Show All
Door won’t open or close
Fixed by
these parts
these parts

Show All
Fridge and Freezer are too warm
Fixed by
these parts
these parts
Show All
Will Not Start
Fixed by
these parts
these parts
Show All
Light not working
Fixed by
these parts
these parts

Show All
Clicking sound
Fixed by
these parts
these parts
Show All
Too warm
Fixed by
these parts
these parts
Show All
Fridge runs too long
Fixed by
these parts
these parts
Show All
Won’t start
Fixed by
these parts
these parts
Show All
Watch our pros, then fix it yourself.
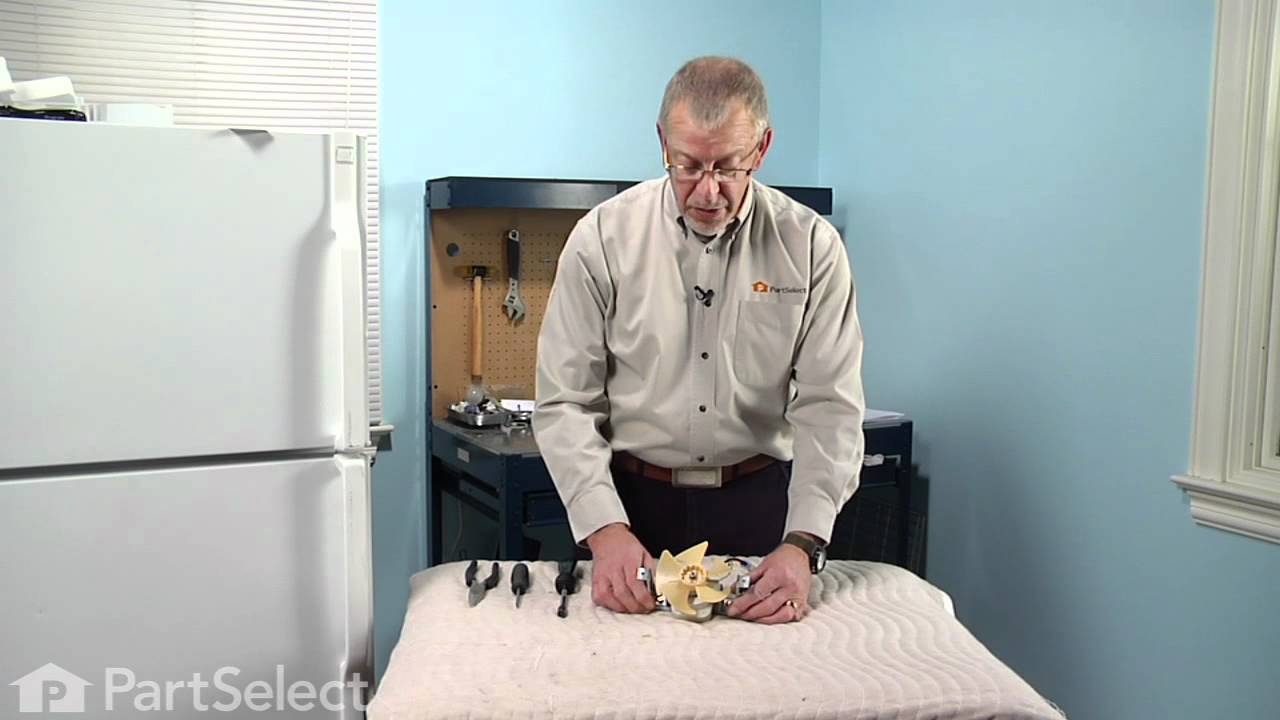
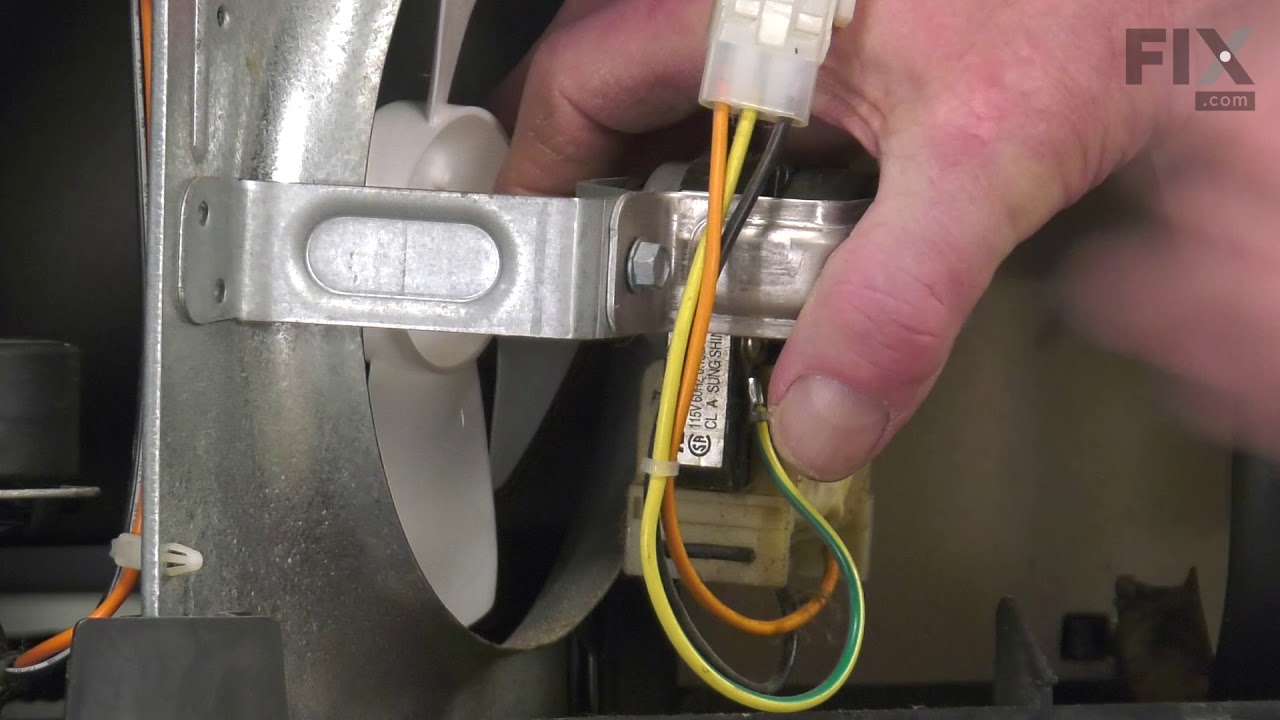
See how others fixed this model. Time, tools, difficulty, and steps that lead to victory!
View More