



 My Orders




HPS16BTNCRBB Hotpoint Refrigerator - Overview
Diagrams for HPS16BTNCRBB
See every part. Know exactly what you need.

Enter a part description. DIY Heroes keep it simple, eg. "belt" or "pump".
Search filter:
Clear Filter
Your search term must have 3 or more characters.

$30.41
In Stock
FRESH FOOD SHELF
Part #WR17X30024
The door shelf rail snaps into place on the door to hold items on the door shelf.

$19.40
Special Order
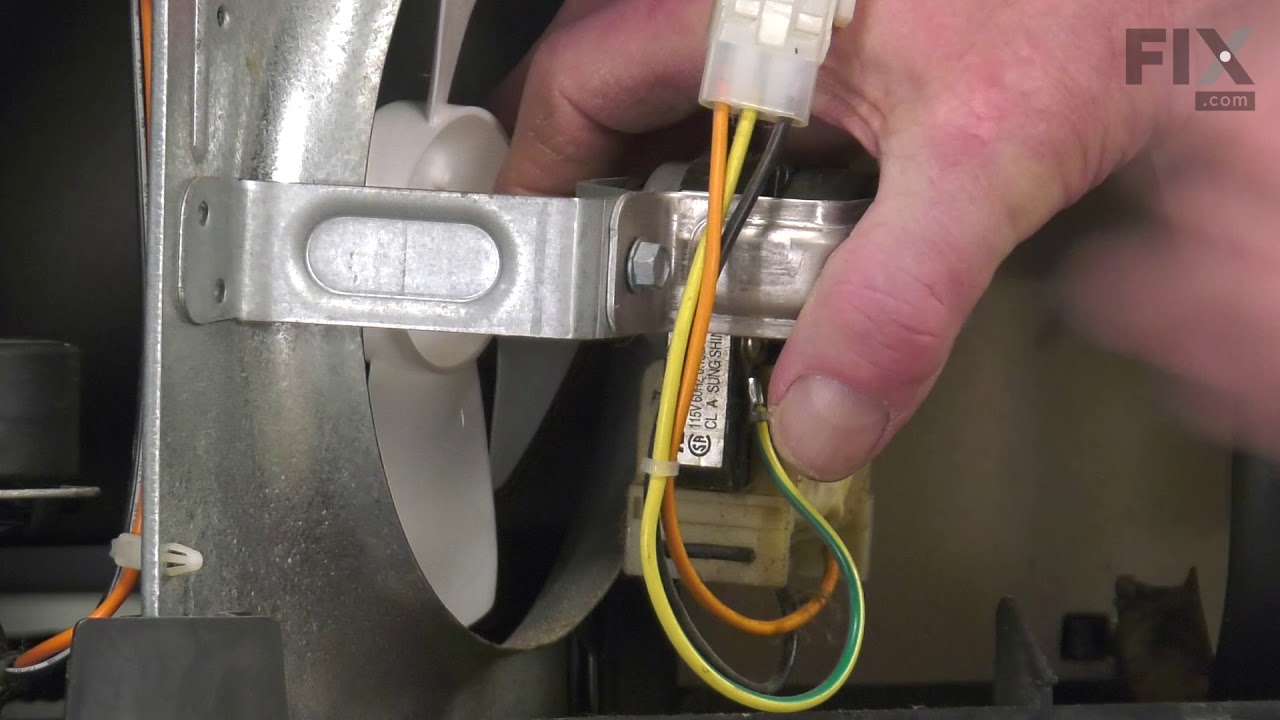
Condenser Fans Blade Assembly
Part #WR60X10207
The condenser fan blade assembly helps to regulate the temperature in your refrigerator or freezer. This fan assembly has 4 blades, but other fans may have 3 blades, so be sure to check the number of blades on your fan. The fan blade is made of white plastic and is approximately 6 inches in diameter. If your freezer section is too warm, o...Read morer you notice a strange noise coming from your refrigerator when it is running, you may need to replace the condenser fan blade assembly. This part is sold individually.
Read less

$42.85
In Stock
ICE BUCKET
Part #WR30X30034
If ice spills inside the freezer or the storage bin no longer slides correctly, a damaged bucket may be the cause. This replacement container collects and stores cubes made by the refrigerators automatic ice maker. Its simple plastic design allows the bin to be removed for serving or cleaning. Inspect the support rails and nearby ice-maki...Read moreng parts before installation, since a bent guide or heavy ice buildup can also block movement. Confirm the appliance model and compare the new bin with the old one. Remove any stored ice, slide out the worn bucket, clean the mounting area, and insert the replacement evenly.
Read less

$16.05
In Stock
Screw
Part #WR01X26527
A loose refrigerator part may be caused by a damaged screw or worn mounting hole. The correct screw helps keep parts lined up and secure. First check the required thread, length, head shape, and exact location. Match the screw to the complete appliance model because similar screws may not be safe in every spot. Unplug the refrigerator bef...Read moreore removing any cover near wires, and support the door if working on a hinge. Use the right Phillips driver, avoid cross-threading, and do not overtighten the screw. Stop if it will not turn in by hand.
Read less

$149.36
In Stock
REFRIGERATOR MAIN CONTROL BOAR
Part #WR55X43825
This main control board is a vital electronic component that governs the essential operations of compatible refrigerators. Acting as the central processor, it regulates temperature settings, manages fan speeds, controls the defrost cycle, and coordinates other key functions to ensure consistent cooling and food preservation. Integrated LE...Read moreD lighting enhances visibility within the refrigerator, while sensor inputs allow the board to dynamically adjust performance for optimal energy efficiency. A malfunctioning control board may result in erratic temperatures, non-functional lighting, or unresponsive controls. Replacing a faulty unit with this genuine OEM component restores reliable operation and supports long-term appliance performance.
Read less

$210.79
In Stock
Ice Maker Assembly Kit
Part #WR30X30972
An ice maker that no longer fills, freezes, or releases cubes may need a new assembly. This replacement kit controls the full ice-making cycle, from receiving water to dropping finished cubes into the bin. It uses an updated design and may not look exactly like the original unit. Several connection pieces are included to support approved ...Read morerefrigerator setups, but only the pieces shown for the appliance should be used. Confirm the complete model number before ordering. Disconnect electrical power and shut off the water supply before installation. Inspect for a frozen fill tube or weak water flow, and follow the appliance instructions carefully when connecting the wiring.
Read less

$16.05
On Order
CLAMP
Part #WR02X11437

$22.91
In Stock
BOTTOM HINGE
Part #WR13X21175

$15.00
In Stock
PLUG BUTTON THIMBLE
Part #WR02X11774

$15.00
Special Order
STUD MTGCOMP
Part #WR1X1779

$20.37
In Stock
HINGE TOP AND PIN Assembly
Part #WR13X27090

$14.85
In Stock
WATER TUBE
Part #WR17X32212
Common Symptoms of the HPS16BTNCRBB
How this model fails, and the parts that fix it.
Noisy
Fixed by
these parts
these parts

Show All
Light not working
Fixed by
these parts
these parts

Show All
Freezer section too warm
Fixed by
these parts
these parts
Show All
Fridge too warm
Fixed by
these parts
these parts
Show All
Leaking
Fixed by
these parts
these parts

Show All
Watch our pros, then fix it yourself.
See how others fixed this model. Time, tools, difficulty, and steps that lead to victory!
View More