


 My Orders




HL252300 Homelite Pressure Washer - Overview


Enter a part description. DIY Heroes keep it simple, eg. "belt" or "pump".
Search filter:
Clear Filter
Your search term must have 3 or more characters.

$6.40
In Stock
Detergent Suction Kit
Part #308452002
This detergent suction kit, also known as a soap or chemical injection kit, is designed for use with a pressure washer. This is a genuine OEM part designed to inject soap into the water stream of your pressure washer, and includes the main injector valve, two differently sized O-rings, a spring, and a ball bearing. One end of this kit wil...Read morel be threaded into the washer, and the other will lead to your cleaner with a siphon, which is sold separately. This injection kit would need to be replaced if the nozzle is leaking, the injector fails to work properly, or water is getting into the soap dispenser. To replace, simply unscrew the previous injector and remove it, then fit the small O-ring inside the threaded end of the new injector, along with the ball bearing and then spring. Wrap the larger O-ring around the base of the threaded end, and apply a layer of lubricant, before installing the new injector and securing it.
Read less

No Longer Available
Thermal Relief Valve
Part #678169004
This thermal release valve is for pressure washers.
Thermal release valve attaches to the pump and releases the water and high pressure inside the pump if the water temperature exceeds normal operating temperatures.
Wear work gloves to protect your hands when installing this part.

$35.40
In Stock
Recoil Starter Assembly
Part #099980425056
This is an original manufacturer sourced replacement part used with Homelite pressure washers. This is the starter assembly that is used to crank start the unit. It includes a plastic shroud/housing, starter pulley, starter spring, grip and the pull rope. Please note the hardware/bolts and the shroud are all sold separately.

$6.40
On Order
Outlet Tube
Part #308862003
This OEM outlet tube, also known as a hose connector, allows pressurized water to flow from the pump of your pressure washer to the nozzle. Connecting the hose to the handle assembly and the spray wand, it is where the water exits from your machine so you can direct the stream towards a desired surface. You can tell if an outlet tube is b...Read moreroken when it has visible cracks or holes and when water leaks or sprays from the connection points or along the tube. A damaged or blocked tube can result in a loss of pressure and potentially premature wear or machine failure. To remove the outlet tube, use a wrench set to unscrew it from the pump. Please note that this replacement part is sold separately from the pump assembly.
Read less

$37.67
In Stock
Pressure Washer Water Hose
Part #308835006
(25 ft., 3000 psi)
This water hose is for pressure washers.
Water hose carries water from the pump to the spray wand.
Wear work gloves to protect your hands when installing this part.

$6.40
On Order
Fuel Tank Outlet Assembly
Part #099980425080
This item has been OEM sourced to ensure a high-level of quality. The fuel tank outlet is intended to be used with pressure washers from Homelite. This item attaches to the bottom of the fuel tank and is used to link the fuel outlet tube. This item is available as an individual replacement part.

No Longer Available
Fuel Tank
Part #099980425077
This fuel tank is an authentic OEM item that is specially designed for Homelite power washers. It is only the metal tank itself that holds the fuel for the engine, fuel strainer and the cap are both sold separately. It is very important to replace the fuel tank if it is cracked or damaged to avoid damage or serious injuries. You should only need a wrench and pliers to replace this fuel tank.

$16.30
In Stock
Inlet Tube
Part #308861003
This is an authentic OEM part for pressure washers made by Homelite, Ryobi, and Husky. The inlet tube fits onto the pump and is made out of metal. When replacing this part a socket set may be needed. It is available as an individual replacement part, but also includes the metal bolt and the rubber o-ring.

$6.40
In Stock
Fuel Tube
Part #099980425082
This fuel tube is a genuine OEM replacement part sourced directly from Homelite. It is most commonly used in pressure washers. This tube transfers fuel inside the machine. It should be replaced if it is cut, cracked, or otherwise damaged. A wrench set is needed to replace this part. It is sold individually.

$6.40
In Stock
Carburetor Gasket
Part #099980425069
This is a genuine manufacturer-approved replacement part which is specially designed for use with Homelite pressure washers. The purpose of this gasket is to provide a tight seal between connected parts, please make sure to check the appropriate diagrams of your model for the correct location and application of this hardware. Keep in mind...Read more this high-quality item is made of durable composite material and is sold individually.
Read less

$6.40
In Stock
Fuel Tank Cover
Part #099980425079
This is an authentic replacement part manufactured for use with Homelite pressure washers. The fuel tank cover is used to seal the tank and is removed to fill the tank. This fuel cap is sold as an individual replacement part, please note the fuel strainer is available separately.

$6.40
In Stock
Fuel Strainer
Part #099980425078
This is an original replacement part manufactured for use with Homelite pressure washers. This part fits just under the fuel cap inside the tank. The strainer helps prevent debris from entering the tank as the fuel is poured into the tank. This fuel strainer is sold individually.
Common Symptoms of the HL252300
How this model fails, and the parts that fix it.


Watch our pros, then fix it yourself.
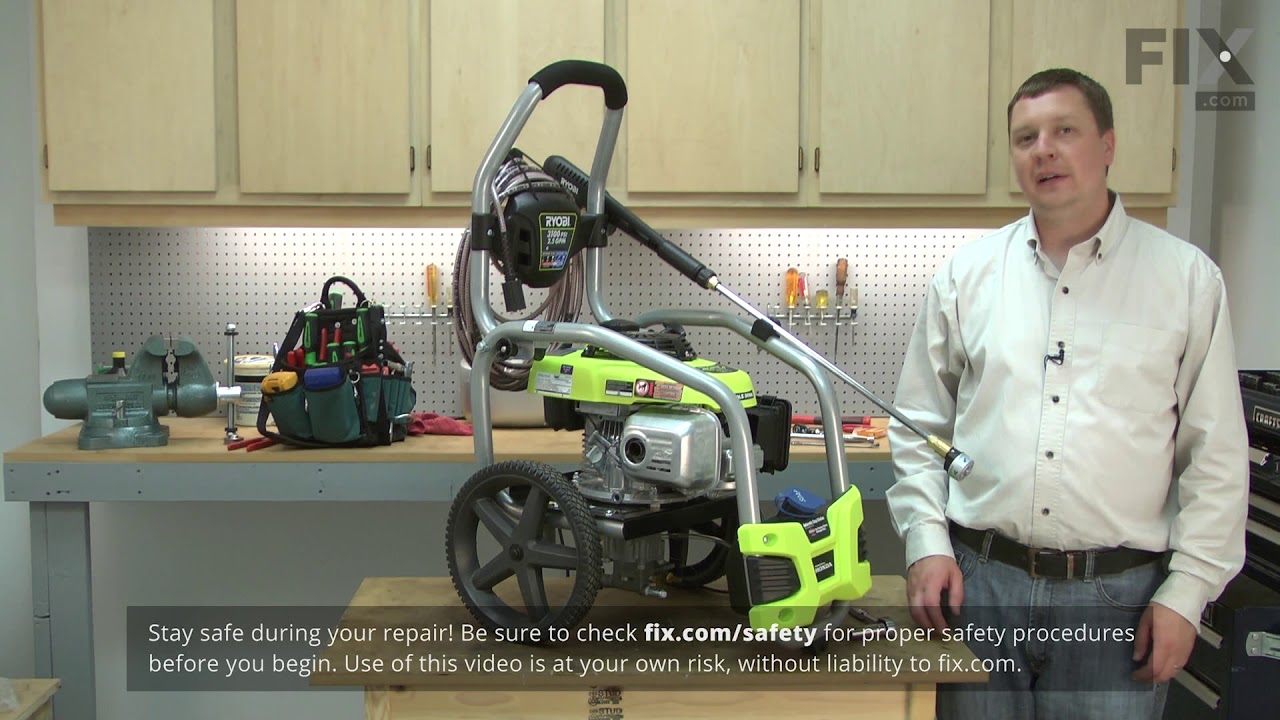
See how others fixed this model. Time, tools, difficulty, and steps that lead to victory!
View More
Search repair tips from other customers using simple keywords like "replace", "fit", "remove", "inspect". DIY doesn't mean you have to do it alone!
Search filter:
Clear Filter
Your search term must have 3 or more characters.
Fuel system damaged by allowing E85 gas to remain in tank.
3 of 4 people
found this instruction helpful.
Tank is held in place by 2 nuts and 1 bolt. These were removed and tank lifts off. Installed filter assembly and fuel hose to bottom of new fuel tank. You must install fuel hose clamp to tank connection before installing new tank. Install the other end of fuel line to carburetor on engine with other clamp and you are finished.
Other Parts Used:
Was this helpful?
Thank you for voting!
Leaking hoses.
1 person
found this instruction helpful.
1) Loosen engine assembly from frame.
2) Remove fuel tank, hoses and disassemble other hoses and components.
3) Attach new hoses to carburetor.
4) Reassemble fuel tank, engine and carburetor components.
5) Re-center motor engine assembly onto washer frame and tighten nuts, bolts and washers as needed.
2) Remove fuel tank, hoses and disassemble other hoses and components.
3) Attach new hoses to carburetor.
4) Reassemble fuel tank, engine and carburetor components.
5) Re-center motor engine assembly onto washer frame and tighten nuts, bolts and washers as needed.
Other Parts Used:

Was this helpful?
Thank you for voting!