



 My Orders




GX390T2X ((Type QAPW)(GCBDT-2239411-9999999)) Honda Engine - Overview
Diagrams for GX390T2X
See every part. Know exactly what you need.

Enter a part description. DIY Heroes keep it simple, eg. "belt" or "pump".
Search filter:
Clear Filter
Your search term must have 3 or more characters.

$6.40
On Order
Spark Plug
Part #98079-55846
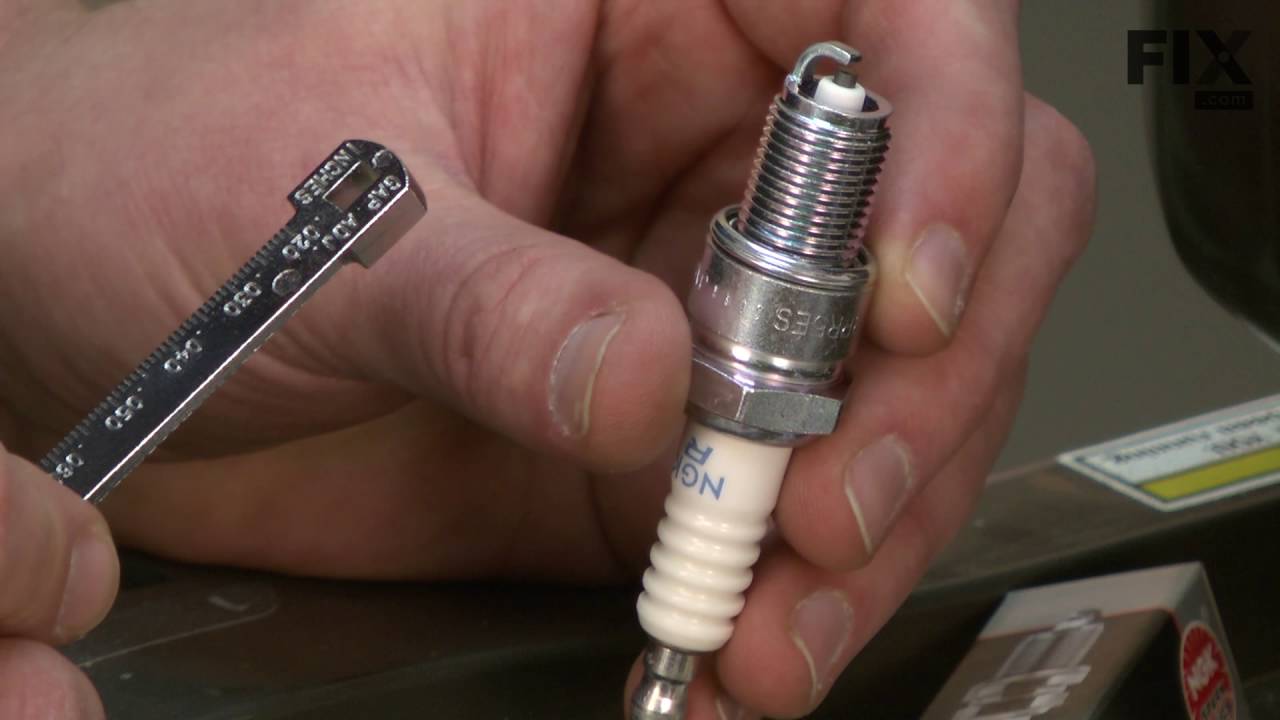
This is a genuine Honda replacement spark plug. It is sourced directly from original equipment manufacturer and it is sold individually. It is designed to ignite the air fuel mixture by the spark. If spark plugs are not checked with regular services, cleaned or changed when necessary, they can cause problems to occur with the engine. Replacing it you should only need a spark plug socket.

$6.40
In Stock
Spark Plug
Part #98079-56846
This spark plug creates the spark needed to start compatible small gas engines, it is used in select lawn mowers, generators, snow blowers, and pressure washers, replace a worn or dirty plug if the engine is hard to start, runs rough, or loses power, let the engine cool and remove the plug wire before repair, use the exact engine model number to confirm fit.

$6.40
In Stock
Spring- Throttle Return
Part #16562-ZE3-000
This is a genuine OEM part. The throttle return spring is constructed of metal, and is made for use with many small lawn and garden engines. This part is often a component of the control assembly. Please refer to specific manual and diagrams for repair instructions. This item is sold individually. A screwdriver and a wrench are helpful in the removal and replacement.

$6.40
In Stock
Washer-drain Plug-12mm
Part #94109-12000
This metal washer is compatible with several different makes and types of small engine equipment, and is a genuine OEM part. Used to evenly distribute pressure on the oil drain from the drain bolt, this washer has a 19mm/.75-inch outer-diameter and 12mm/.5-inch inner-diameter and is sold individually without the drain bolt, which is sold ...Read moreseparately. It is, however, recommended that if you replace this washer, you replace the drain bolt as well.
Read less

$11.77
In Stock
Fuel Filter
Part #16955-ZE1-010
This is a genuine replacement part which is supplied by the original equipment manufacturer. It is specially designed for use with Honda engines commonly installed on a variety of lawn and garden equipment. The purpose of it is to filter out dirt and other debris from the fuel that is supplied to the engine. It will over time become clogg...Read moreed and restrict the fuel from getting to the carburetor so it will need to be replaced. It is made of a high-quality plastic and is sold individually. Check the diagrams of your model for the correct installation of the new part.
Read less

$6.40
Special Order
Cap Assembly- Oil Filler
Part #15600-Z0T-820
This genuine OEM oil filler cap assembly is part of your lawn equipment, found commonly on the top or side of the engine. It covers the oil fill hole on the engine so that oil does not spill out and impurities do not get in. A broken cap may be visibly damaged and will not properly seal the oil fill hole. If you do not replace it, the oil...Read more may become contaminated with dirt, reducing the lifespan of your engine. To remove the cap from your machine, gently grip onto it and rotate it counterclockwise. You can lift the cap straight up afterwards. This part is sold individually.
Read less

$6.40
On Order
Flange Nut
Part #94050-08000
It is a genuine item that is supplied by the original manufacturer for use with Honda engines commonly installed on a variety of lawn and garden equipment. This is one of the flange nuts that are utilized to secure the exhaust manifold. A flange nut is designed to provide a tight fit and resist loosening. Replacing it is a simple task tha...Read moret should only require a wrench to remove and secure it. To ensure the correct location, please refer to the diagrams of your model. One durable metal nut-flange is included.
Read less

$9.62
In Stock
Gasket- Fuel Strainer Cup
Part #16173-001-004
This rubber fuel strainer cup gasket, found in your garden equipment, distributes pressure and creates a seal between the fuel strainer cup and the carburetor so that fuel does not leak. If it is broken, you will notice fuel leakage or a gas smell, and your engine may sputter or have difficulty starting. Unattended fuel leaks not only was...Read morete fuel but also pose a fire hazard. When removing the gasket, make sure that your machine is shut off and has cooled down. Consult your instruction manual to locate the fuel strainer cup, remove mounting screws and clips with a screwdriver, twist the cup slightly, and lift it away. Peel off the old gasket carefully. It is important to be aware that this authentic OEM replacement part is sold individually.
Read less

$6.40
In Stock

$24.67
In Stock
Gasket Set
Part #16010-ZE2-812
This is a gasket set for various models of small engines. This set of gaskets and O-rings is located within the carburetor assembly for various small engines, and is used to create airtight seals for the carburetor to function properly. This set includes one rubber bowl gasket, four rubber O-rings, and one petcock valve gasket, all from t...Read morehe original equipment manufacturer. These gaskets can wear down over time due to high pressure and temperature exposure, as well as exposure to oil and gas. If you notice poor performance coming from your motor or any leaks near the carburetor, it would be worth inspecting and potentially replacing the gaskets to any other parts being damaged as well. To replace this gasket set, you will first need to disconnect the spark plug, and then the fuel line of the engine. Locate the carburetor and use a wrench to loosen and remove the carburetor bowl. Once the bowl is removed, carefully remove each gasket and O-ring that is worn out and clean the carburetor with carburetor or brake cleaner. Install the new O-rings, and ensure the new gaskets have gasket sealant to prevent leaks. Reinstall the carburetor bowl and secure it with its screw. Install the fuel line and the spark plug, and check the engine for any leaks.
Read less

$27.36
Special Order
Cup- Fuel Strainer
Part #16967-ZE0-811

$18.22
In Stock
Lever- Control
Part #16571-ZE3-W00
It is an OEM component which is designed for use with Honda engines that are commonly installed on a variety of lawn and garden equipment. This lever provides a user with a comfortable grip to adjust the speed. It is an identical replacement for a missing or a damaged component that was installed on a new unit. To ensure the correct repai...Read morer procedure, refer to the diagrams for your model. This high-quality lever-control is made of durable material and is sold individually.
Read less
Watch our pros, then fix it yourself.

See how others fixed this model. Time, tools, difficulty, and steps that lead to victory!
View More