


 My Orders




GWT445RGS0 Gibson Washer - Overview
Diagrams for GWT445RGS0
See every part. Know exactly what you need.


Enter a part description. DIY Heroes keep it simple, eg. "belt" or "pump".
Search filter:
Clear Filter
Your search term must have 3 or more characters.

$109.23
In Stock
Front Load Washer Door Lock and Switch Assembly
Part #131763256
This door lock and switch assembly is manufactured to lock the door on your front load washer to prevent it from opening while it is running. You may need to replace the door lock and switch if the door does not open or lock. Your washer will not start if the door does not lock. This part is also known as a washing machine door lock assem...Read morebly. As per the manufacturer, some models require a new wire harness and a door strike for this door lock assembly to work on the appliance. The original style lock would require the door lock kit.
Read less

$53.85
In Stock
Shock Absorber Kit
Part #5304485917
This shock absorber kit is an authentic OEM part that is sourced directly from the manufacturer. The kit includes two dual-stage shock absorbers, one spare shock mounting pin, and four locking nuts. These shock absorbers keep your front-load washer from shaking vigorously by absorbing and reducing vibrations from the wash and spin cycles ...Read moreof your appliance. This kit comes with two shock absorbers because it is recommended to replace both at the same time, as they wear at the same rate. To access your washer shock absorbers, simply remove the lower access panel after disconnecting the power to the appliance.
Read less

No Longer Available
Door Catch
Part #131279001
This washer door catch is a replacement from the original. This is only available in black.

$117.66
In Stock
Water Inlet Valve
Part #134190200
The water inlet valve has two ports for water to enter and controls the flow of water into a washing machine. Hot, cold, and warm water can easily enter the washer this way. If the water inlet valve is in any way damaged or defective, it may be slow to fill or even leak. Before beginning this replacement, make sure to unplug the washer fr...Read moreom the power range or shut off the house circuit breaker. Remember to wear gloves for safety. Refer to the installation instructions and the diagram provided by the manufacturer for best results and accuracy.
Read less

$60.56
In Stock
Single Spring with Insulators
Part #134144700
This is a single spring with insulator, but you may also know it as a suspension spring. It is a part for your washing machine. If your tub is no longer stable, which would cause shaking, moving, and excess noise, you may need to replace this part. The tools you will need in order to make this repair include a Phillips screwdriver and a p...Read moreair of locking pliers. You will find the insulator on each end of this piece. We recommend replacing both springs in your appliance at the same time to ensure even wear.
Read less

$200.22
In Stock
Remote Style Pump with Motor
Part #131268401
Use this with either a top load or front load washer. This pump has an horizontal mount.

No Longer Available
Drain Hose
Part #131461200
This drain hose is designed for use in your washer. The function of this part is to carry water from the drain pump to the house drain. If your washer is leaking or will not drain, you may need to replace the drain hose. This part is black in color and is made of plastic. This drain hose comes with a 90-degree elbow attachment. Before you...Read more begin this repair, be sure to disconnect the power supply, as well as the water supply to the washer. This part is sold individually. This is an OEM part sourced directly from the manufacturer.
Read less

$25.25
In Stock
Screw
Part #131302800
This is a replacement screw for your washer or dryer. The screw is approximately half an inch in length and is a Phillips-head screw. It screws in from the outside of the drum, into the vane/baffle. The main reason you would replace this screw is if the old screw is missing or damaged. This part is sold individually and is an OEM part sourced directly from the manufacturer.

$26.35
In Stock

No Longer Available
Timer Knob Assembly
Part #131446202
This timer knob assembly is a manufacturer-approved replacement part for your washing machine. This is an easy repair which requires no tools. Simply unscrew the existing knob, which may take some force or wiggling, and screw in the new one.

$29.12
In Stock
Drive Belt - 6 ribs
Part #134051000
This is a drive belt for your washing machine. This part spins the basket in your appliance by connecting the drive motor to the drive system. You will need to replace the drive belt if your pumps are not spinning, your washer is not agitating, or you are noticing excess noise and/or a burning smell. This belt is black with six ribbings. To replace this part, you will need a Phillips screwdriver.

$79.32
In Stock
Tub-To-Pump Hose
Part #131784700
This washer tub-to-pump hose is designed to carry wastewater from the tub to the drain pump during wash and spin cycles, helping ensure efficient draining. It also includes a built-in trap that catches small items like coins or debris, helping protect the pump from damage. Made from durable rubber, it is an ideal replacement if the hose b...Read moreecomes cracked, blocked, or starts leaking, restoring proper drainage and reliable washer performance.
Read less
Manuals & Care Guides for GWT445RGS0
Click to downloadCommon Symptoms of the GWT445RGS0
How this model fails, and the parts that fix it.
Leaking
Fixed by
these parts
these parts


Show All
Will Not Start
Fixed by
these parts
these parts


Show All
Lid or door won’t close
Fixed by
these parts
these parts

Show All
Will not drain
Fixed by
these parts
these parts


Show All
Spins slowly
Fixed by
these parts
these parts

Show All
Shaking and Moving
Fixed by
these parts
these parts

Show All
Will not agitate
Fixed by
these parts
these parts
Show All
No hot or cold water
Fixed by
these parts
these parts

Show All
Spinning Issues
Fixed by
these parts
these parts
Show All
Locking Issues
Fixed by
these parts
these parts
Show All
Marks left on clothes
Fixed by
these parts
these parts

Show All
Burning smell
Fixed by
these parts
these parts
Show All
Noisy
Fixed by
these parts
these parts
Show All
Door latch failure
Fixed by
these parts
these parts
Show All
Watch our pros, then fix it yourself.
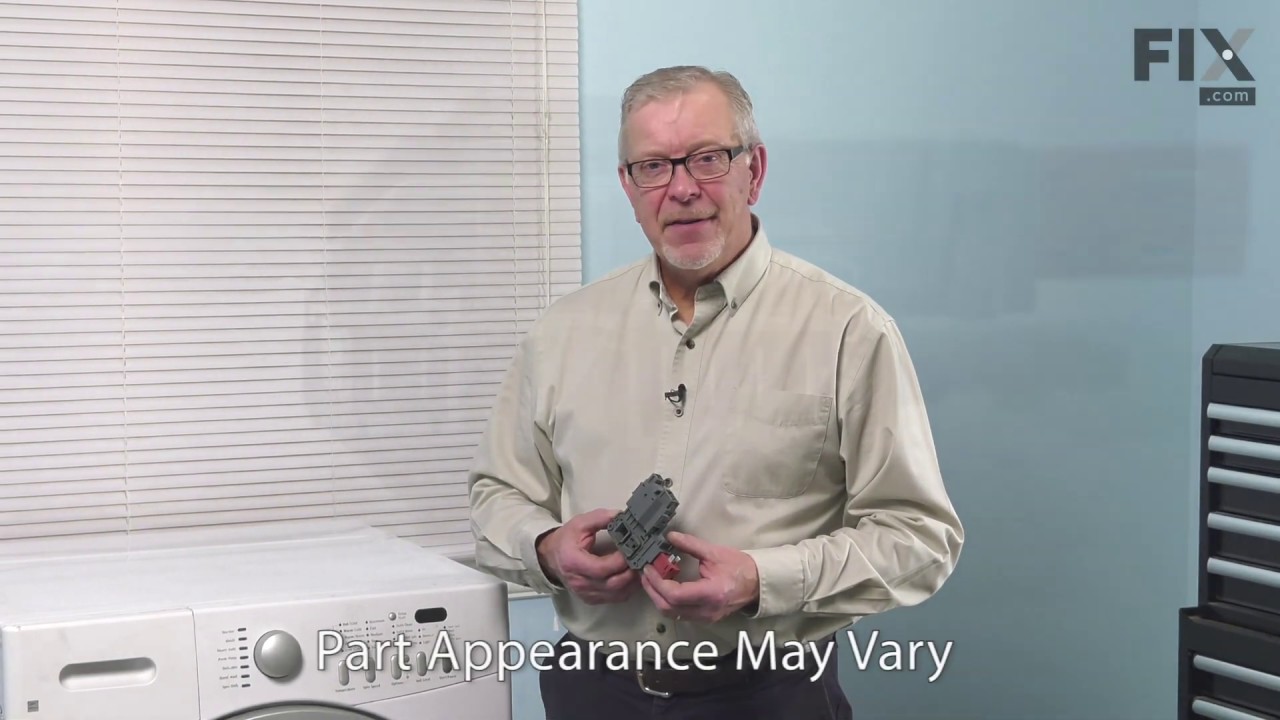
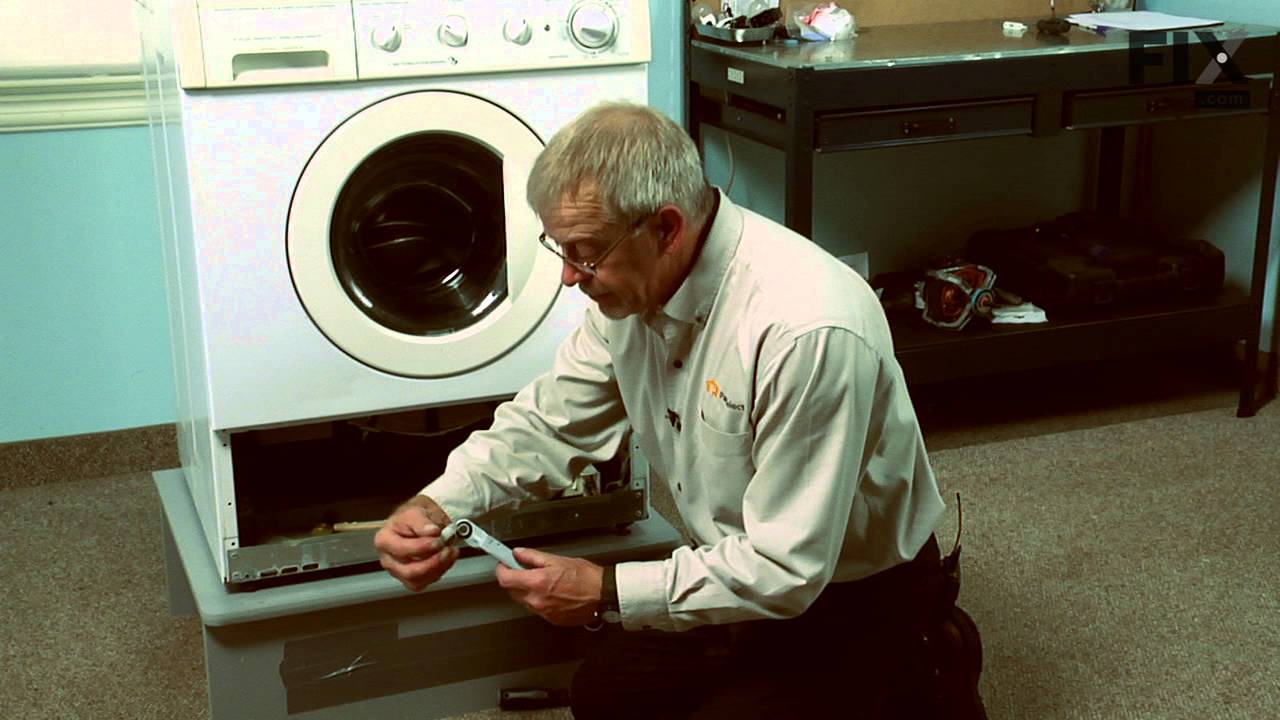
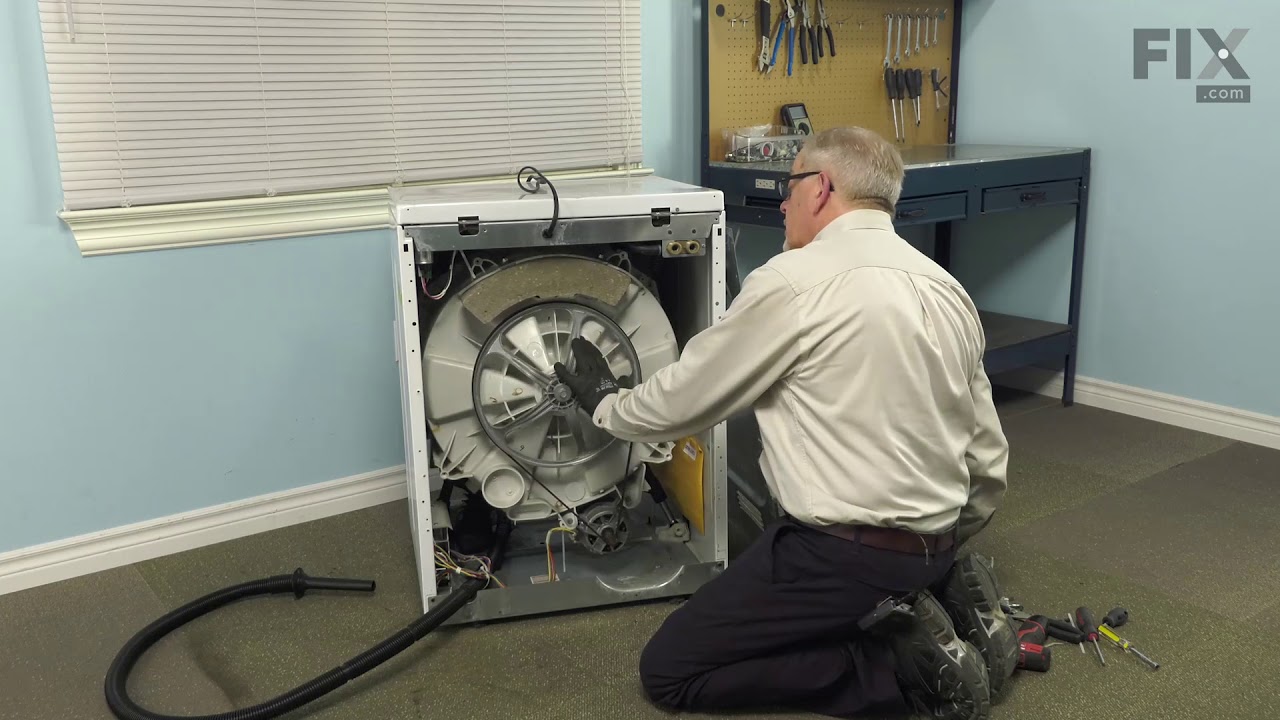
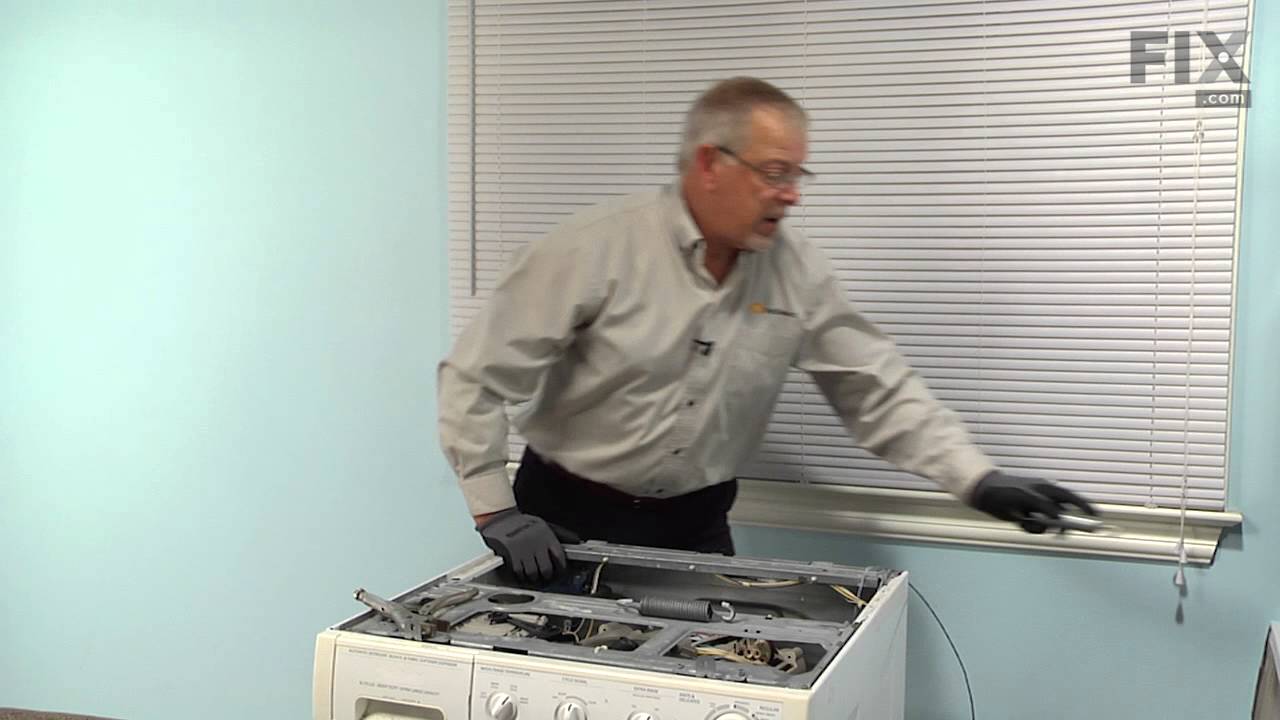
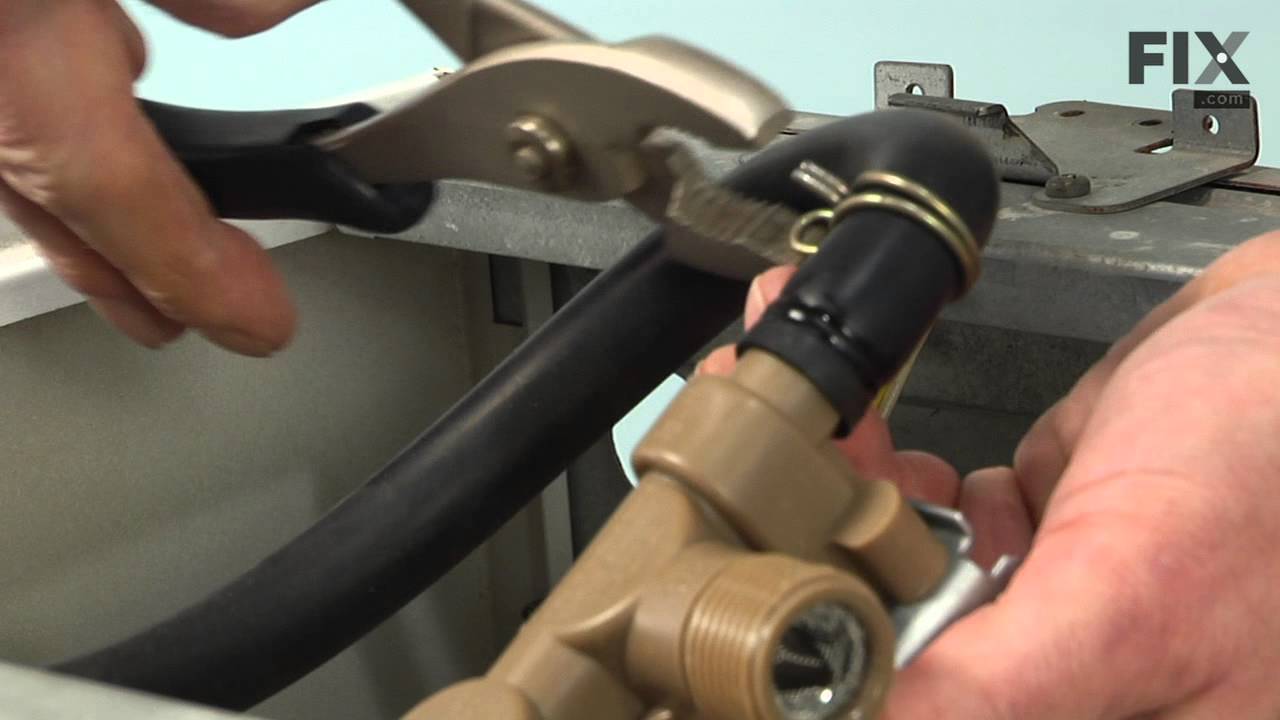
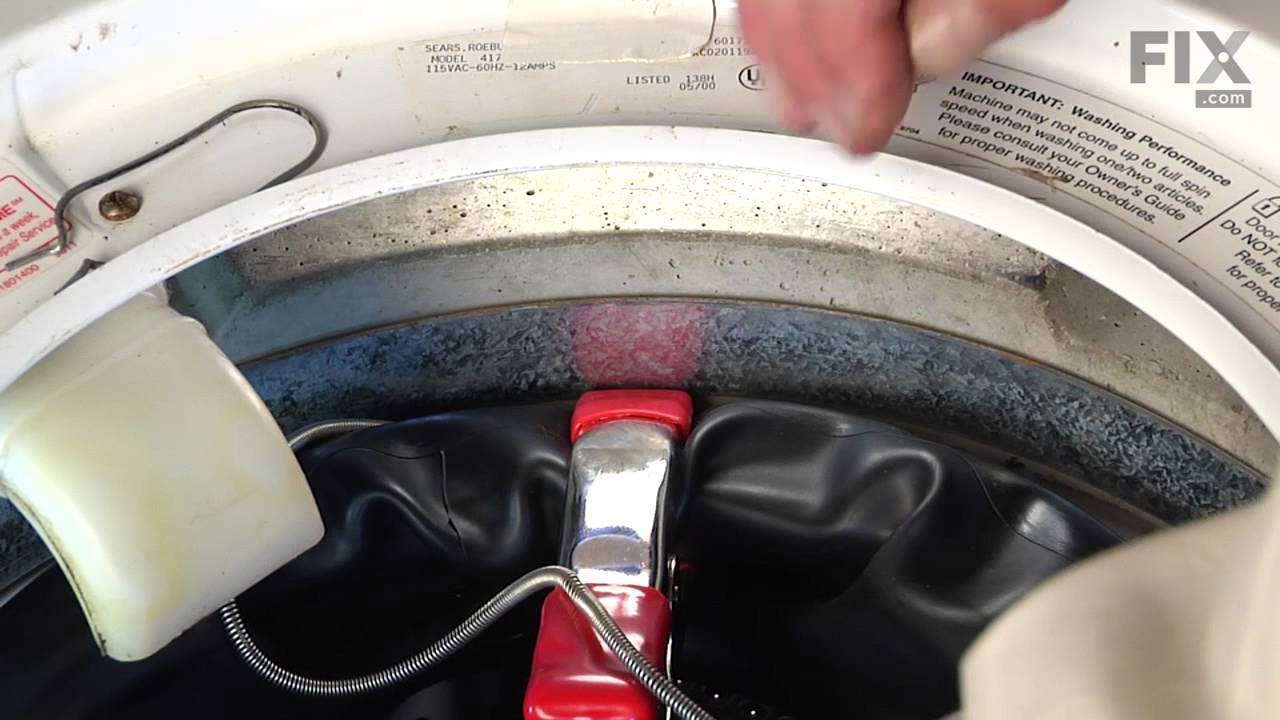
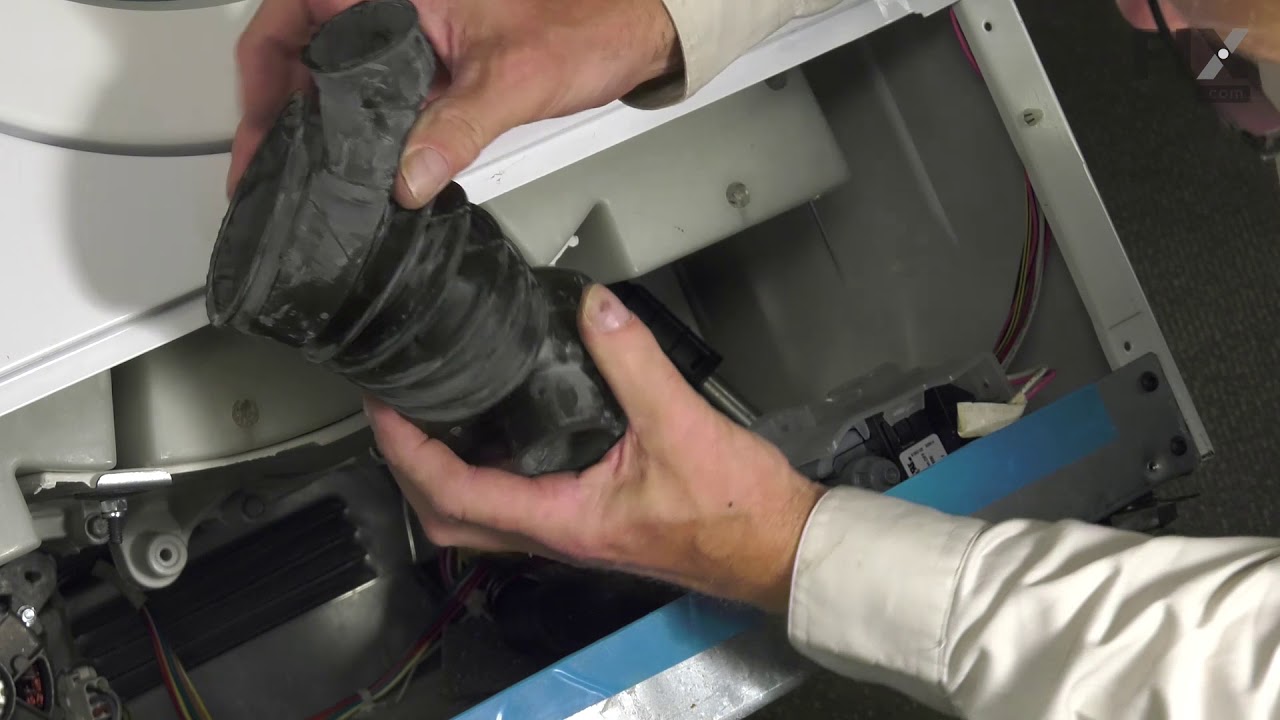
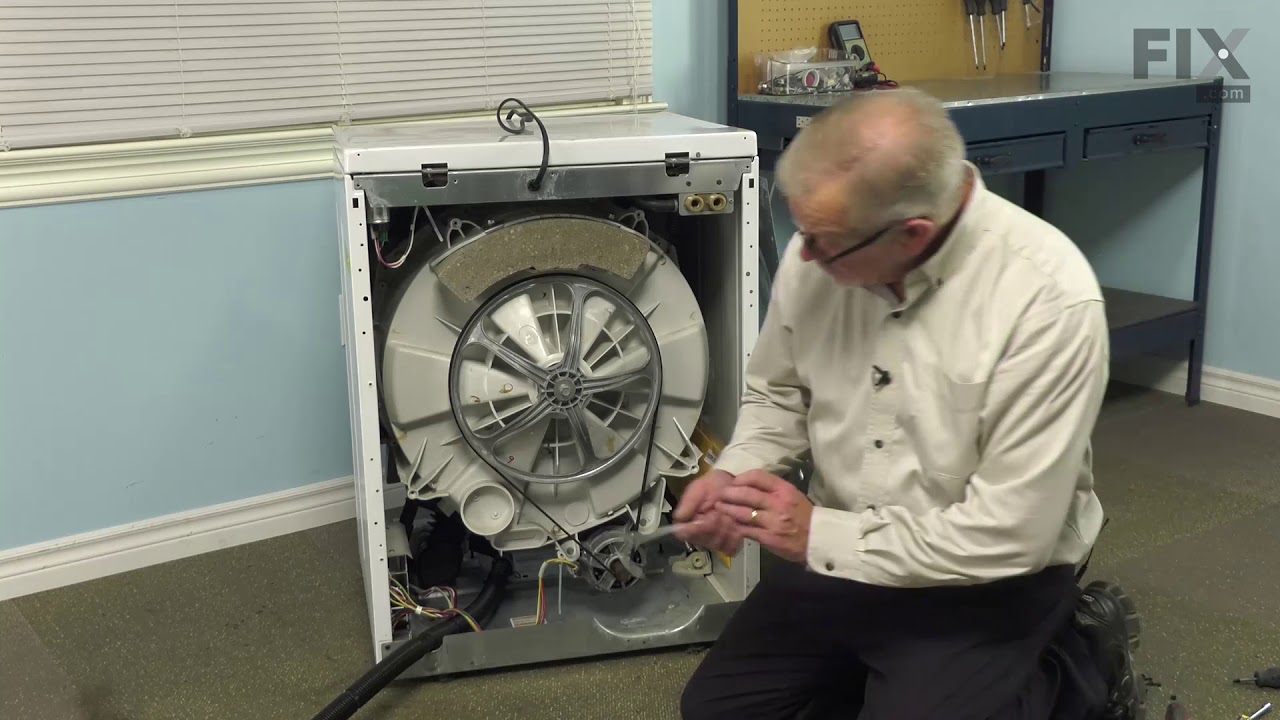
See how others fixed this model. Time, tools, difficulty, and steps that lead to victory!
View More