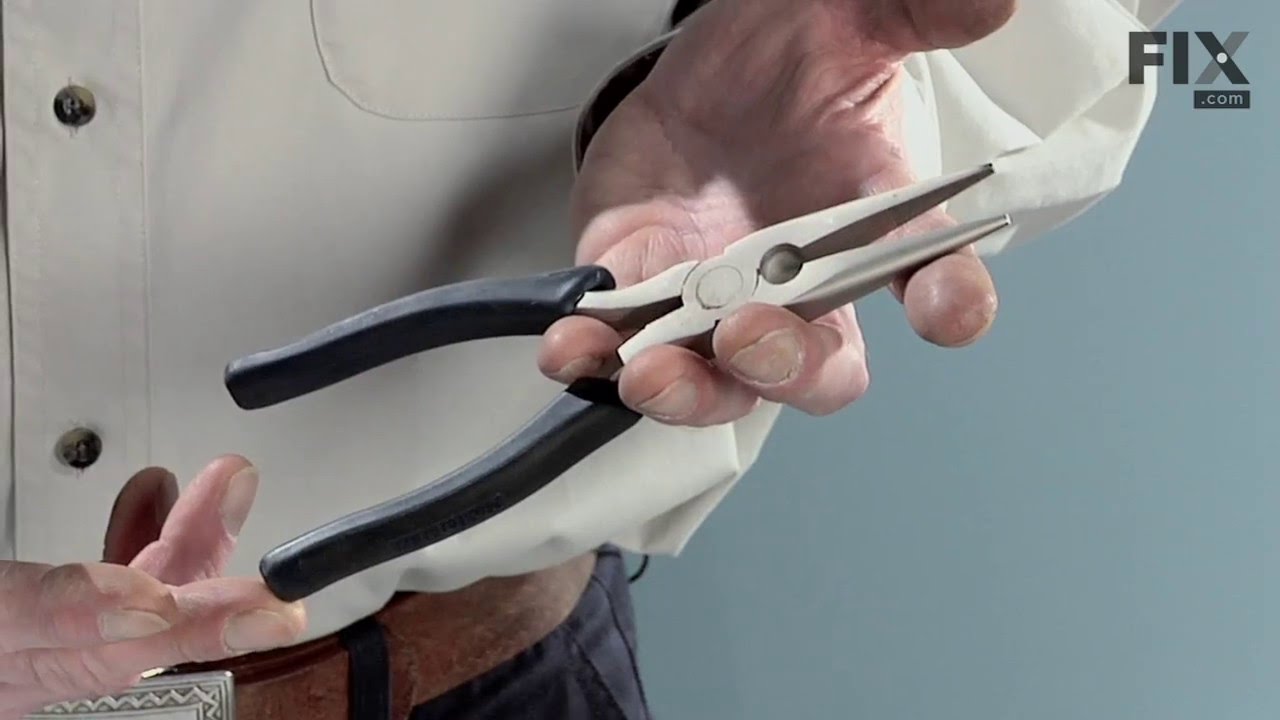
The timer knob clip on your washing machine connects the timer knob to the control panel. If your timer knob is damaged or will not stay in place, you may need to replace the clip. If the timer does not advance or the washing machine will not start, this may also be a symptom of a damaged timer knob clip. This part is clear plastic and is...Read more about 1 inch in size. Many of our customers have rated this repair as easy, and the only tools you may require are a set of needle-nose pliers. This is an OEM part sourced directly from the manufacturer.
See how others fixed this model. Time, tools, difficulty, and steps that lead to victory!View More
Search repair tips from other customers using simple keywords like "replace", "fit", "remove", "inspect". DIY doesn't mean you have to do it alone!
Search filter:
Clear Filter
Your search term must have 3 or more characters.
Replaced the Agitator coupling
51 of 63 peoplefound this instruction helpful.
jose from lAREDO, TX
Difficult
15 - 30 mins
First, you will need to remove the agitator, if it hasn't fallen off by itself. Than, you will need a pulley to remove the coupling from the spinning pole . I used one of those pulleys with three arms to remove it , Second, I lubricated the inside of the new coupling with a little oil, and sided it down on the spinning pole. It was
... Read more a little hard to installed but, I used a hammer and tapped it in. Third, I also put some lubricant on the new coupling to help the agitator slide down a little easier on the new coupling.
P.S. Check inside agitator for old rubber of the old coupling and remove it. (only if it has fallen off the old coupling.)
Read less
Was this helpful?
Thank you for voting!
Agitator coupling rubber separated from metal part
23 of 30 peoplefound this instruction helpful.
Arlene from Oak Ridge, NC
Difficult
More than 2 hours
Screw drivers, Socket set
In my case the rubber bonded to the agitator coupling had stuck inside the agitator cover (plastic part that comes in contact with clothes). The metal part with the splines could not be removed by gripping with pliers. A pulling tool needed to be used to remove the tool. I used a valve spring compressor tool for overhead cam engines, b
... Read moreut any pulling type tool with a center bolt and jaws that will fit between the rubber seal and the bottom of the agitator coupling would work. After removing metal part of coupling from agitator shaft and cleaning up the rusted teeth on the agitator shaft that caused the difficult removal, I pried out the rubber part of the agitator coupling from the plastic agitator cover by inserting a screw driver from the top hole in the agitator cover and getting it under the rubber to separate the toothed parts of the rubber from the matching grooves and then pushed it out the bottom of the agitator coupling. Then came the difficult part of the project - inserting the new coupling. I found the instructions that came with the new part very unrealistic and was not able to simply wet the rubber on the new coupling after installing it on top of agitator shaft and then push it into the plastic agitator cover - it simply would not go down more than 1/8" in the cover. If you attempt to do this job using the method described in the instructions you will likely end up with a damaged agitator, or cover as you will likely resort to hammering the cover on which is not recommended because of shock to agitator teeth. In my solution this is where a long bolt, 2 large diameter washers that the bolt fit through, several nuts larger than the bolt diameter and finally a nut that fit the long bolt came into play. Using these parts and a socket set with several long socket extensions I used the bolt, washers and nuts to draw the agitator coupling into position in the plastic coupling. This worked extremely easily once all the parts were in the right place and put no stress on any of the parts being assembled. To do this, first I installed the new agitator coupling on the agitator shaft - making sure it would remove fairly easily before continuing, then I pushed the agitator cover over the agitator coupling as far as I could to get it connected well enough to the agitator coupling so that when I pulled the agitator cover back off the agitator shaft the coupling would come with it (still in place with the rubber teeth from the coupling started in the corresponding grooves on the inside of the cover). With the agitator cover removed I placed a washer that was wider than the top of the agitator cover onto the long bolt (the bolt must be about 8 inches long) and then passed the bolt through the hole in the top of the agitator cover, through the splined hole in the agitator coupling (the bolt must be small enough in diameter to fit through the agitator couping hole). With the bolt and washer pushed all the way down on top of the agitator cover I turned the cover over and placed it upside down on the floor so that the cover pushed down on the washer and bolt and held them in place. I then used an extracting tool (something with little claws that protrude or retract) to lower first another washer large enough in diameter to cover the diameter of the agitator coupling bottom and then several nuts larger than the bolt diameter onto the exposed end of the bolt that comes out on the other side of the agitator coupling inside the long narrow tube of the agitator cover. Once I had enough nuts in place to leave only enough threads on the bolt for the washer and nut that fit that bolt, I set the nut on the end of the bolt and used the correct sized socket with several long socket extensions attached to it to hand tighten the nut onto the end of the bolt. Then securing the head of the bolt with a wrench to keep the bolt from turning, I placed a socket wrench on the extensions and socket that covered the nut and then tightened th
Read less
Was this helpful?
Thank you for voting!
Started leaking from boot edge
4 of 5 peoplefound this instruction helpful.
Jason from Colwich, KS
Really Easy
30 - 60 mins
Nutdriver, Screw drivers, Socket set
Popped the top by pushing in front clips with screwdrivers. Removed spin shield. Removed agitator and hub cover (all by hand). Used 12pt. socket to remove three bolts holding the tub. Pulled up tub (difficult b/c of weight and slippery residue). Loosened clamps w/ nutdriver and removed boot. Scrubbed clamps clean and reinstalled eve
... Read morerything. Forgot to get clamps really snug, so it dripped a little. Did everything second time, but before replacing tub, did a leak check by running a load. Worked great. Good luck.