This Drive Belt is 89.5" long and comes in black, featuring four ribs on the inside for a better grip. This is a long belt that wraps all the way around the dryer drum, around a tension pulley, and then around the drive motor pulley, allowing all the parts to work together, spinning the drum as the motor rotates. If the drum will not turn...Read more when the dryer is turned on the belt is likely broken. It is common for belts to stretch or become brittle over time, which is what leads to the breakage. If broken, it should be replaced; the drum simply cannot spin without this belt. Refer to your model number and user manual to check if this part is right for you. Ensure you use work gloves to protect your hands from sharp internal parts during this repair. Please note: When comparing the length of your old belt to the length of the belt as stated here, remember that a small amount of stretching and contortion may occur with belts over time for a range of different reasons. Unless your belt is drastically different in length, this belt is what you are looking for despite any small inaccuracies. You will need to remove power to your appliance, remove the main panel, and access the motor drive to slip your new belt back into place.
This is a duct felt seal for a dryer. The duct felt seal allows the front-load dryer drum to glide smoothly on the front panel. Your dryer will not function properly if the drum felt seal is compromised. Disconnect power to the dryer before completing this repair. You will need to remove the front of the dryer to gain access to the felt s...Read moreeal. This felt seal may differ in appearance from your original but will function the same as your original. This is an OEM replacement part that is sourced directly from the authentic manufacturer.
This drum glide bearing is an authentic OEM replacement part that is compatible with dryers. It is white in color and made of highly durable plastic. The bearing allows the drum to rotate smoothly and dry your clothes thoroughly and evenly. It keeps the drum stable and protects it from excessive friction damage. Over time, the bearing may...Read more wear down or break due to normal aging or wear from repeated use. If the bearing is no longer able to support the drum, you will likely notice unusually loud grinding or squeaking noises from the dryer. You may also notice increased drying times due to poor drum rotation. Inspect all the bearings on your dryer, as they tend to wear down at the same time. Each drum glide bearing is sold individually.
This OEM replacement dryer slide bearing is white in color, and approximately 3 inches long. The slide bearings are supportive linings for your dryer. If they have eroded, or are damaged, the drums will scrape against metal during the drying cycle which will produce a squealing, or scraping sound.
Restore reliable operation to your GE dryer with this genuine OEM push-to-start switch, designed specifically for use with a range of GE dryer models. This switch activates the dryer when you press and release the button, making it an essential component for proper startup.
Common signs that this part may need replacement include the dry...Read moreer failing to start or starting unexpectedly without pressing the switch. Replacing the switch is a straightforward repair and requires only a Phillips screwdriver and a flathead screwdriver. Before beginning the installation, always disconnect the power to ensure safety. Once the power is off, remove the control panel screws, disconnect the old switch, and install the new one in its place.
This part is sold individually and is a reliable solution for restoring your dryer's functionality with minimal effort.
This door latch is designed for your dryer, and is mounted to the dryer frame. The door latch holds the door of your dryer closed while the machine is operating. If your dryer door is not catching on the door strike, and will not stay closed, you may need to replace the door latch. This part is square in shape, and is approximately 3/4-in...Read morech in length, by 3/4-inch in width. The part is made of white plastic with a metal tab. To access the door latch, you will need to remove the top and side panels on your dryer. To complete this repair, simply pop the damaged door latch out of position, and snap the new one into place.
The interlock switch may also be referred to as a belt switch. This part is a simple on/off mechanism that prohibits the appliance from operating when the door is open. This is a part for your dryer. The interlock switch senses the door is shut and the dryer can begin. This part might need to be replaced if your dryer is not starting or i...Read mores in process while the door is open. The black rectangular part of the switch is approximately 2 inches long and a 1/2-inch wide with two gold plates on either end. This is a genuine OEM part that is sourced right from the manufacturer.
This is a door handle made for use with dryers. This door handle is made of solid white plastic and allows you to open and close the door of the dryer. If your current dryer door handle is broken or missing, it will need to be replaced. This handle measures 9 inches long and 2 inches thick and attaches at its top and base. To replace this...Read more handle, simply pry off its left side and pull it off, and then insert the prongs on the right side into the door and push it in place. This OEM door handle is sold on its own and does not come with any other accessories.
TThe door strike for your dryer is mounted on the dryer frame that the door shuts onto. It fits into the door catch on the door and keeps the door closed. If the door strike is damaged or missing, the door will not lock properly and not only will this cause the door to swing open, but it won’t allow the dryer to start properly. It is a small piece of metal, about 1 inch in length and is sold individually.
This authentic OEM rear bearing O-ring is designed for use with GE dryers. It helps secure the drum rear bearing onto the drum shaft, playing a key role in maintaining smooth and quiet dryer operation. A common sign that this part may need replacement is increased noise during the drying cycle. This O-ring is sold individually.
To replac...Read moree the O-ring, you’ll need a Phillips screwdriver, a square-head screwdriver, a small flat-blade screwdriver, and needle-nose pliers. Always consult your dryer’s manual or parts diagram to ensure proper installation and compatibility.
The door latch lid lock is to lock the door on your washer when the appliance is in use. Your washer will not start if your door is not locked. If your latch is broken, you may not be able to start a cycle or open your washer door. It is mostly black in color and made of plastic. This part measures approximately 3.75 by 3.5 inches.
Ask our experts a question about this model and we'll get back to you as soon as possible!
We may have answered a similar question already! Search questions and answers left by others using simple keywords like "fit", "broken", "easy", or "quality" to find questions that match.
Search filter:
Clear Filter
Your search term must have 3 or more characters.
Sort by:
Prev
1
2
3
Next
Sorry, we couldn't find any existing answers that matched.Try using some different or simpler keywords, or submit your new question by using the "Ask a Question" button above!
Thomas - For model number GUD27ESSM1WW
November 17, 2022
The dryer will not start when hitting the button. nothing happens. the washer section still works fine. I checked the door switch and the button both have continuity. there is power to the dyer selection knob, when its n timed dry i can hear the time working but the dryer just won't start up.
Hi Thomas, thank you for reaching out. We would recommend checking the following parts to fix the issue: High Limit Thermostat, part number PS267900, Interlock Switch, part number PS1481922, Dryer Cycling Thermostat, part number PS9863227, and Drive Belt, part number PS16542496. We hope this helps! If you need help placing an order, customer service is open 7 days a week. Thanks again for your great question.
My washer doesn’t agitate or spin. Water pumps in and out but it doesn’t agitate or spin.
Hi Carol, thank you for reaching out. According to our research on the model, the Drive Belt appears to be faulty and you may need to replace it with part number PS16542496. If you need help placing an order, customer service is available 7 days a week. Glad to be of help!
Machine will complete all "Wash" cycles.... BUT.....regardless of the choice of "Load Selection", water will only fill to "small load" level.
Restricted to washing small loads.
Hello John, thank you for your question. You may have ow water pressure or clogged water valve screens PS12343369. Or, it may be that the Load Size PS12343403 switch is defective. We hope this helps.
Can I purchase and replace my heat element? There’s no heat coming into the dryer
Hello Robert, thank you for reaching out. The heating element for your model comes in an assembly having part number PS3496850. Replacing it will most probably solve the problem. Glad to be of help!
The washer will not stop filling. The fill valve opens and closes, what component tells the washer when it is at the correct water level?
Hi Cort, thank you for contacting us. Ensure that the water inlet valve is working properly. If it is fine, the issue could be with the control board, part number PS12343390. It serves as the main brain of the appliance, managing cycles, timing, and operational signals. You may need to replace it to fix the issue. We hope this sorts out your problem!
See how others fixed this model. Time, tools, difficulty, and steps that lead to victory!View More
Search repair tips from other customers using simple keywords like "replace", "fit", "remove", "inspect". DIY doesn't mean you have to do it alone!
Search filter:
Clear Filter
Your search term must have 3 or more characters.
Drum belt broke
211 of 312 peoplefound this instruction helpful.
Adrian from Middletown, MD
A Bit Difficult
30 - 60 mins
Screw drivers
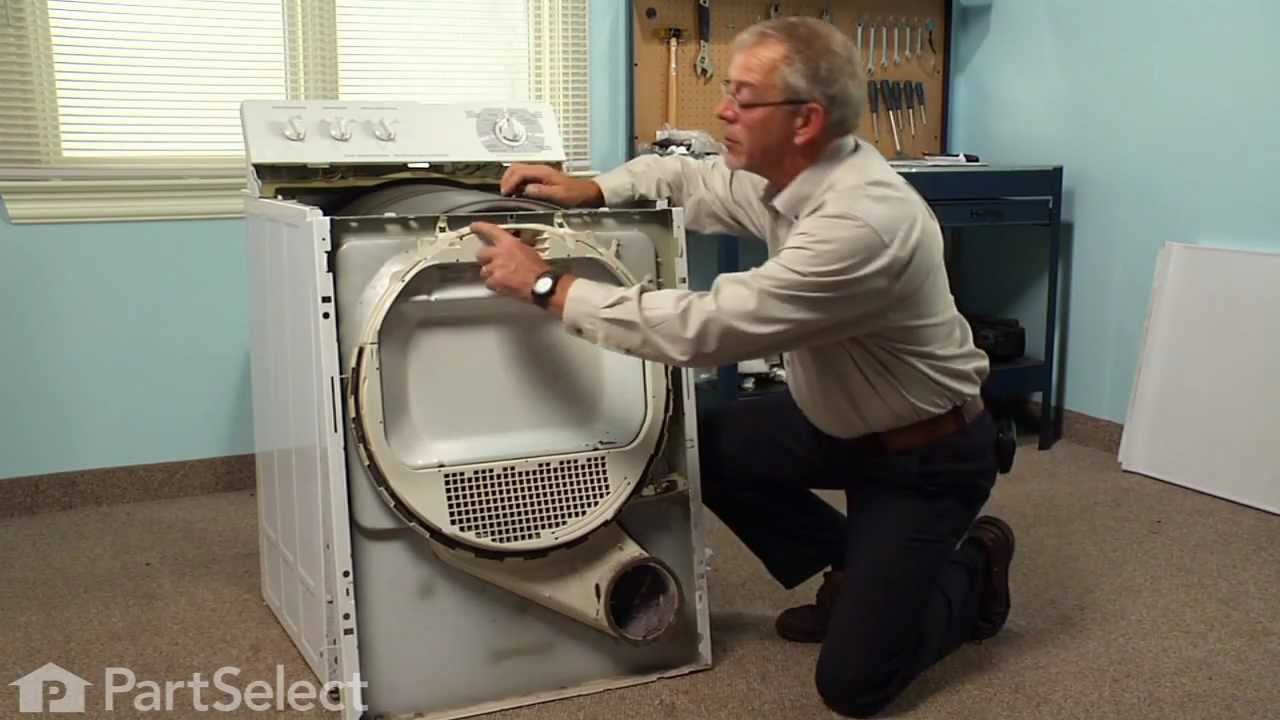
Removed the front Dryer panel. Left drum in place and lifted it up slightly to get access to motor drive. Slipped belt in place and put panel back on. This was a first attempt ever at fixing an appliance and it was no big deal.
Was this helpful?
Thank you for voting!
Dryer would not start
92 of 140 peoplefound this instruction helpful.
Joshua from Dallas, TX
A Bit Difficult
1- 2 hours
Pliers, Screw drivers, Socket set
The end repair was very simple and took minimal effort. The time and difficulty was all in the testing. I disassembled the dryer and removed the drum and then hard wired each thermo-fuse to determine where the fault was. After test all of those I was stumped. When I opened the door the light would not come on so I assumed it was a pow
... Read moreer fault closer to the source. However after all of my testing I couldn't find anything wrong. I then removed the light bulb and realized it was burned out which led me to the door switch being the fault. I removed the switch and soldered the three wire together and the dryer started right up! All I had to do was order a new $15 part, unsolder the wires and plug them in. Would have been so much simpler if that light bulb hadn't of been burned out causing me to over think my diagnosis. This was my first major appliance repair and I did it with only the help of the parts diagram provided on the website.
Read less
Was this helpful?
Thank you for voting!
Broken Dryer Belt
82 of 123 peoplefound this instruction helpful.
Richard from Ashton, MD
Easy
1- 2 hours
Nutdriver, Screw drivers
I had to take most of the dryer apart because there is no rear access to the motor. It turned out to be easy to dissasembel the dryer. The only problem that I had was that I could not figure out how to route the belt around the motor and the idol pullies. I could not find anywhere that gave instructions on how to properly tension the belt
... Read more. I finally figured out that the idoler pulley needs to be locked in place on the right side of the engie mount. Then the belt needs to be routed over idoler pulley and under the motor pulley. Finally release the idoler pully from the locked postion to put tension on the belt. It really turned out to be pretty easy.



 My Orders